


Structure frame
I followed the web instructions for the original Prusa MK3S for the entire printer setup, but here and there you have to jump to the instructions for the older MK3. After I straightened out the big frame for the Z-axis, things went quickly. A few screws here, aluminium extrusion there and the frame is already in place.
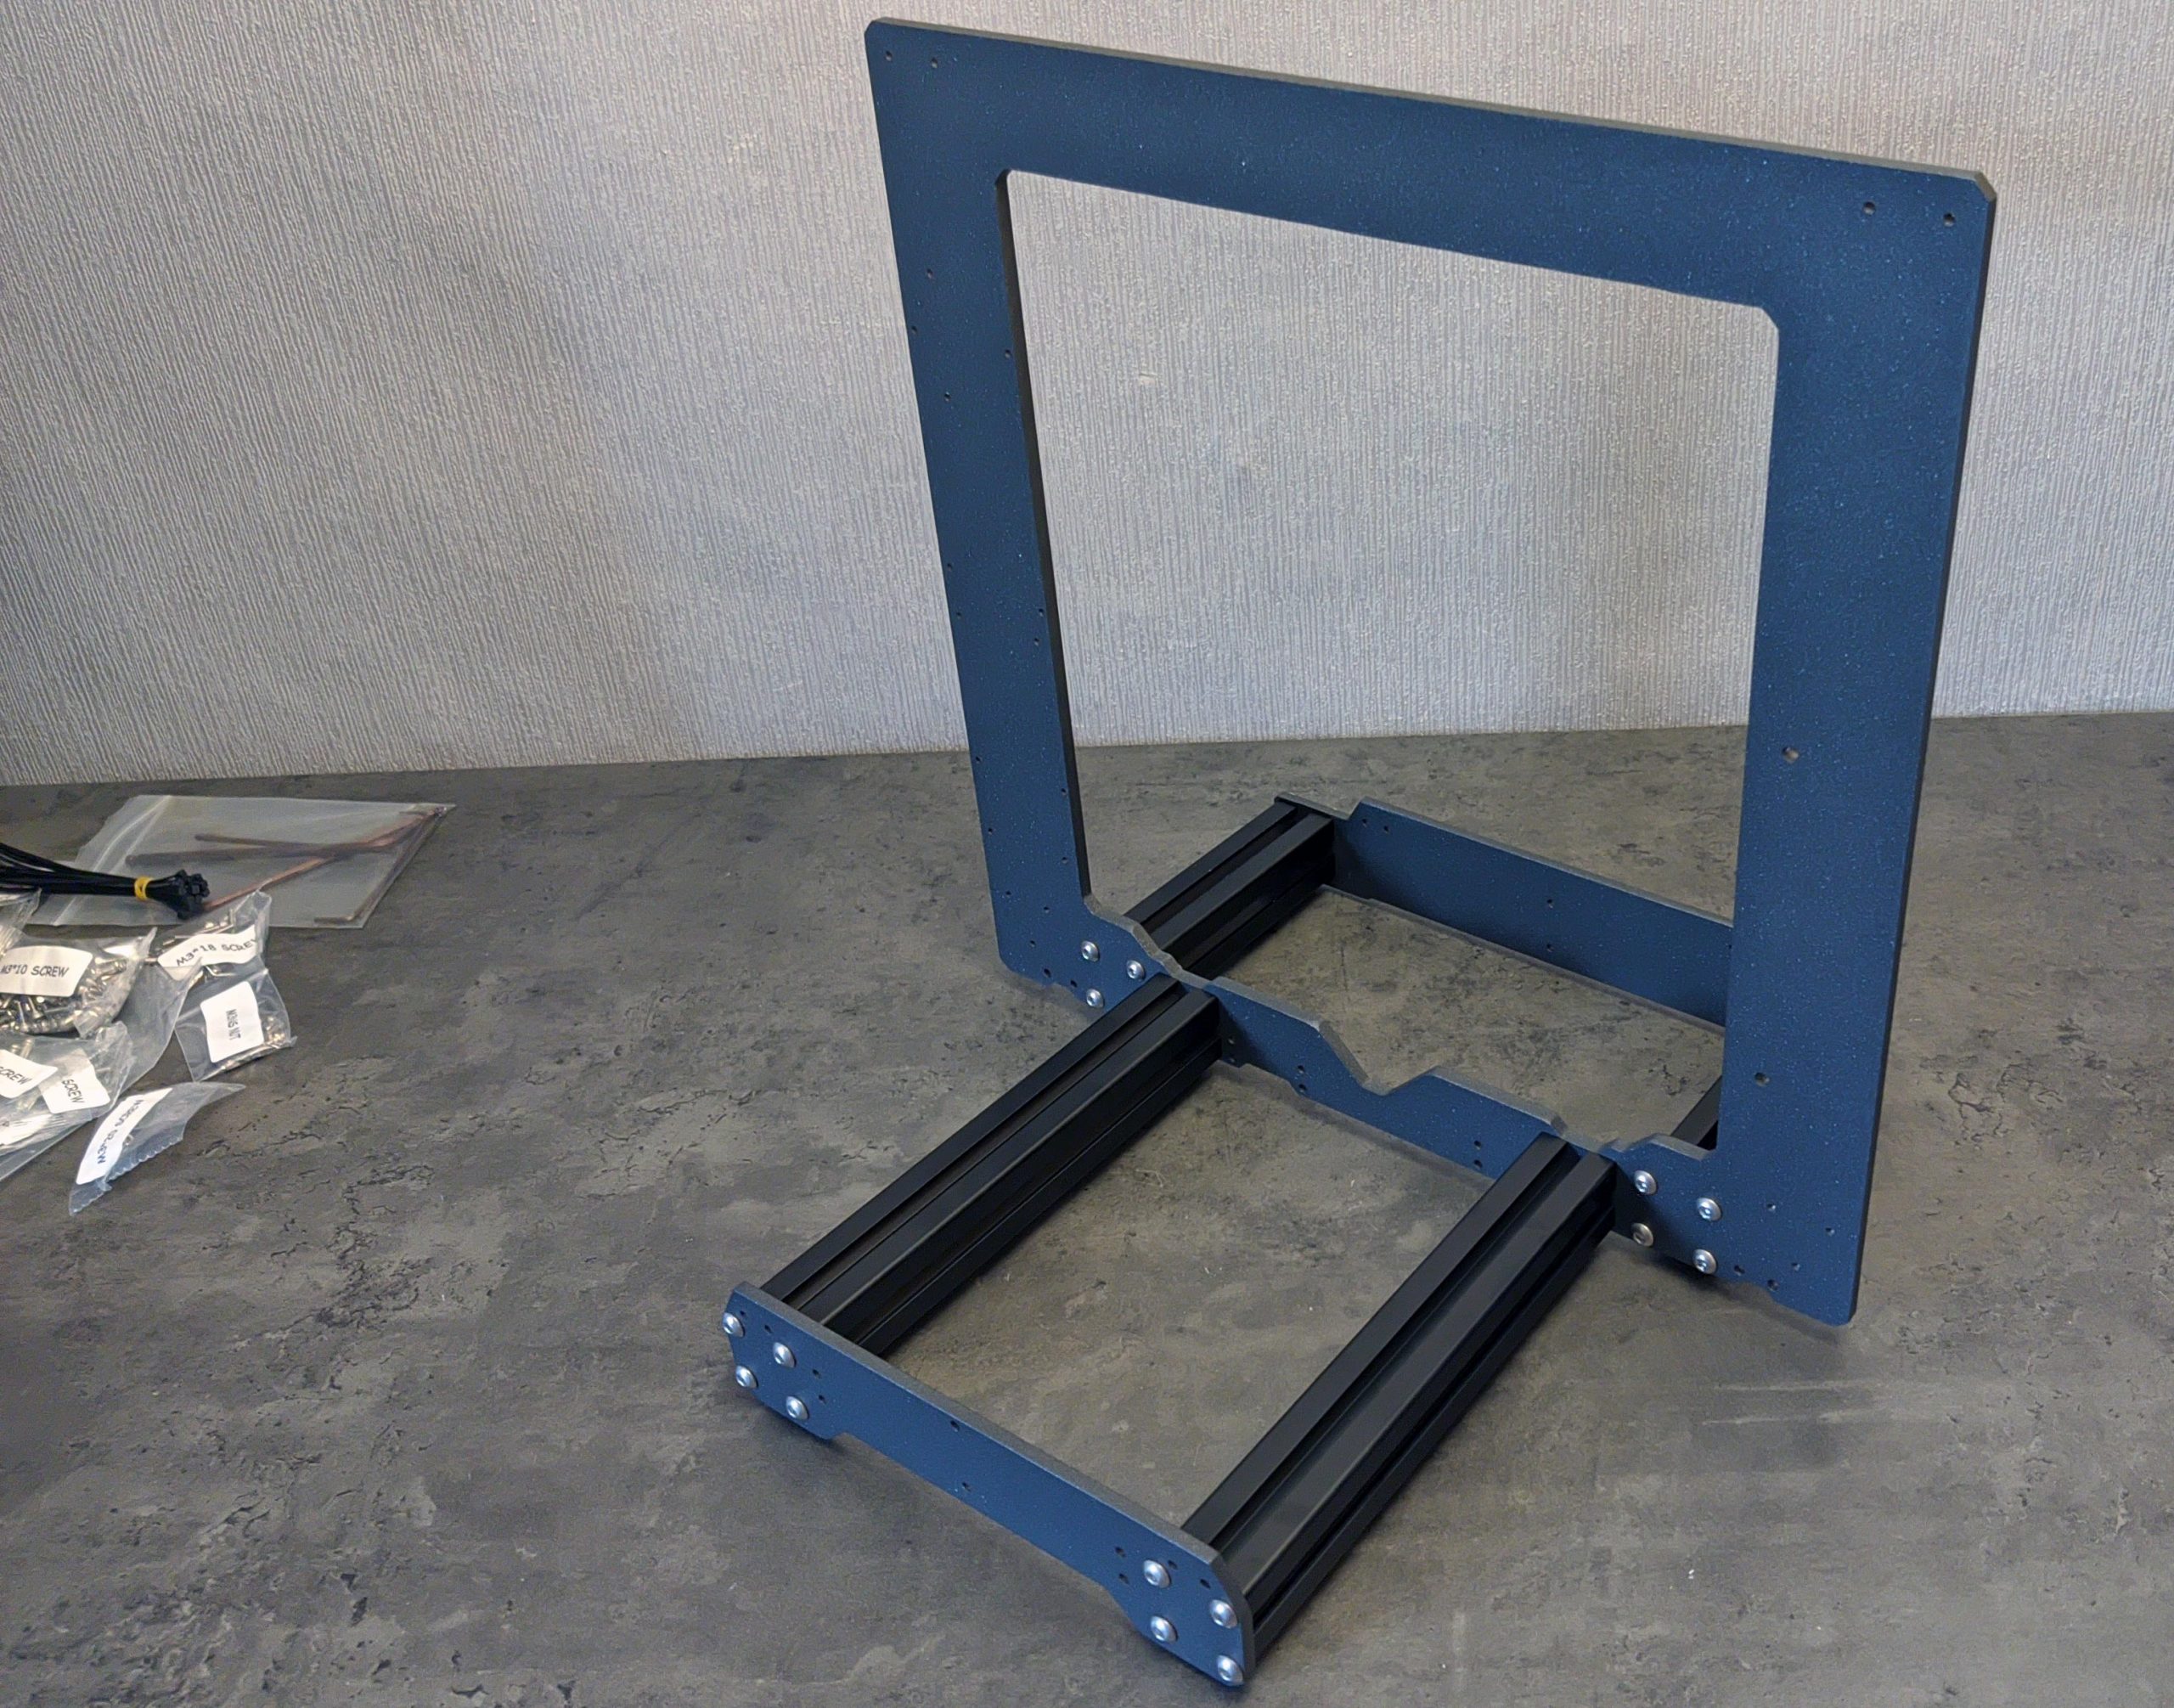
Instead of the rather small, angular rubber feet from the original, Fysetc uses slightly larger ones that are completely round.
Functionally, however, there is hardly any difference to be expected here, both are about equally soft.
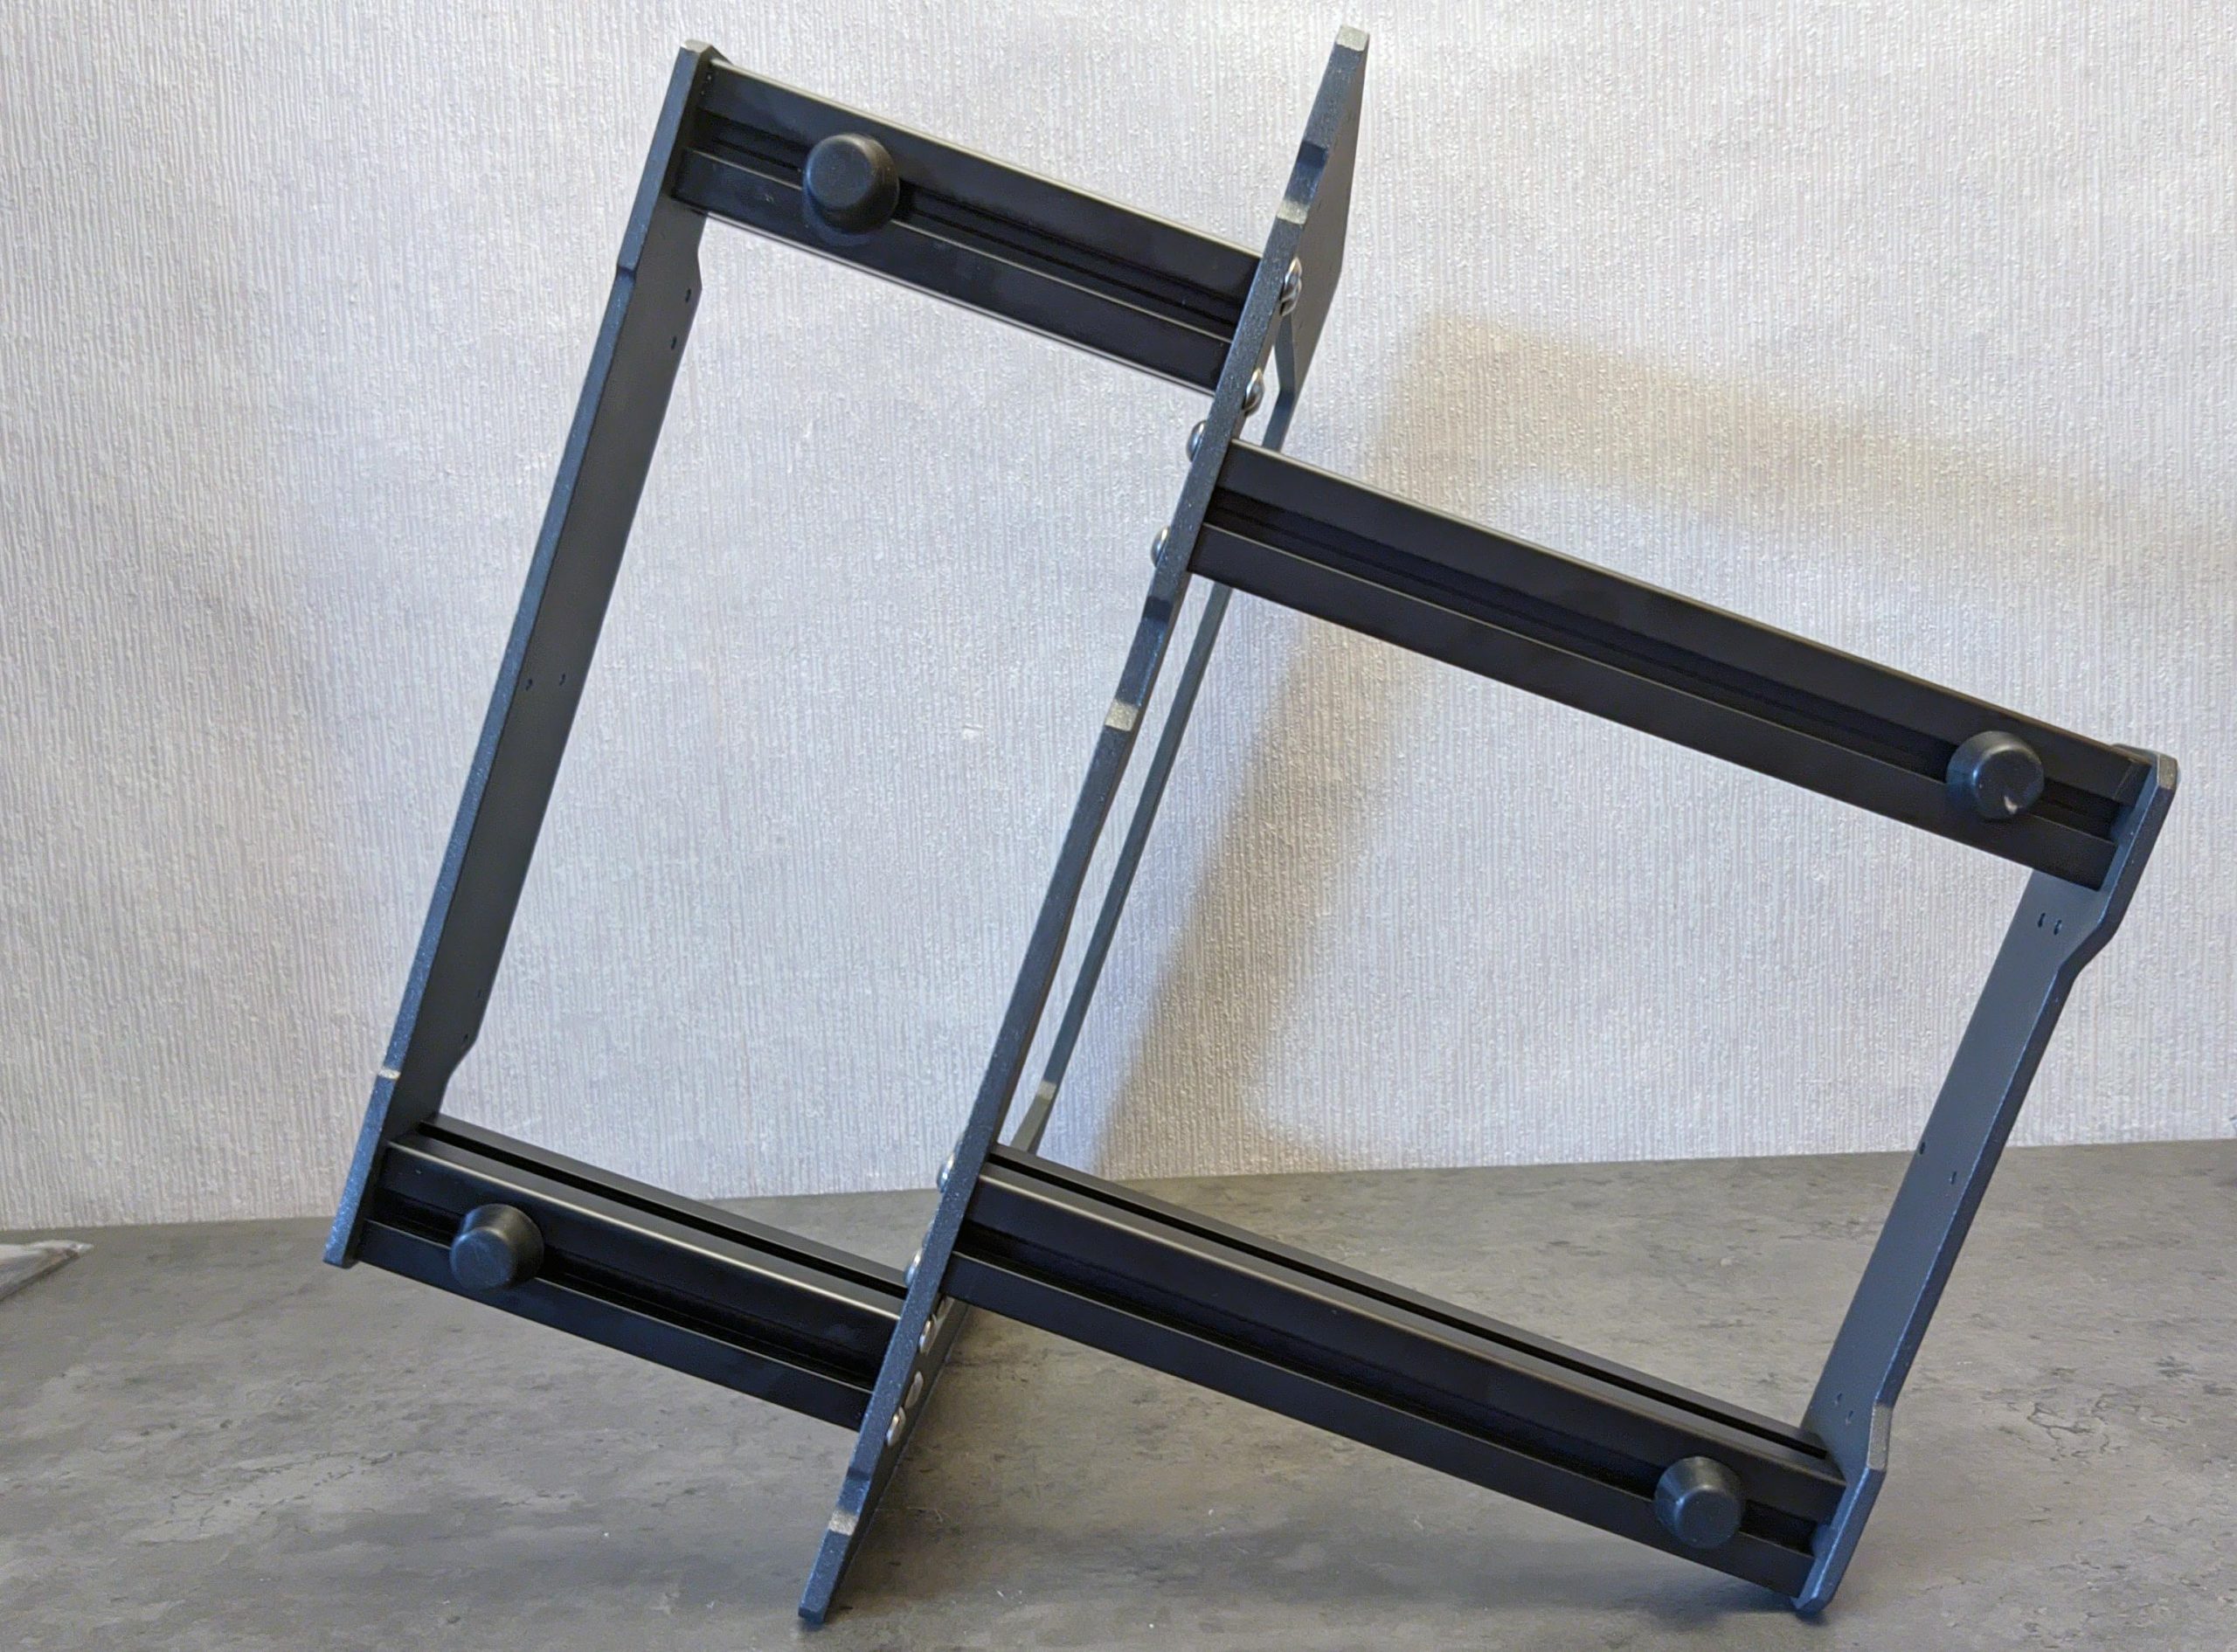
Structure of carriage and axles
Normally, the linear bearings of the heating bed slide on the MK3S are fastened with U-bolts, which are also included in the clone kit. However, I didn’t like this method even with the original because it damages the bearings and linear rods if the screws are tightened too much. Since I’m mostly using the printed parts from the newer MK3S+ anyway, which uses a revised method with small metal plates, I wanted something similar.
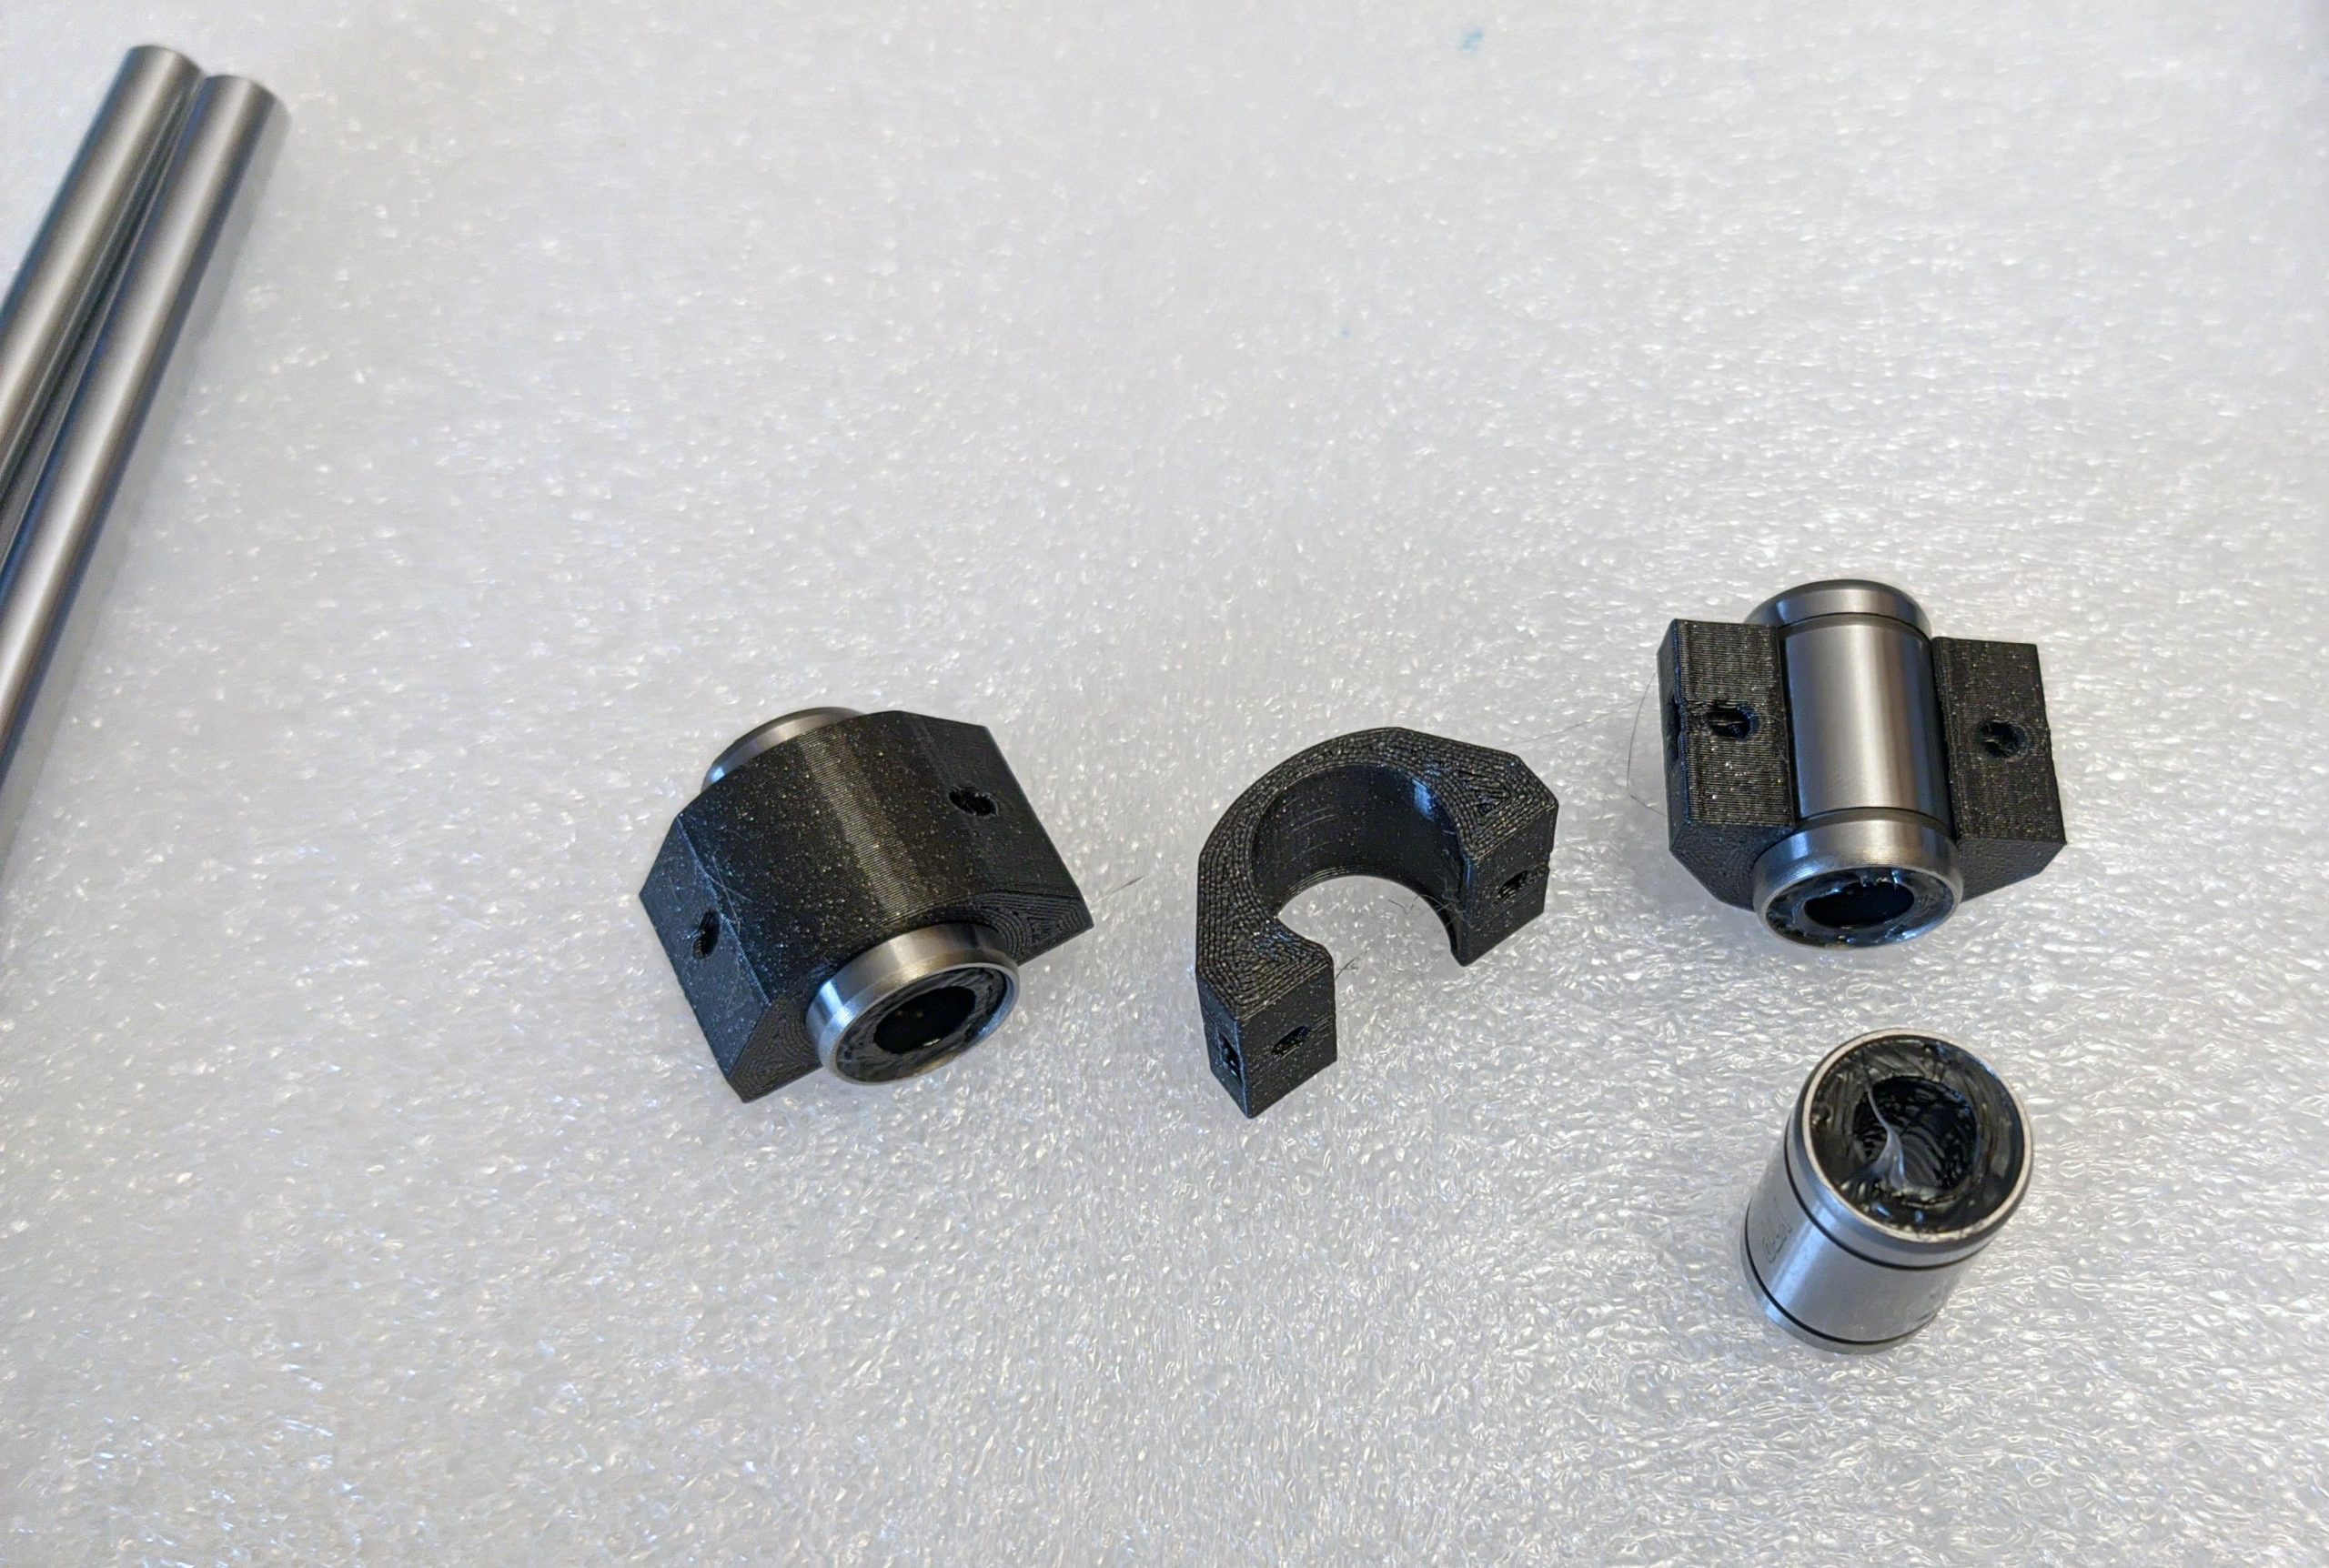
Thankfully, others had already provided the same thought process and various clips at Thingiverse. I went with jonnieZG’s version because a little lip holds the linear bearings perfectly in place. The brackets are printed in Prusament PETG Galaxy Black, just like all the other parts.
By the way, these are YTP LM8UU Bearings, while the original now uses genuine Misumi linear bearings. I also retrofitted them to my Prusa MK3S and was impressed with how smooth and quiet they are. Out of the box, the YTP bearings were a bit scratchy, so I made good use of the print time on the mounts and did some tweaking myself.
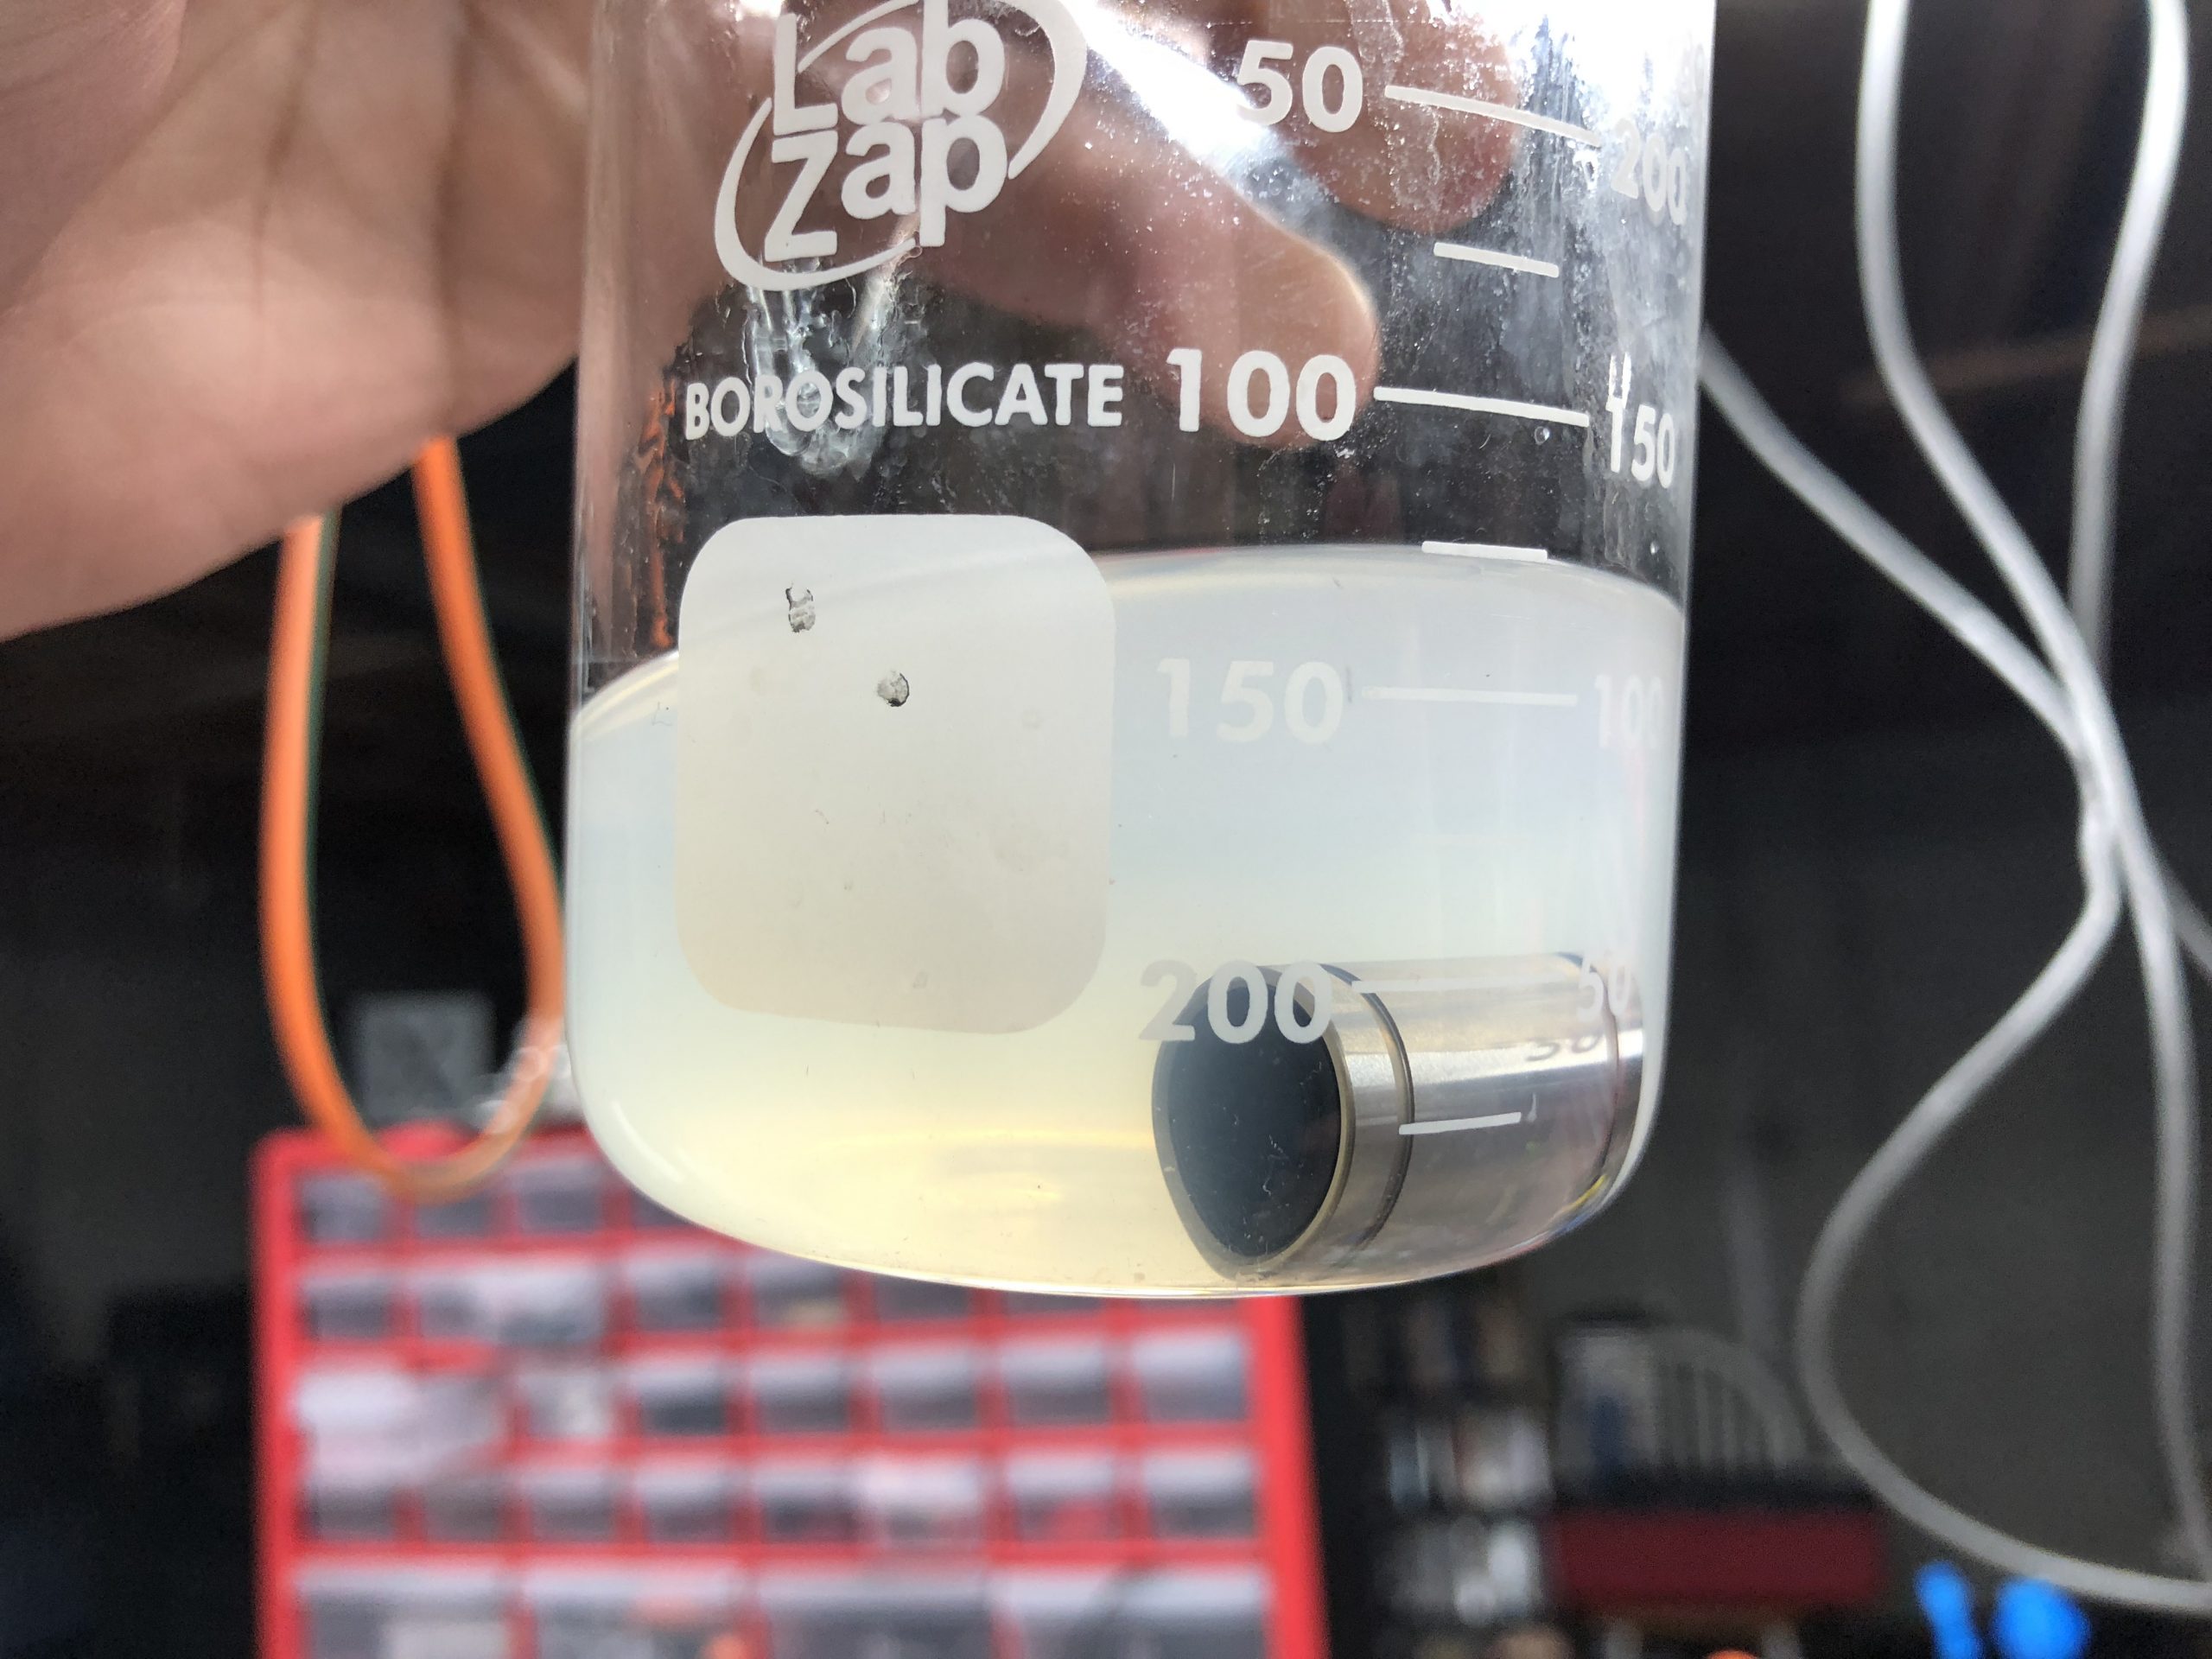
So put isopropanol in a jar and cleaned the YTP bearings completely. Then generously greased with Superlube and matching nozzle from Thingiverse again, so it slips but already much better! The whole thing is described in detail in this guide.
The stuff is a bit difficult to get in Germany, so here are a few links:
> Super Lube 21030: Amazon – eBay – Geizhals >
Misumi LM8UU: Amazon – eBay – Geizhals
Or preferably just buy via Google search at one of the many small 3D printer shops, it doesn’t always have to be Amazon or eBay.
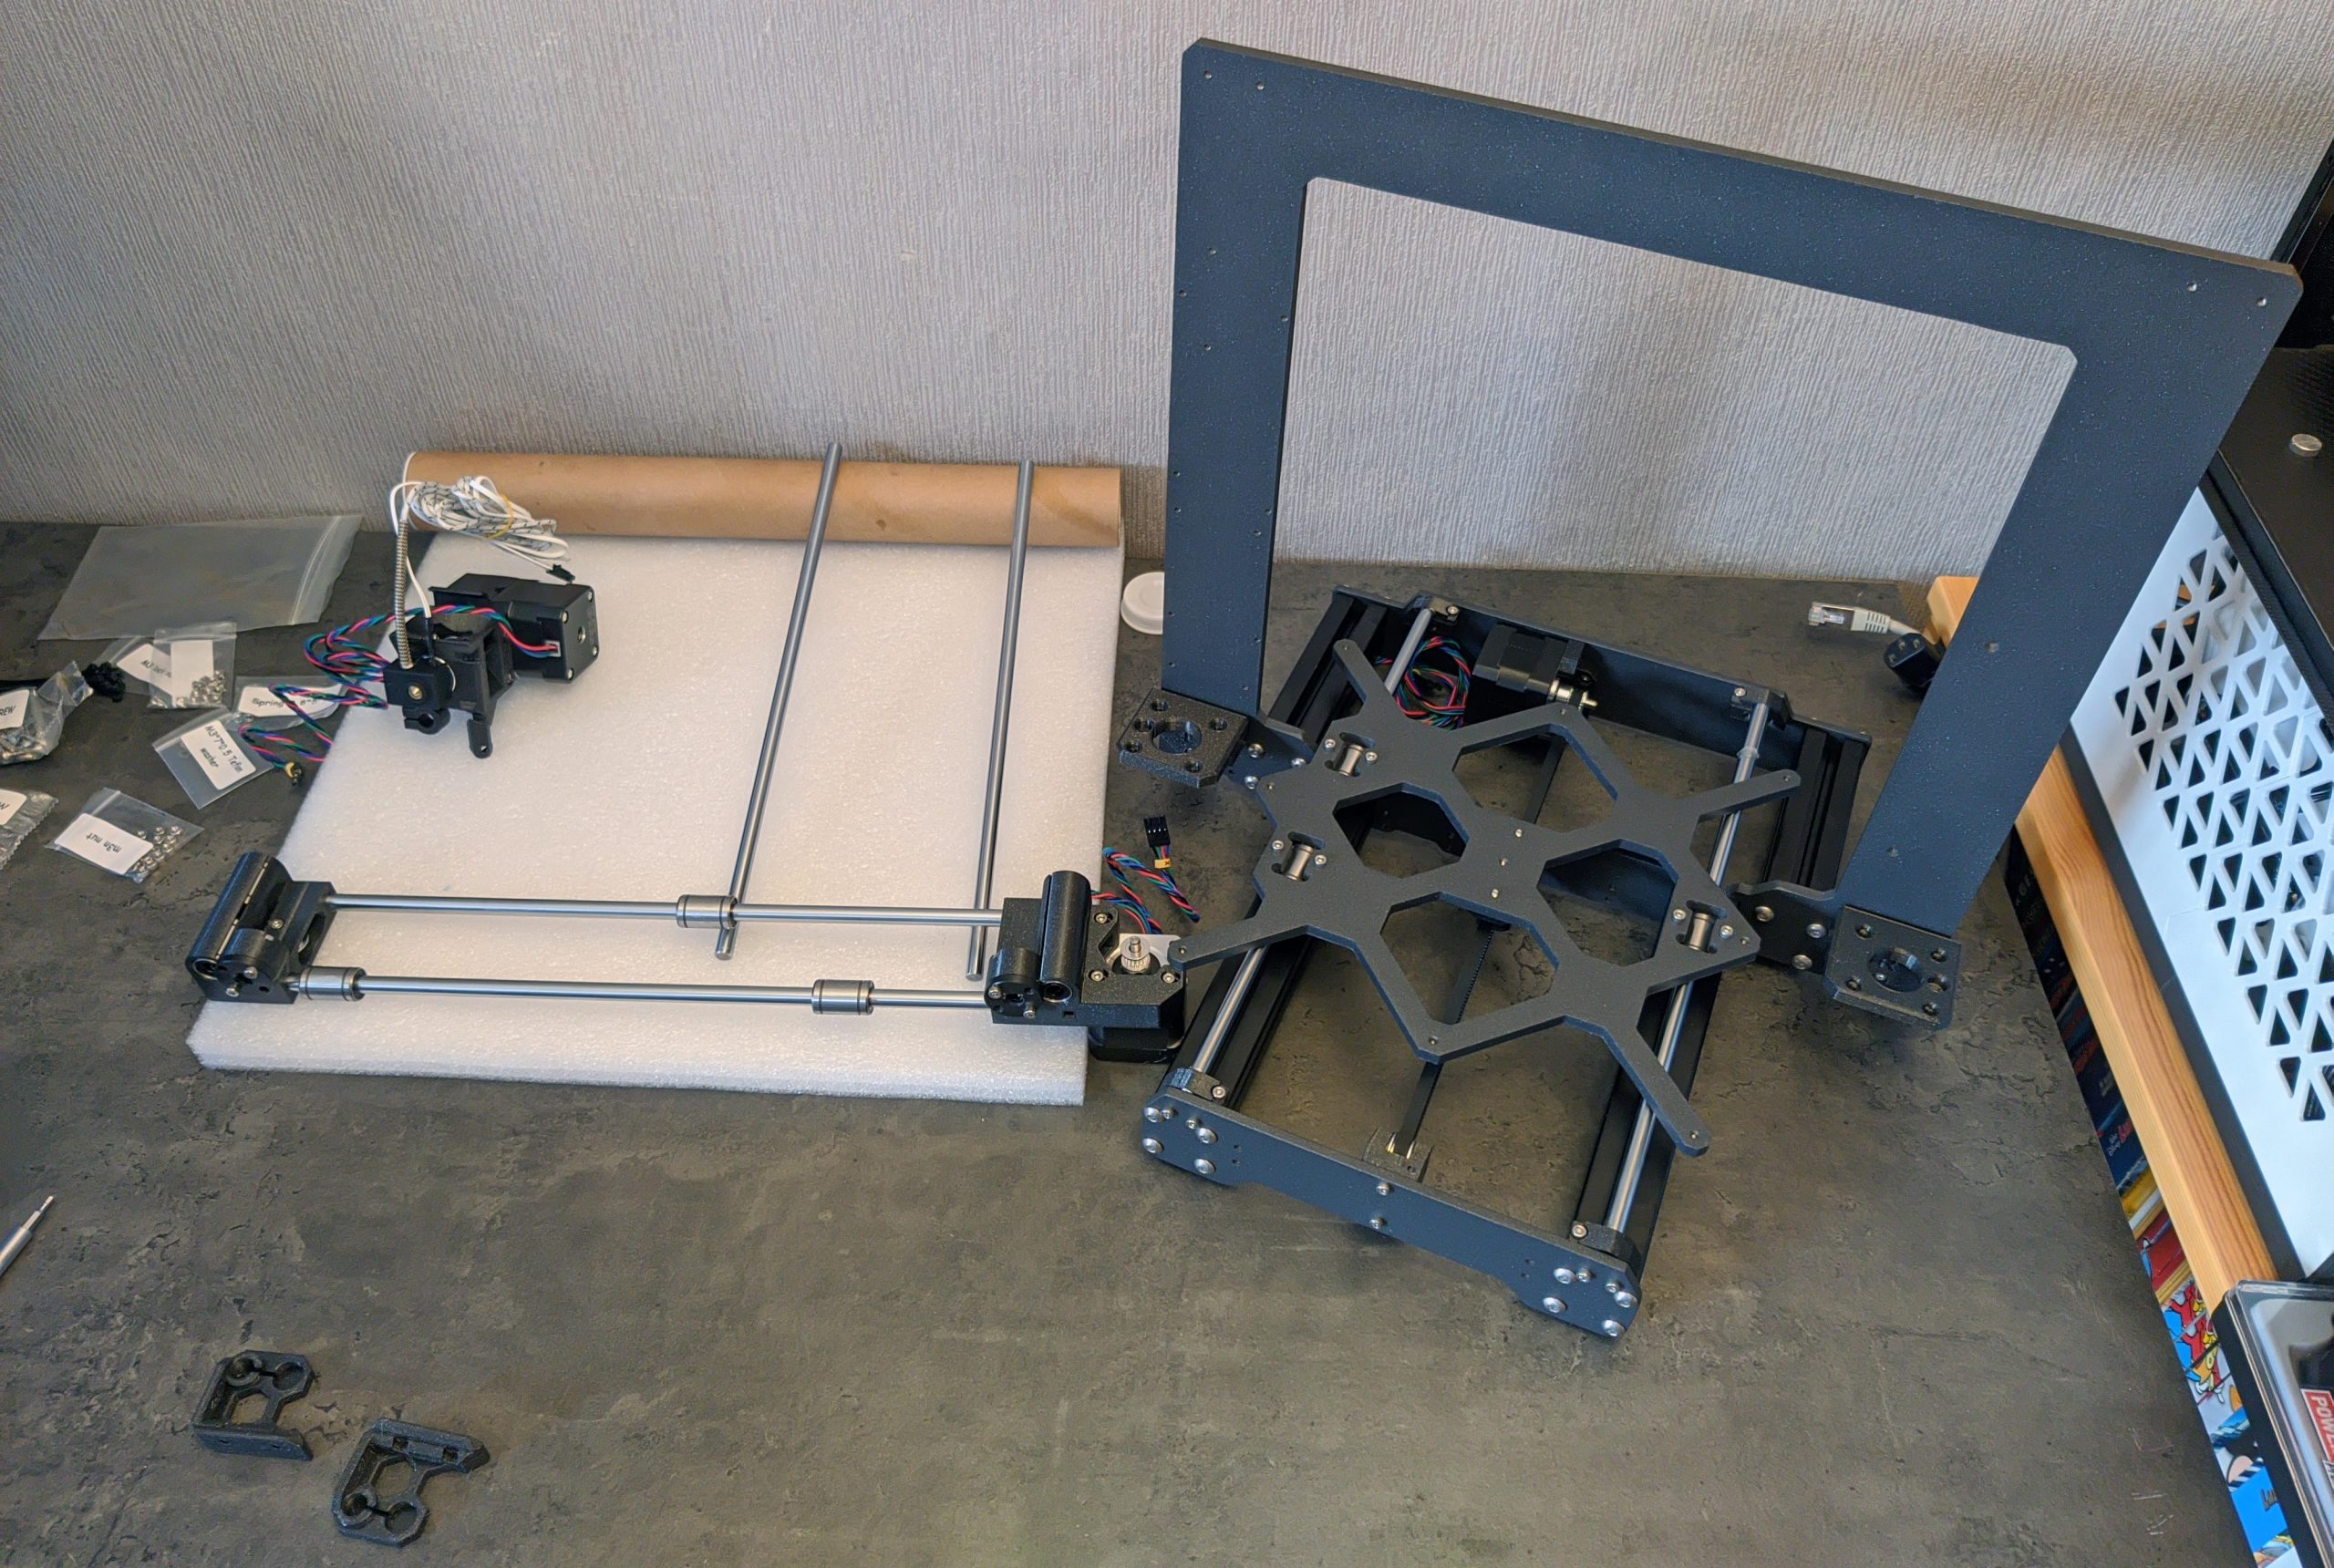
After that, it doesn’t take long and the sled is in place. It was noticeable that the Y-roller bearing installed in the front was minimally too small and had some play to the left and right. However, I was able to easily solve this problem by tightening the screws in the printed bracket a little tighter, thus narrowing the gap.
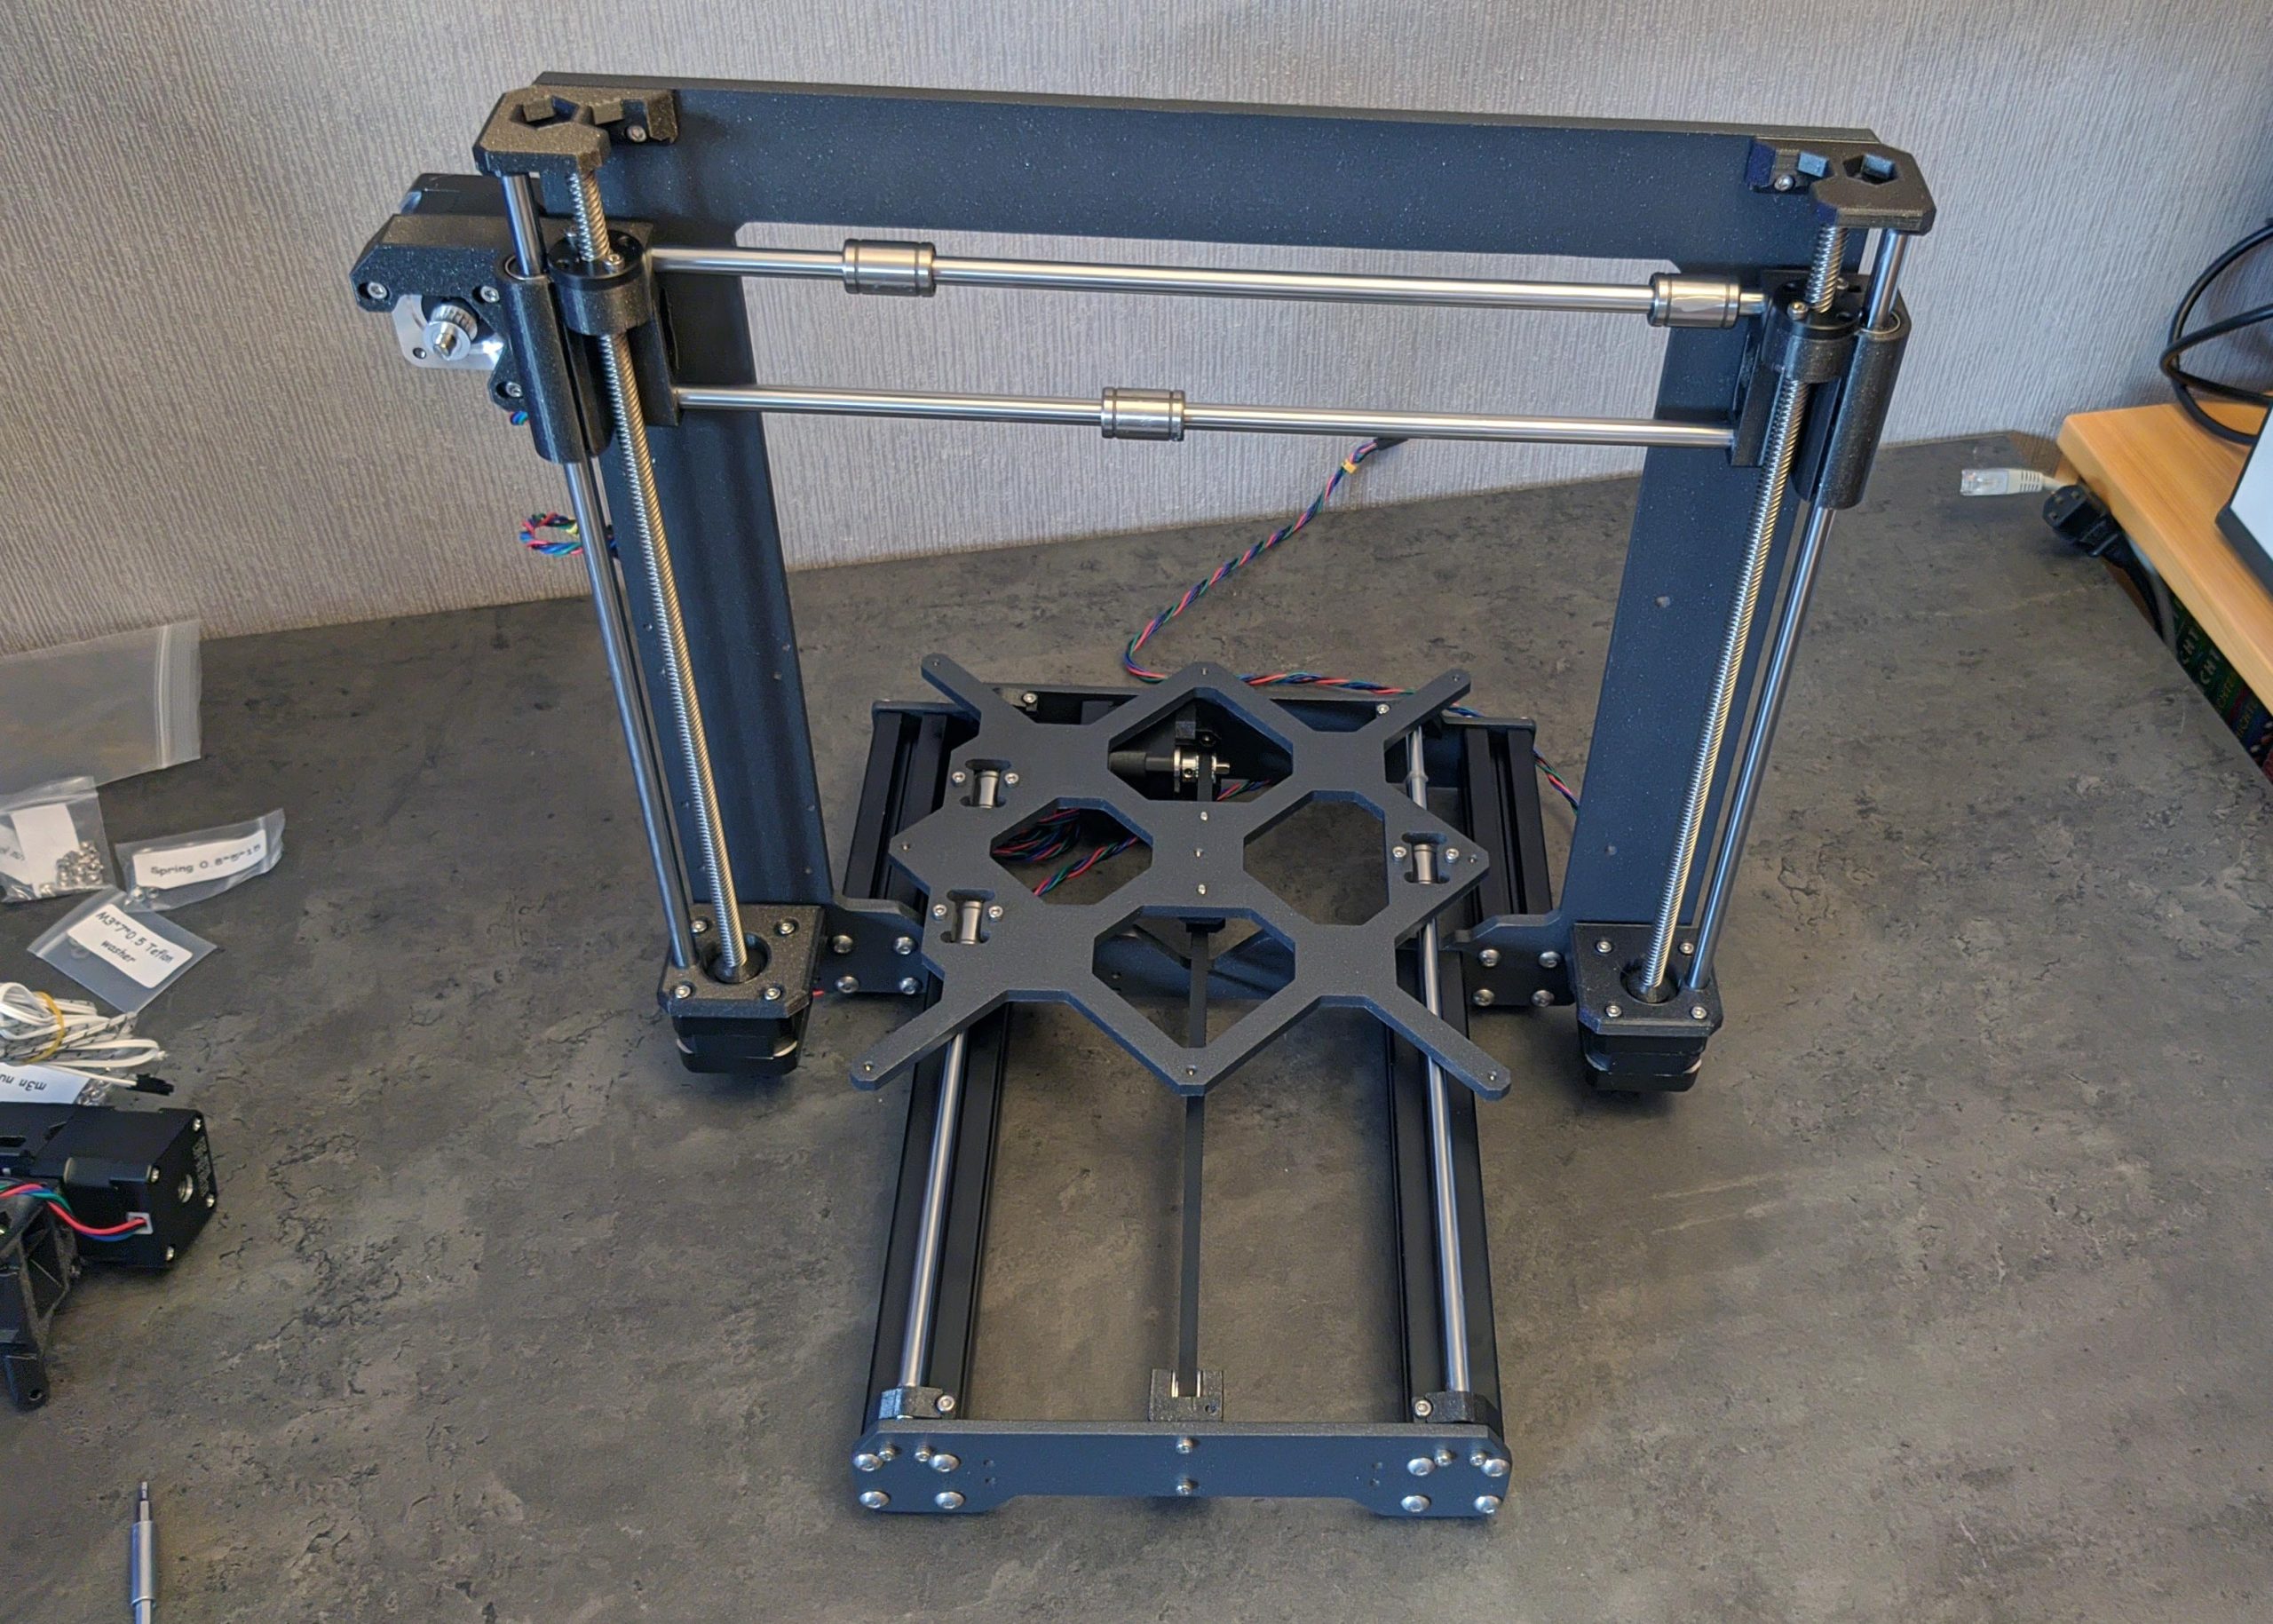
Relatively uneventfully, the assembly then continues with the X and Z axes. The installed steppers are 17HD2201Z-22B-500 LOT NO. 201215 engines.


12 Antworten
Kommentar
Lade neue Kommentare
Moderator
Urgestein
Moderator
Urgestein
Veteran
Veteran
Urgestein
Moderator
Mitglied
Moderator
Mitglied
Urgestein
Alle Kommentare lesen unter igor´sLAB Community →