


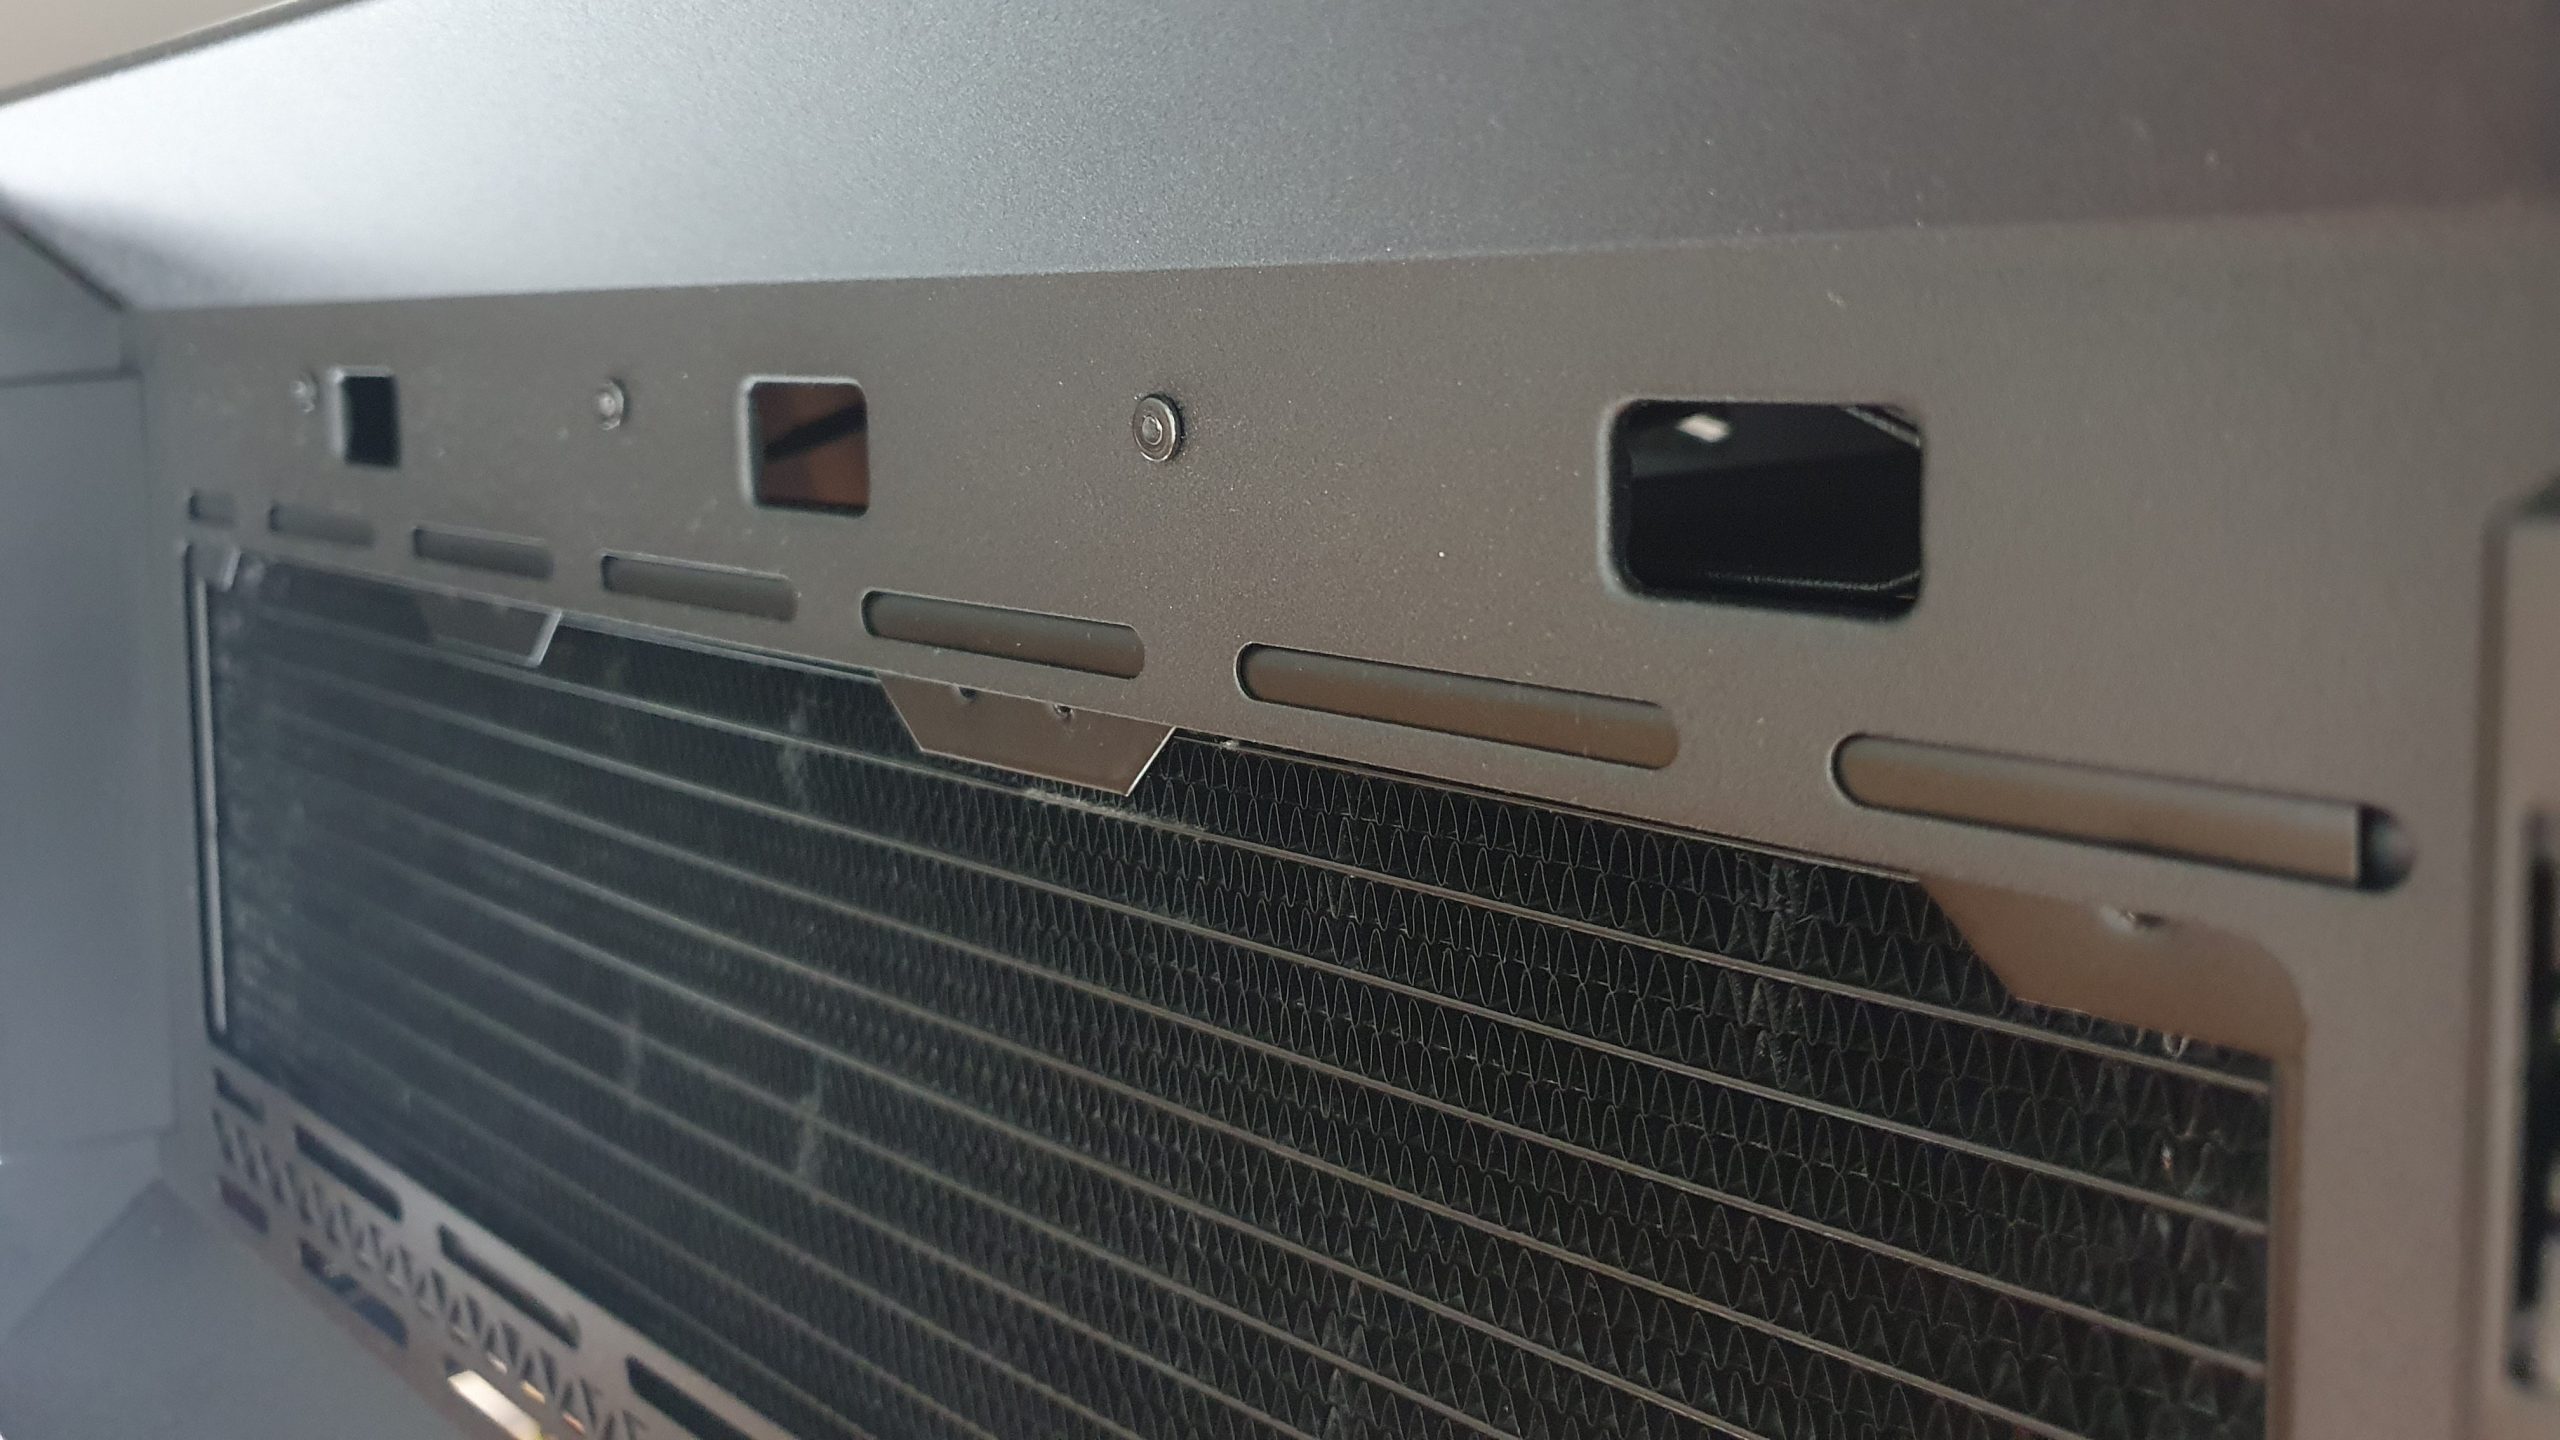
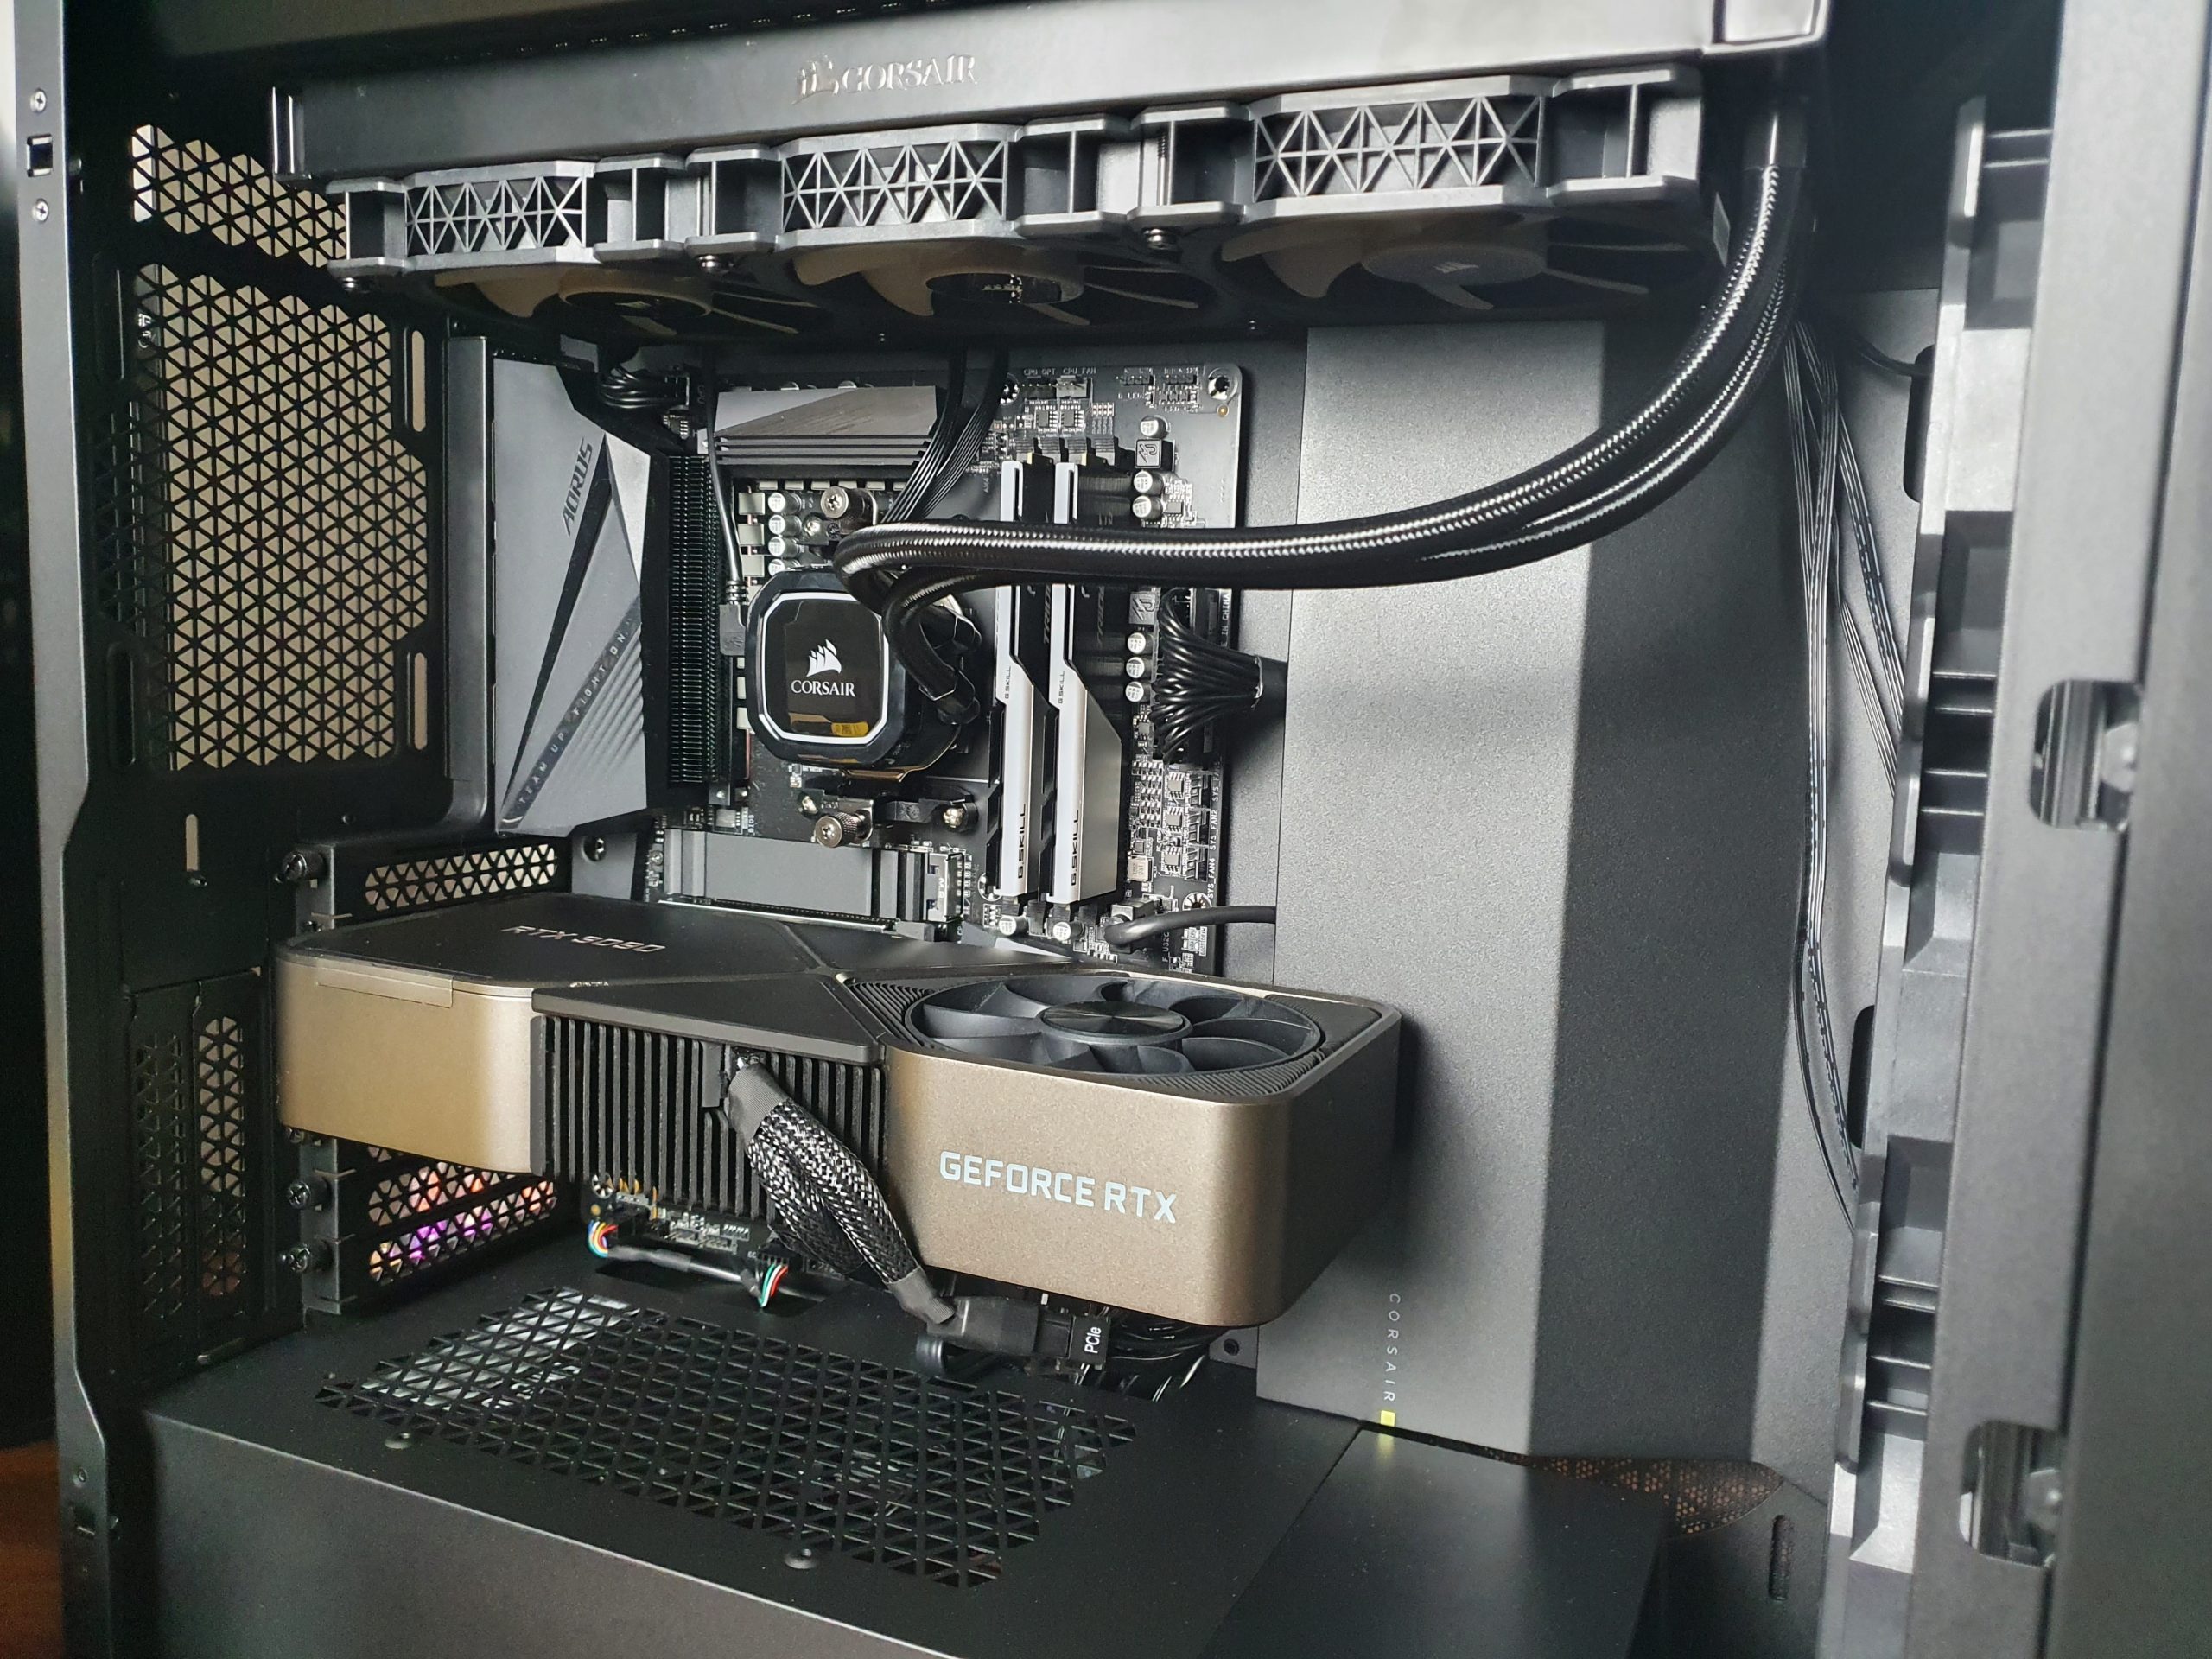
The installation of radiators in the roof is more difficult than expected, because there is a gap of only 8 mm between the mounting points of the fan or radiator and the RapidRoute cable cover. As a consequence, very few radiators can actually be mounted in the roof unless you want to remove the cable cover. Even though the cable cover should actually only restrict the fan mounting on the side, according to the specs. In this case, a HardwareLabs Blackice GTS with its 133 mm was already clearly too wide.
Towards the rear of the case, the radiator mounting points also leave much to be desired, as although there would actually be plenty of room to extend the slots here to provide flexibility for radiator positioning, this has been missed. Since the offset for 120 mm fans was also moved towards the mainboard and not away from it, the mounting options for radiators in the roof are very limited overall.
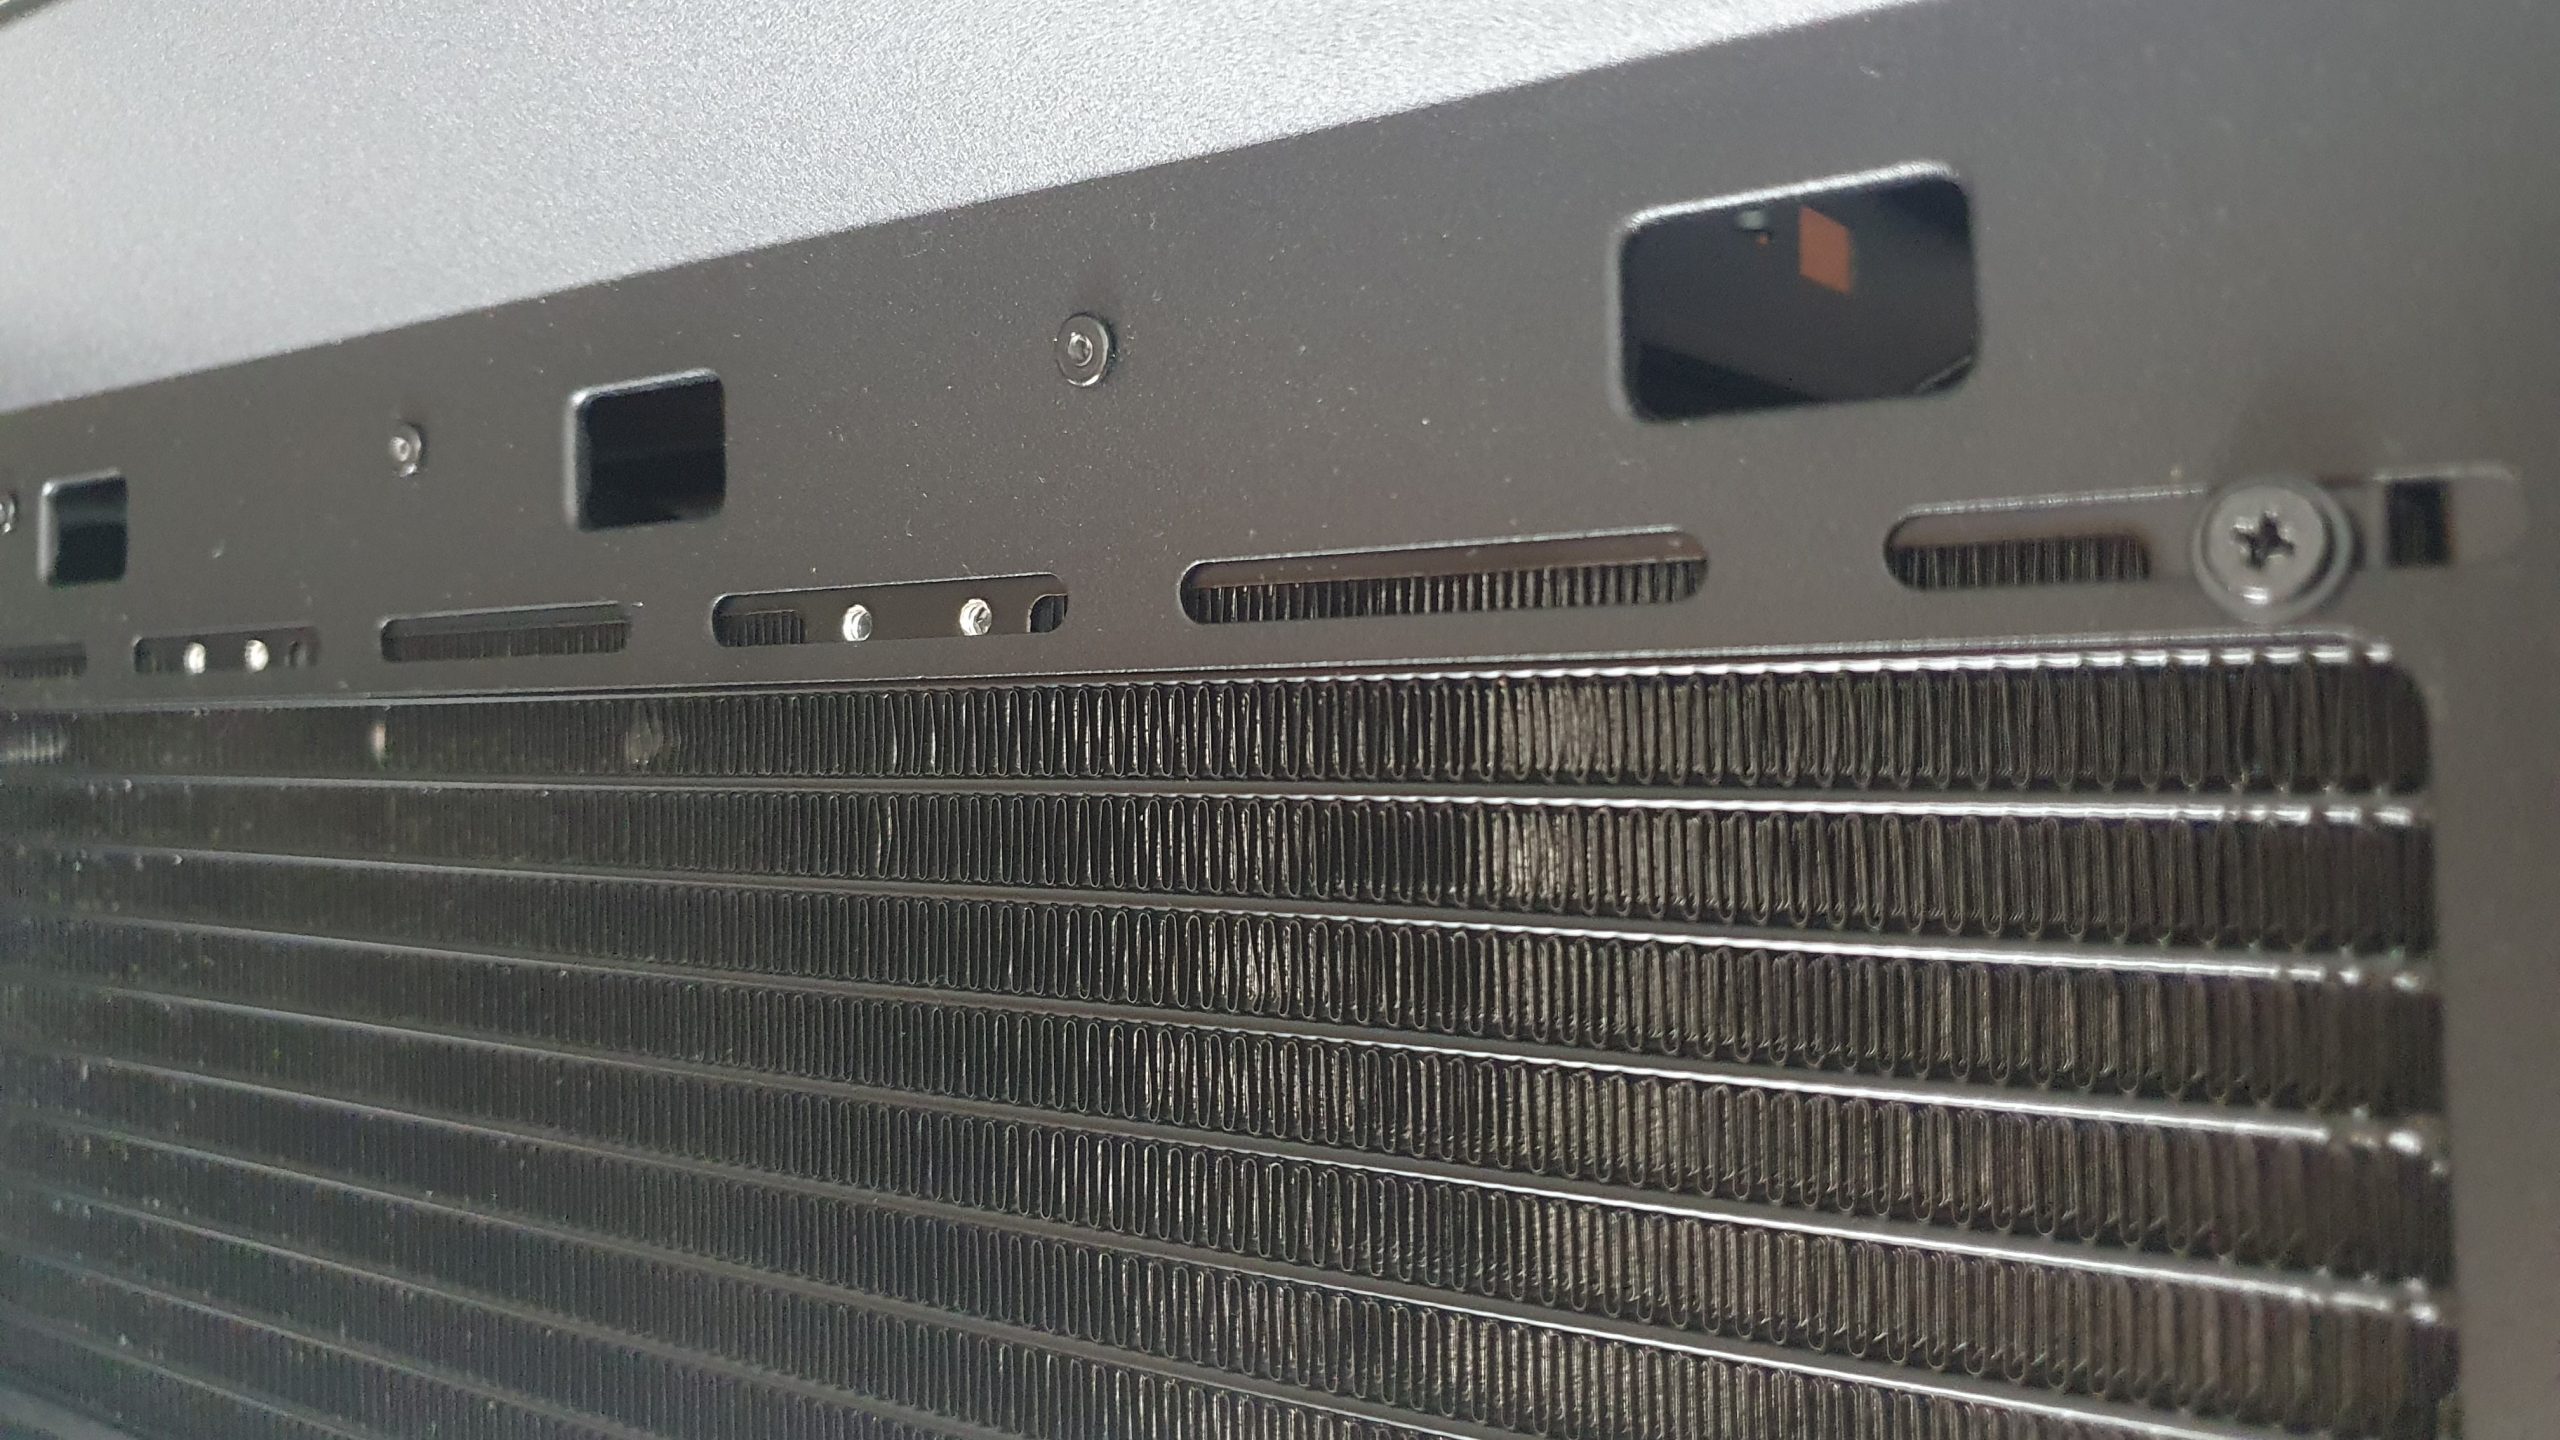
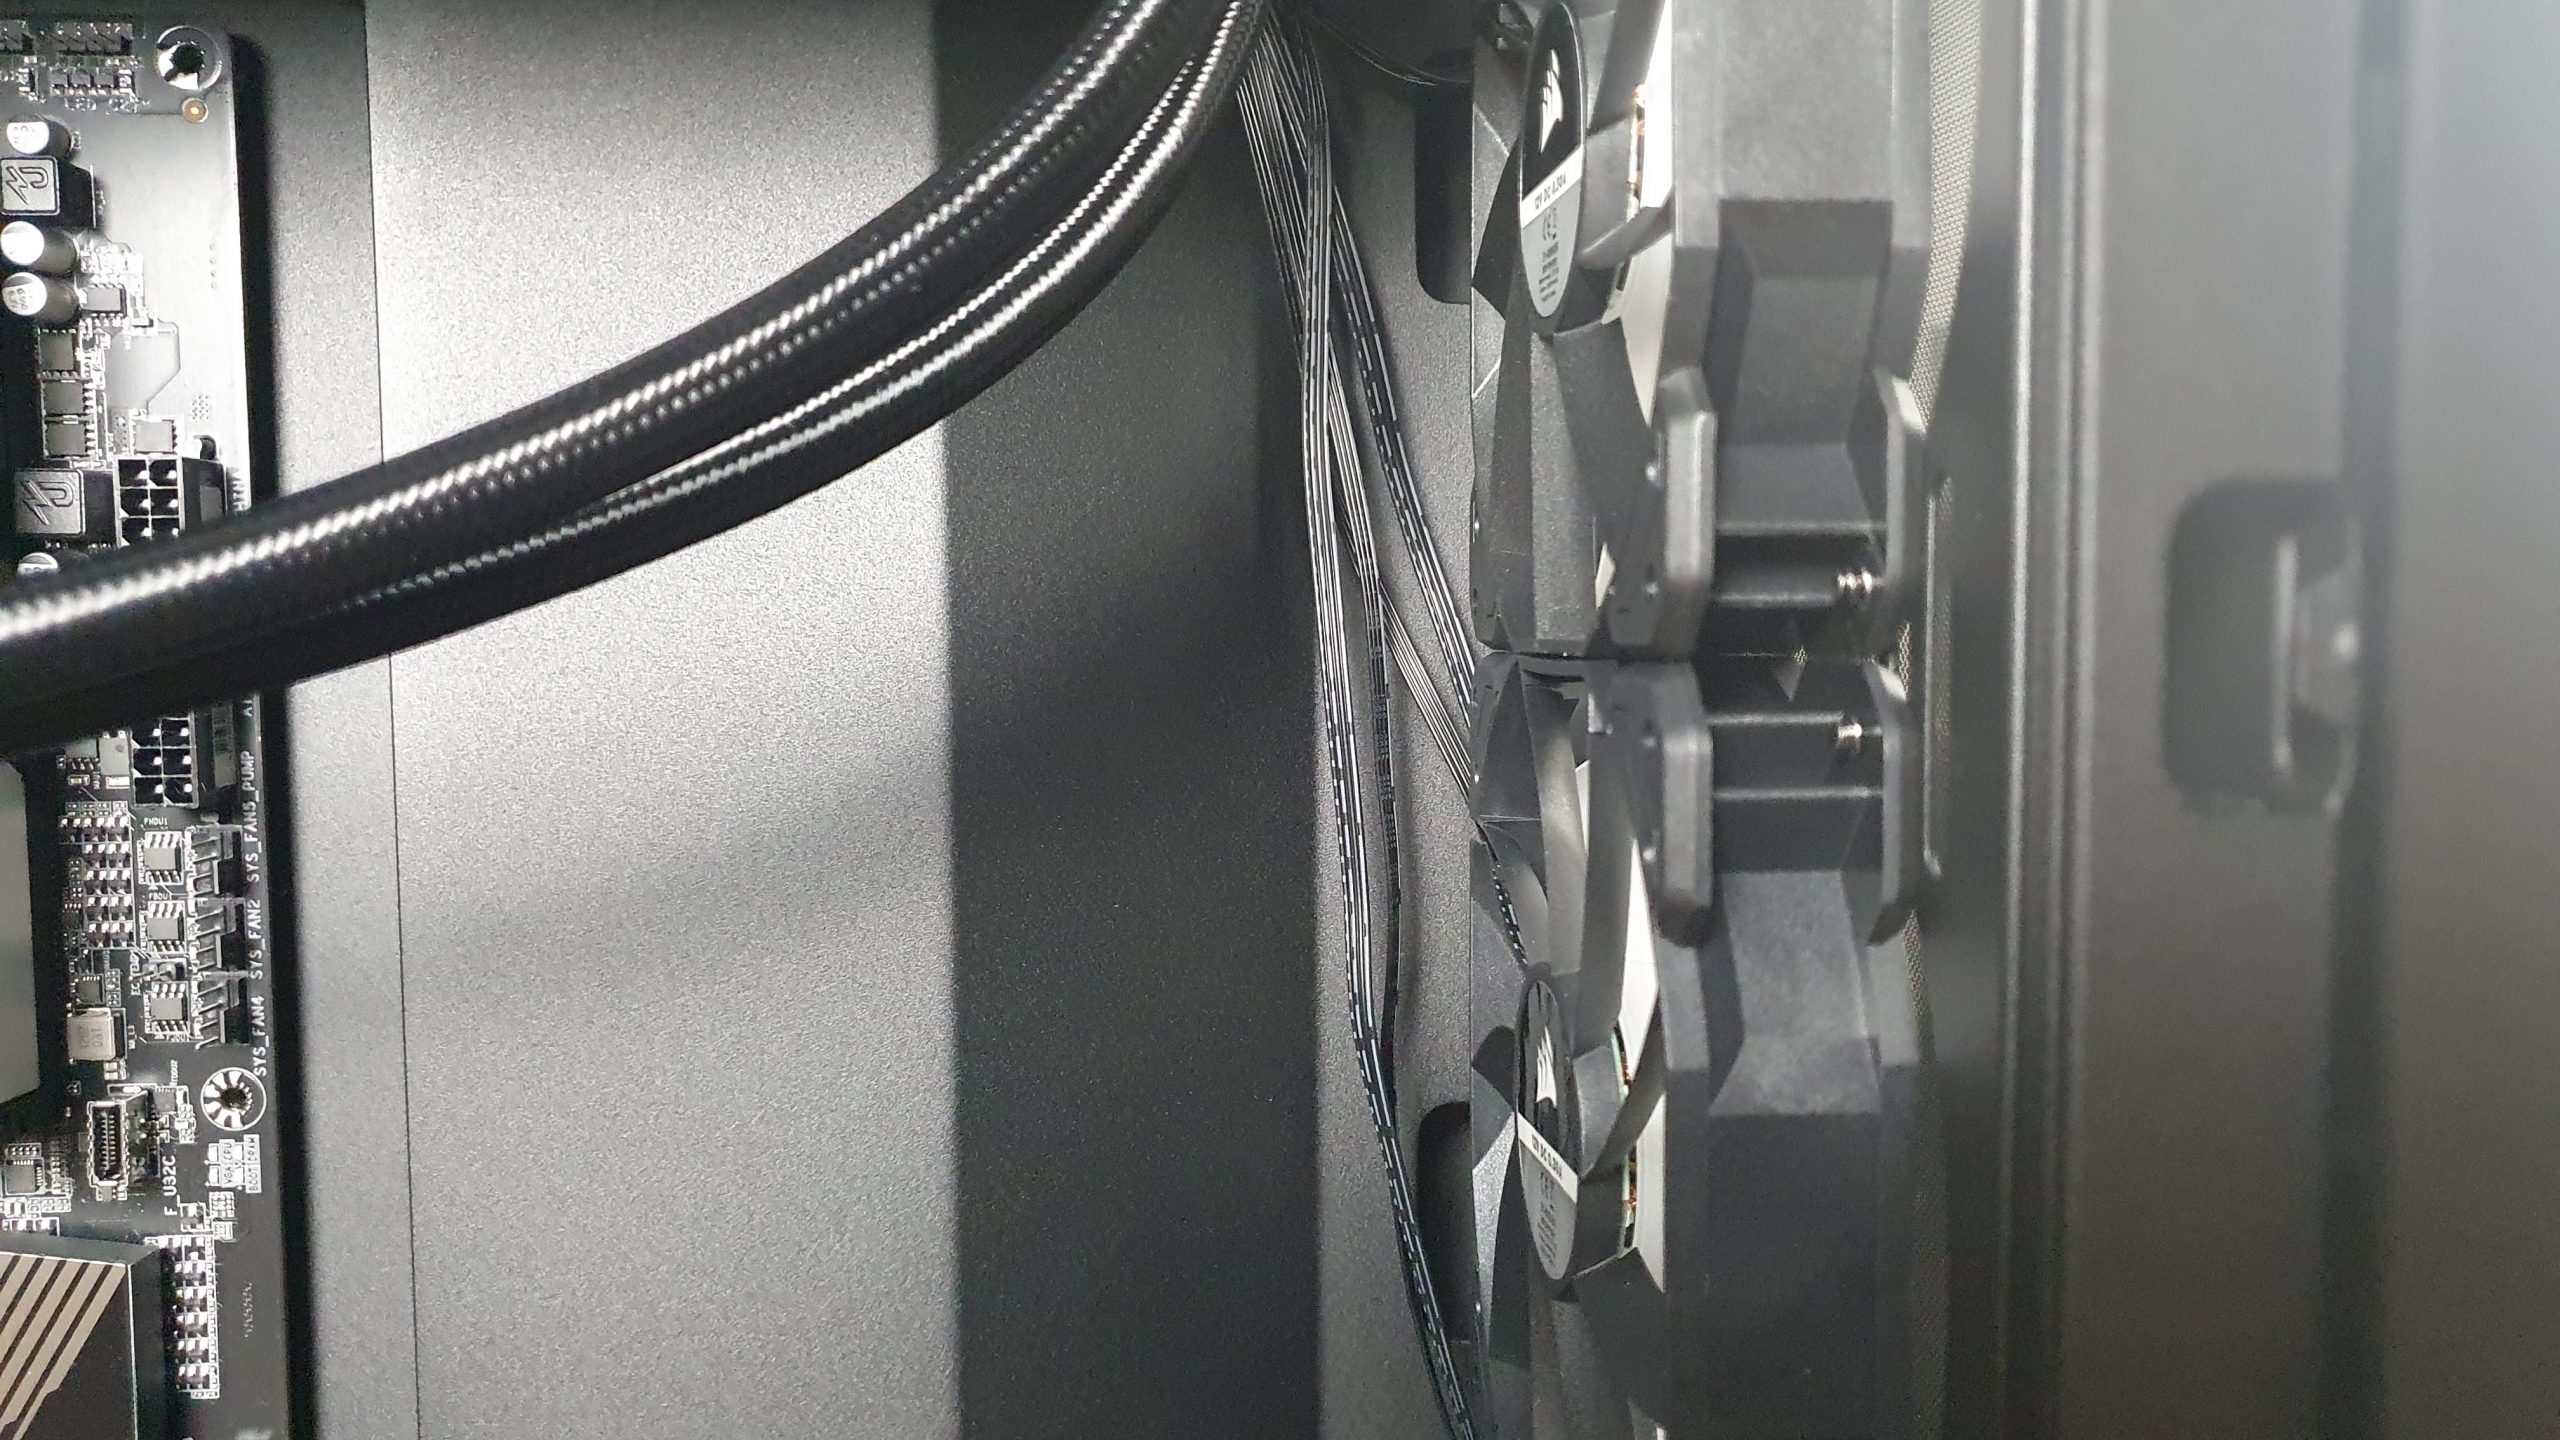
Corsair kindly provided us with a H150i AIO watercooler with 360 mm radiator for the review of the 5000X. Thanks to its relatively narrow radiator, it was possible to install it in the roof, albeit barely and in contact with the RapidRoute cover.
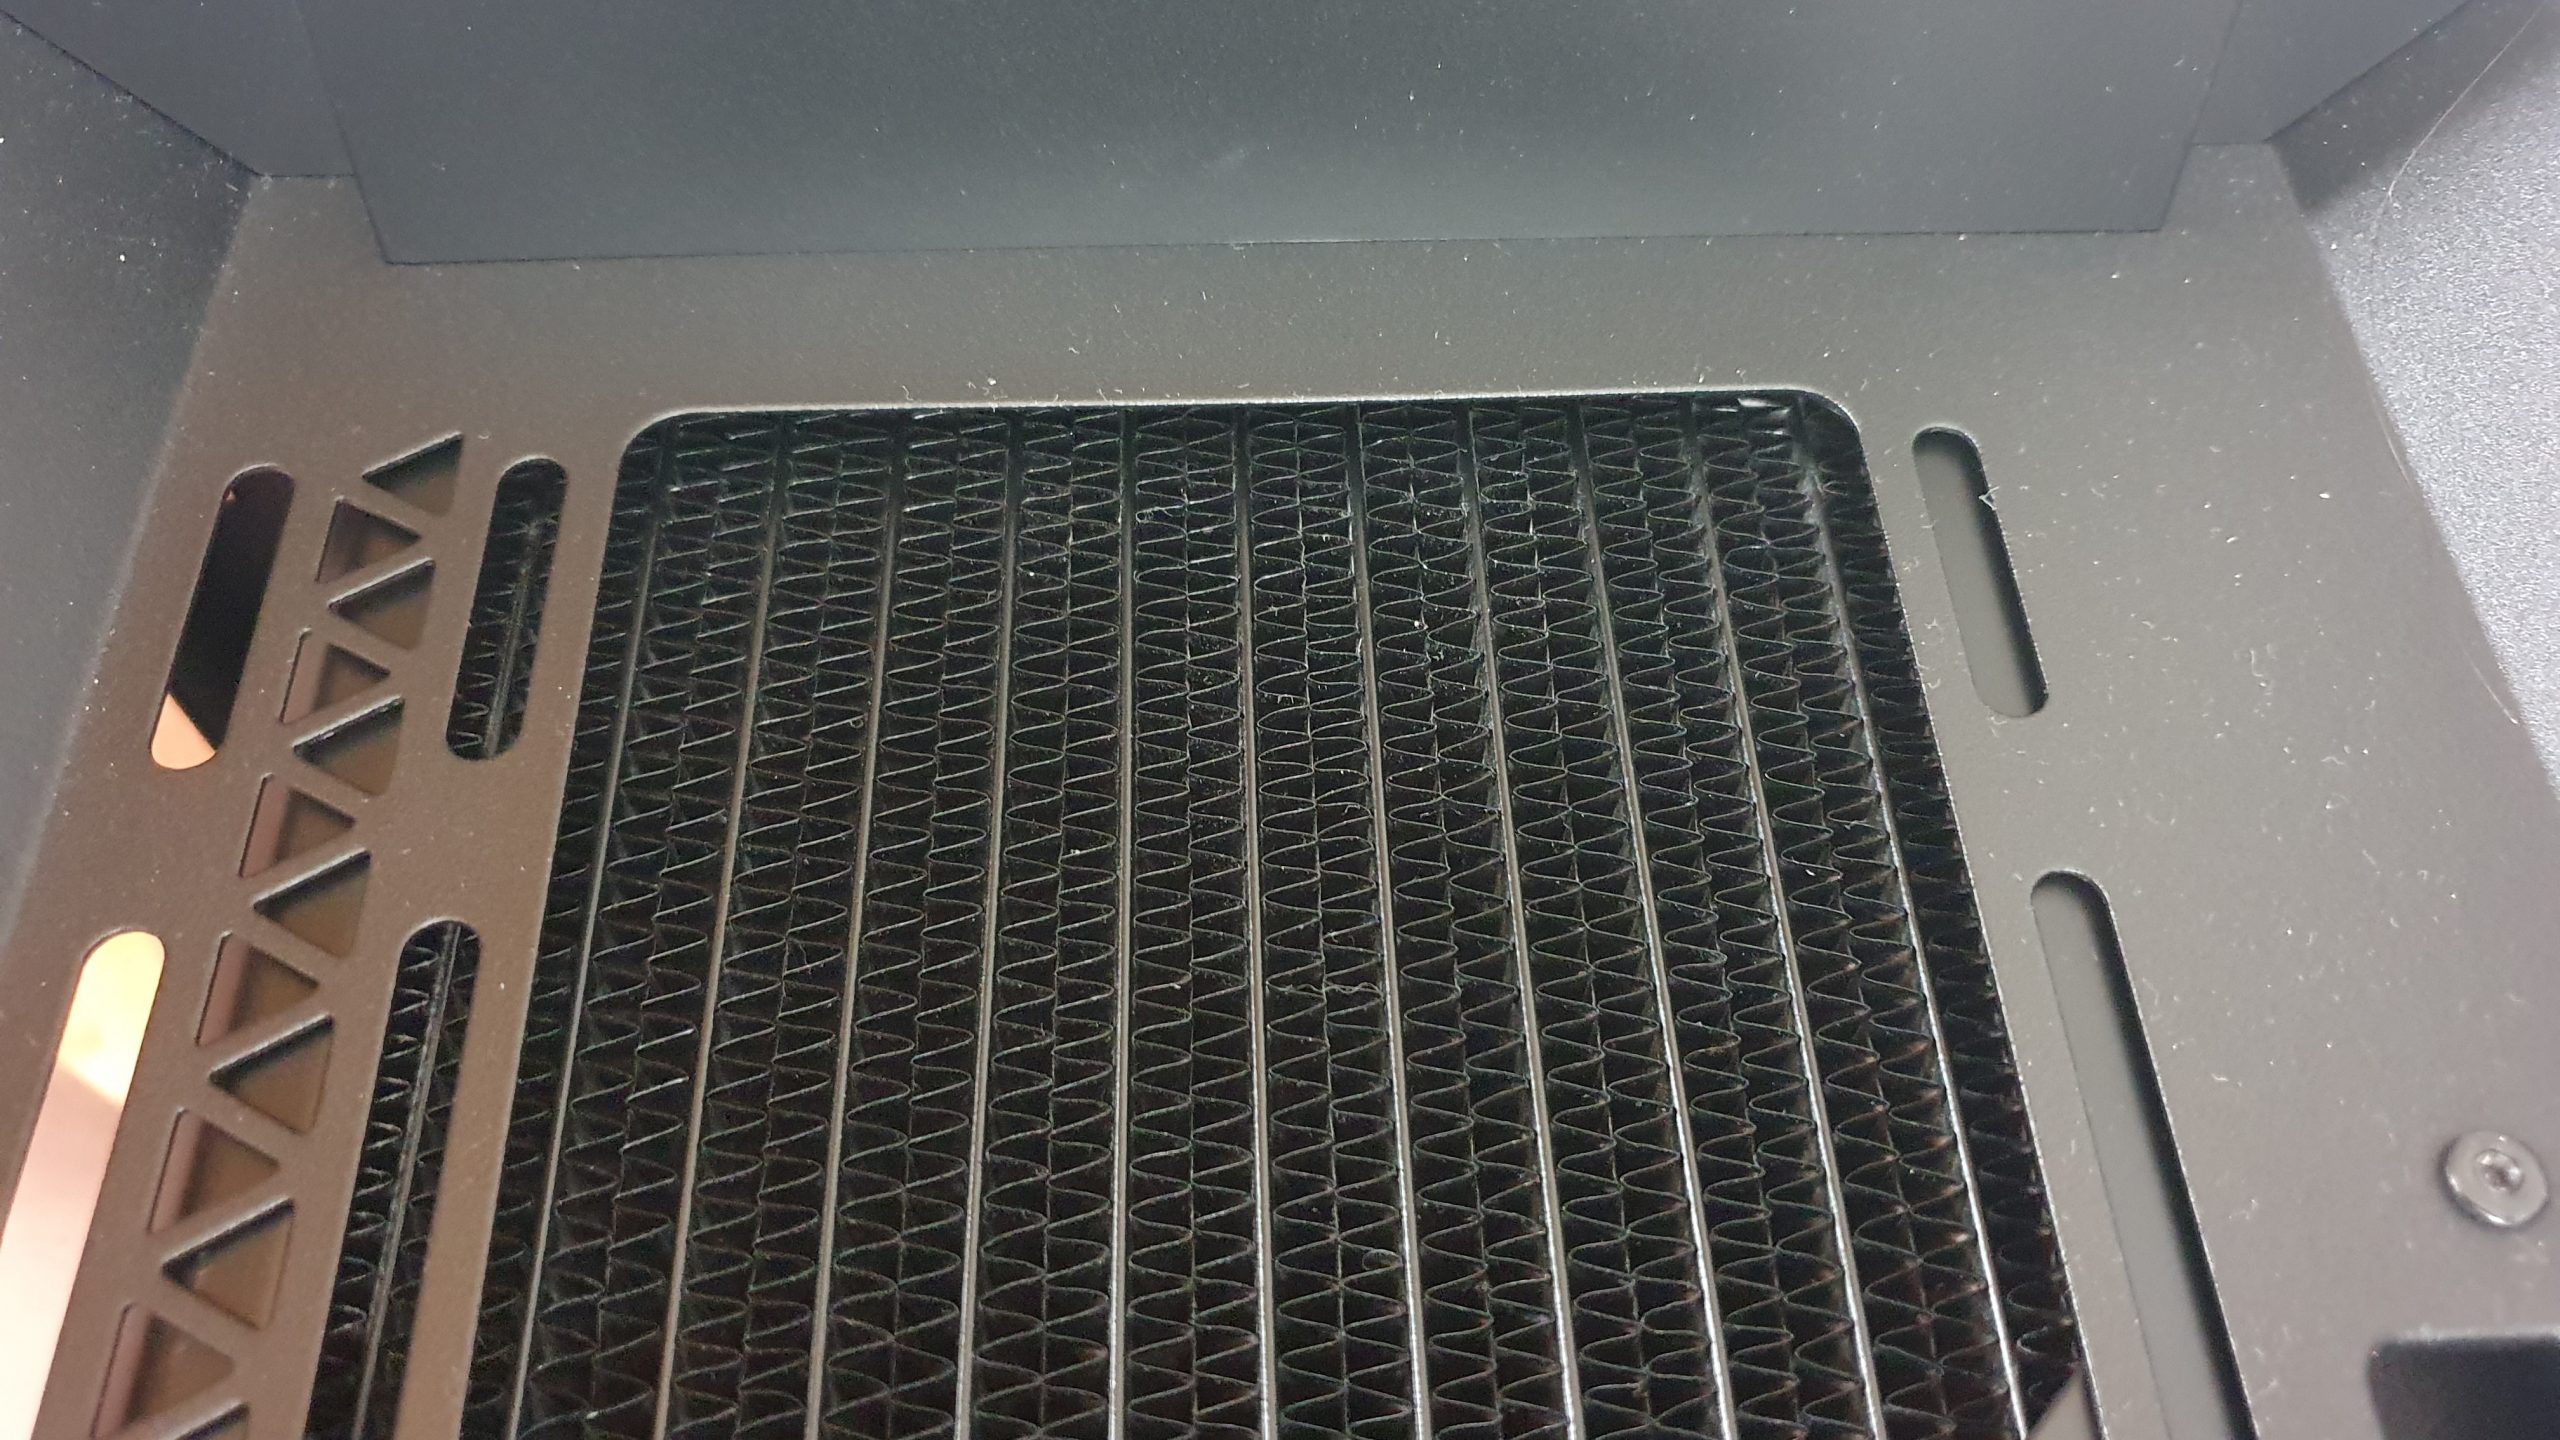
If you have now installed a radiator in the roof and would like to install another 360 mm radiator in the front, there are further restrictions. Since the radiator in the roof cannot be moved further back, there is just 30 mm of space left between it and the top fan in the front. Ergo, a radiator can only be mounted here with the outlets facing downwards, if at all.
I already mentioned on the previous page that the total of six cables for the pre-installed RGB fans in the front are already routed from the factory, just not through the correct cable guides. Here it would have been nice if the cables were properly routed from the factory. Of course, this is only a minor flaw and can be fixed with a few minutes of rewiring.
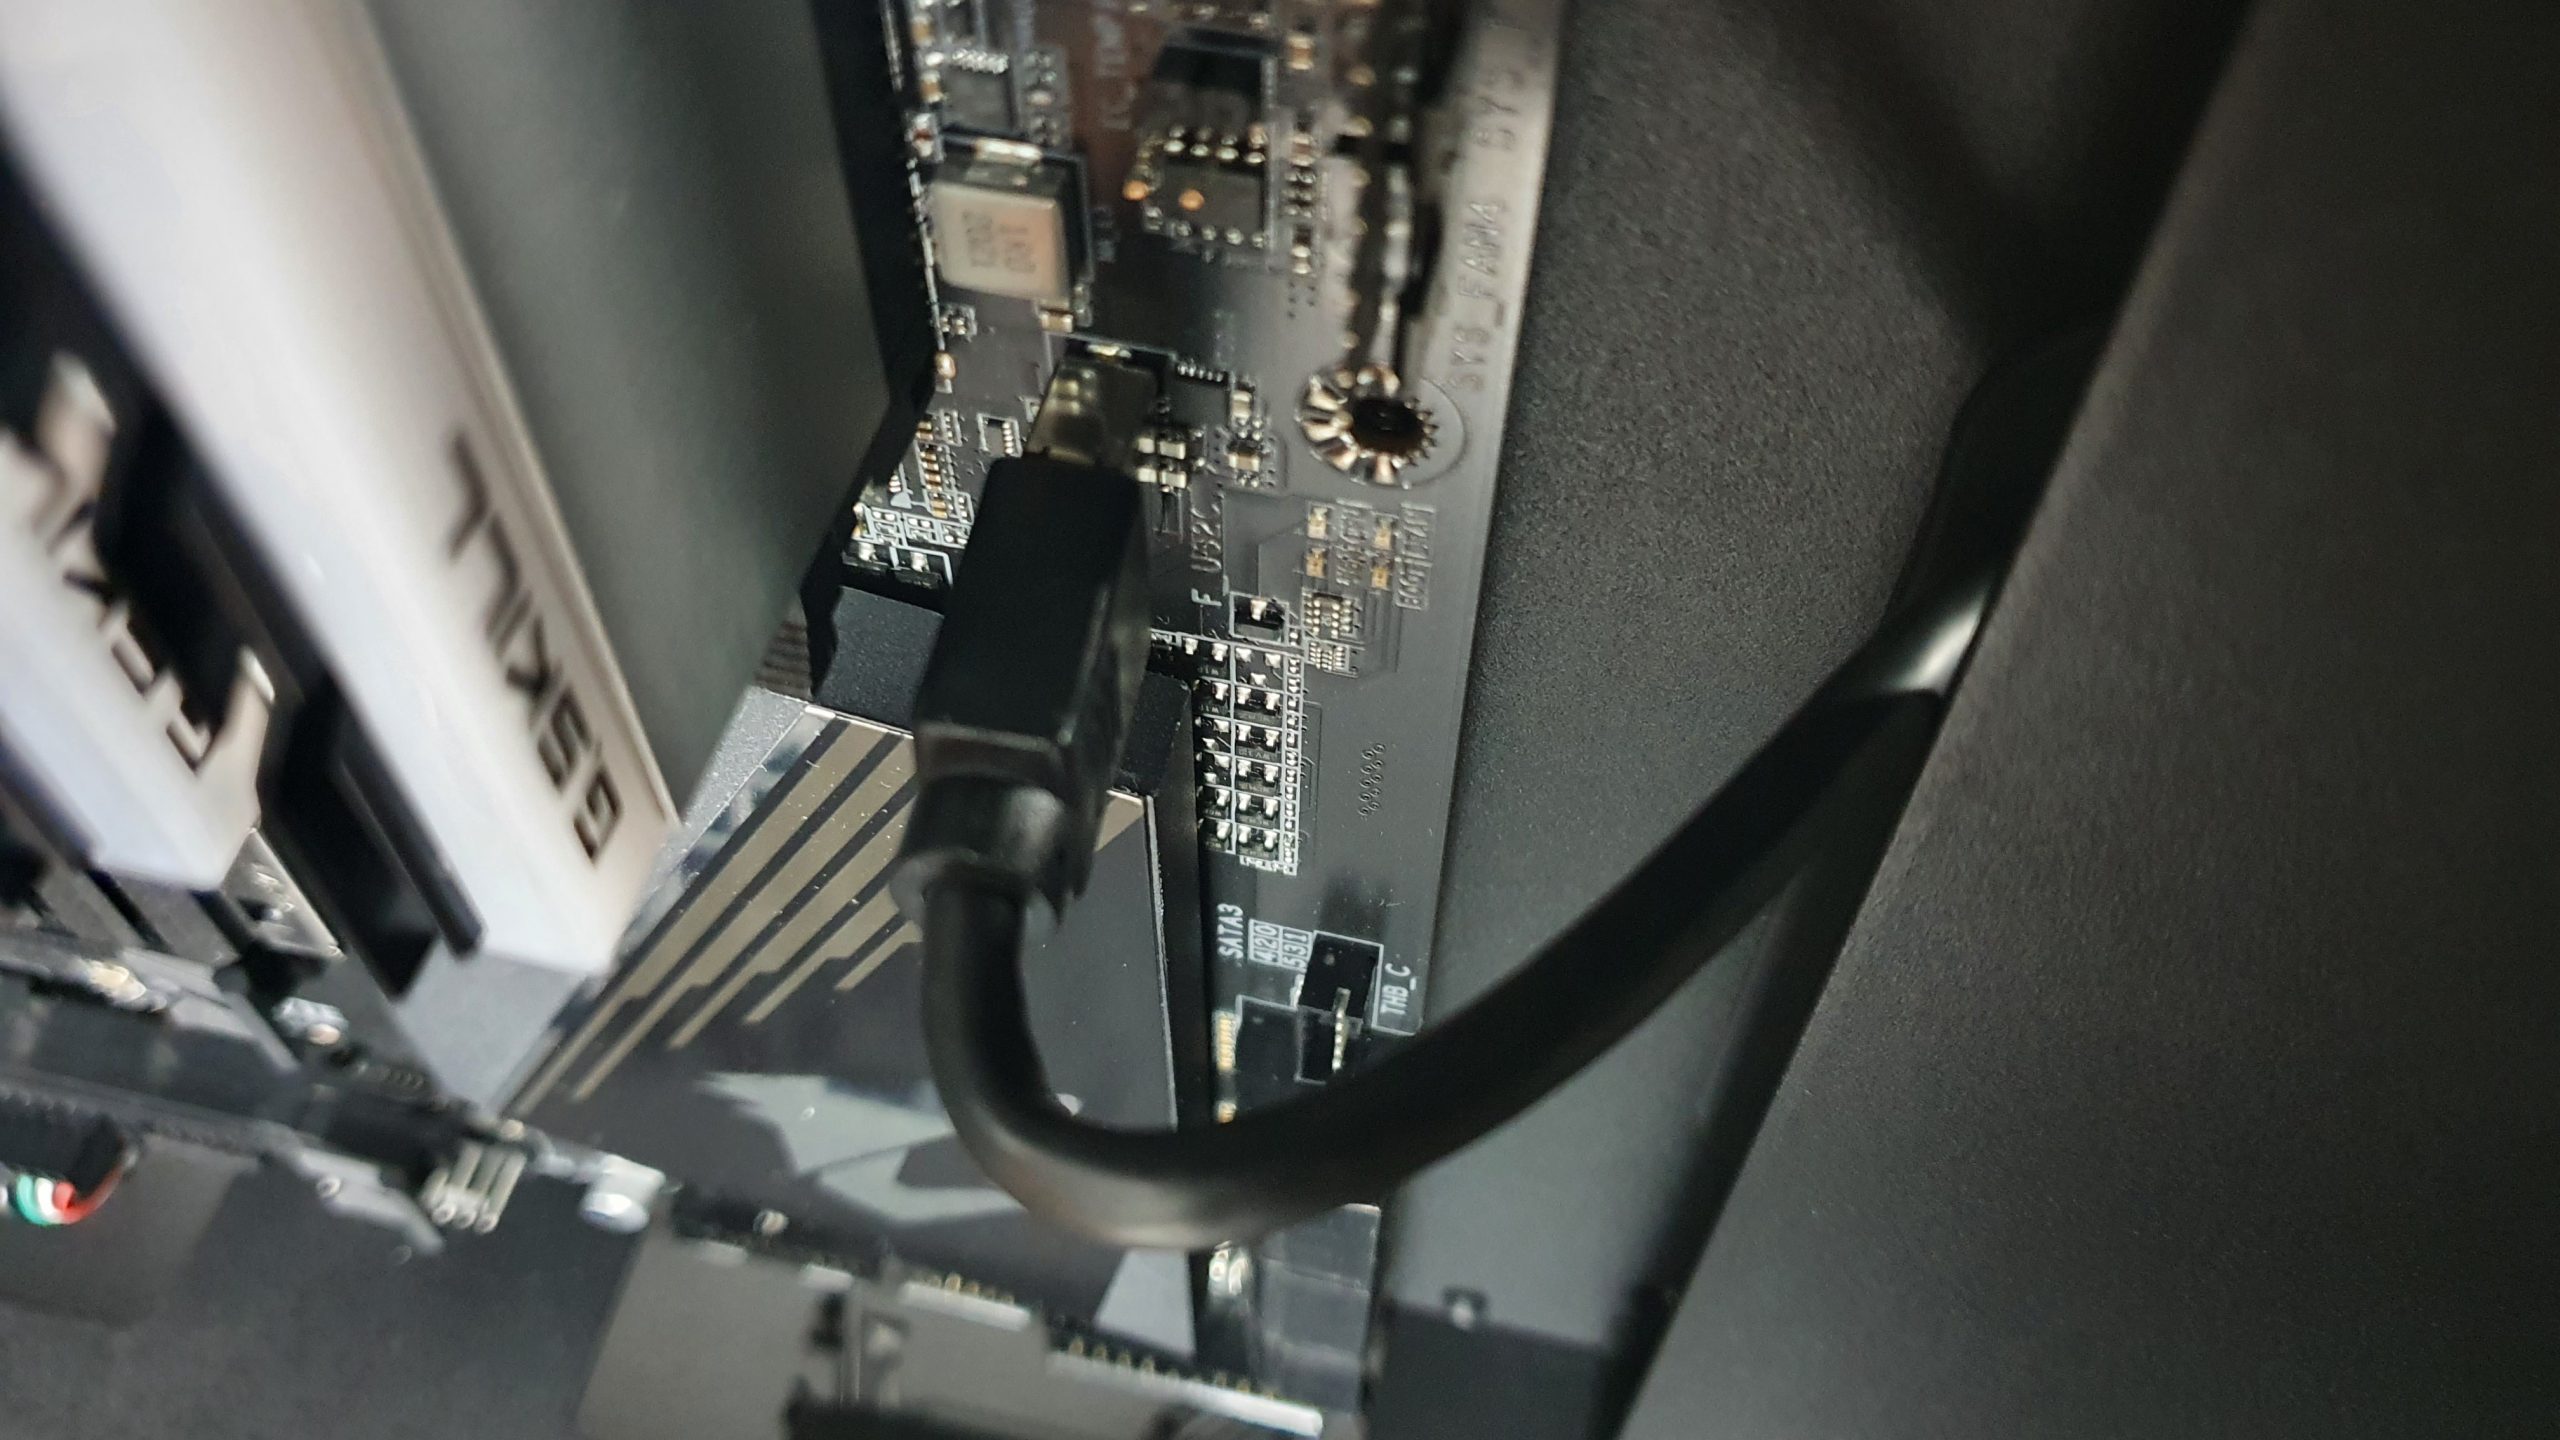
While a right-angled adapter is included for the internal USB 3 Type-A port, the USB Type-C port for the front IO is unfortunately not right-angled like many other cases have these days. It’s a pity, because the flat exit of the cables behind the mainboard tray, caused by the RapidRoute cover, makes the cable routing to the mainboard even more unattractive.
Unfortunately, things don’t get any more convenient with the internal USB 3 Type-A port, as the included right-angle adapter adapts in the wrong direction. The internal USB 3 port has a groove on one side to prevent it from being plugged in backwards. Accordingly, such a right-angled adapter must always match the orientation of the connector on the mainboard. On all the motherboards I own, as well as the general majority of current motherboards on the market, the groove of the connector points away from the edge of the motherboard, causing the included adapter to not fit. So an adapter with the other orientation would also have to be included to solve the problem.
Accordingly, using the port without an adapter looks unhealthy, but you don’t want to do without front USB Type-A either.
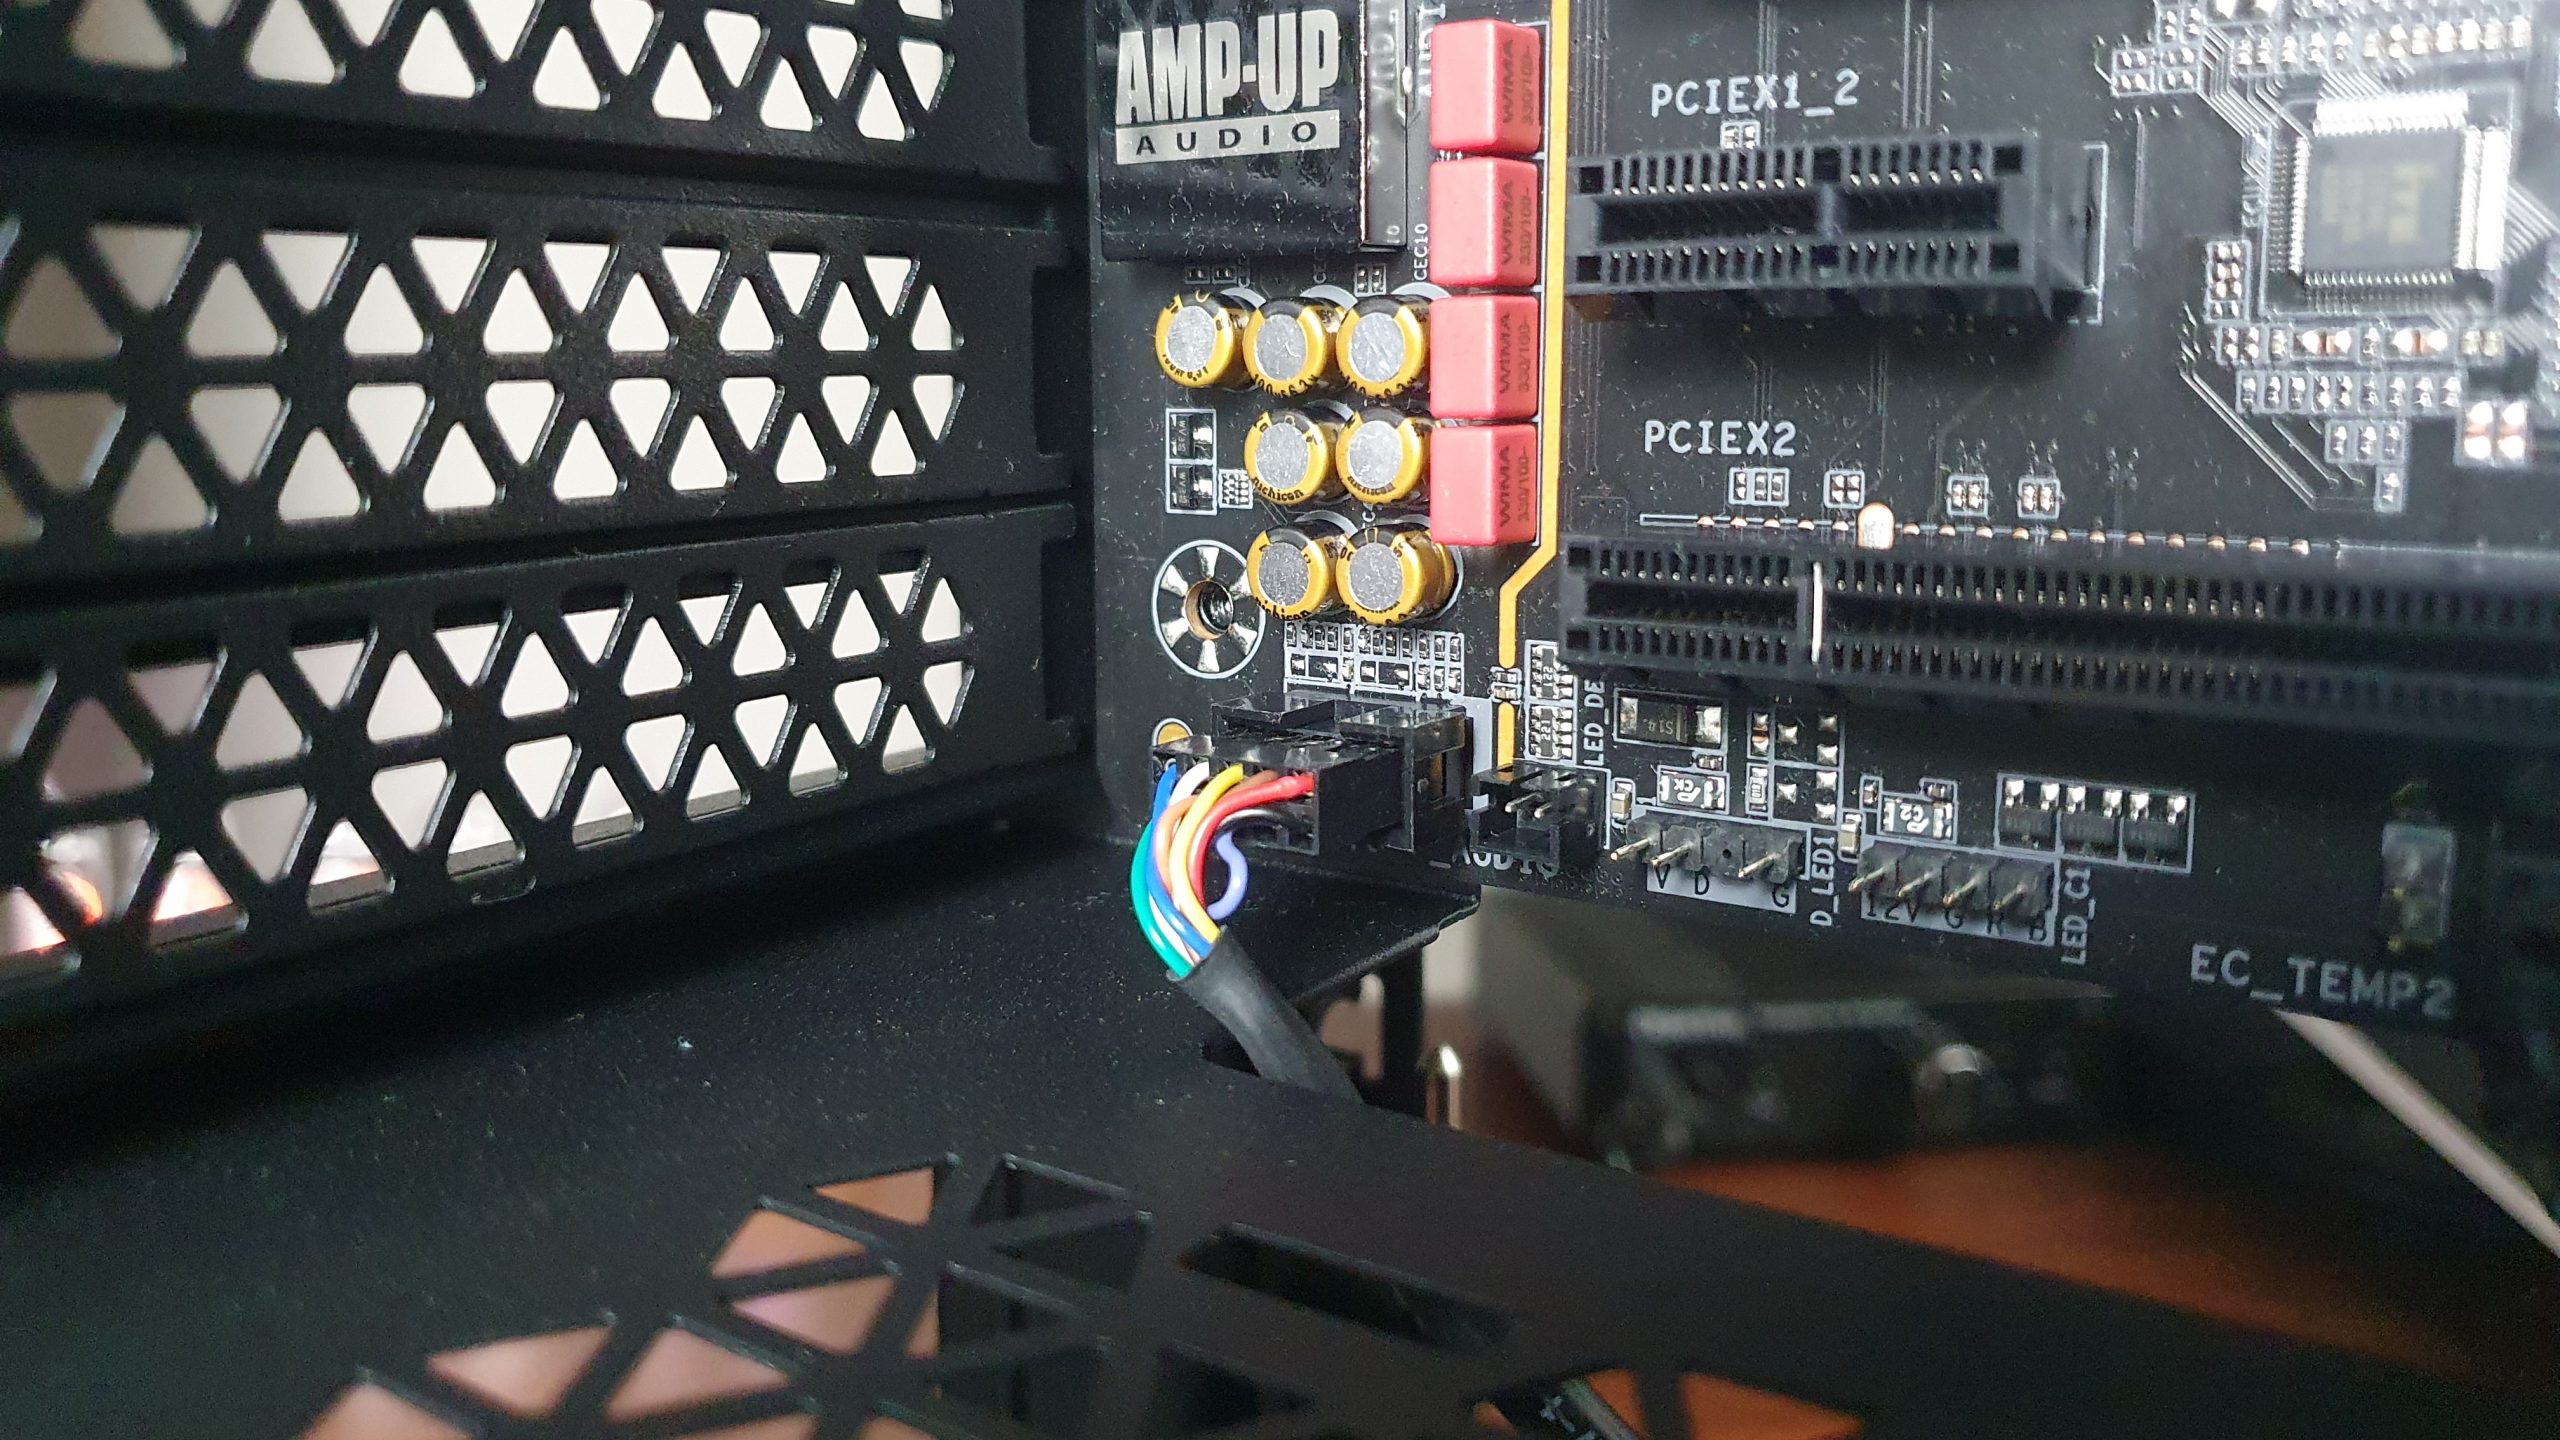
Further problems with the front IO are caused by the audio connector, which sticks out with colorful wires despite the keyed pinout. Completely black cables would have been nice here.
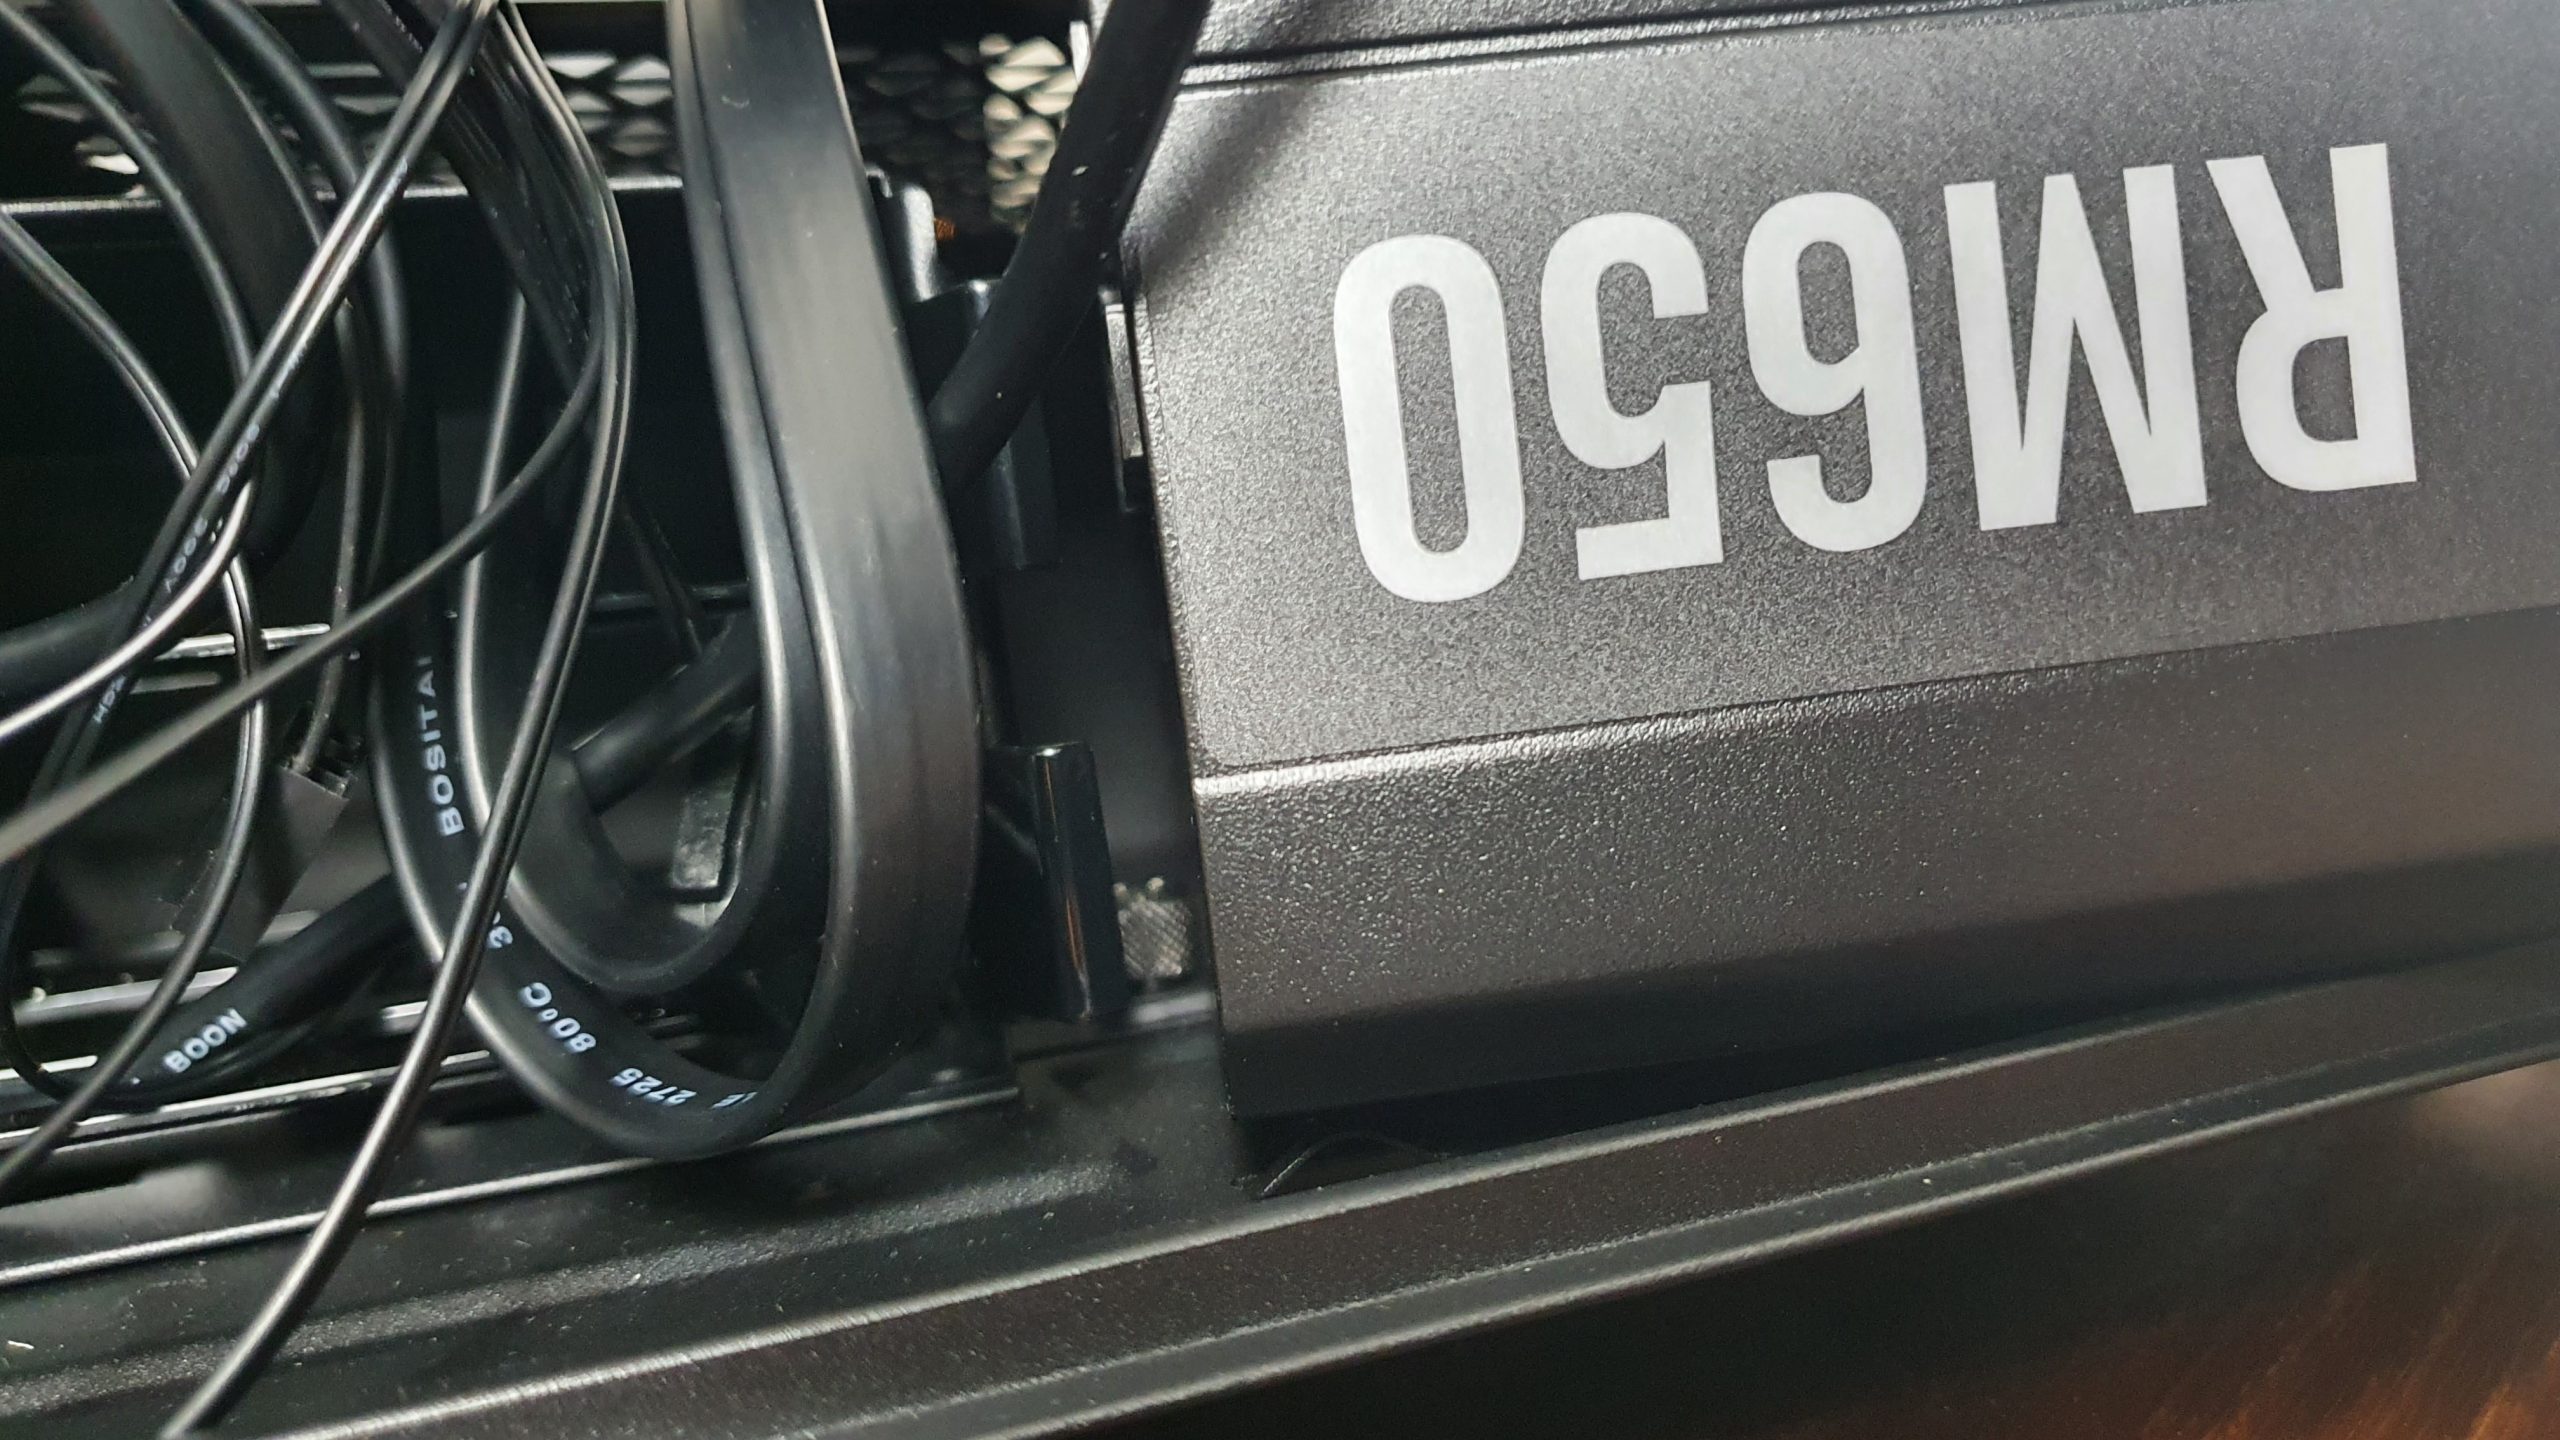
Now that all hardware has been installed on the front side of the mainboard tray, the rest on the back side can’t be that hard anymore. Well, unfortunately, it can. Because even with the comparatively short RM650 PSU, which Corsair also kindly provided us with, the hard drive cage initially prevents the PSU from being installed.
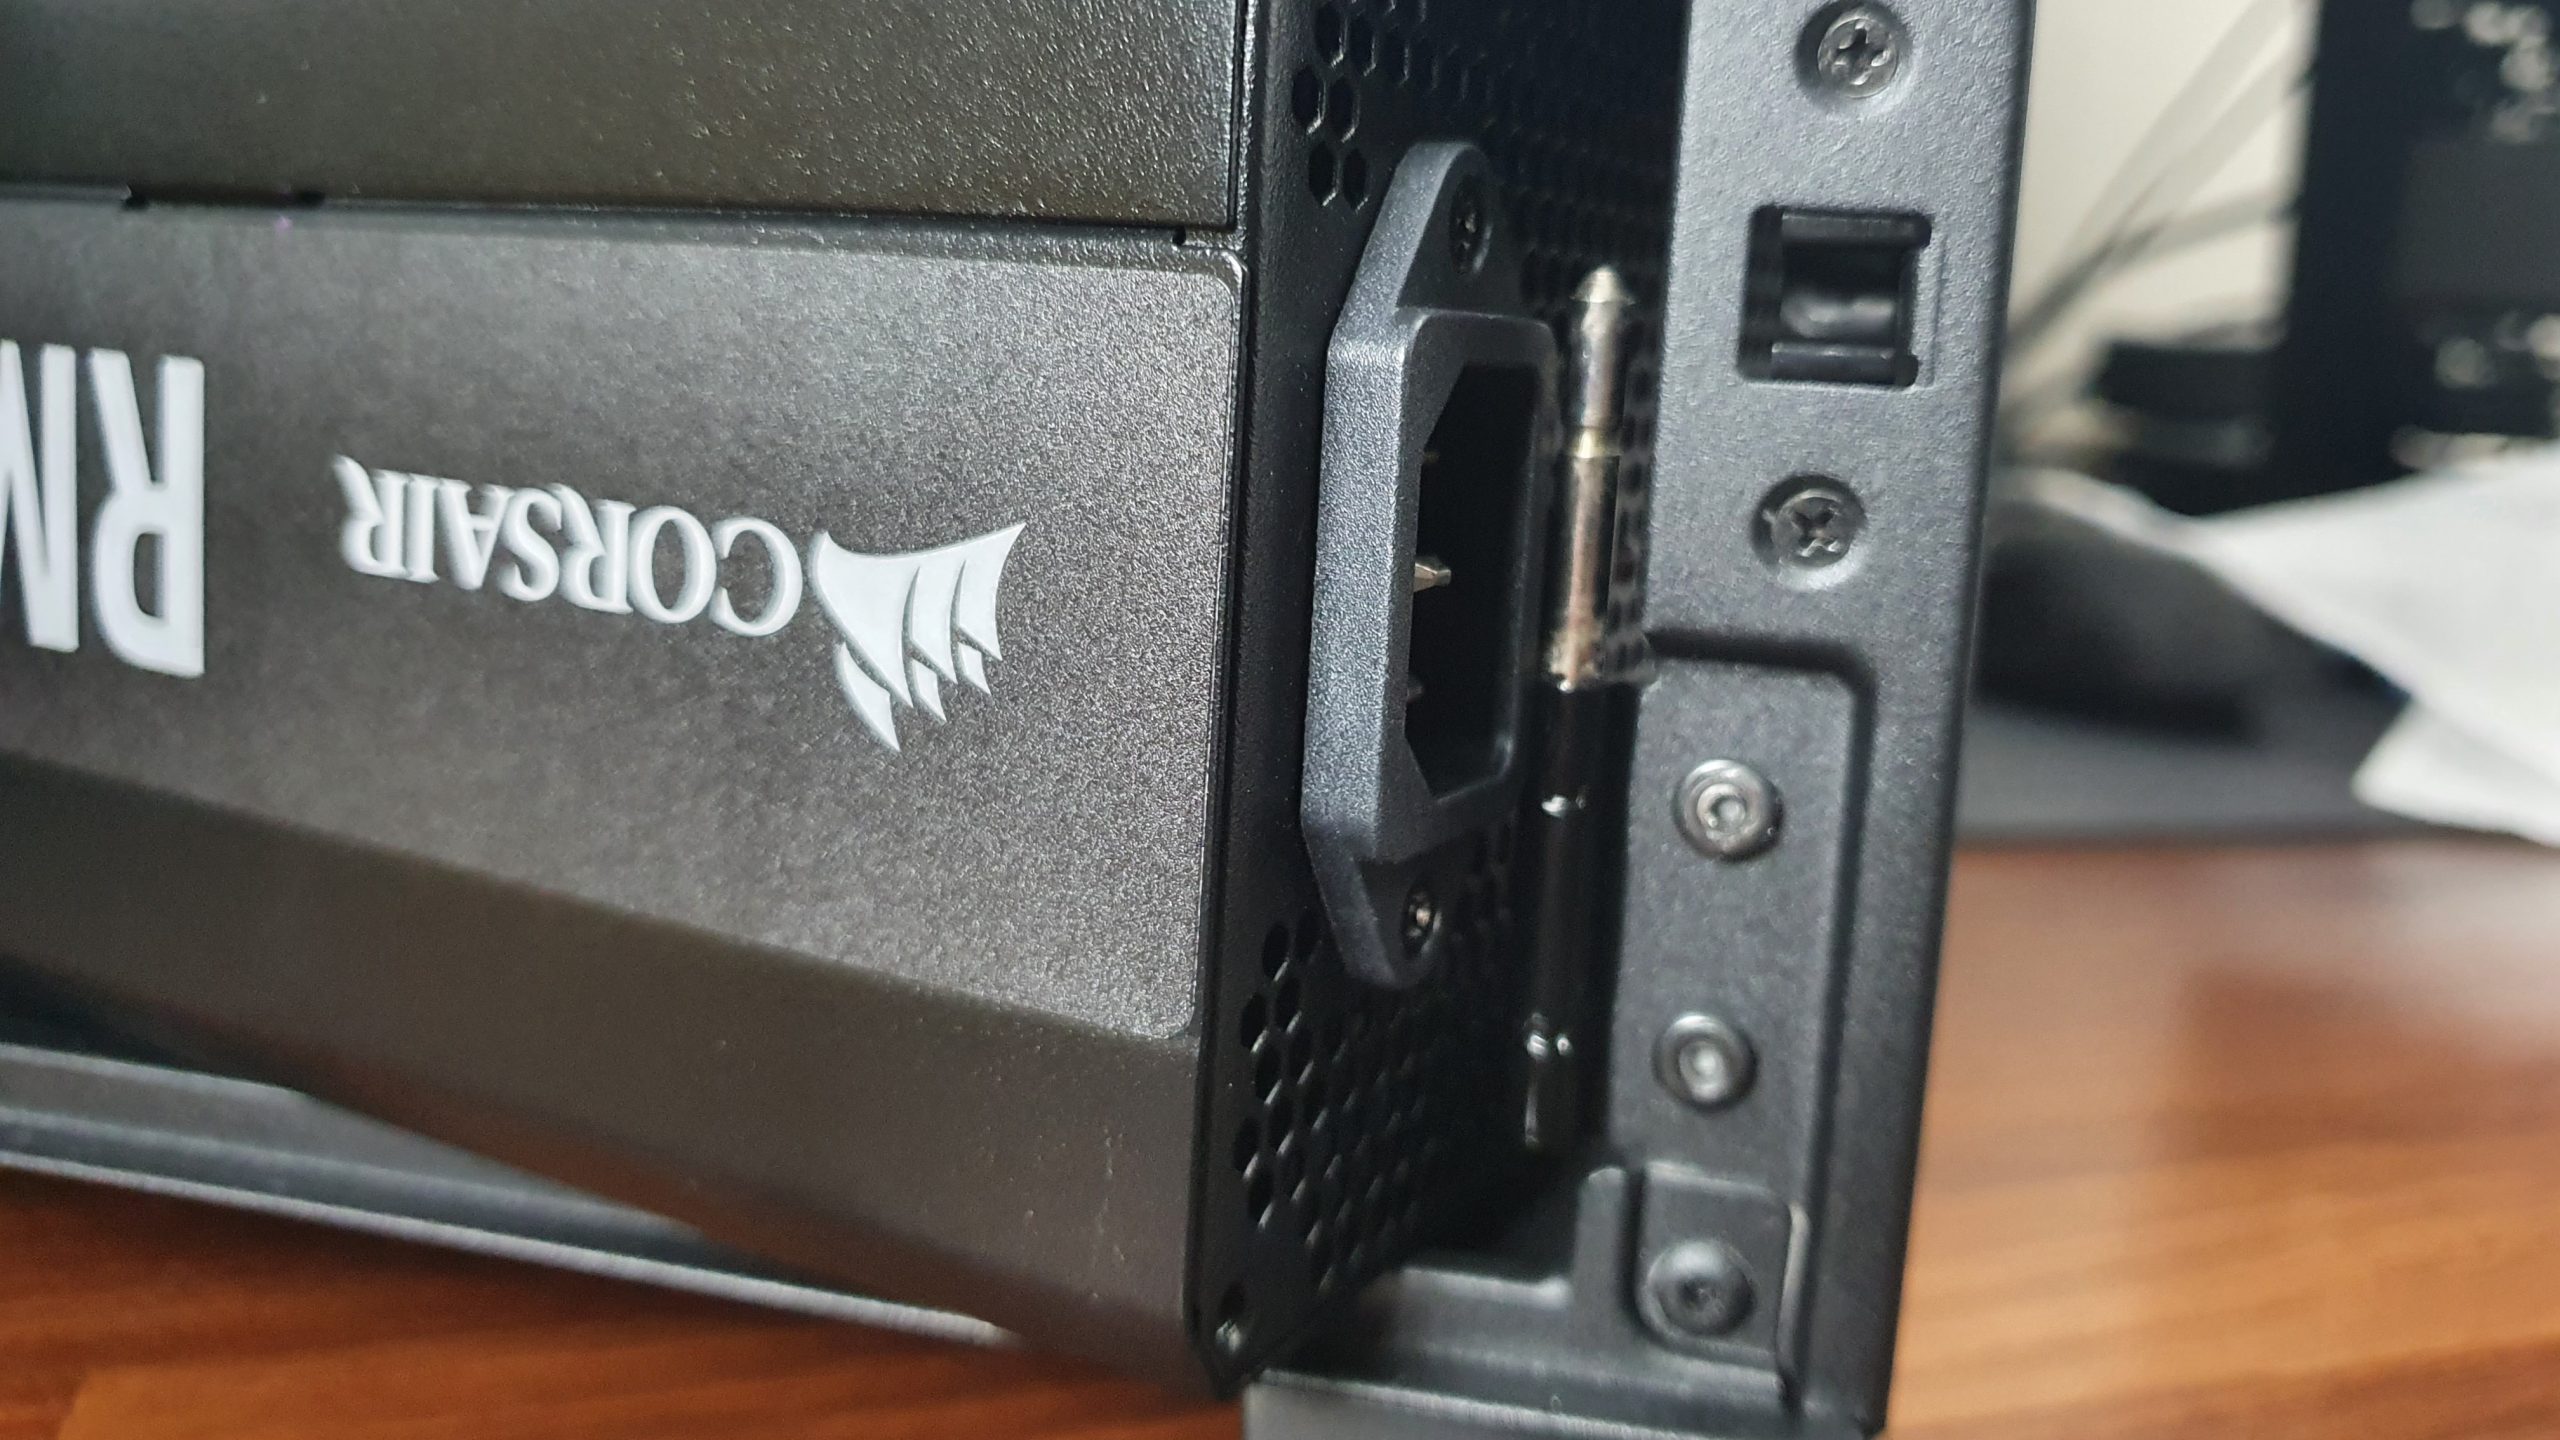
Because on the rear side the power supply’s IEC connector collides with the hinge of the cable door. So before doing that, the hard drive cage has to be removed so that the power supply can be installed. However, if you absolutely need the cage for hard drives, you can reinstall it in one of the other two positions further forward under the power supply cover.
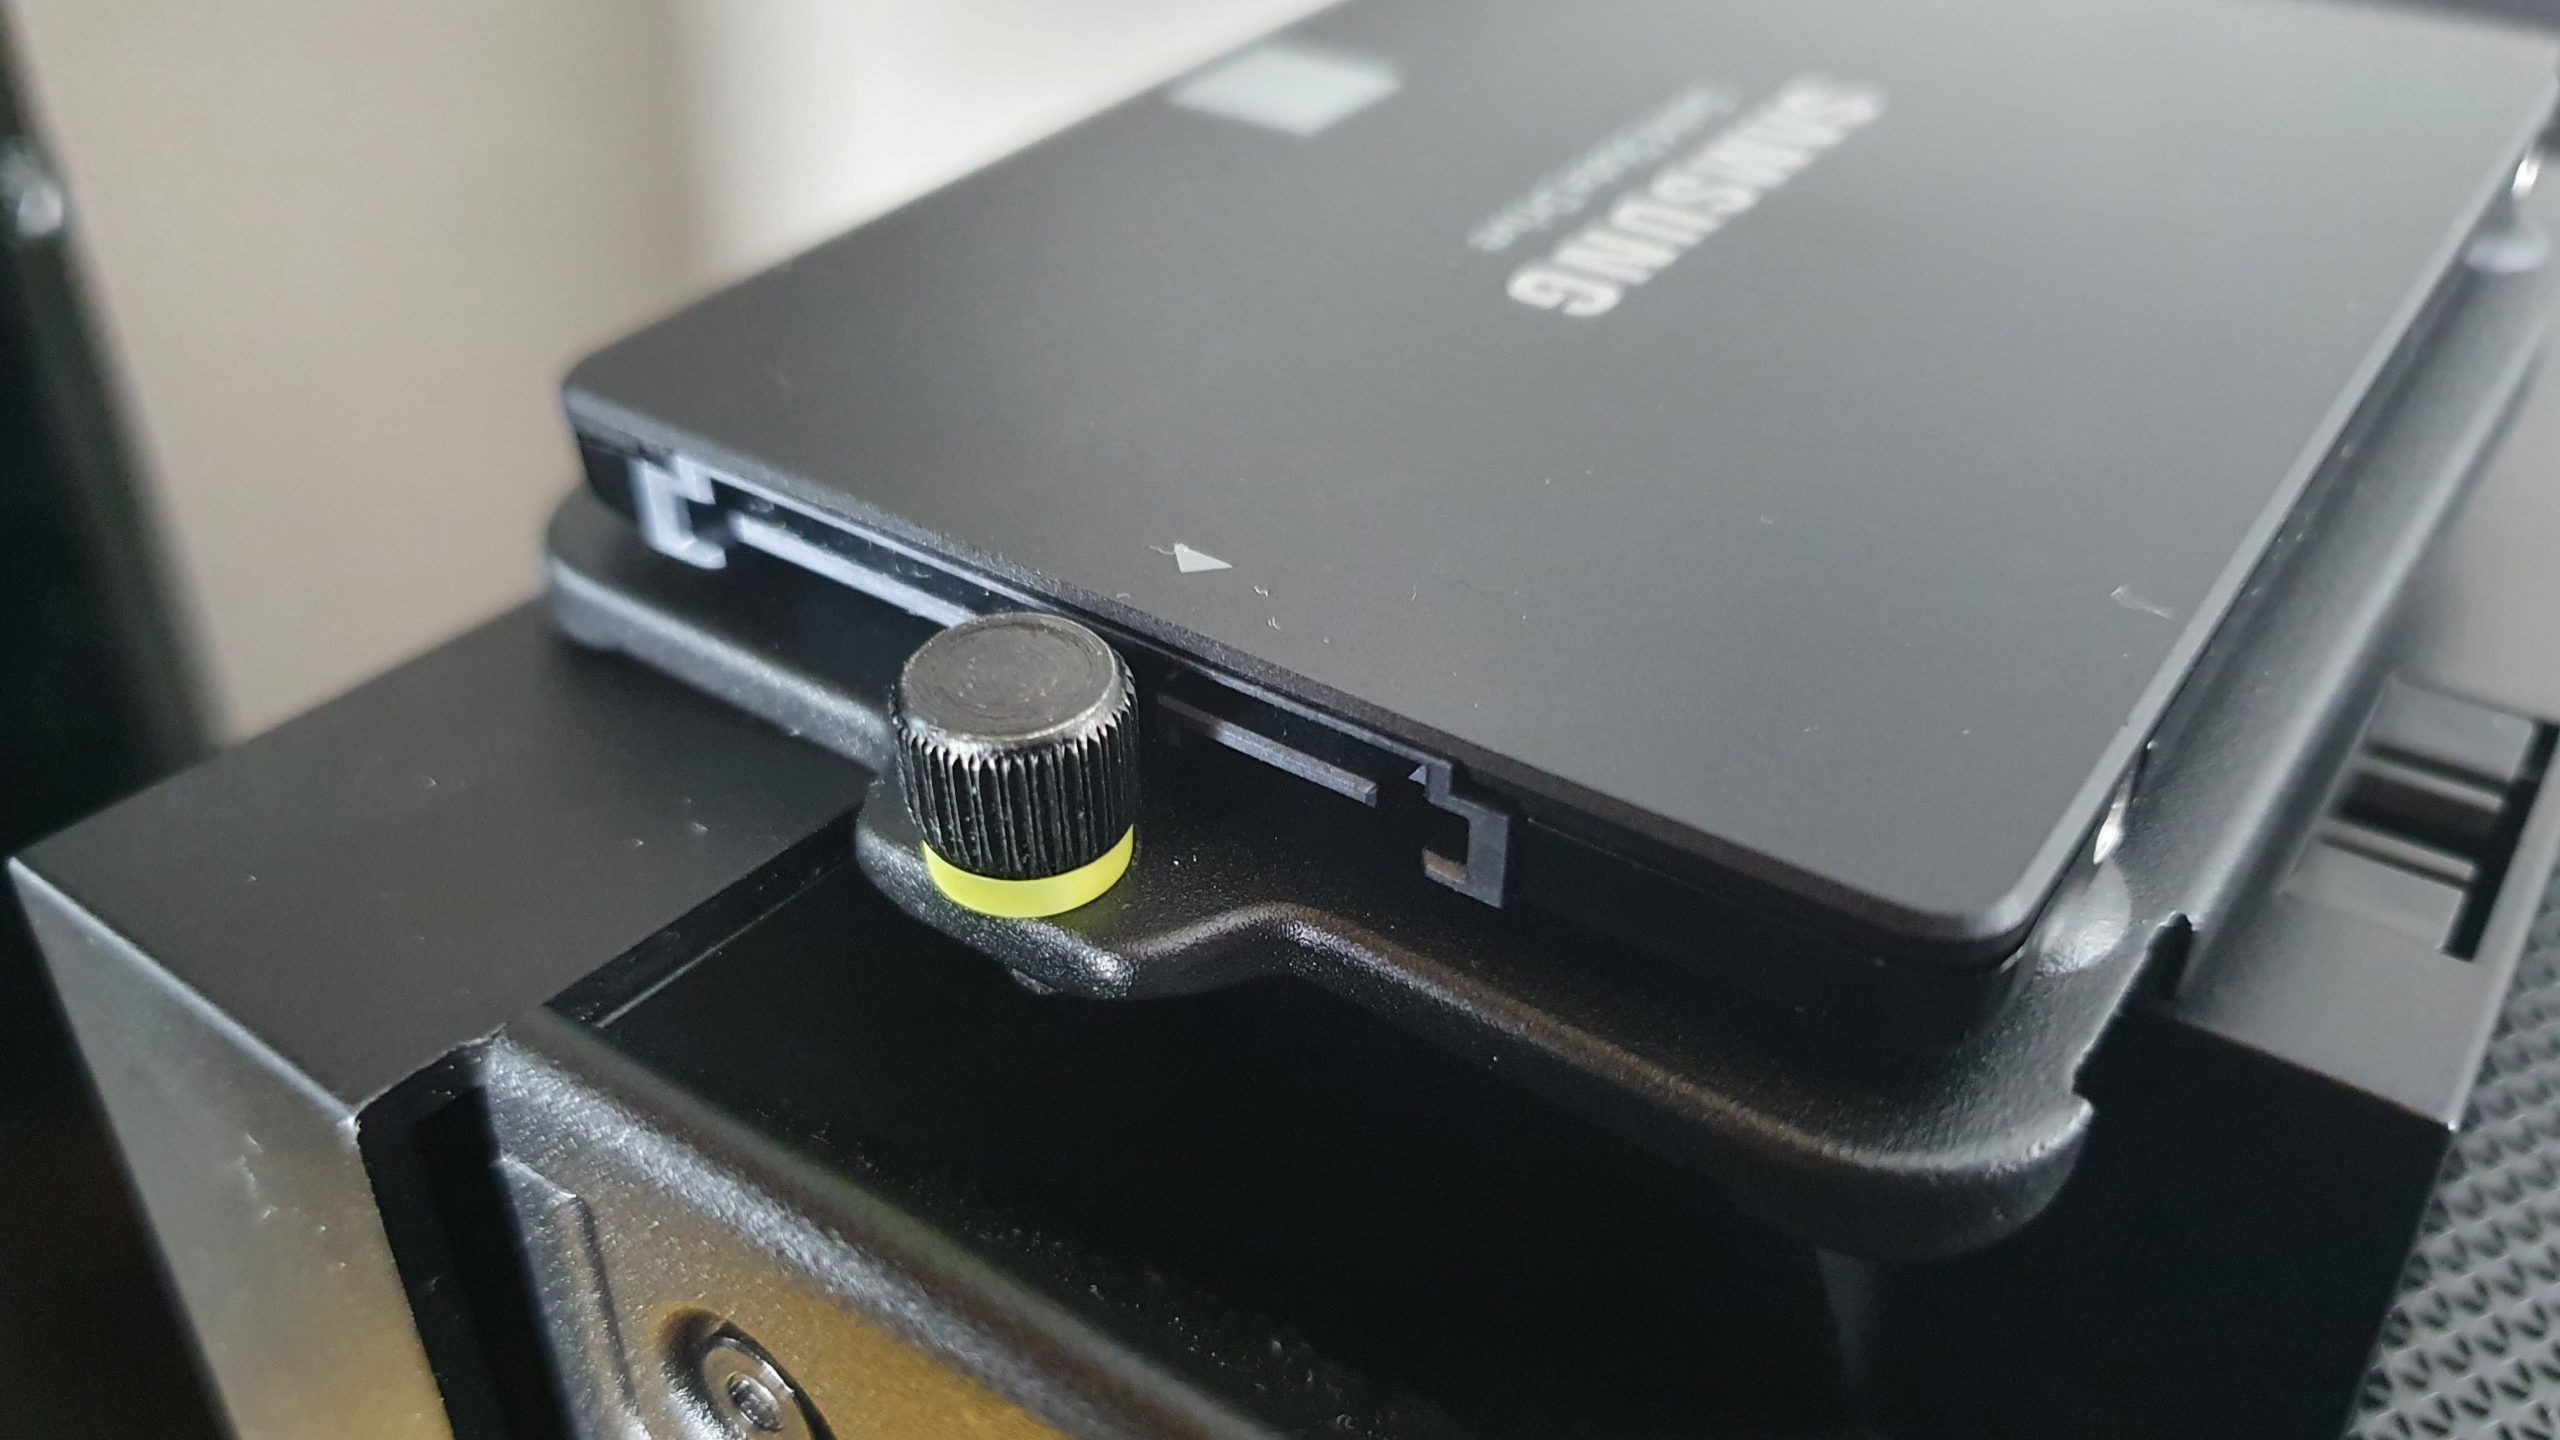
Similarly perplexing is the next design lapse, the centrally positioned thumbscrew of the SSD slides, which restricts the mounting direction as otherwise the SATA ports are blocked. So there is only the possibility to mount the SSD with connection downwards or backwards. Here, for example, you could offset the screw to the right to allow both orientations.
It is also possible to install SSDs with their trays on the PSU cover below the graphics card and thus virtually put them on display. This is especially advantageous if we want to hide the cables visible under the power supply cover.


Kommentieren