


Now let’s get to work on installing the water block. The enclosed assembly instructions are clear, concise and accurate, just the way it should be. Underneath the colourful illustrations there are instructions in English, German and French. This should make installation a breeze even for water cooling novices.
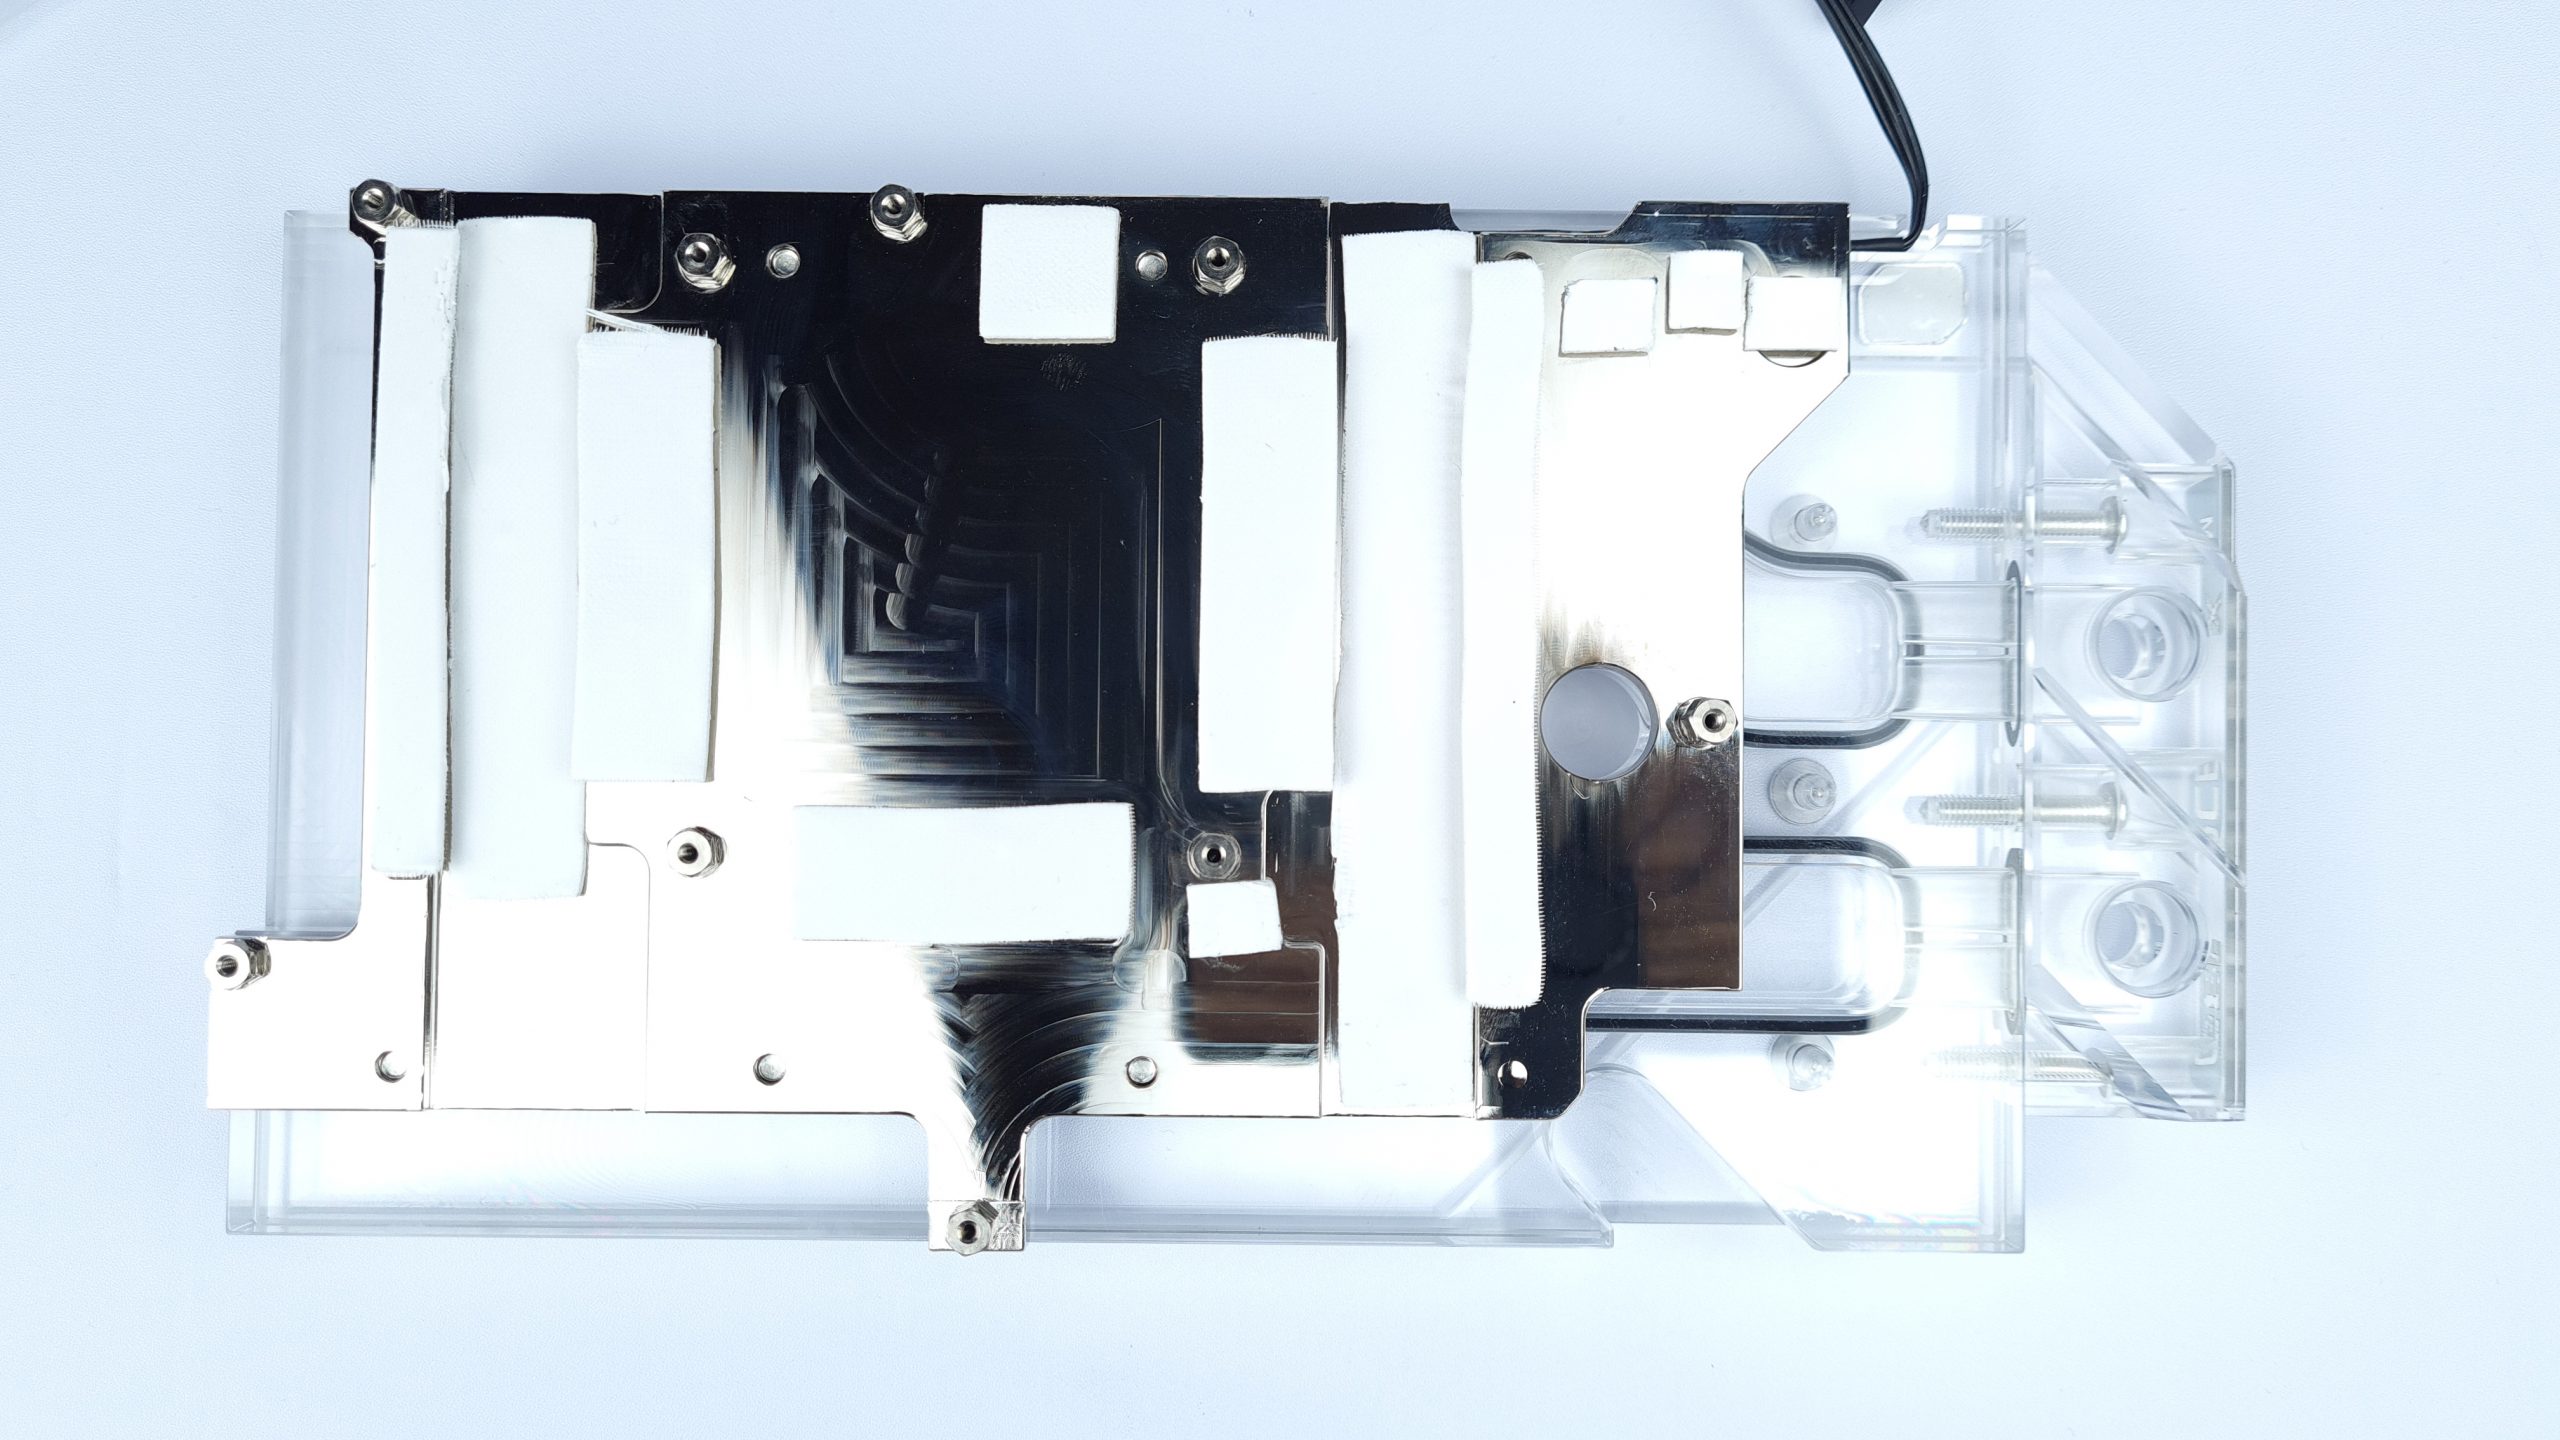
First we have to clean the water block again – here I use isopropanol and a microfiber cloth again – and then put on the pre-cut thermal pads according to the instructions. Even if the removal of the foil from the thermal pads is a bit fiddly, with a bit of patience it goes smoothly. Quasi placing thermal pads by numbers. Besides the GPU, memory and power supply, they even cool the PWM controllers and inductors, very commendable.
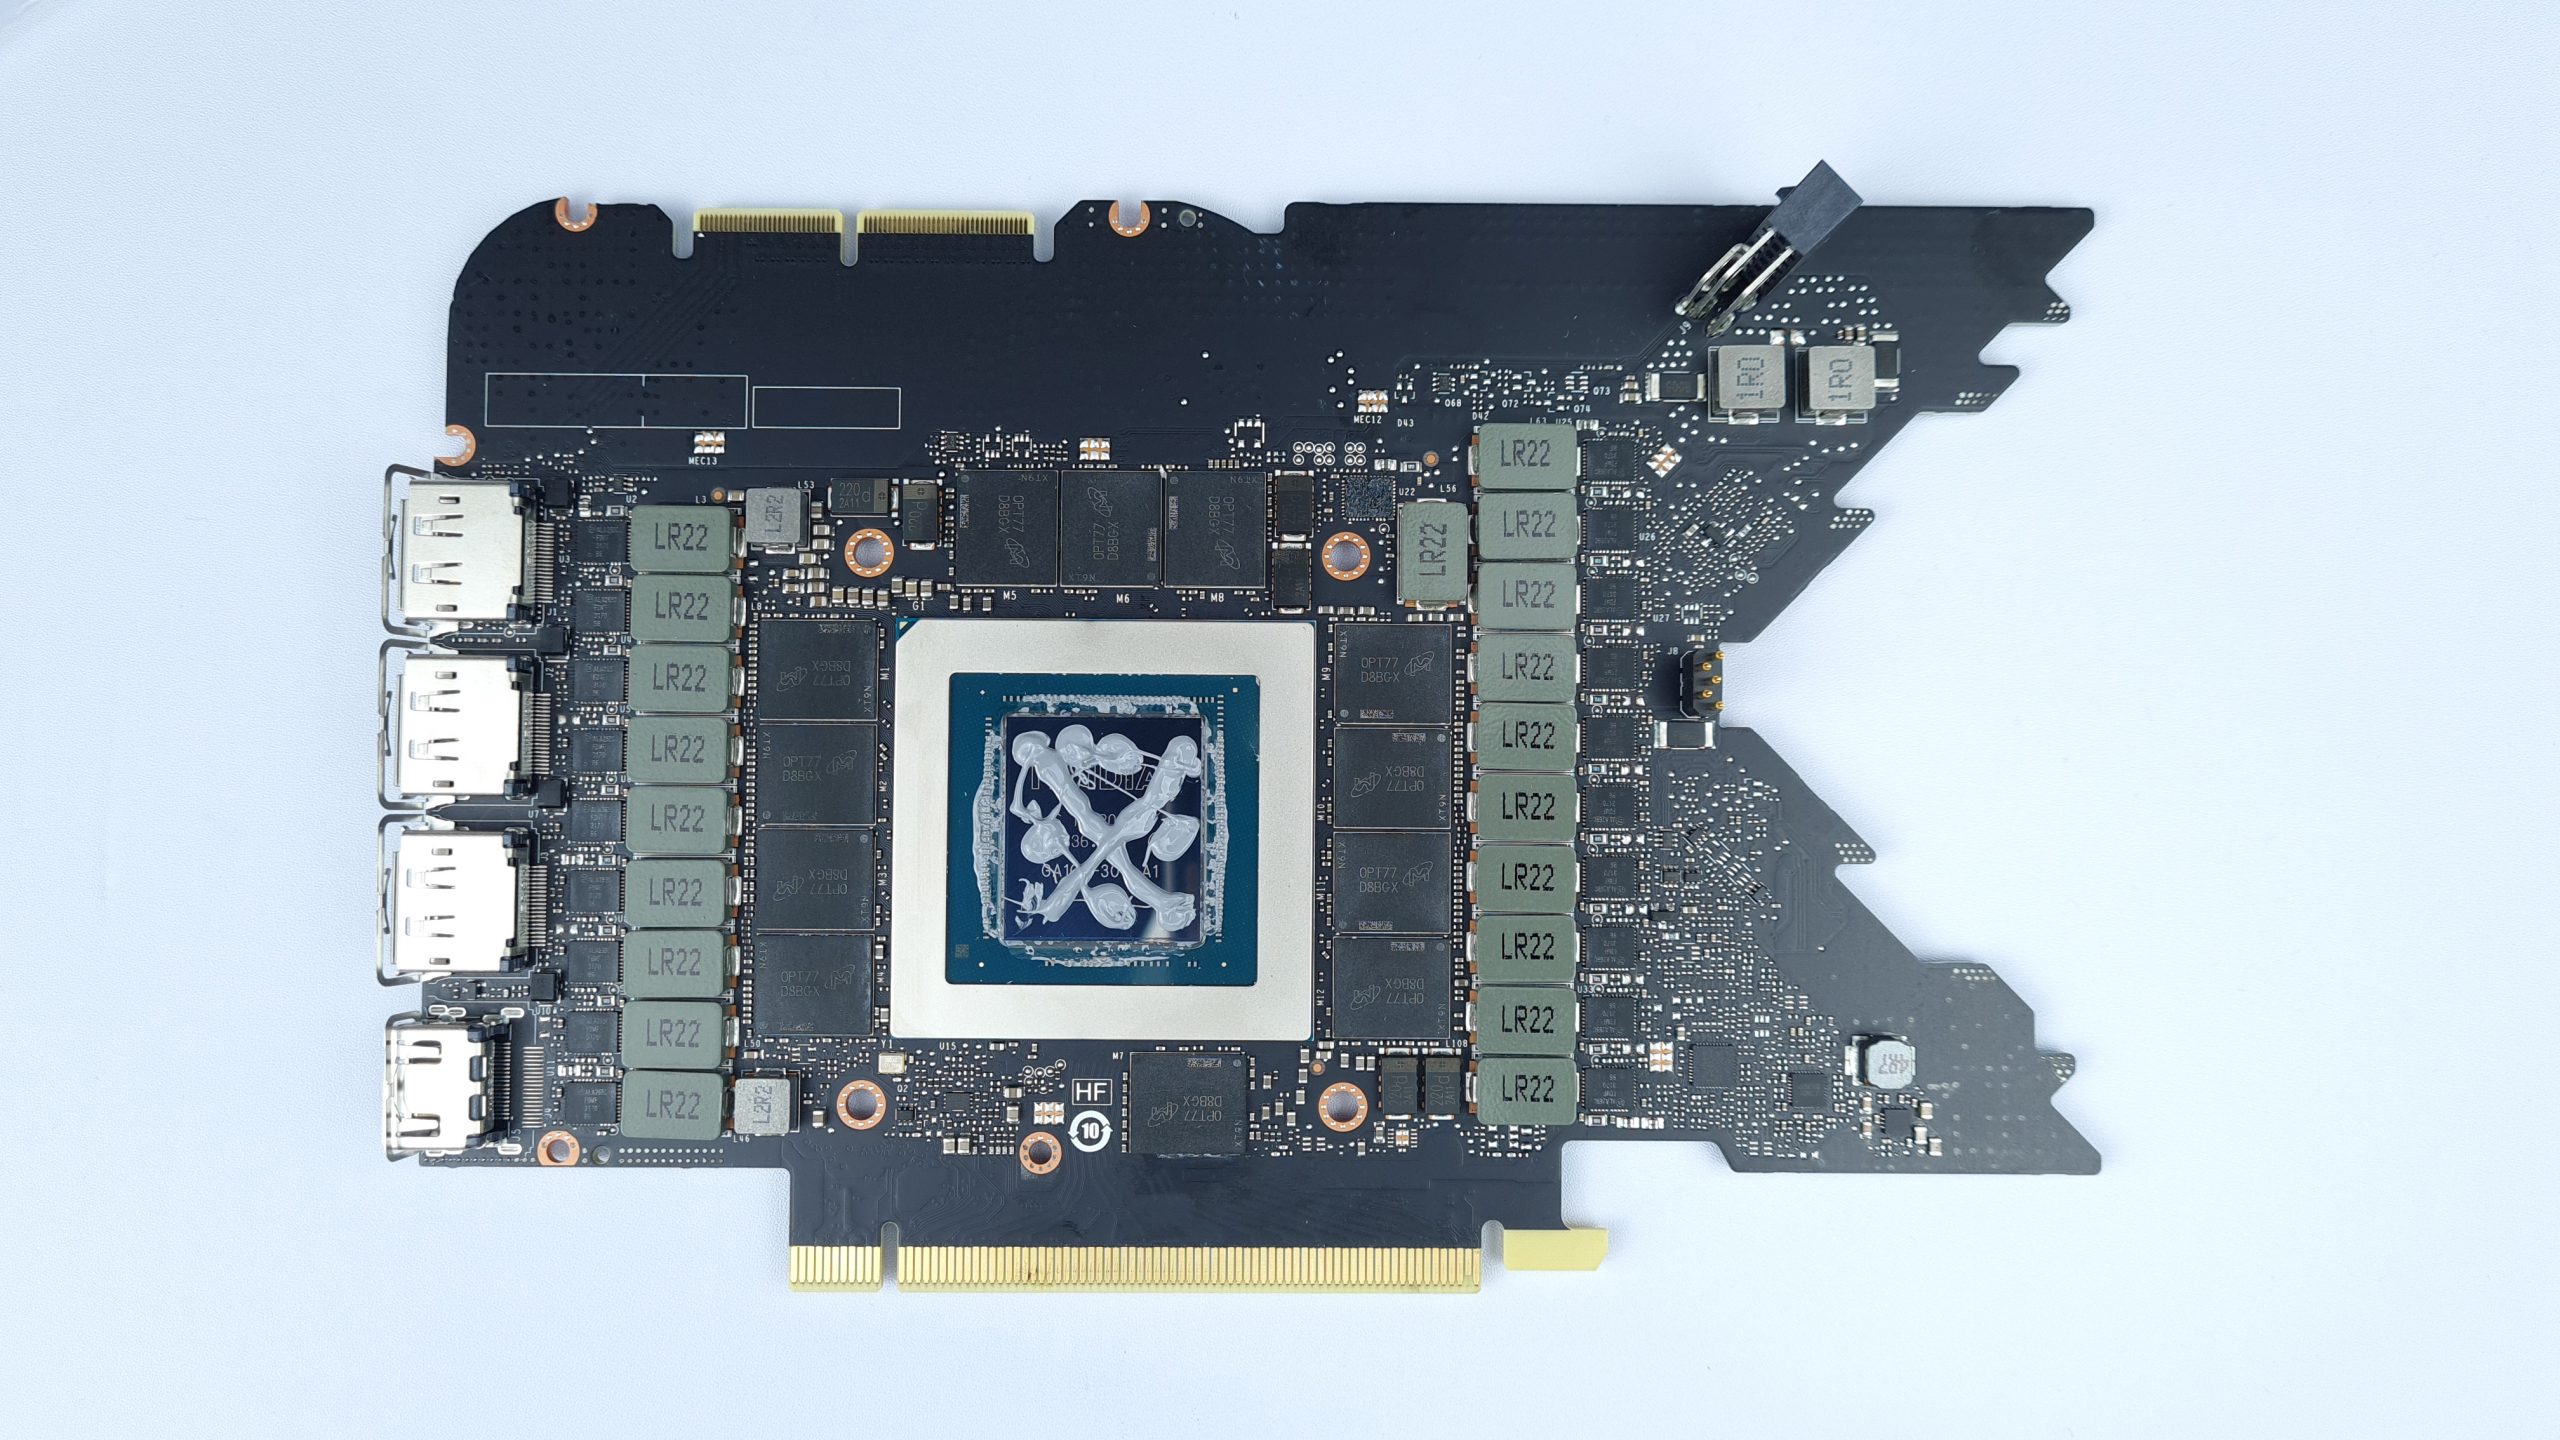
Now it gets a bit controversial, because thermal paste has to be applied to the GPU, and after all, according to opinions on the Internet, you can only do that wrong. That being said, I’m going to show you my patented cross 5-point application method, because I had something in mind when I did that. According to the instructions, you should spread and smooth the thermal paste yourself, but I deliberately decided against it. The reason is that with Ampere cards the package can be bent by up to 0.3 mm, but I don’t know where and where I therefore need a thicker or thinner layer of thermal paste.
By simply applying a generous amount all around, the paste can find its own way when assembling the block and bridge any larger gaps. What is too much is then pushed out at the sides and ends up on the package with the remains of the FE cooler. Granted, it’s not pretty or elegant, but this way the mounting works reliably and hotspots can be avoided, no matter how crooked a cards package is.

Now place the PCB with thermal paste with GPU down on the prepared block, aligning the 4 central holes with the threads in the block. Insert the corresponding spring-loaded M2x5 screws with washer and tighten them crosswise with single turns. This allows the thermal paste to spread evenly and the remaining components are slowly pressed onto their pads.
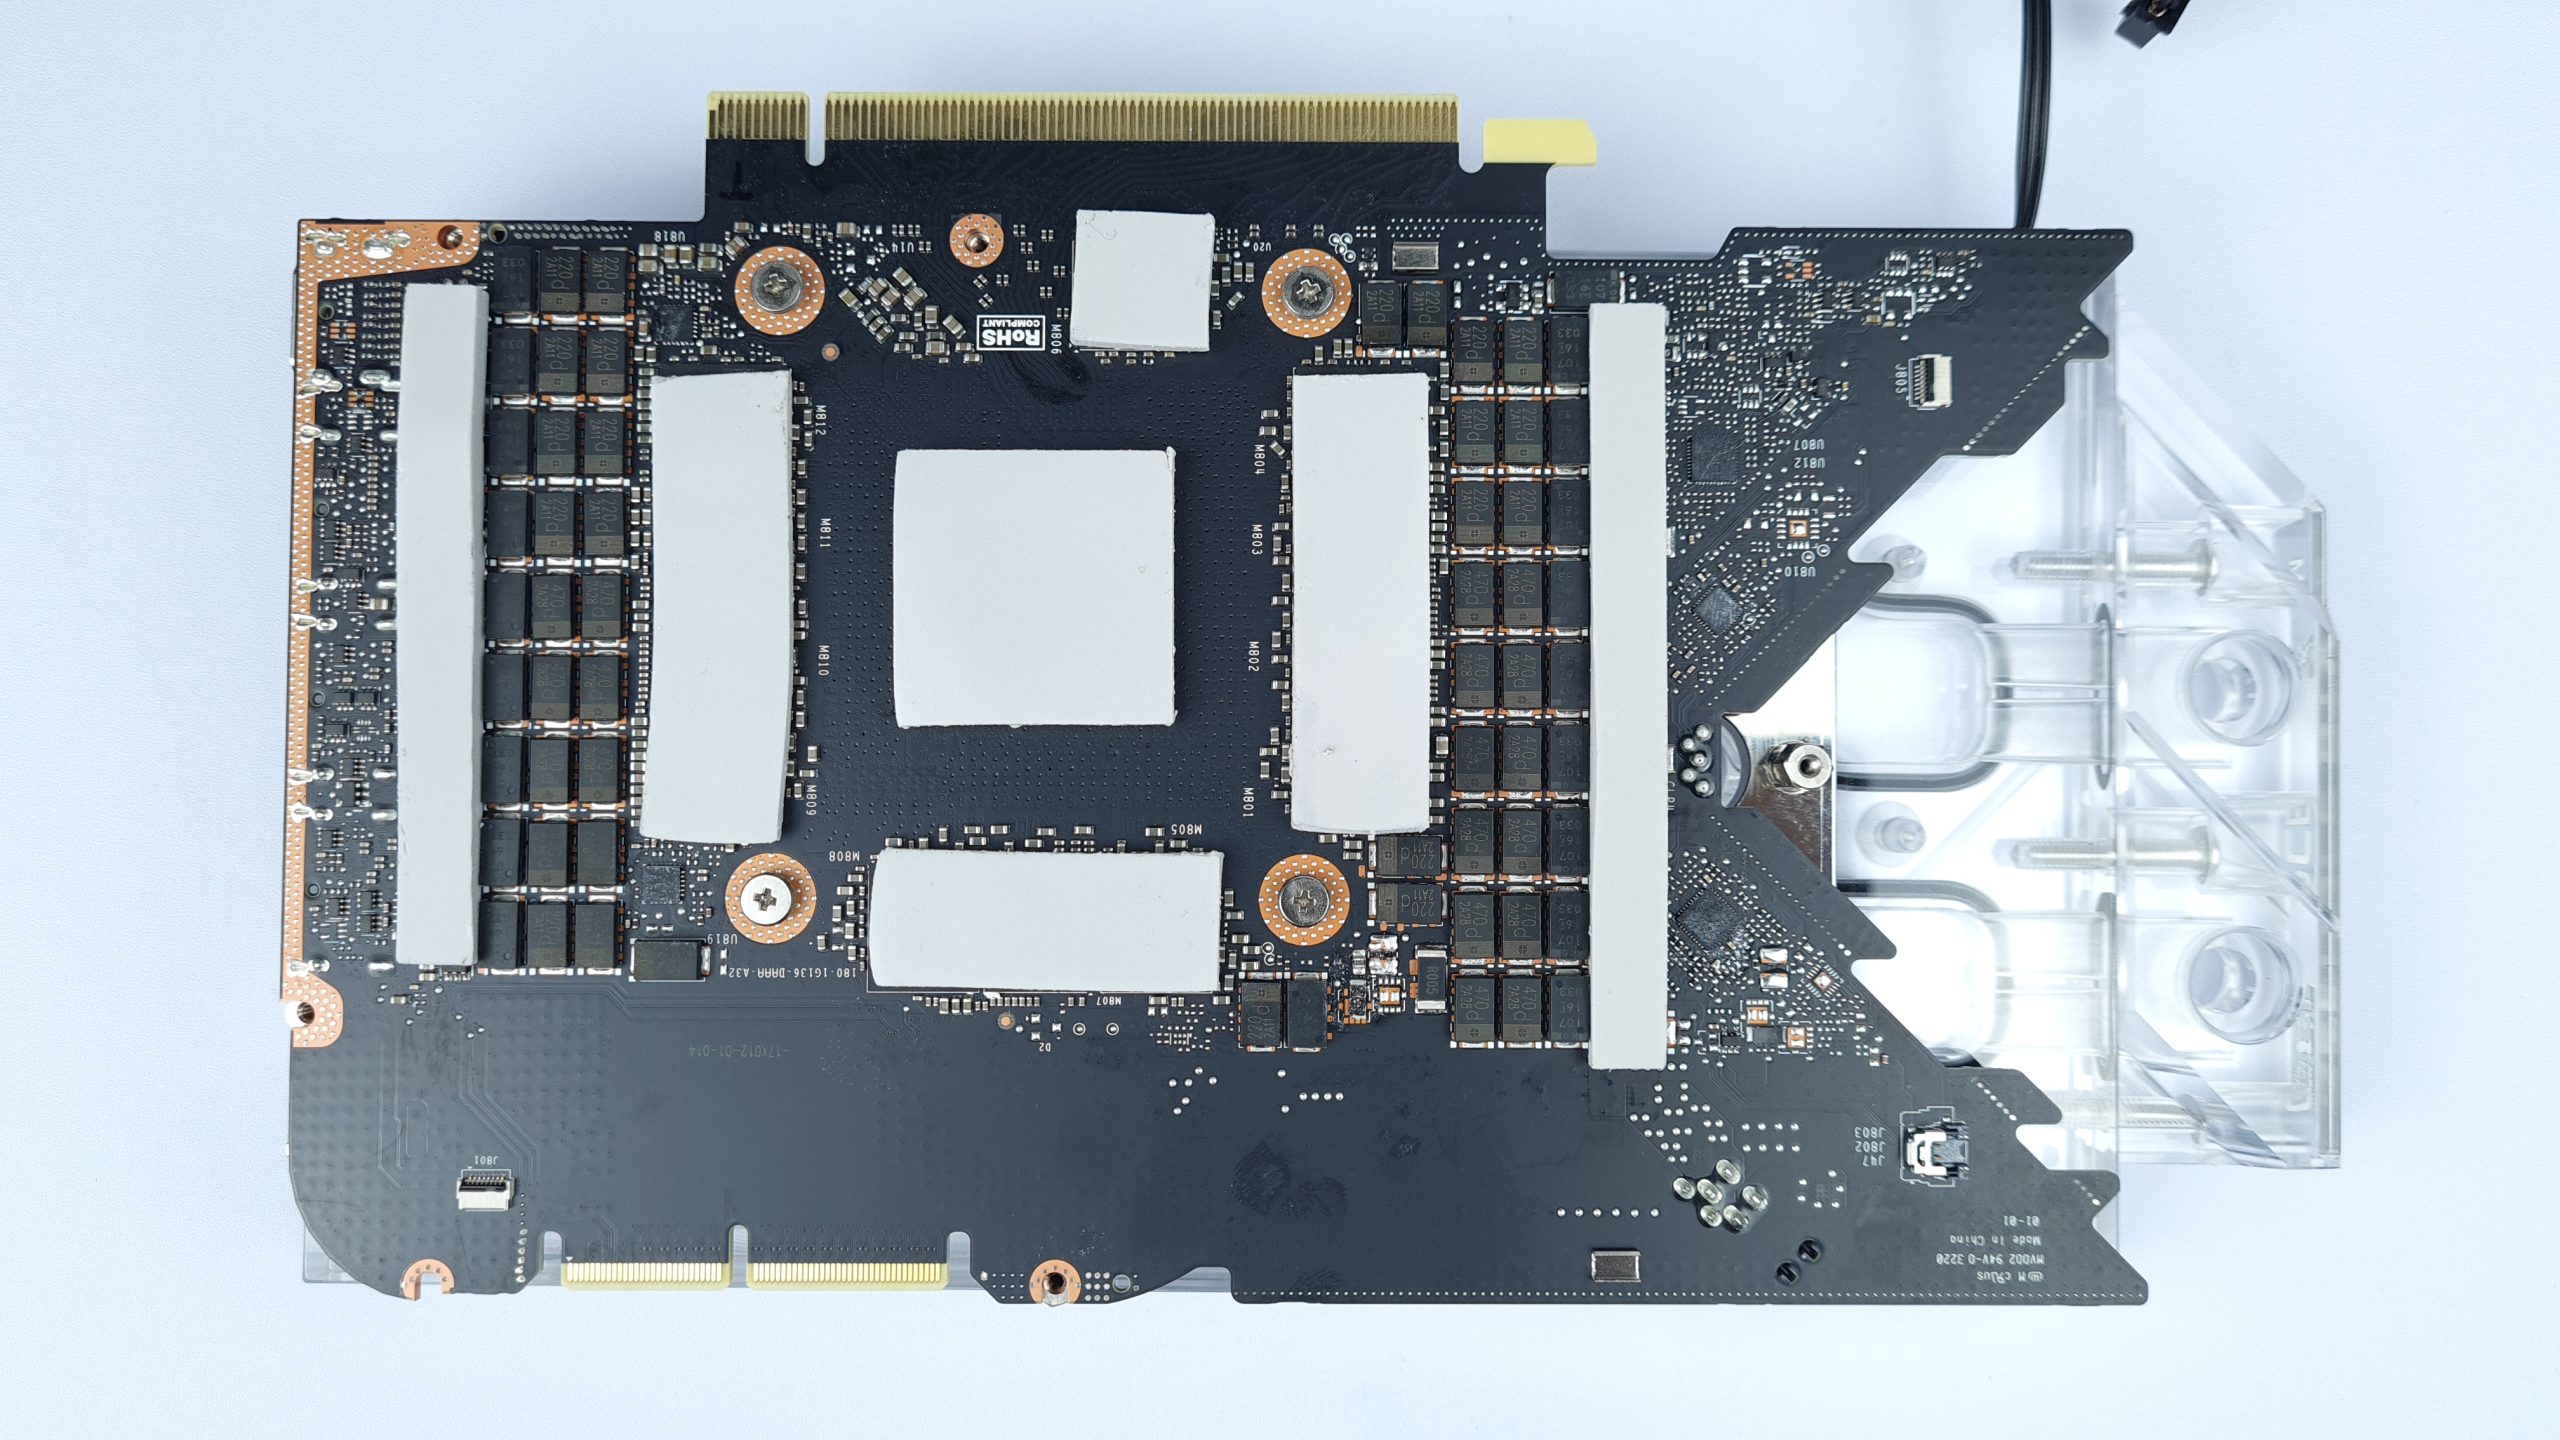
Now repeat the pad placing by numbers on the back, for memory, back of the vrm and GPU.
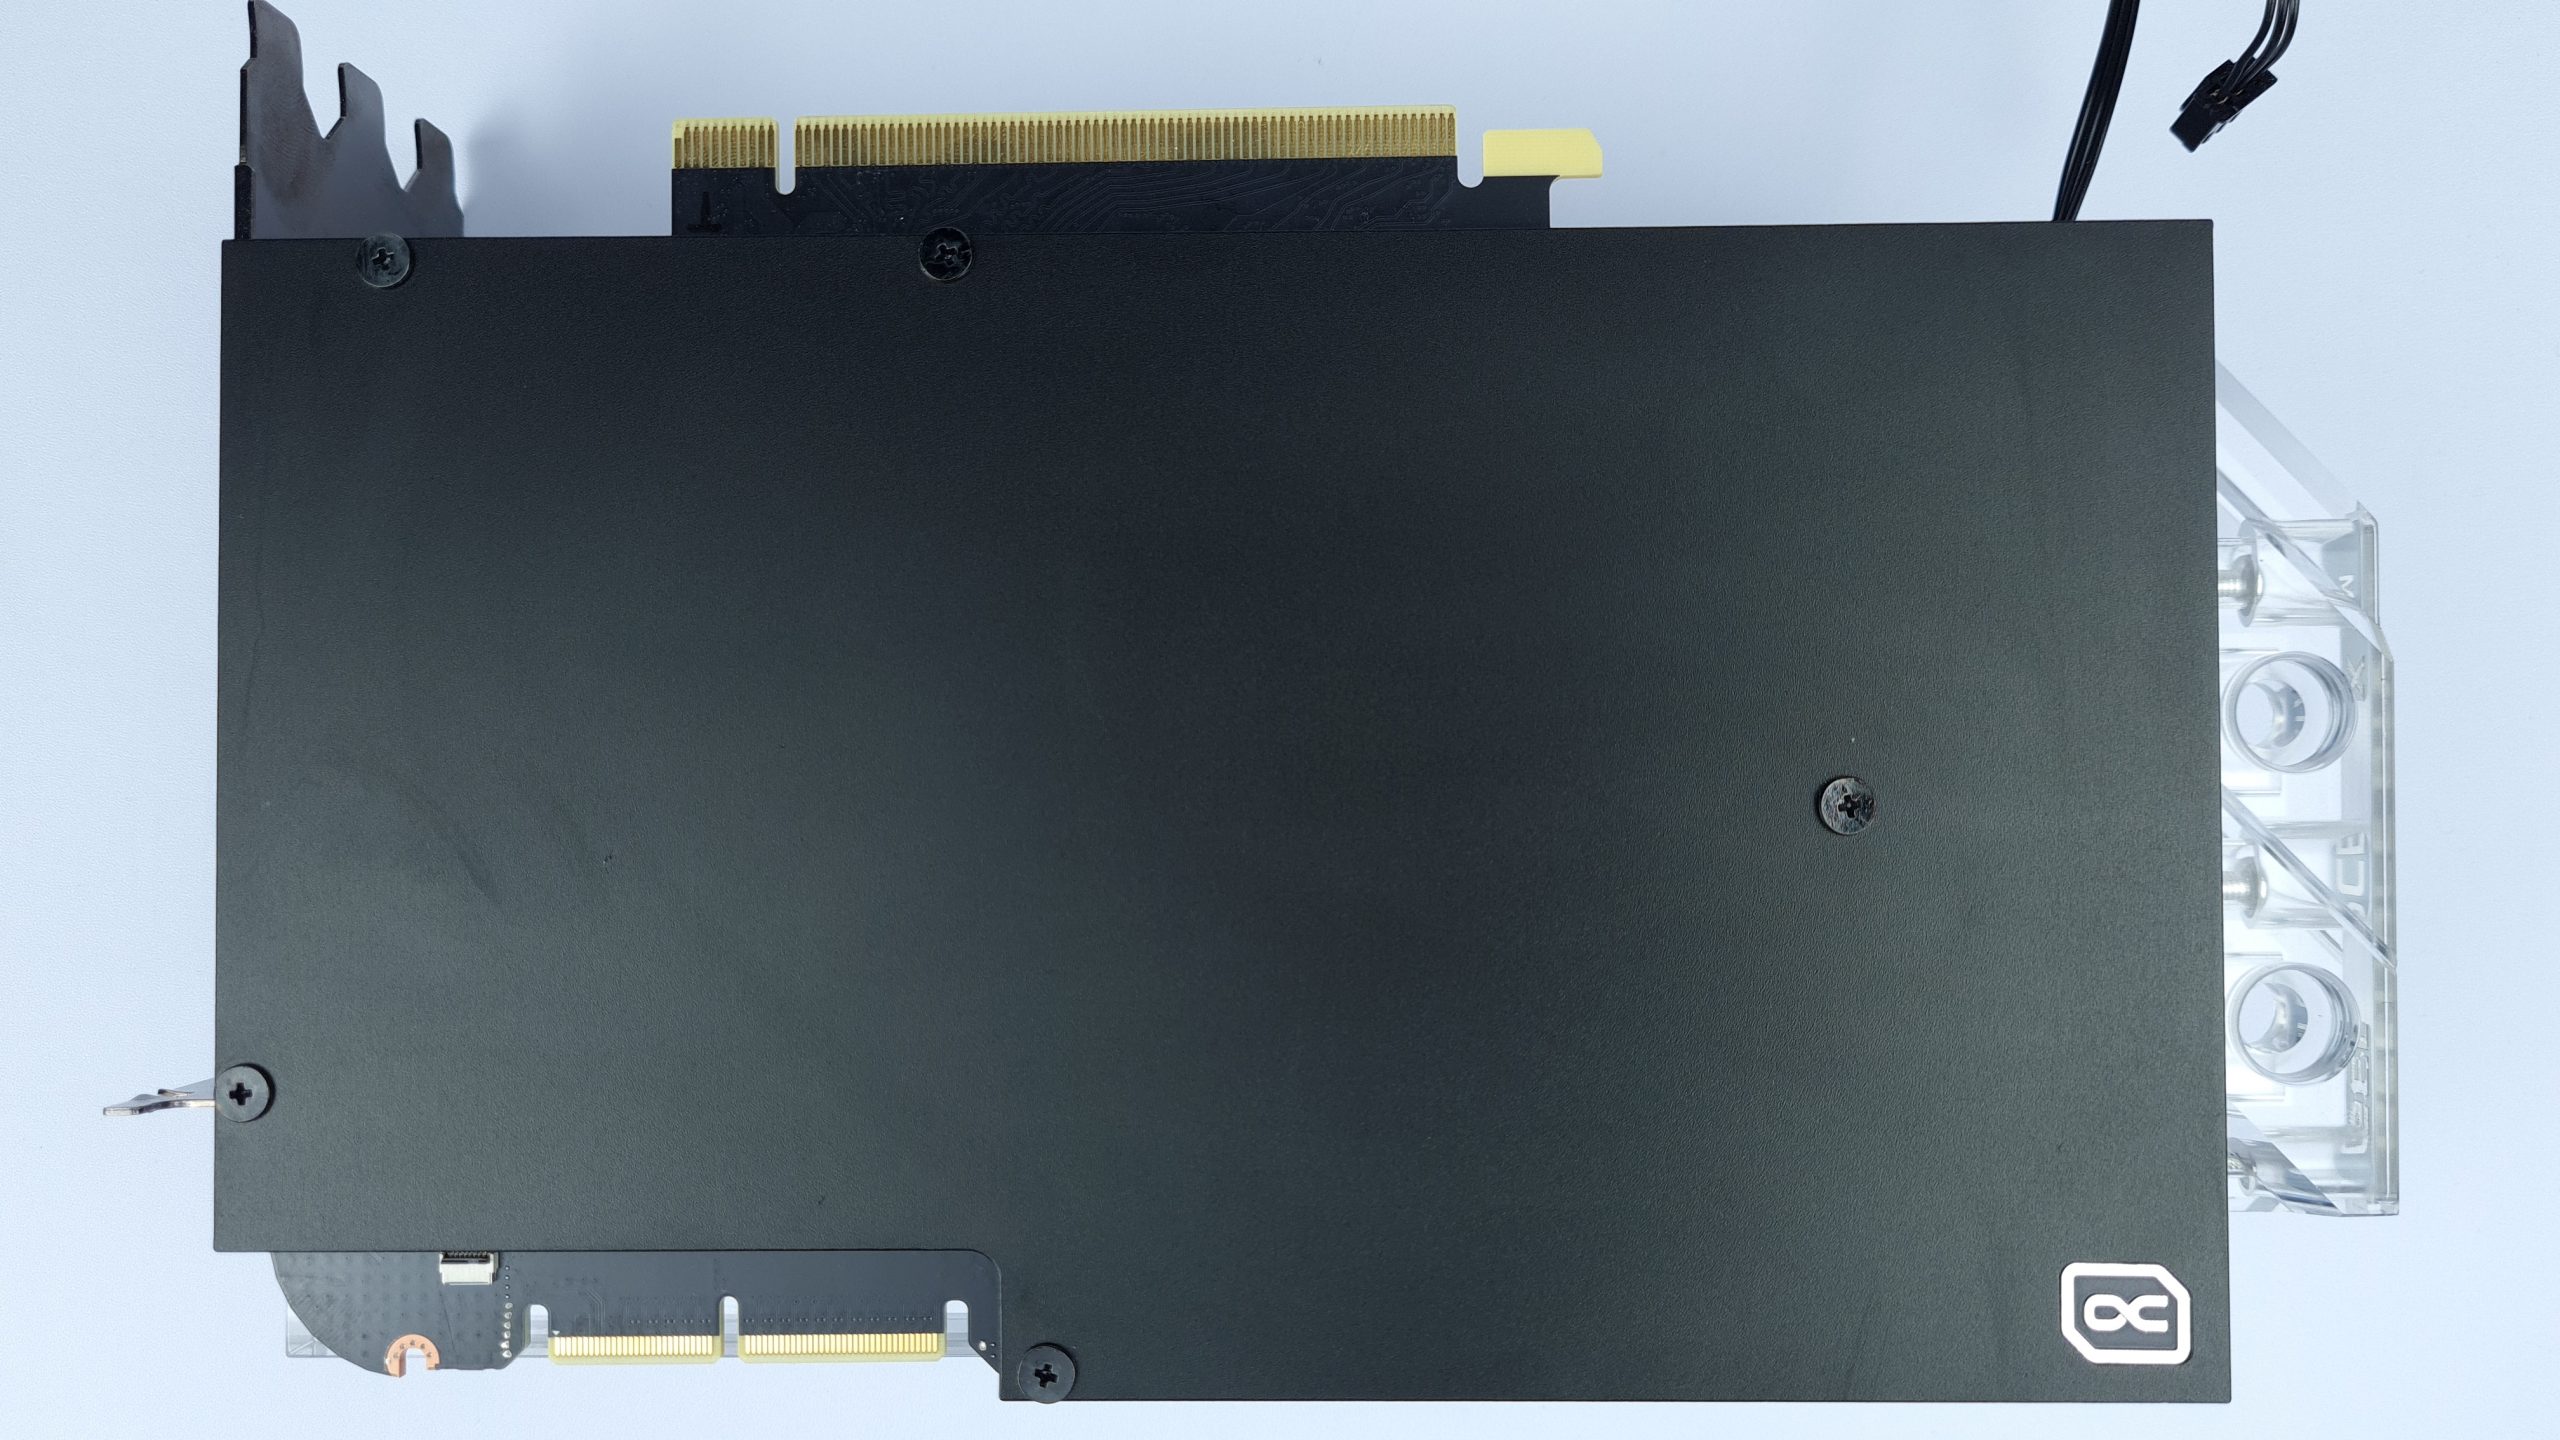
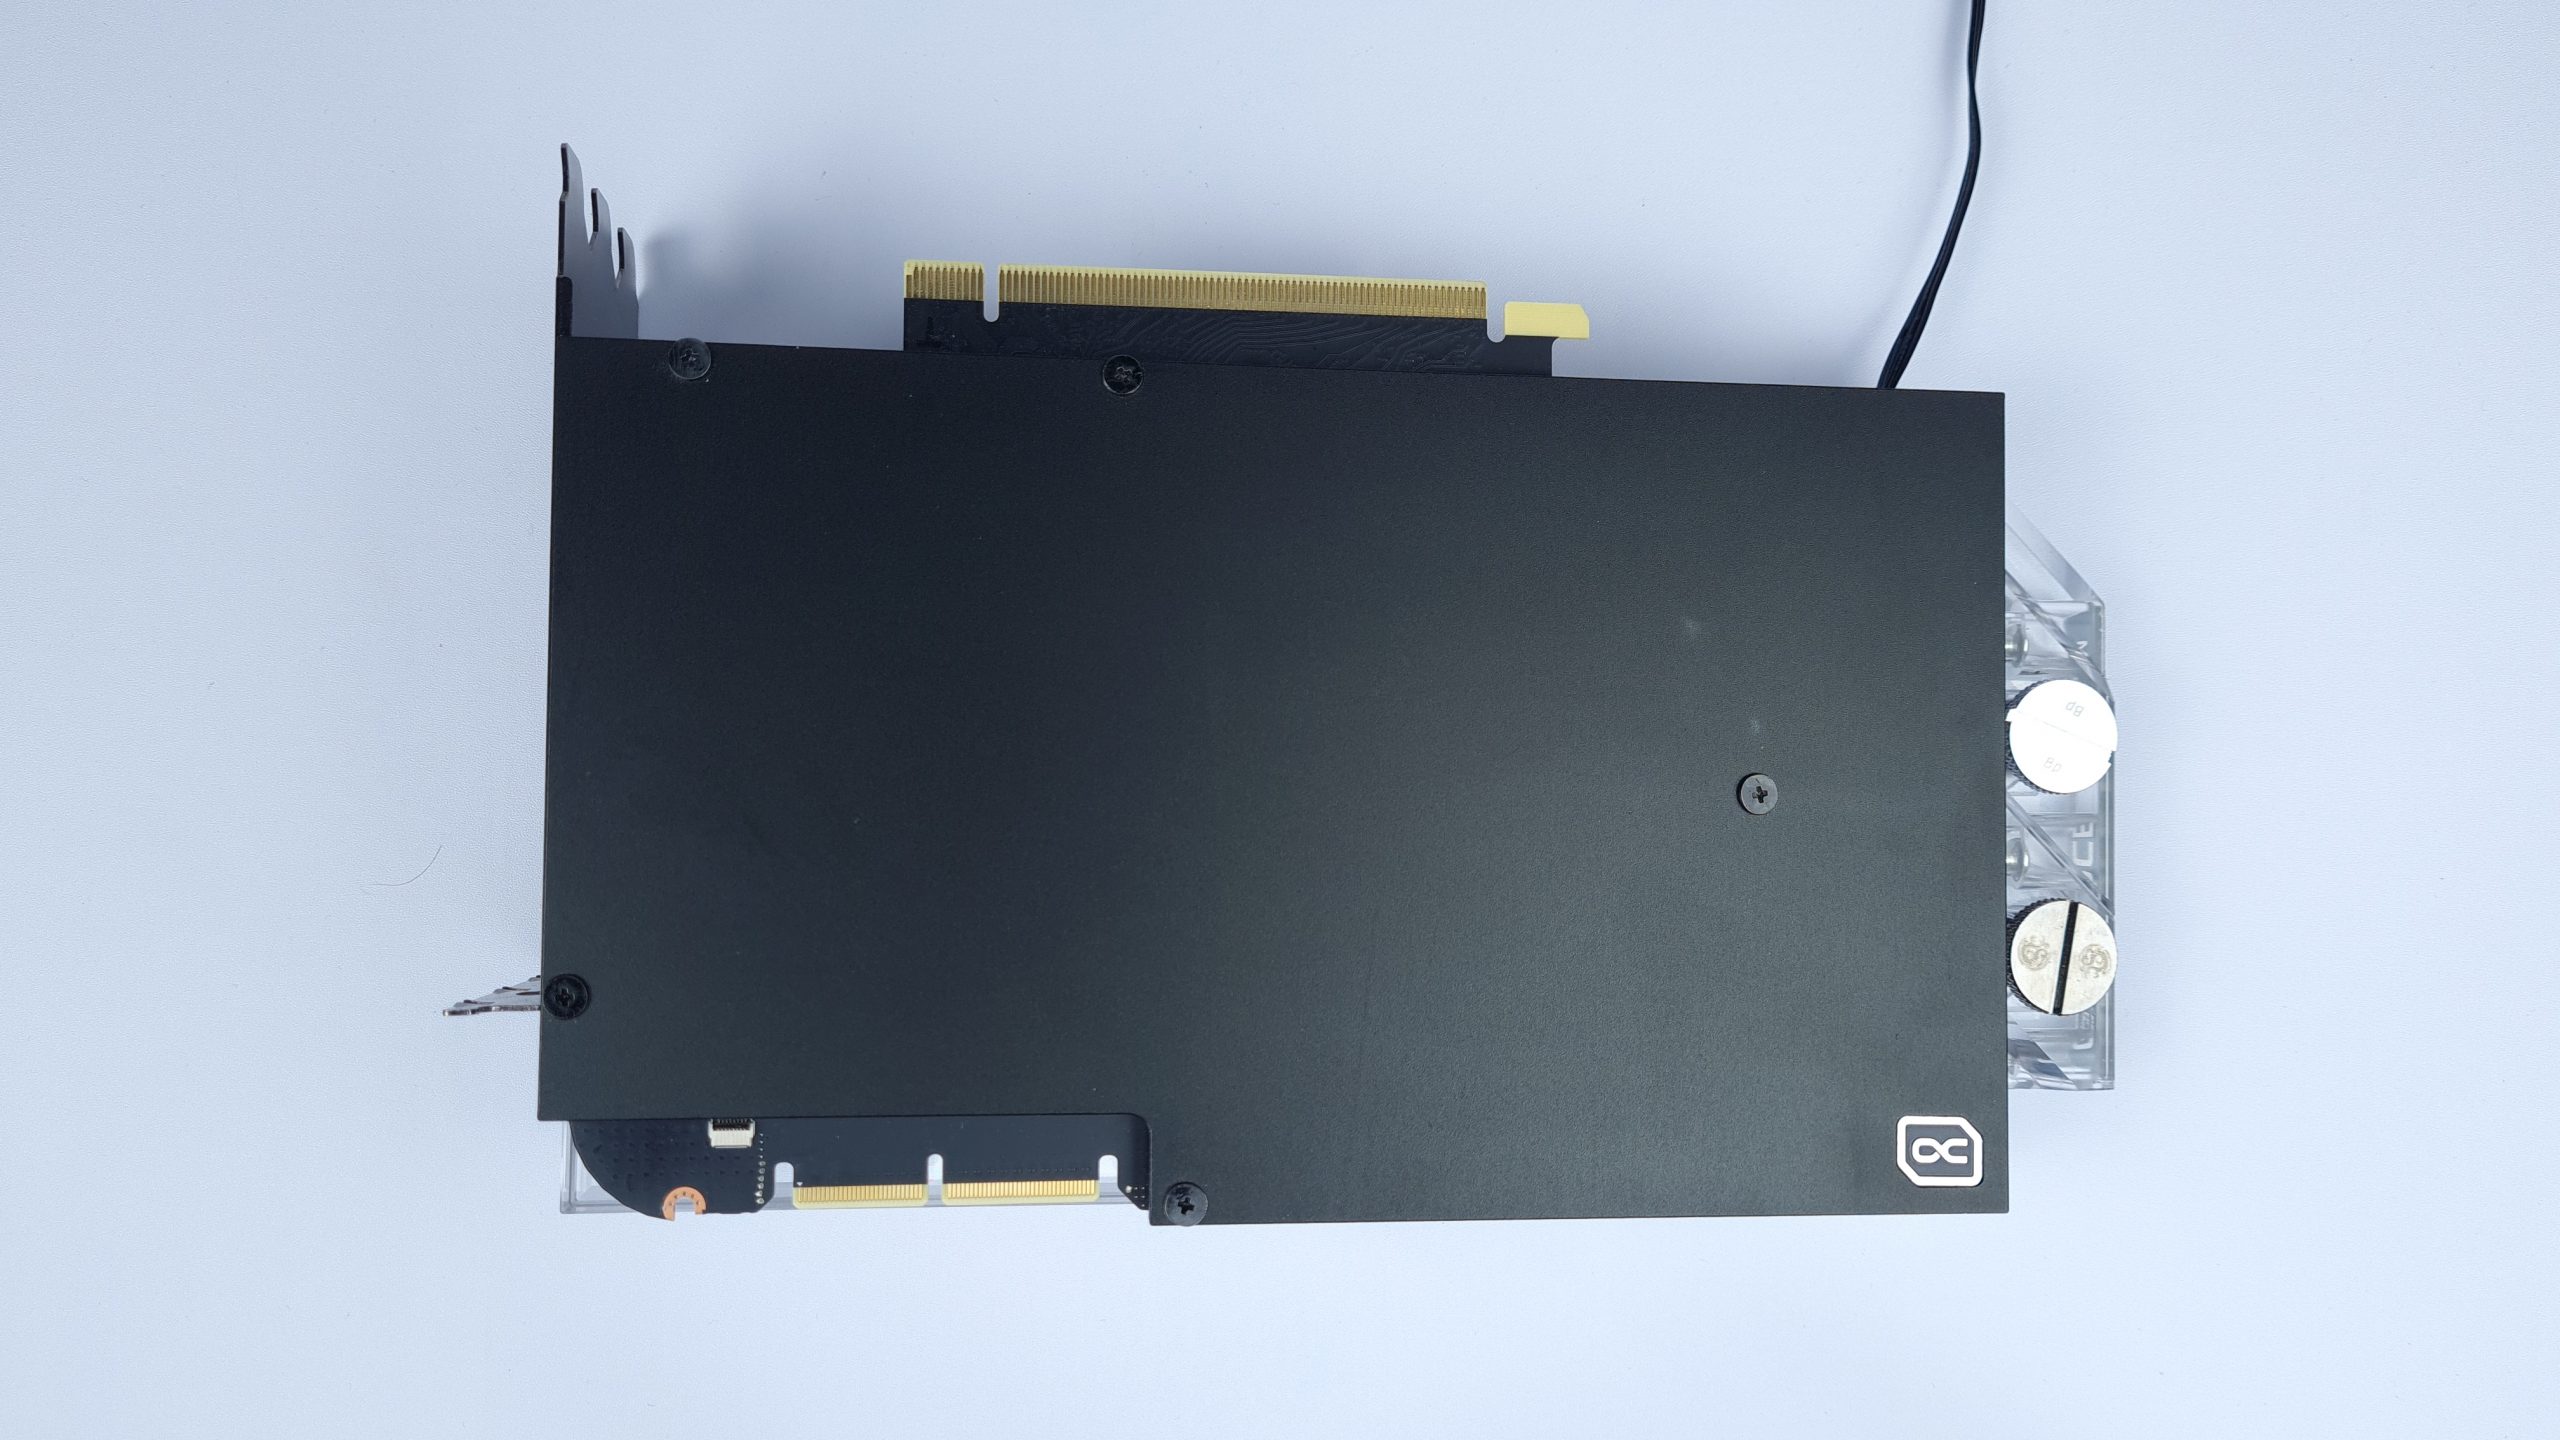
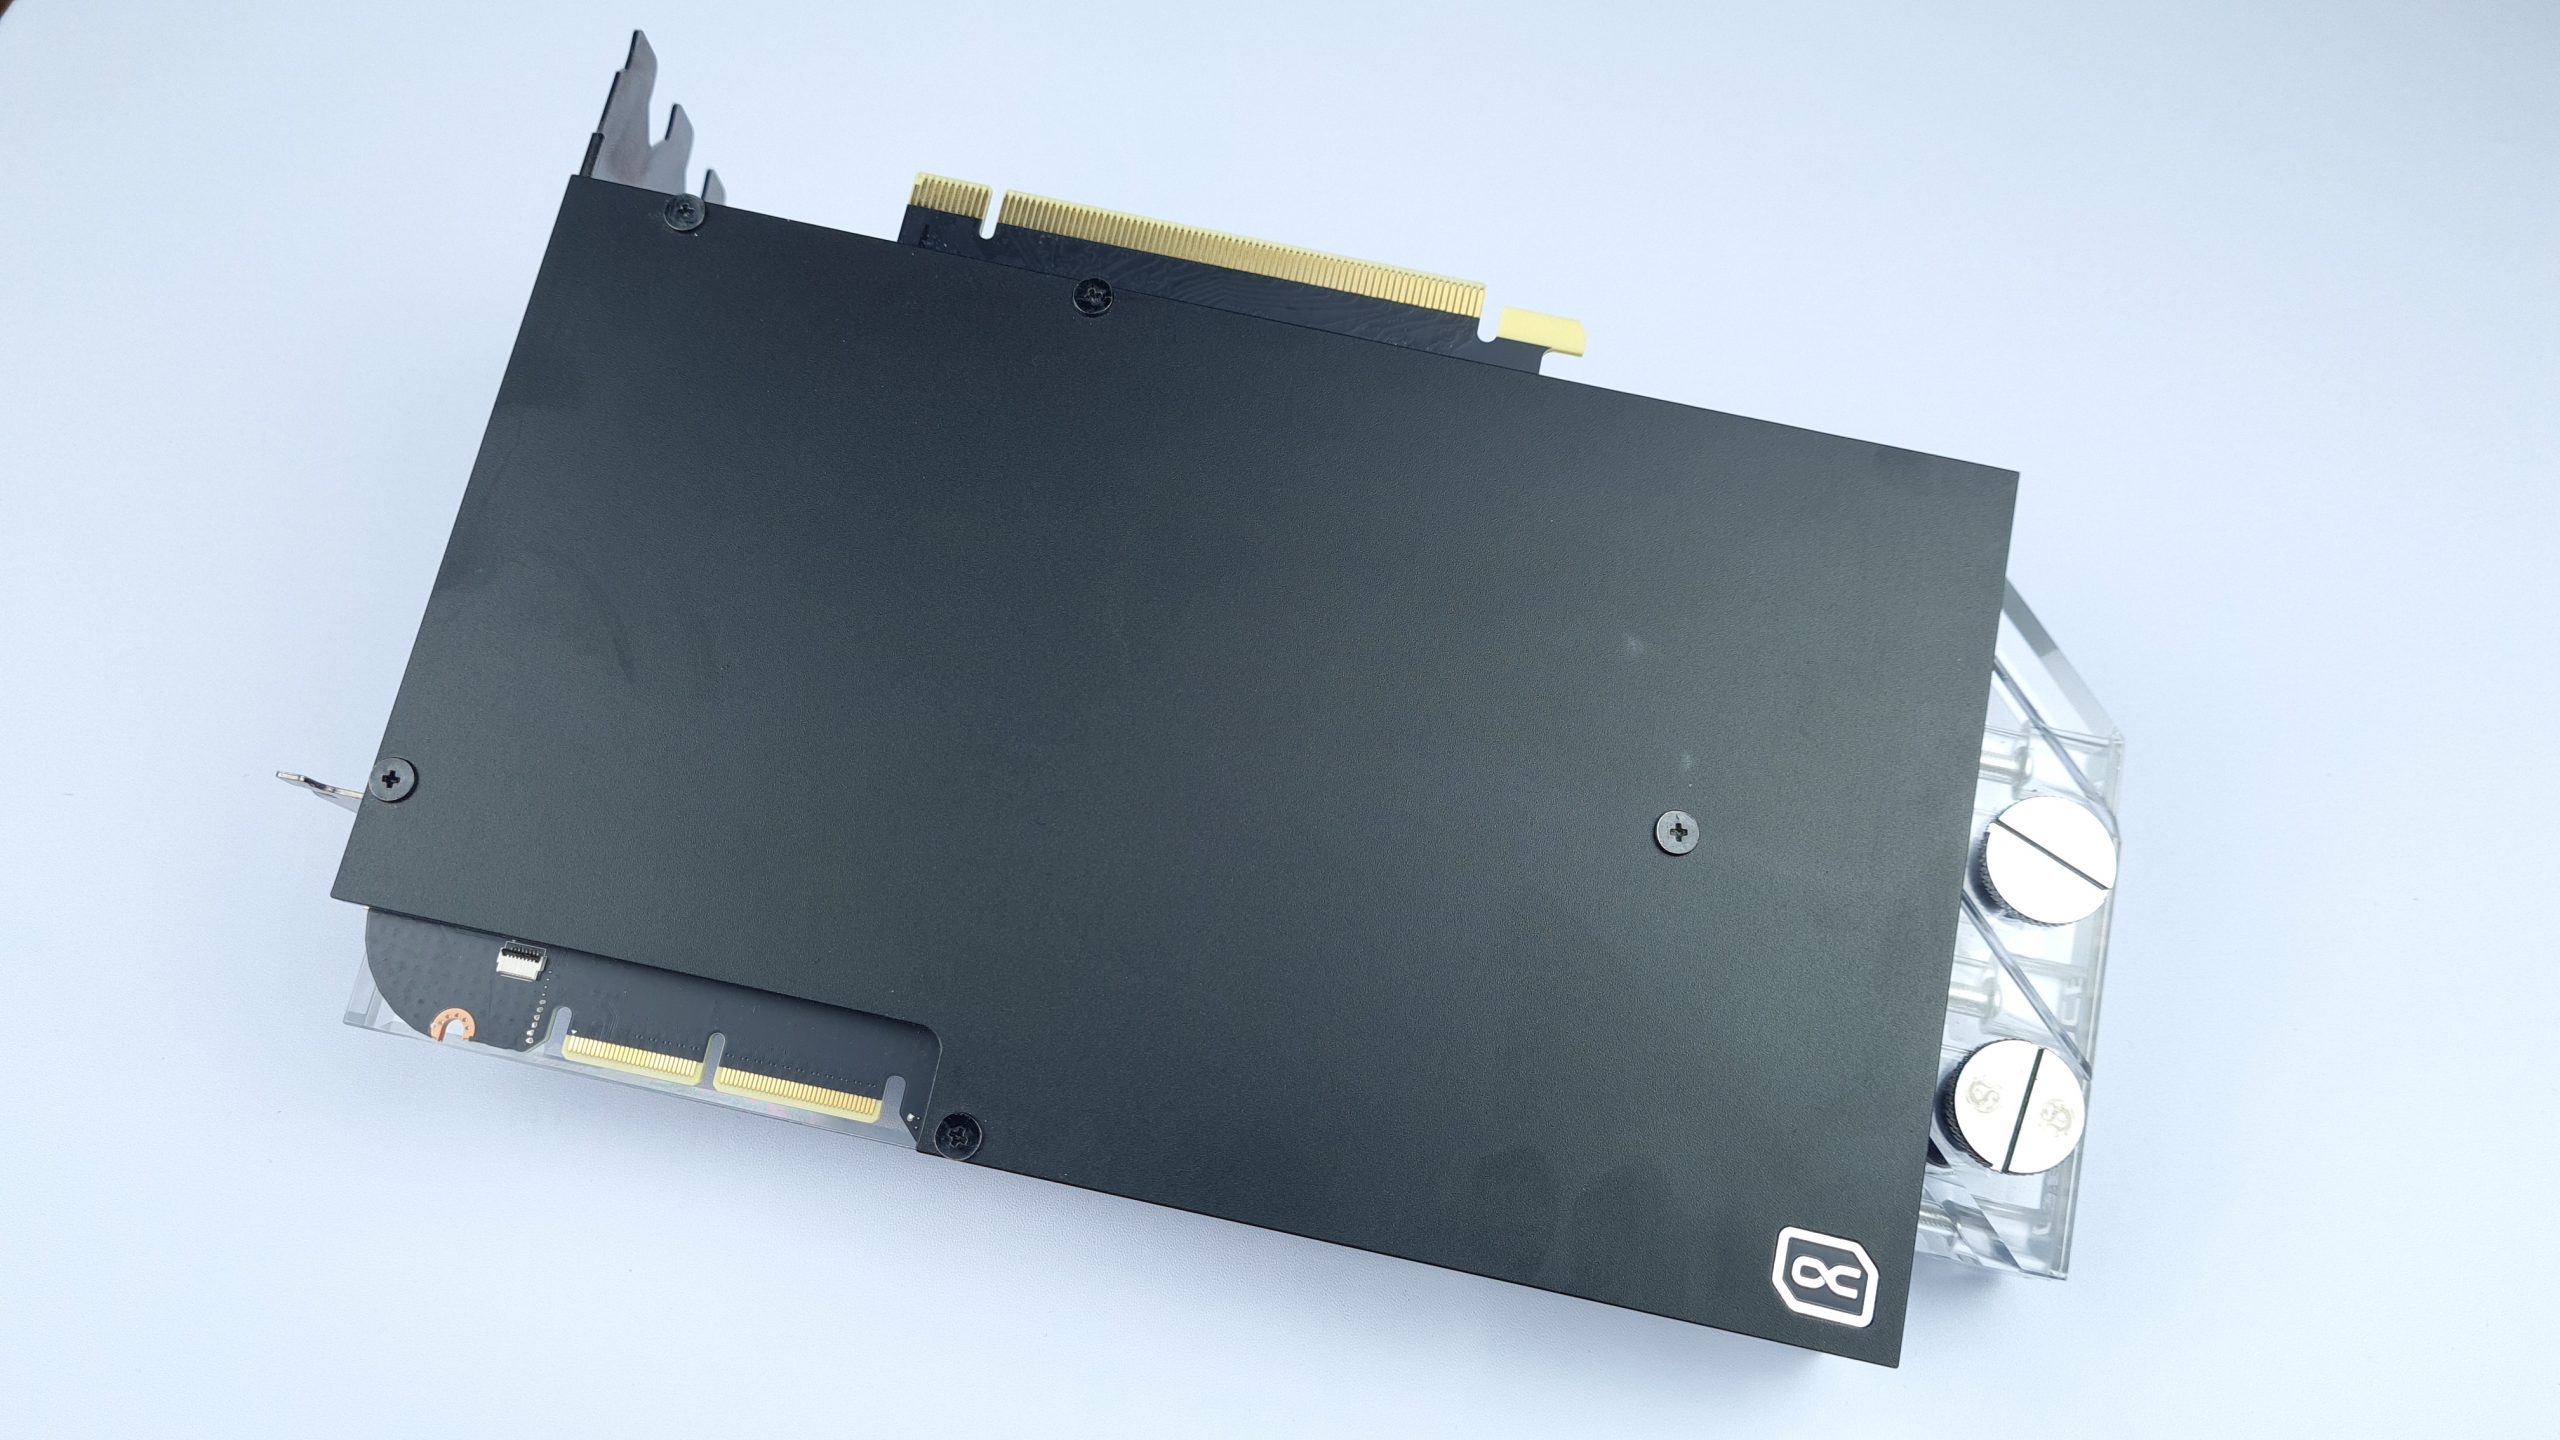
Then clean the backplate again with isopropanol, align it and tighten it with the 5 M2x11 screws. Important: Replace the slot cover beforehand, as it is fixed with 2 of these screws.
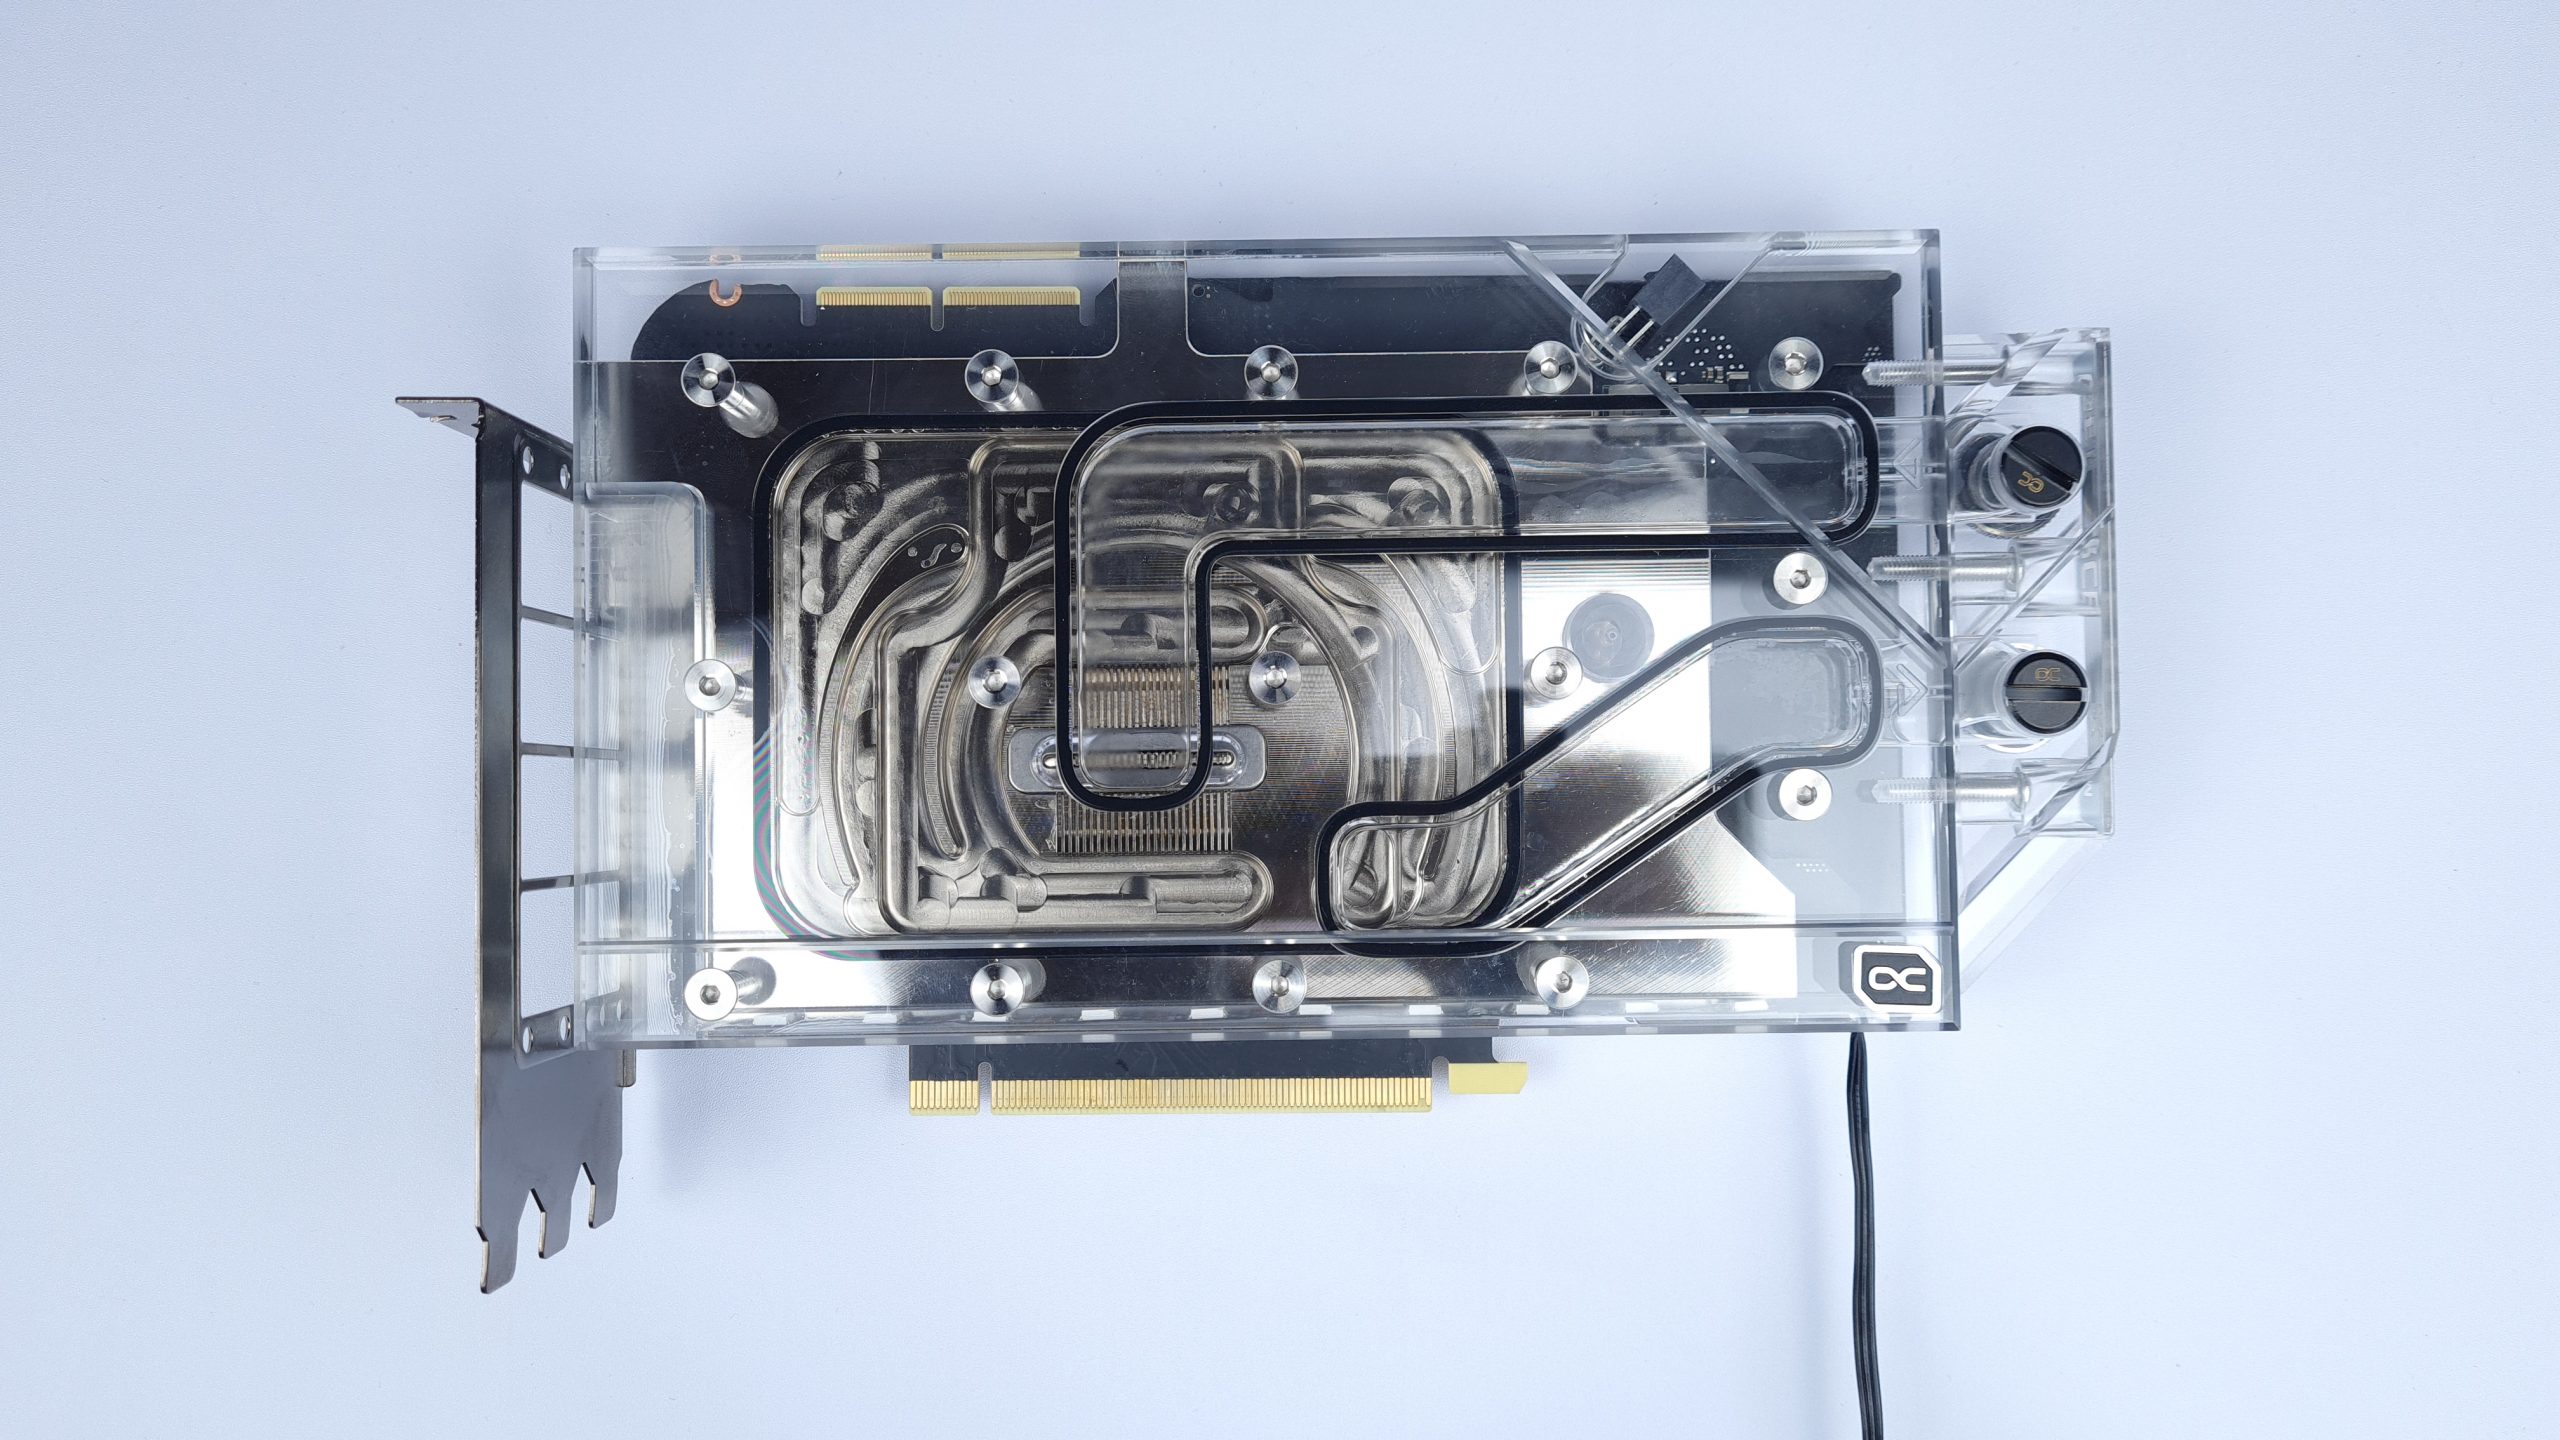
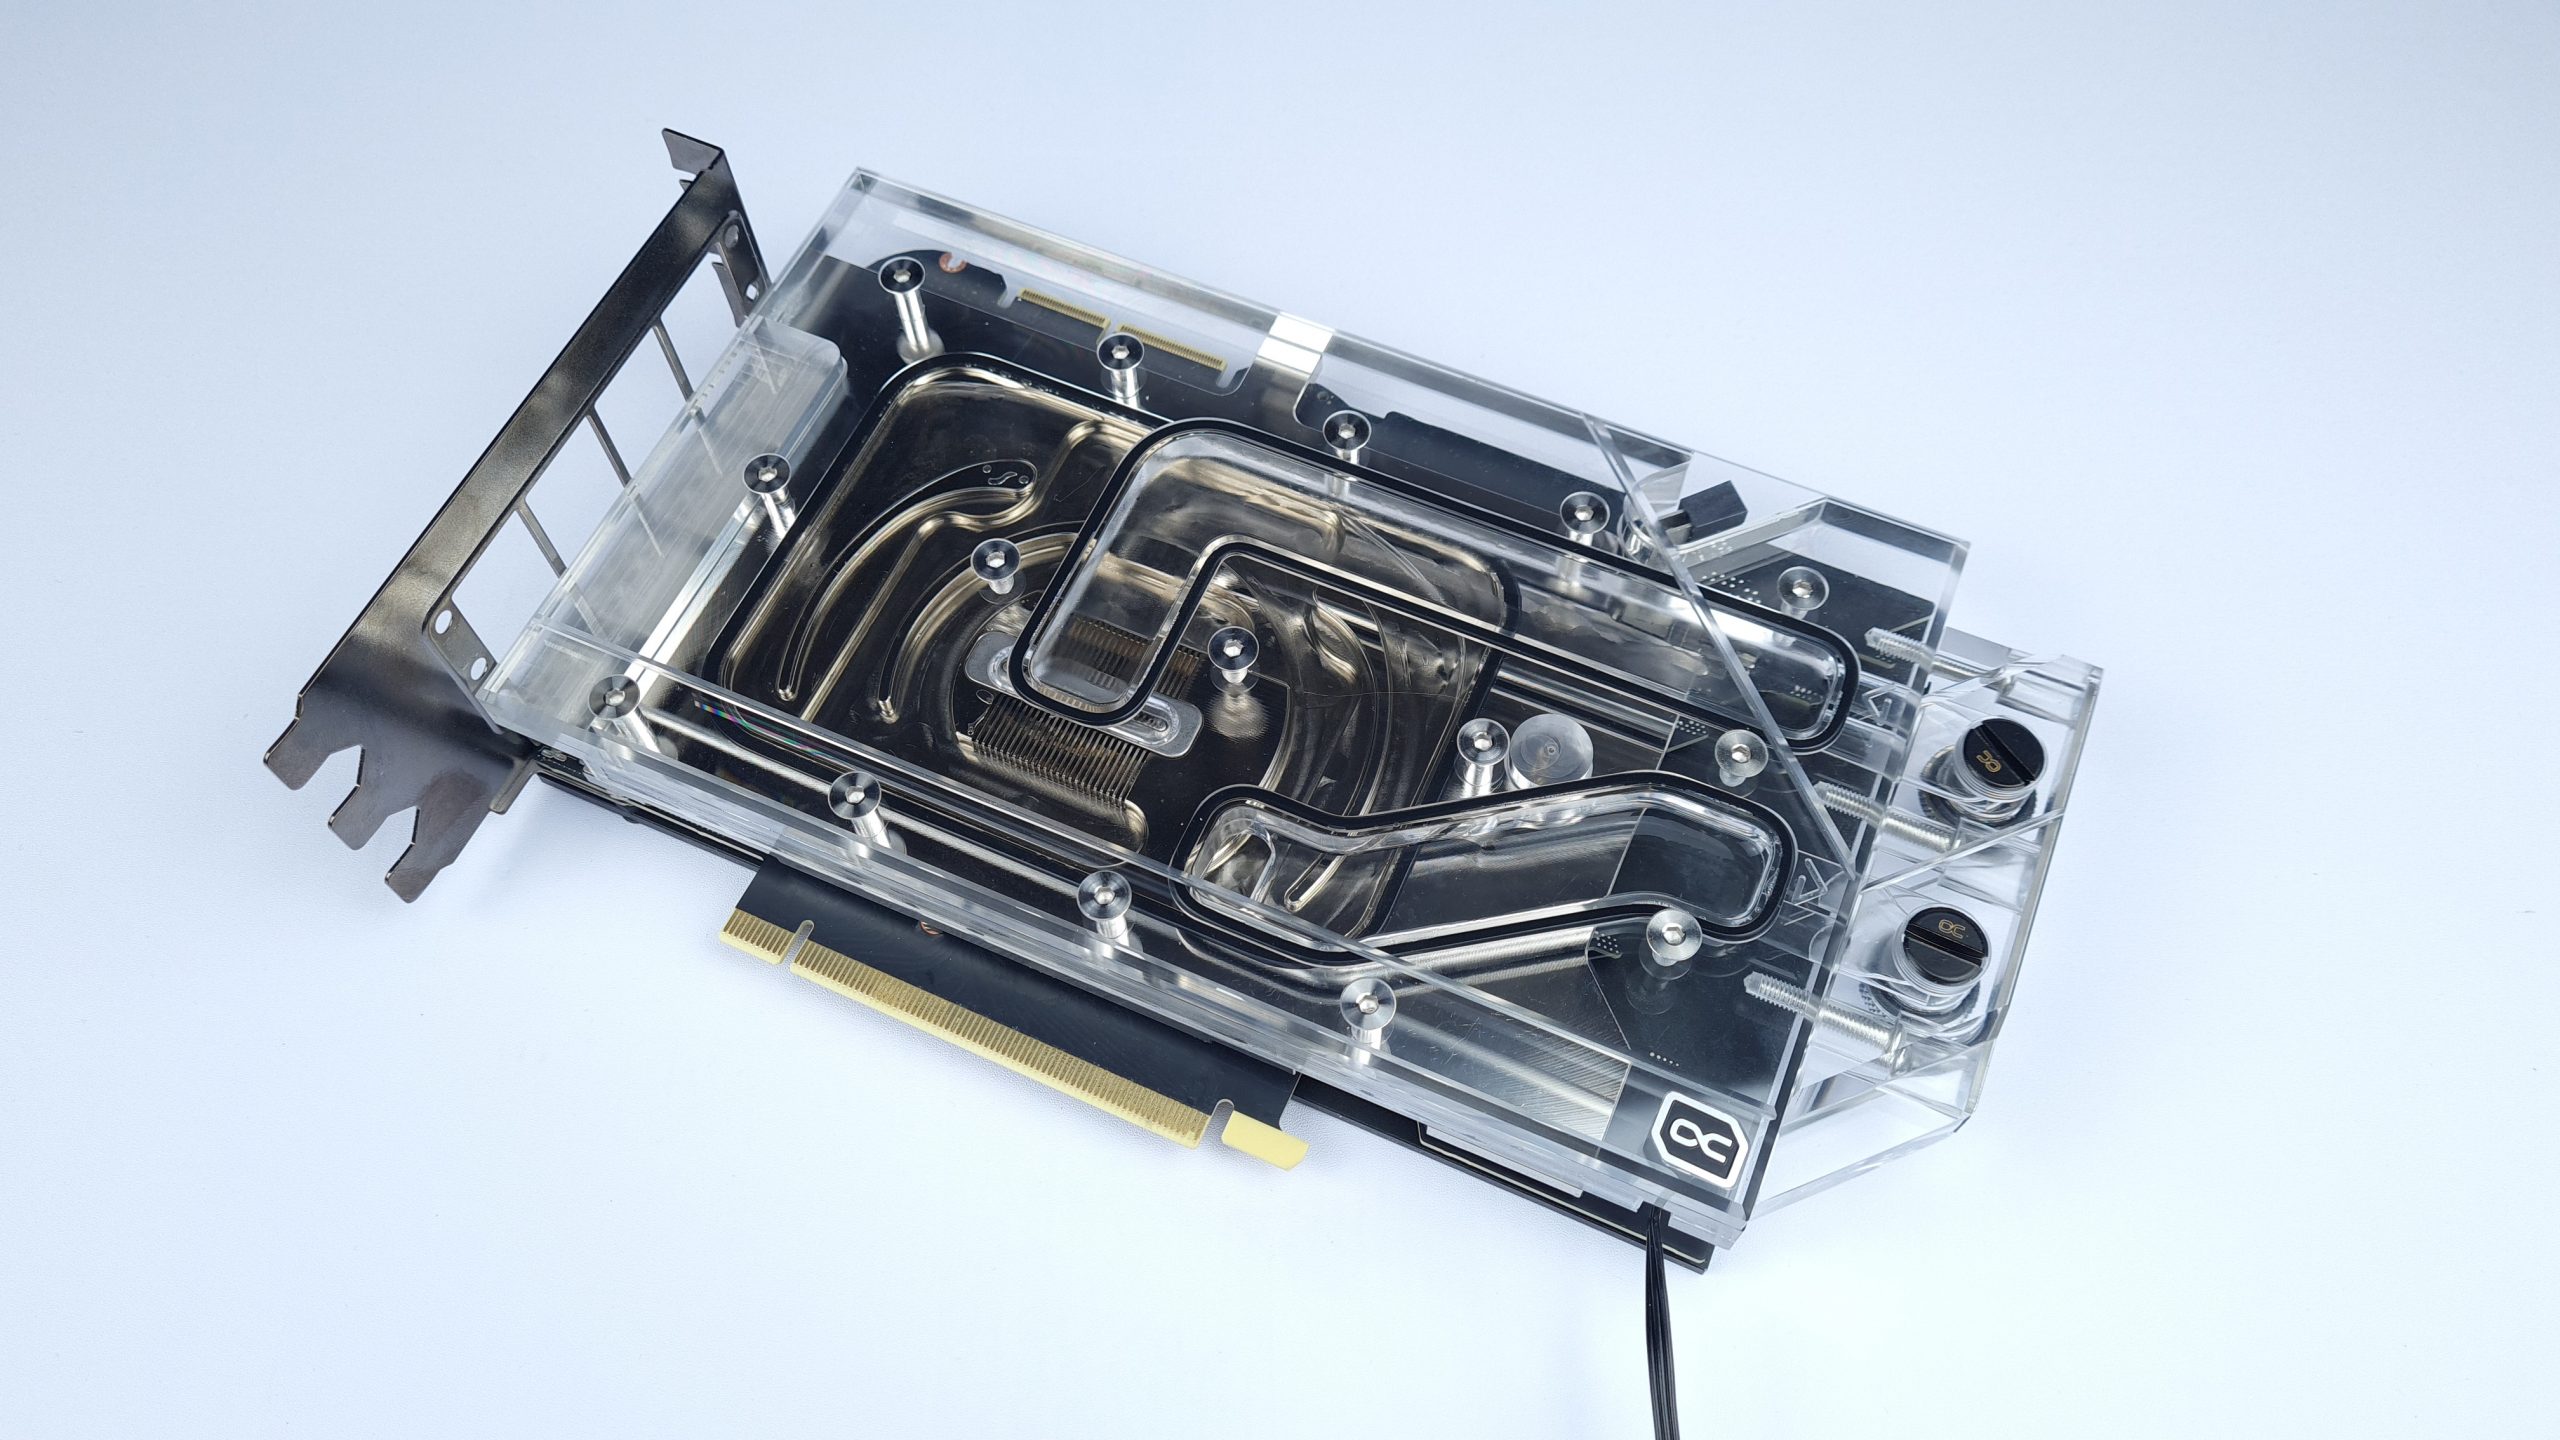
And that’s it. Now just insert the plugs on the inlets that we do not need and the graphics card with Eisblock is ready for use.


Kommentieren