


The assembly order recommended in the manual is somewhat illogical and in practice rather hindering. We have therefore documented the assembly in the individual steps chronologically, whereby our variant differs above all by a simpler insertion of the backrest.
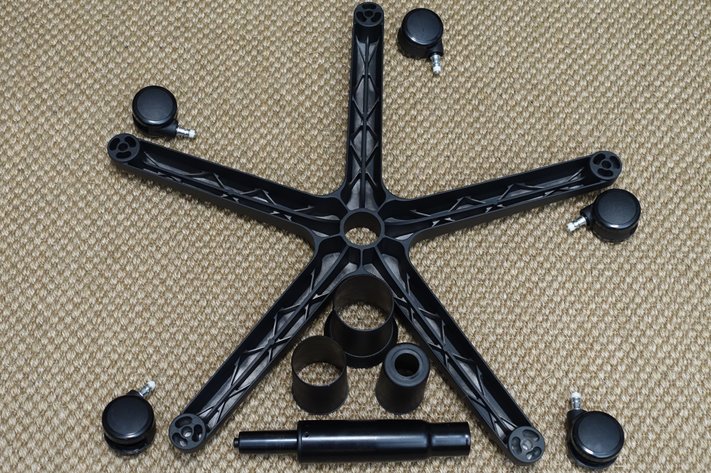
But first we mount the rollers by a simple insertion, turn the foot cross over and then insert the gas pressure spring from above. Finally, the three-part veneer comes on top of it and the stand is ready.

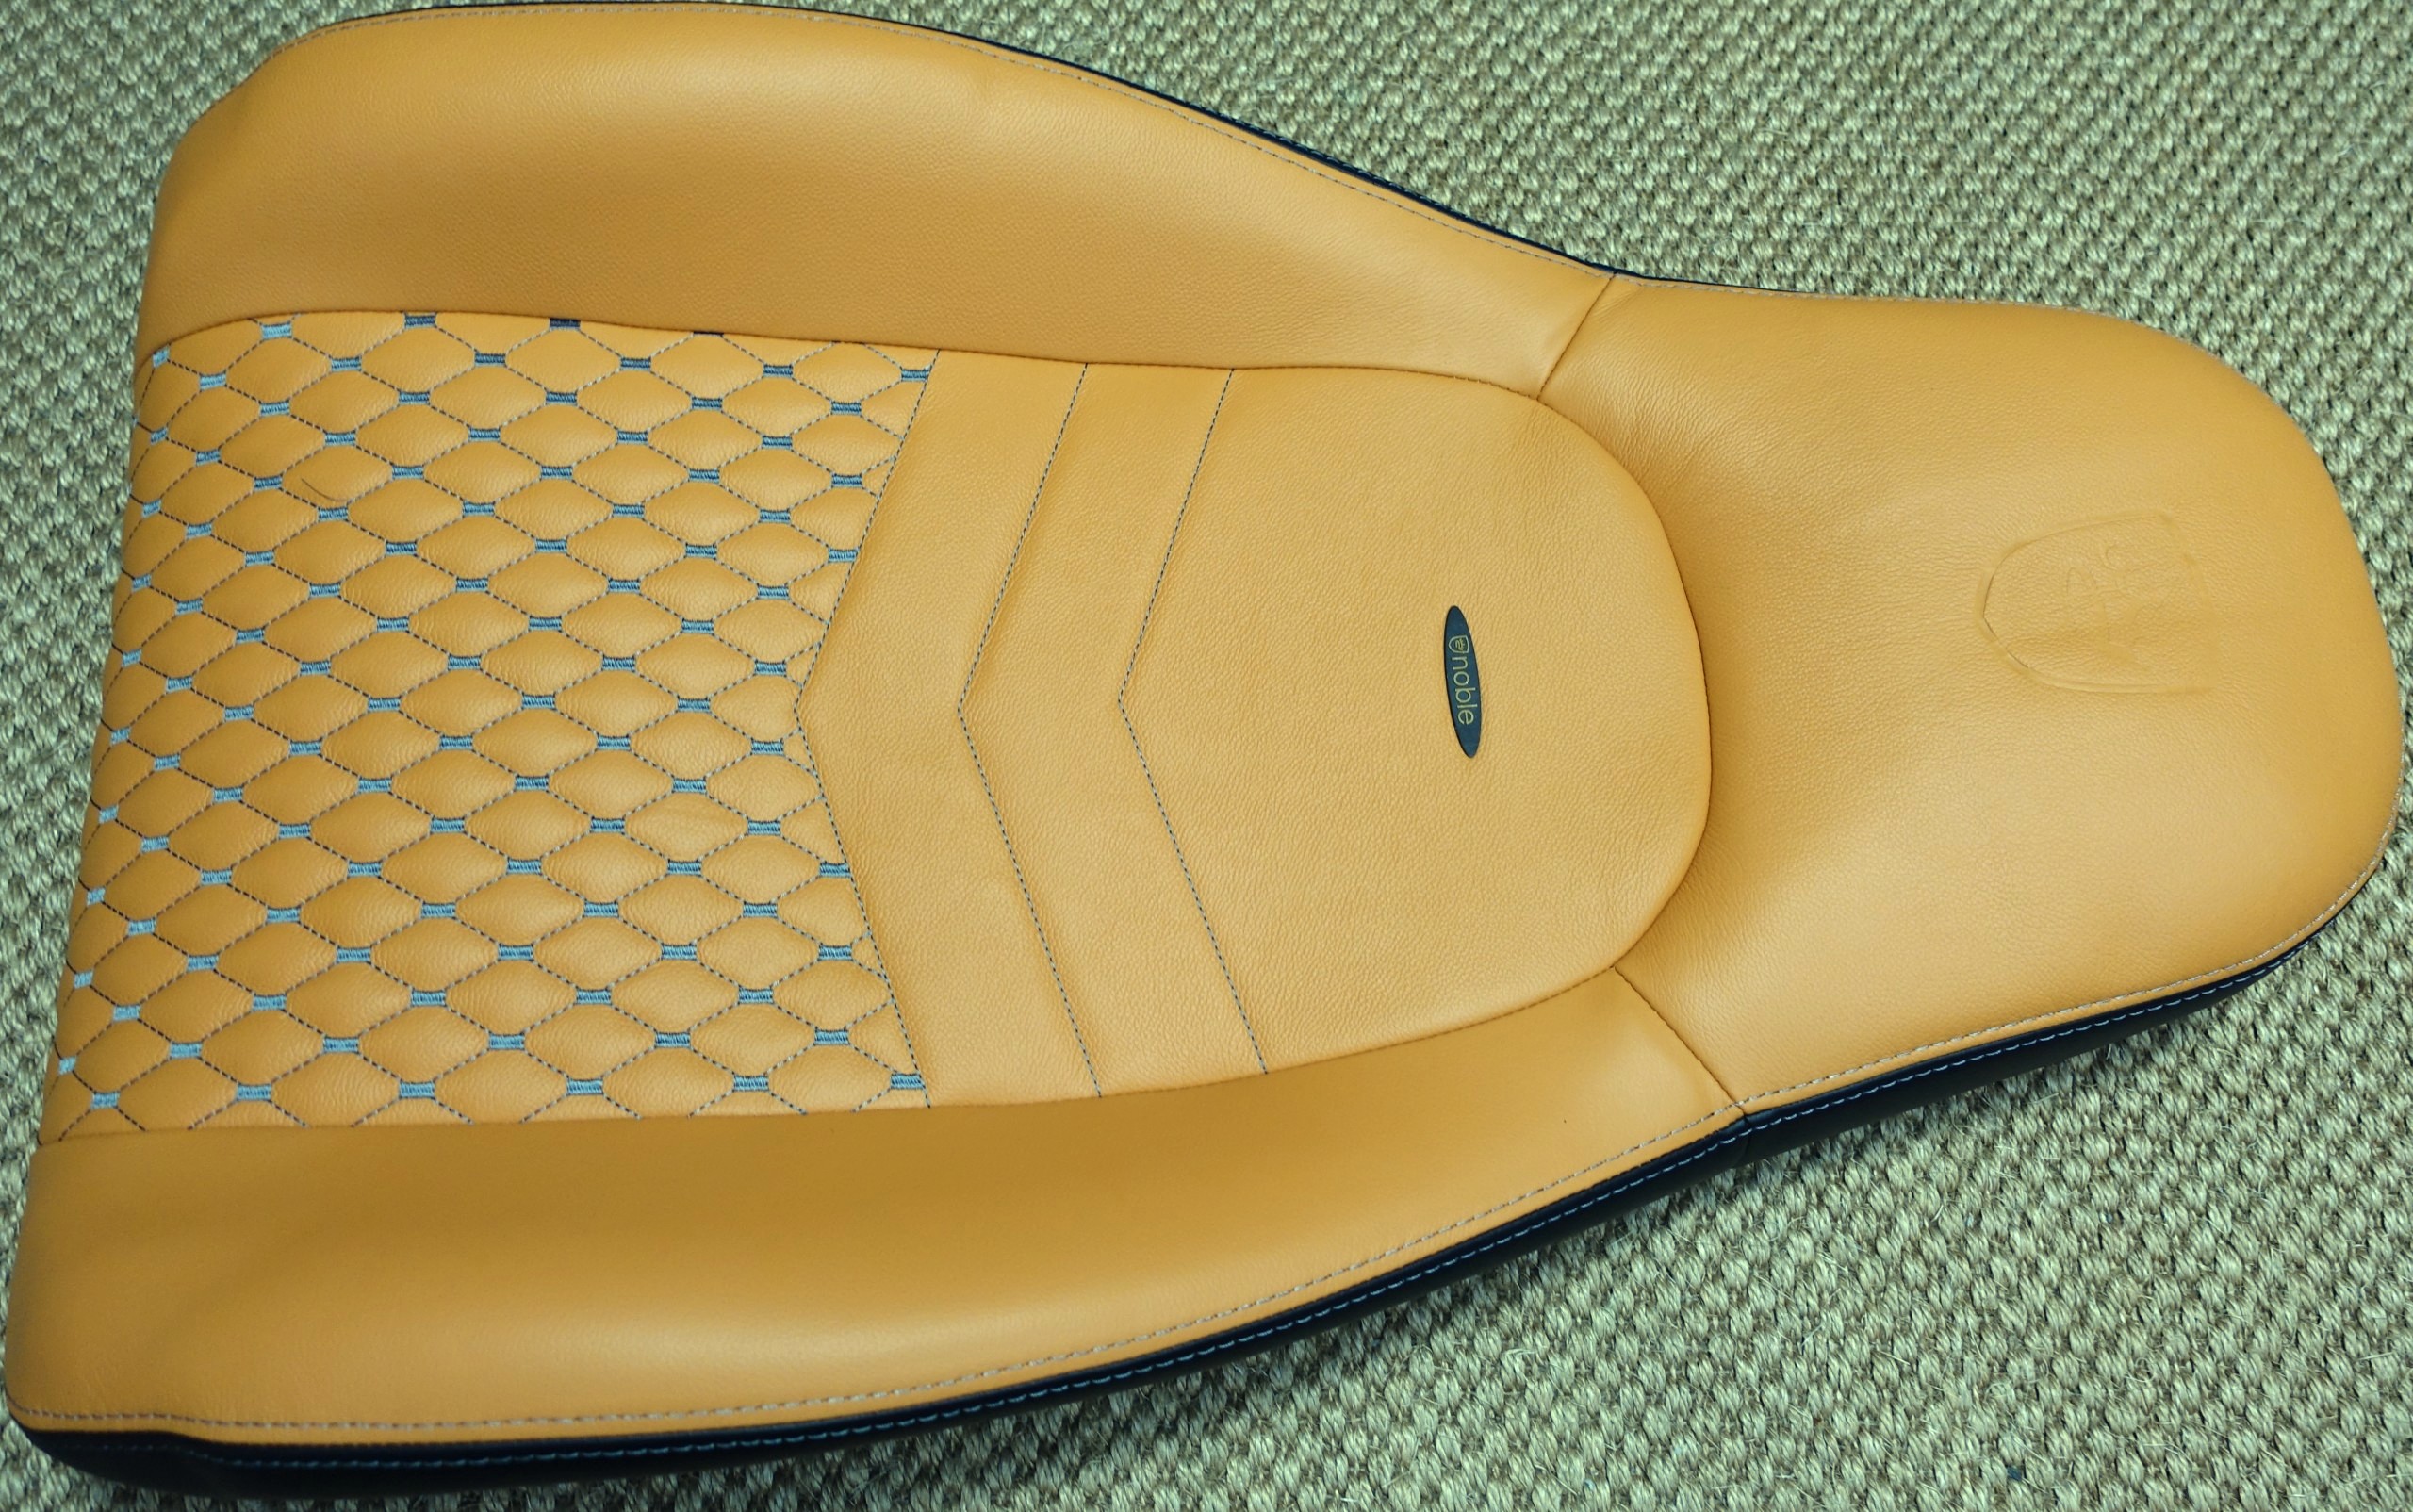
Next, we take the lower half of the seat. If you want, you can already assemble the mechanics, as awarded in the manual. However, we did NOT put the seat on the gas pressure spring as described, but do so much later with the fully assembled seat!
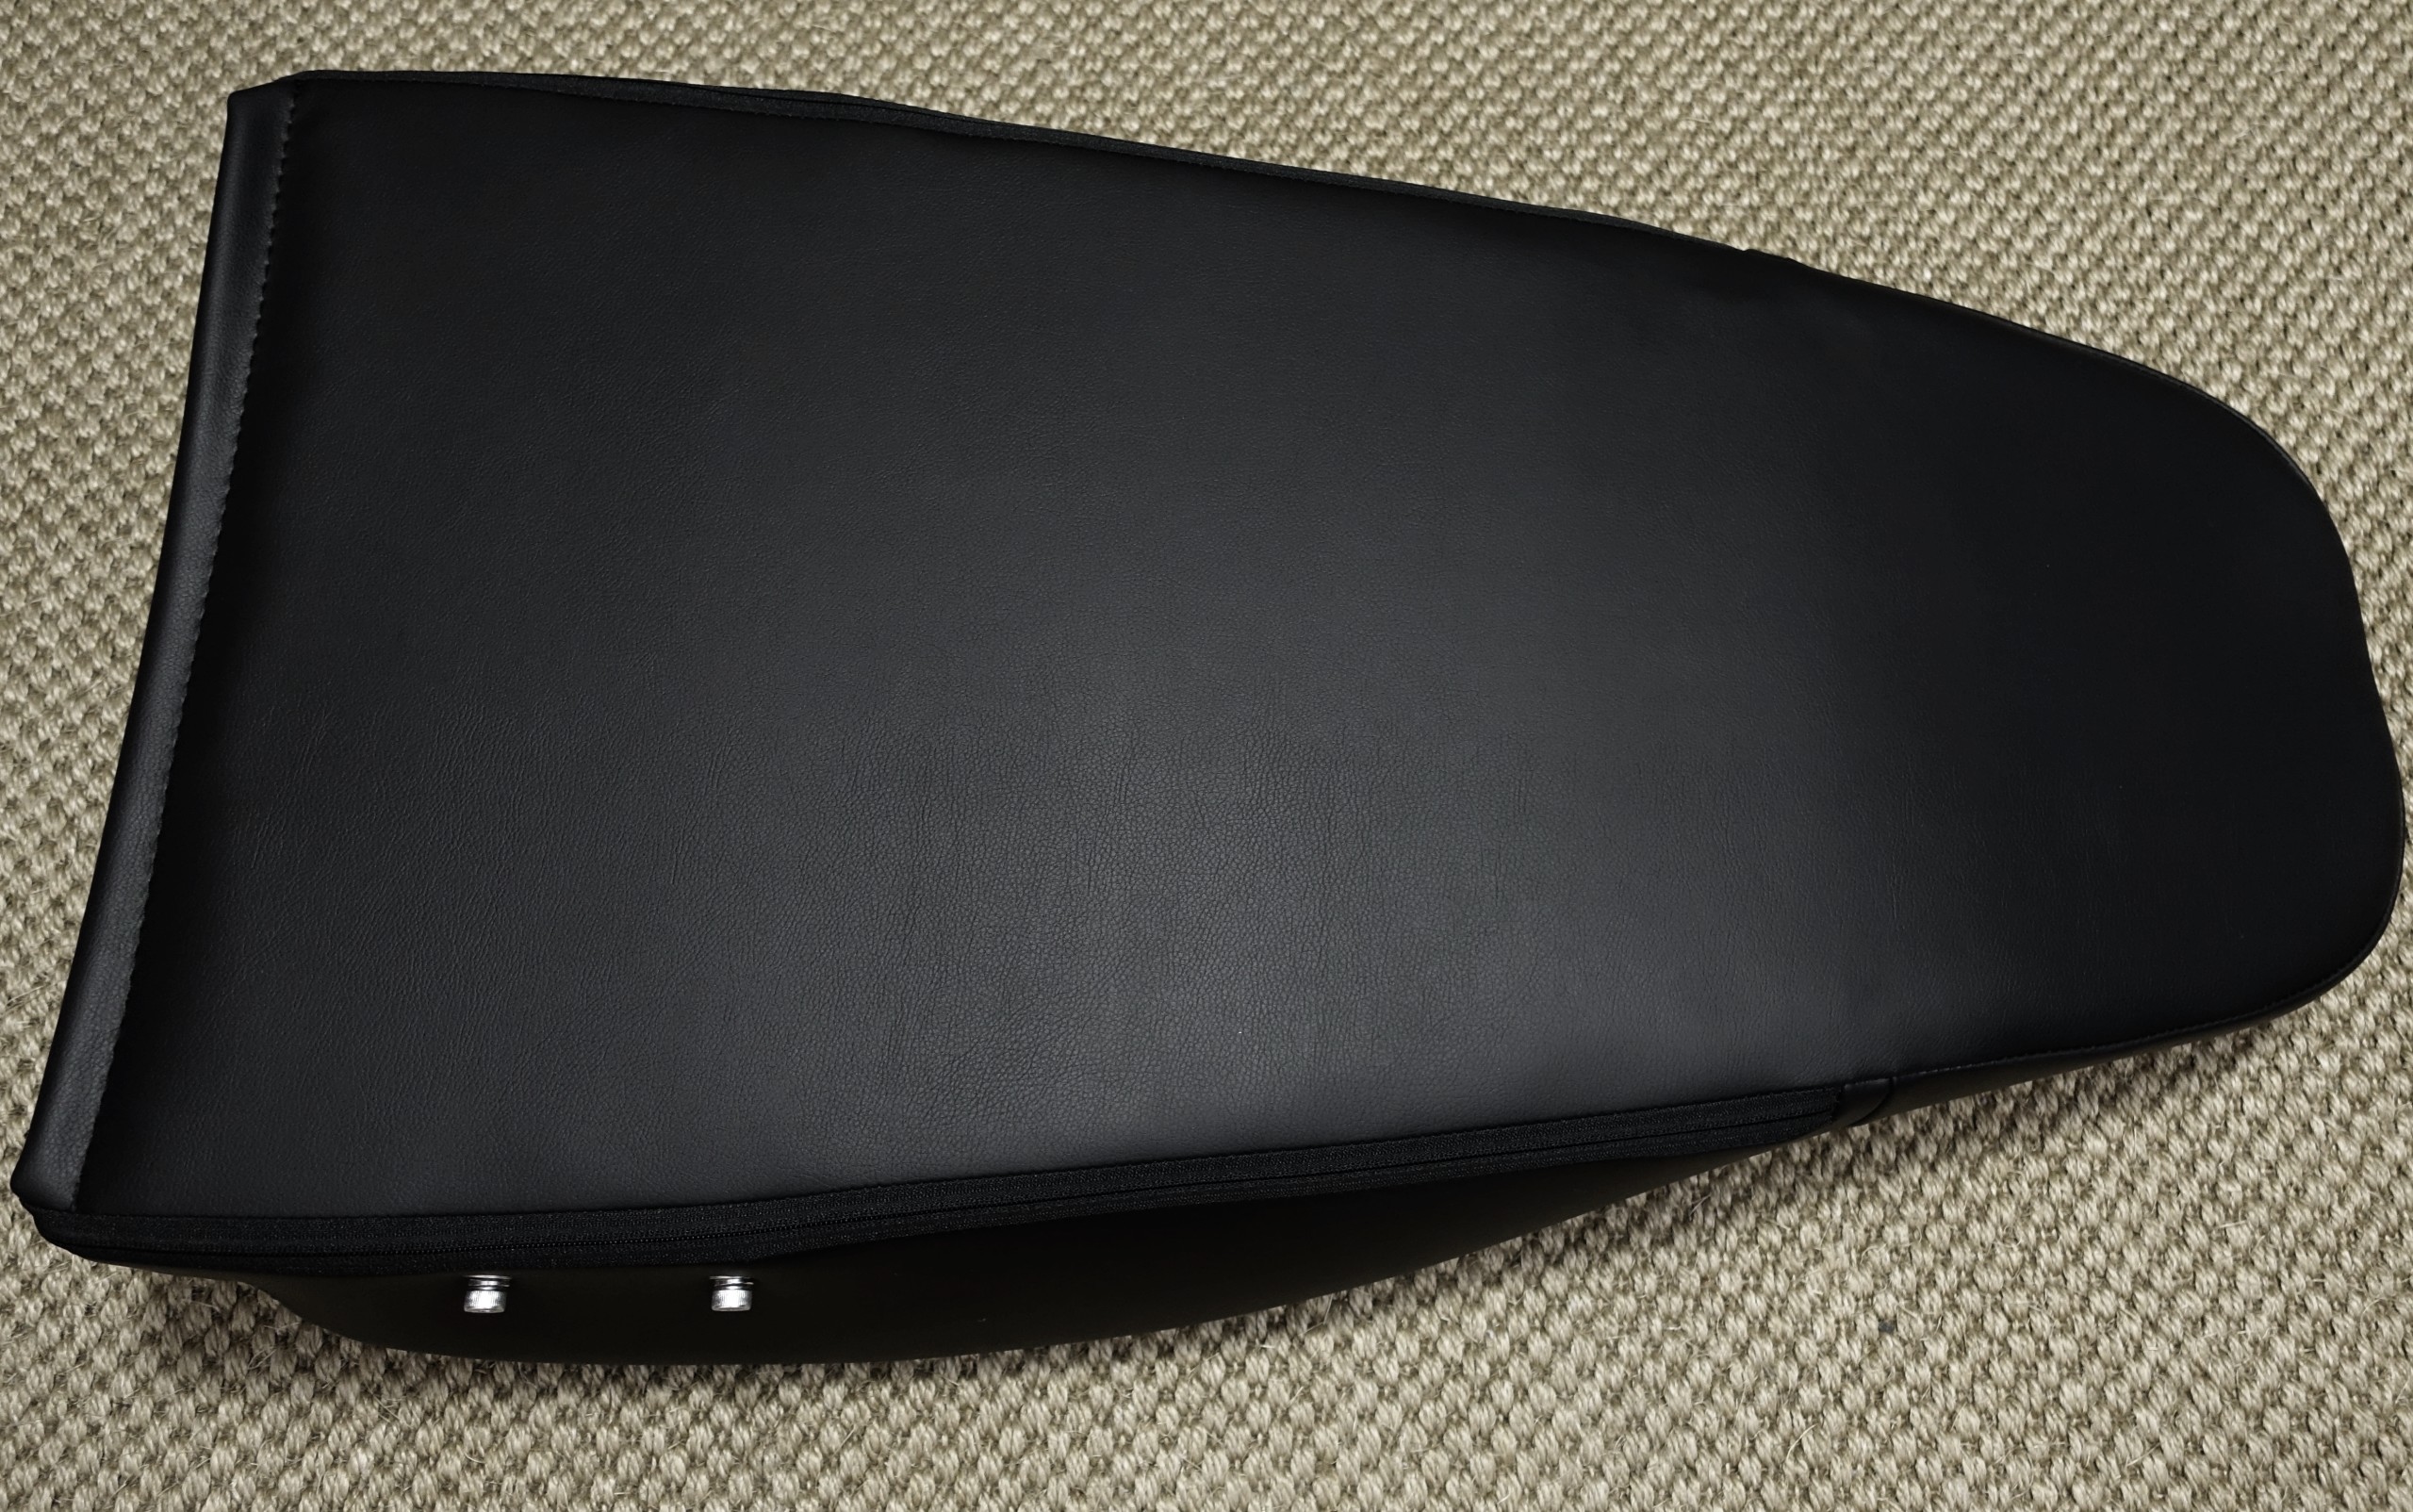
Contrary to the recommendations of the manual, we now take the backrest of the seat, the back of which is also covered with PU leather imitation in the leather version, and remove the four screws in total. If one falls down: pay attention to the correct position of the blast ring, if it has been re-inserted!
 |
 |
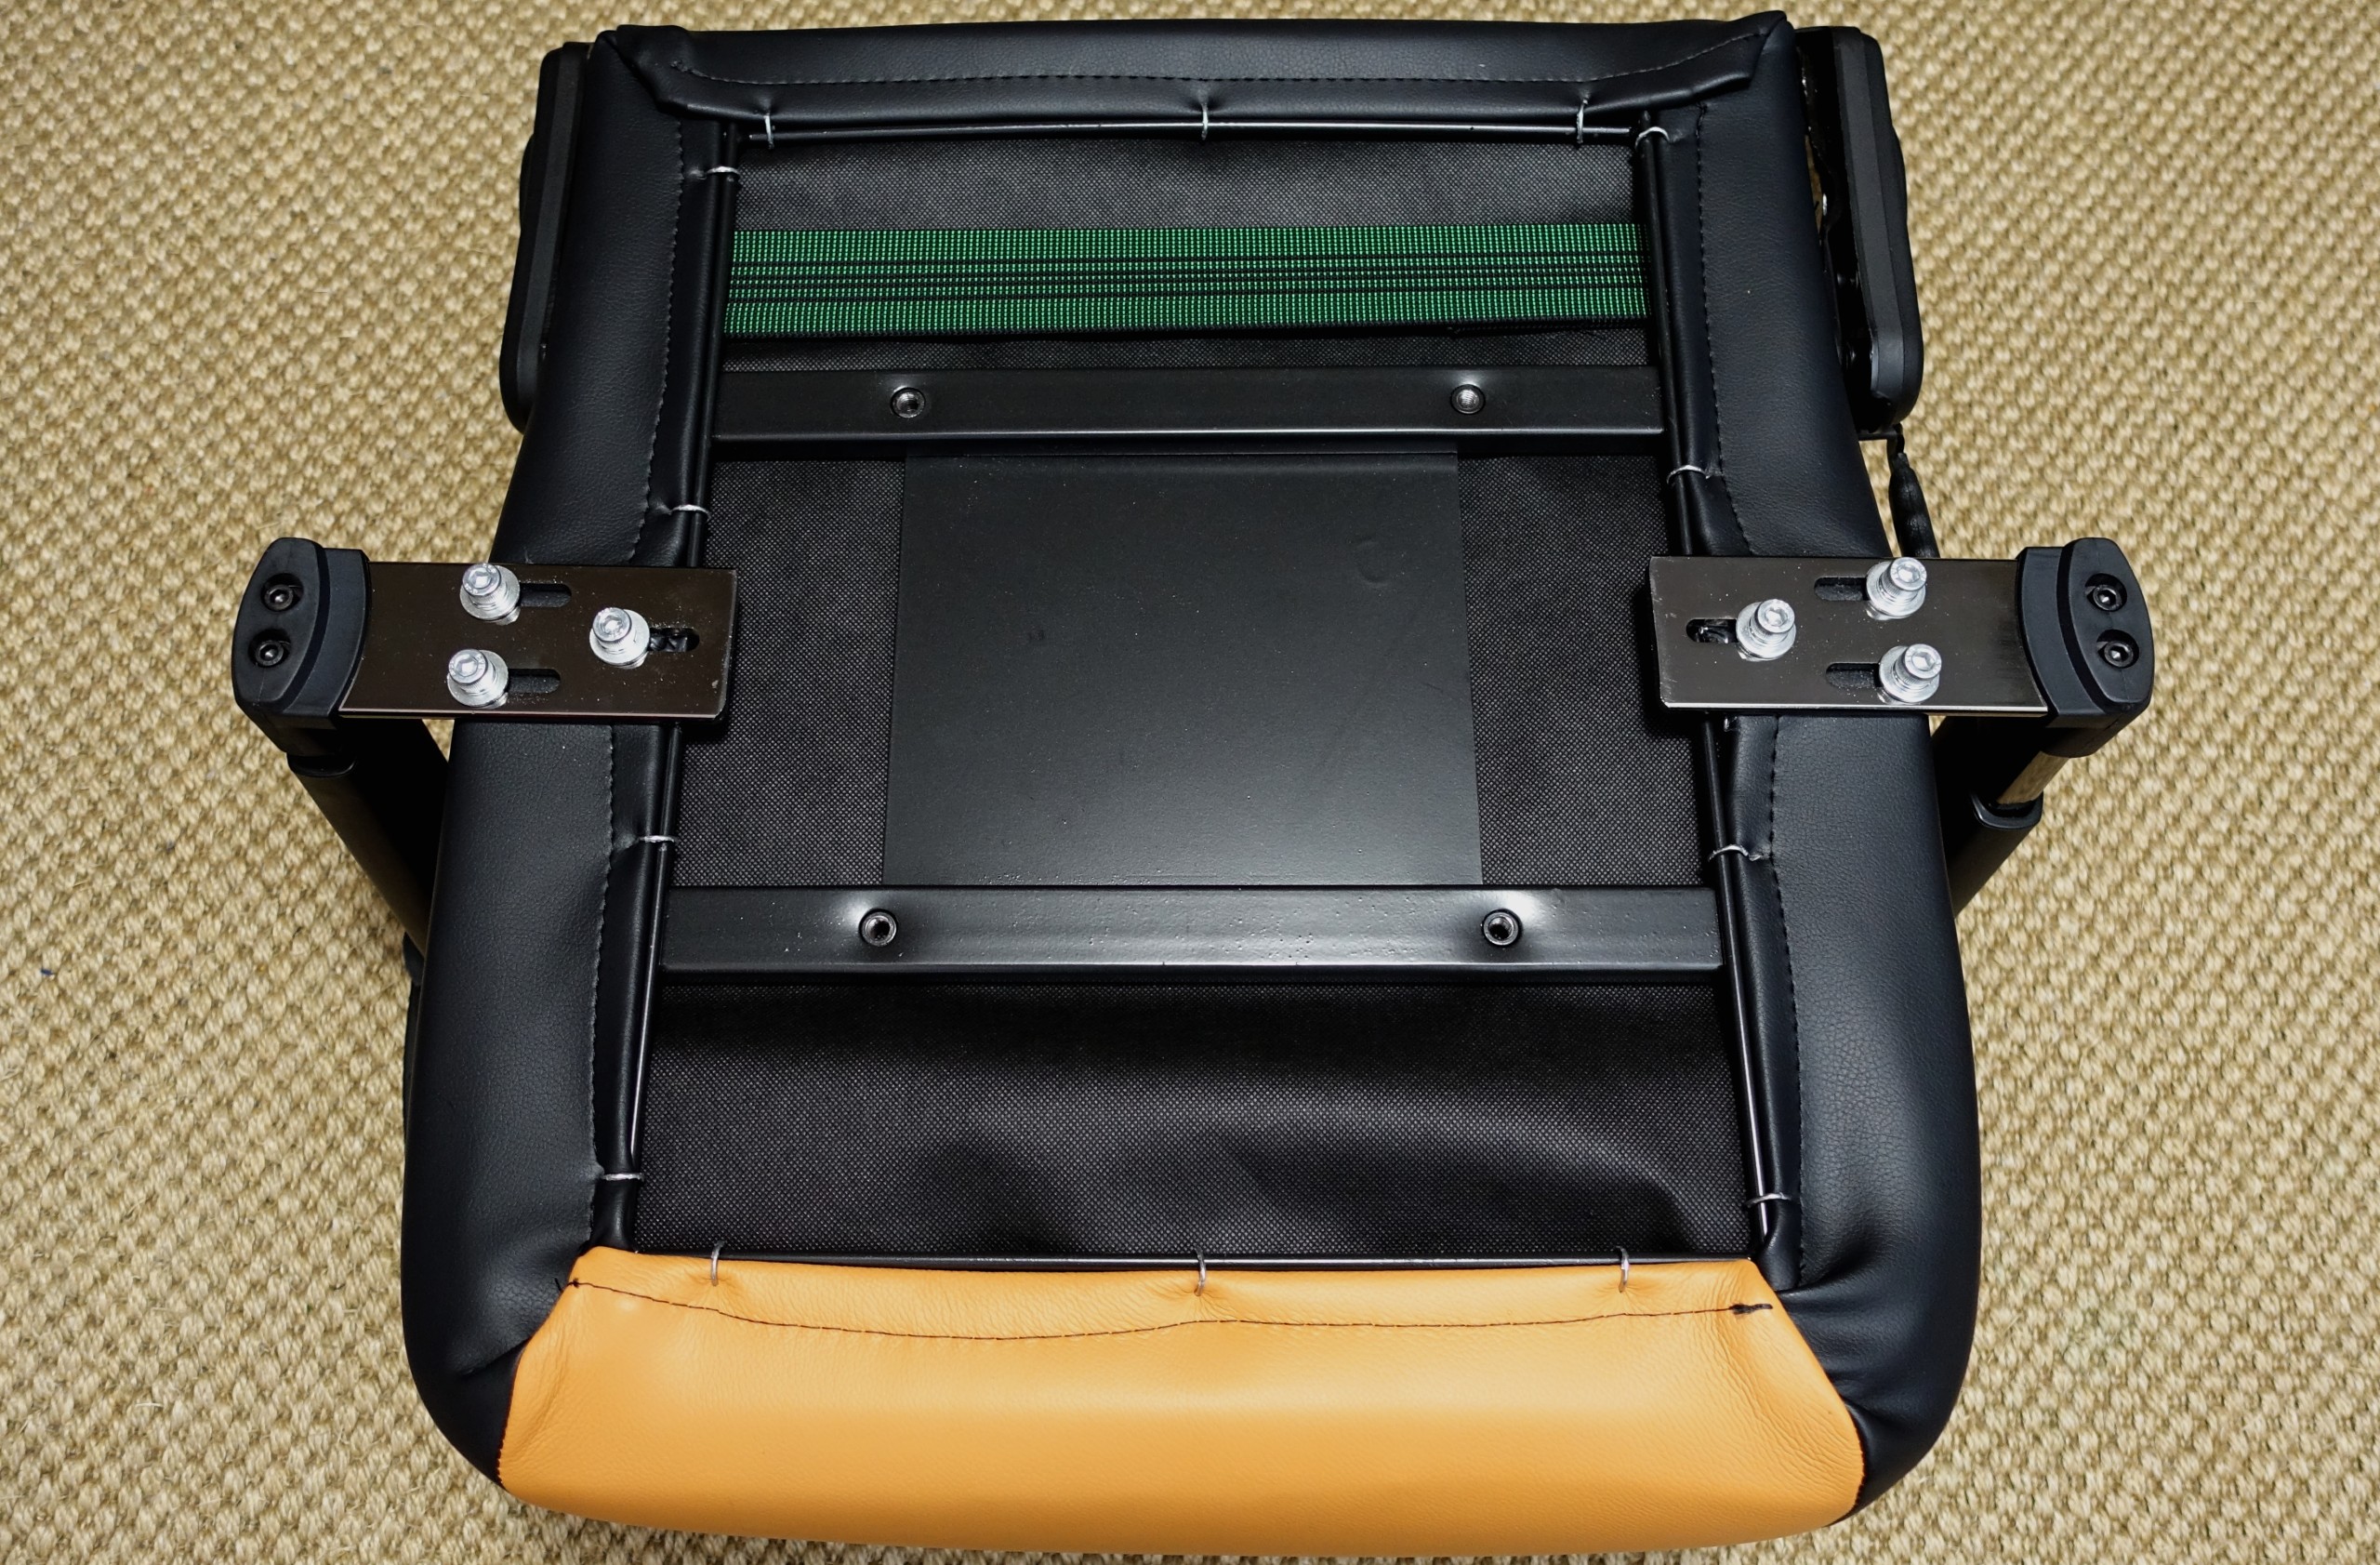
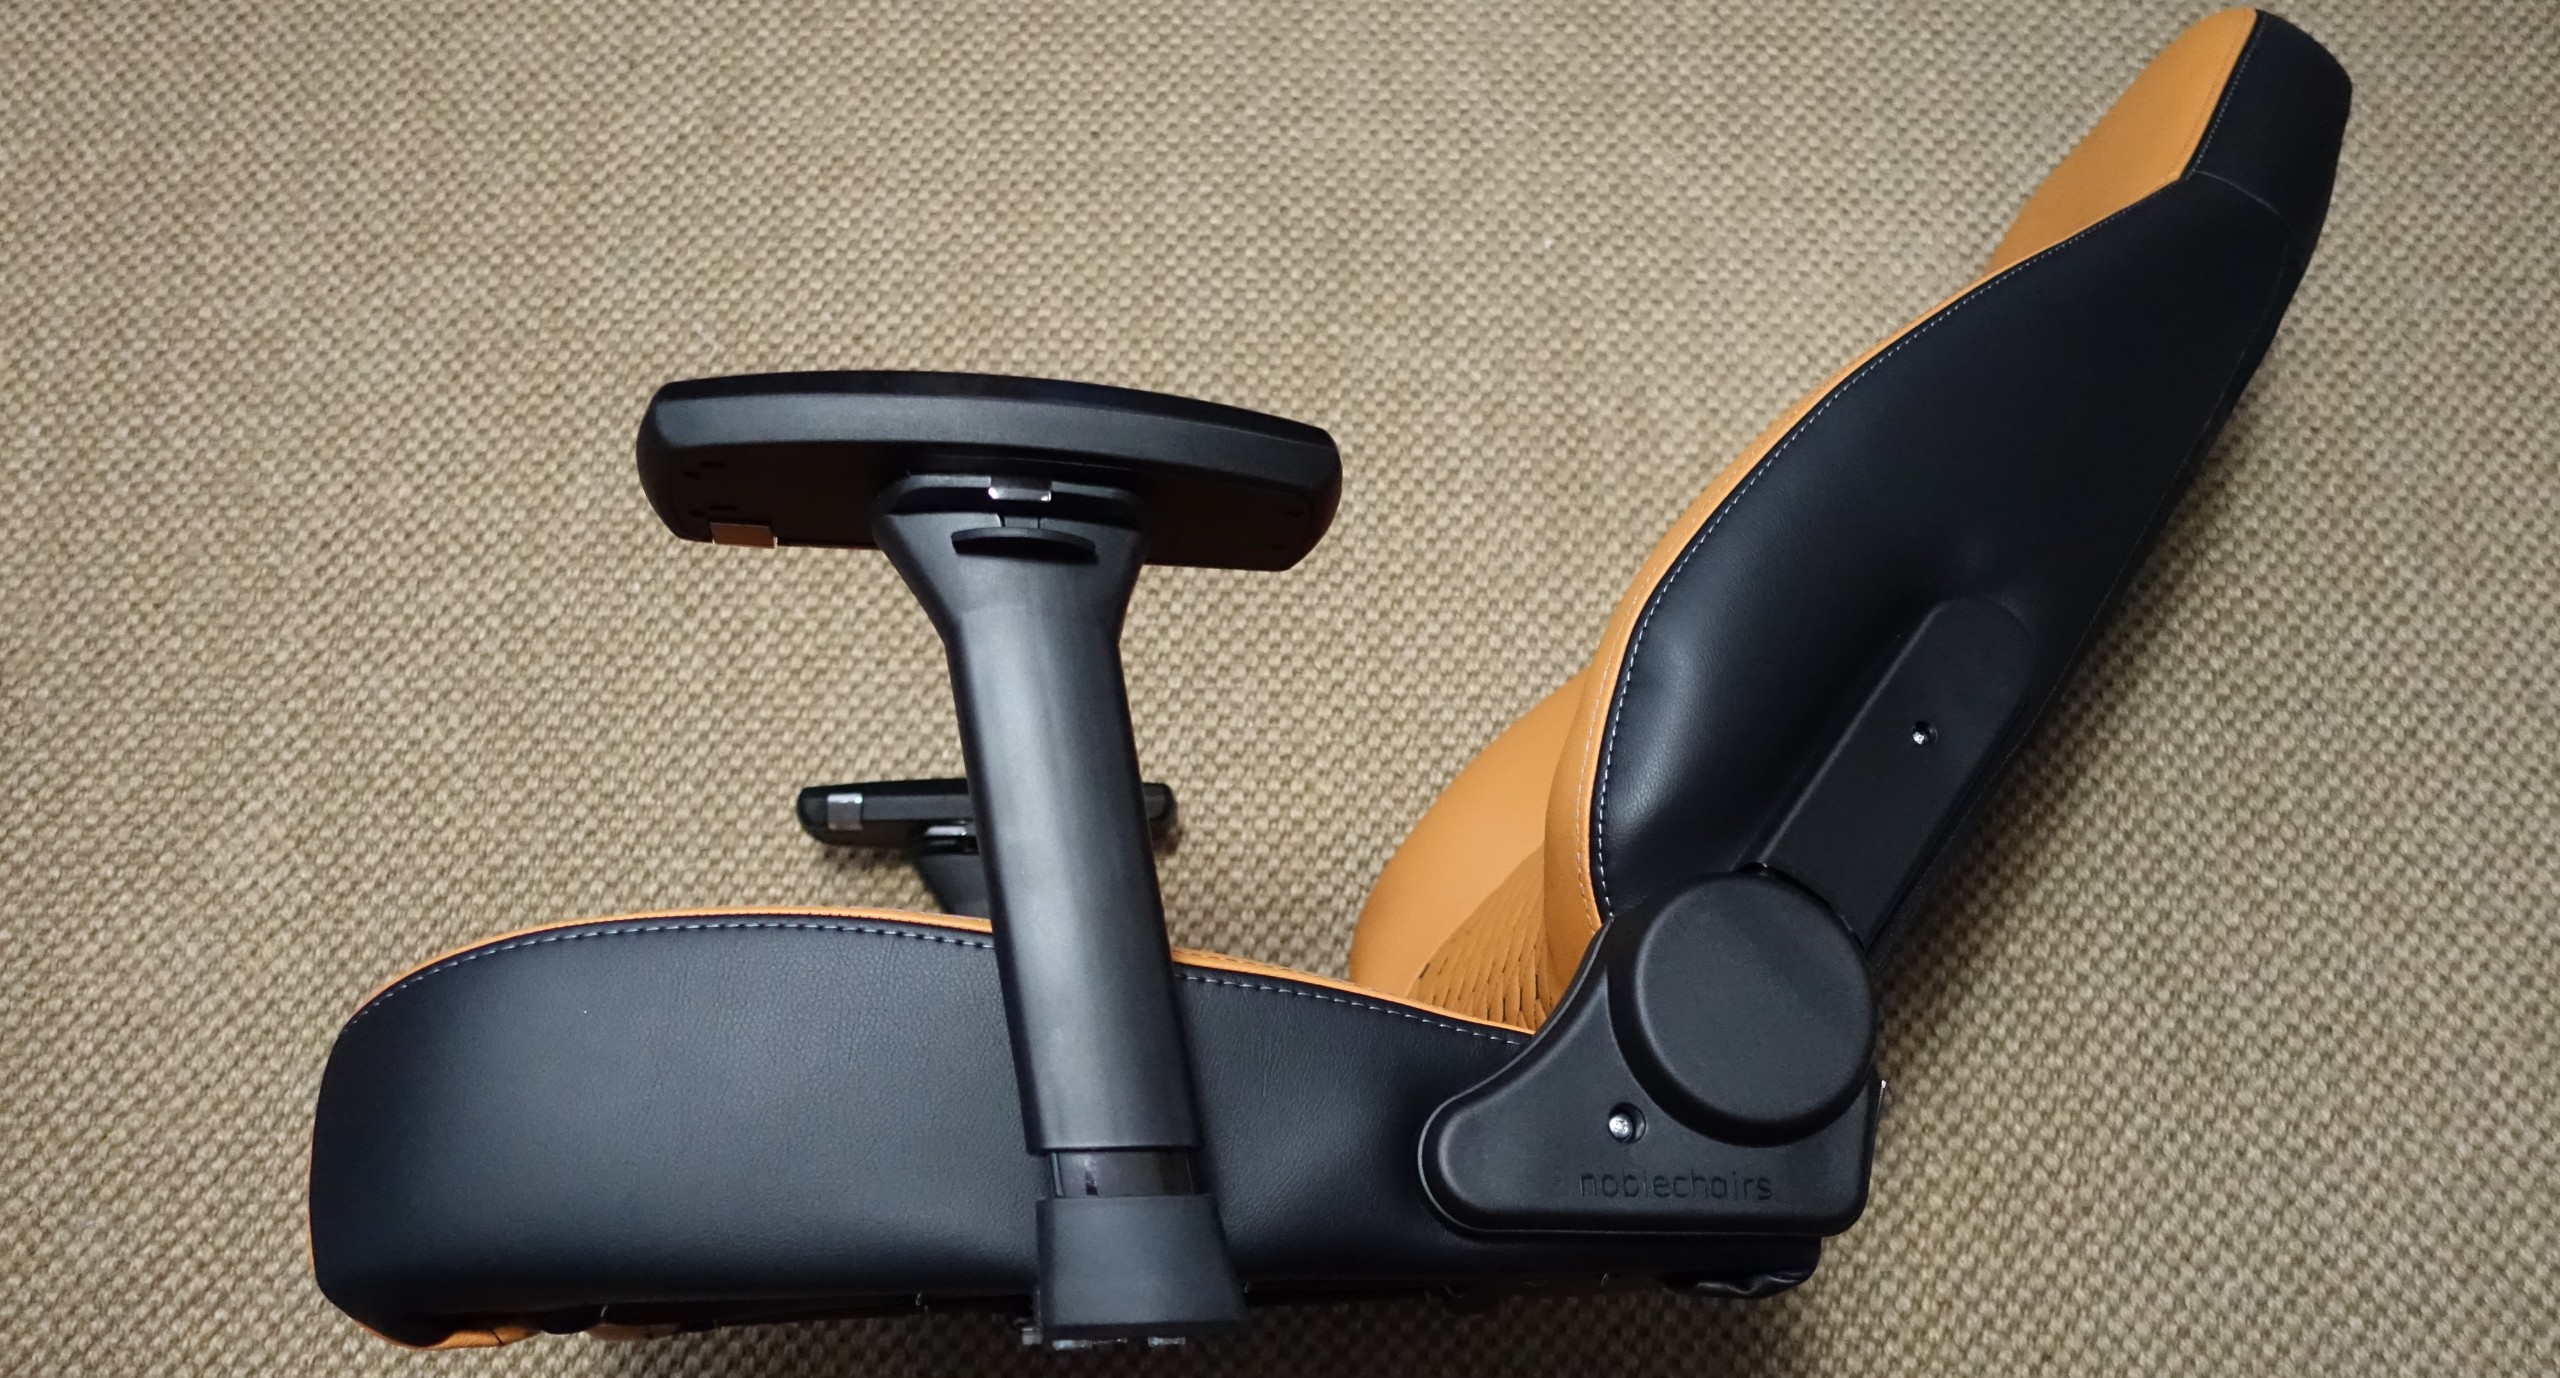
We place both parts 90° upright on the side and first screw the fixed, right side with the tilting mechanism for the backrest.

Then we carefully turn the seat over and repeat the whole for the left side with the movable bracket. If you want to solve all this in the already set up state according to the manual, at least a second person would need to hold the backrest and even then the assembly is rather fiddly. However, we can already devote ourselves to the covers, which can also be screwed much better when lying down.
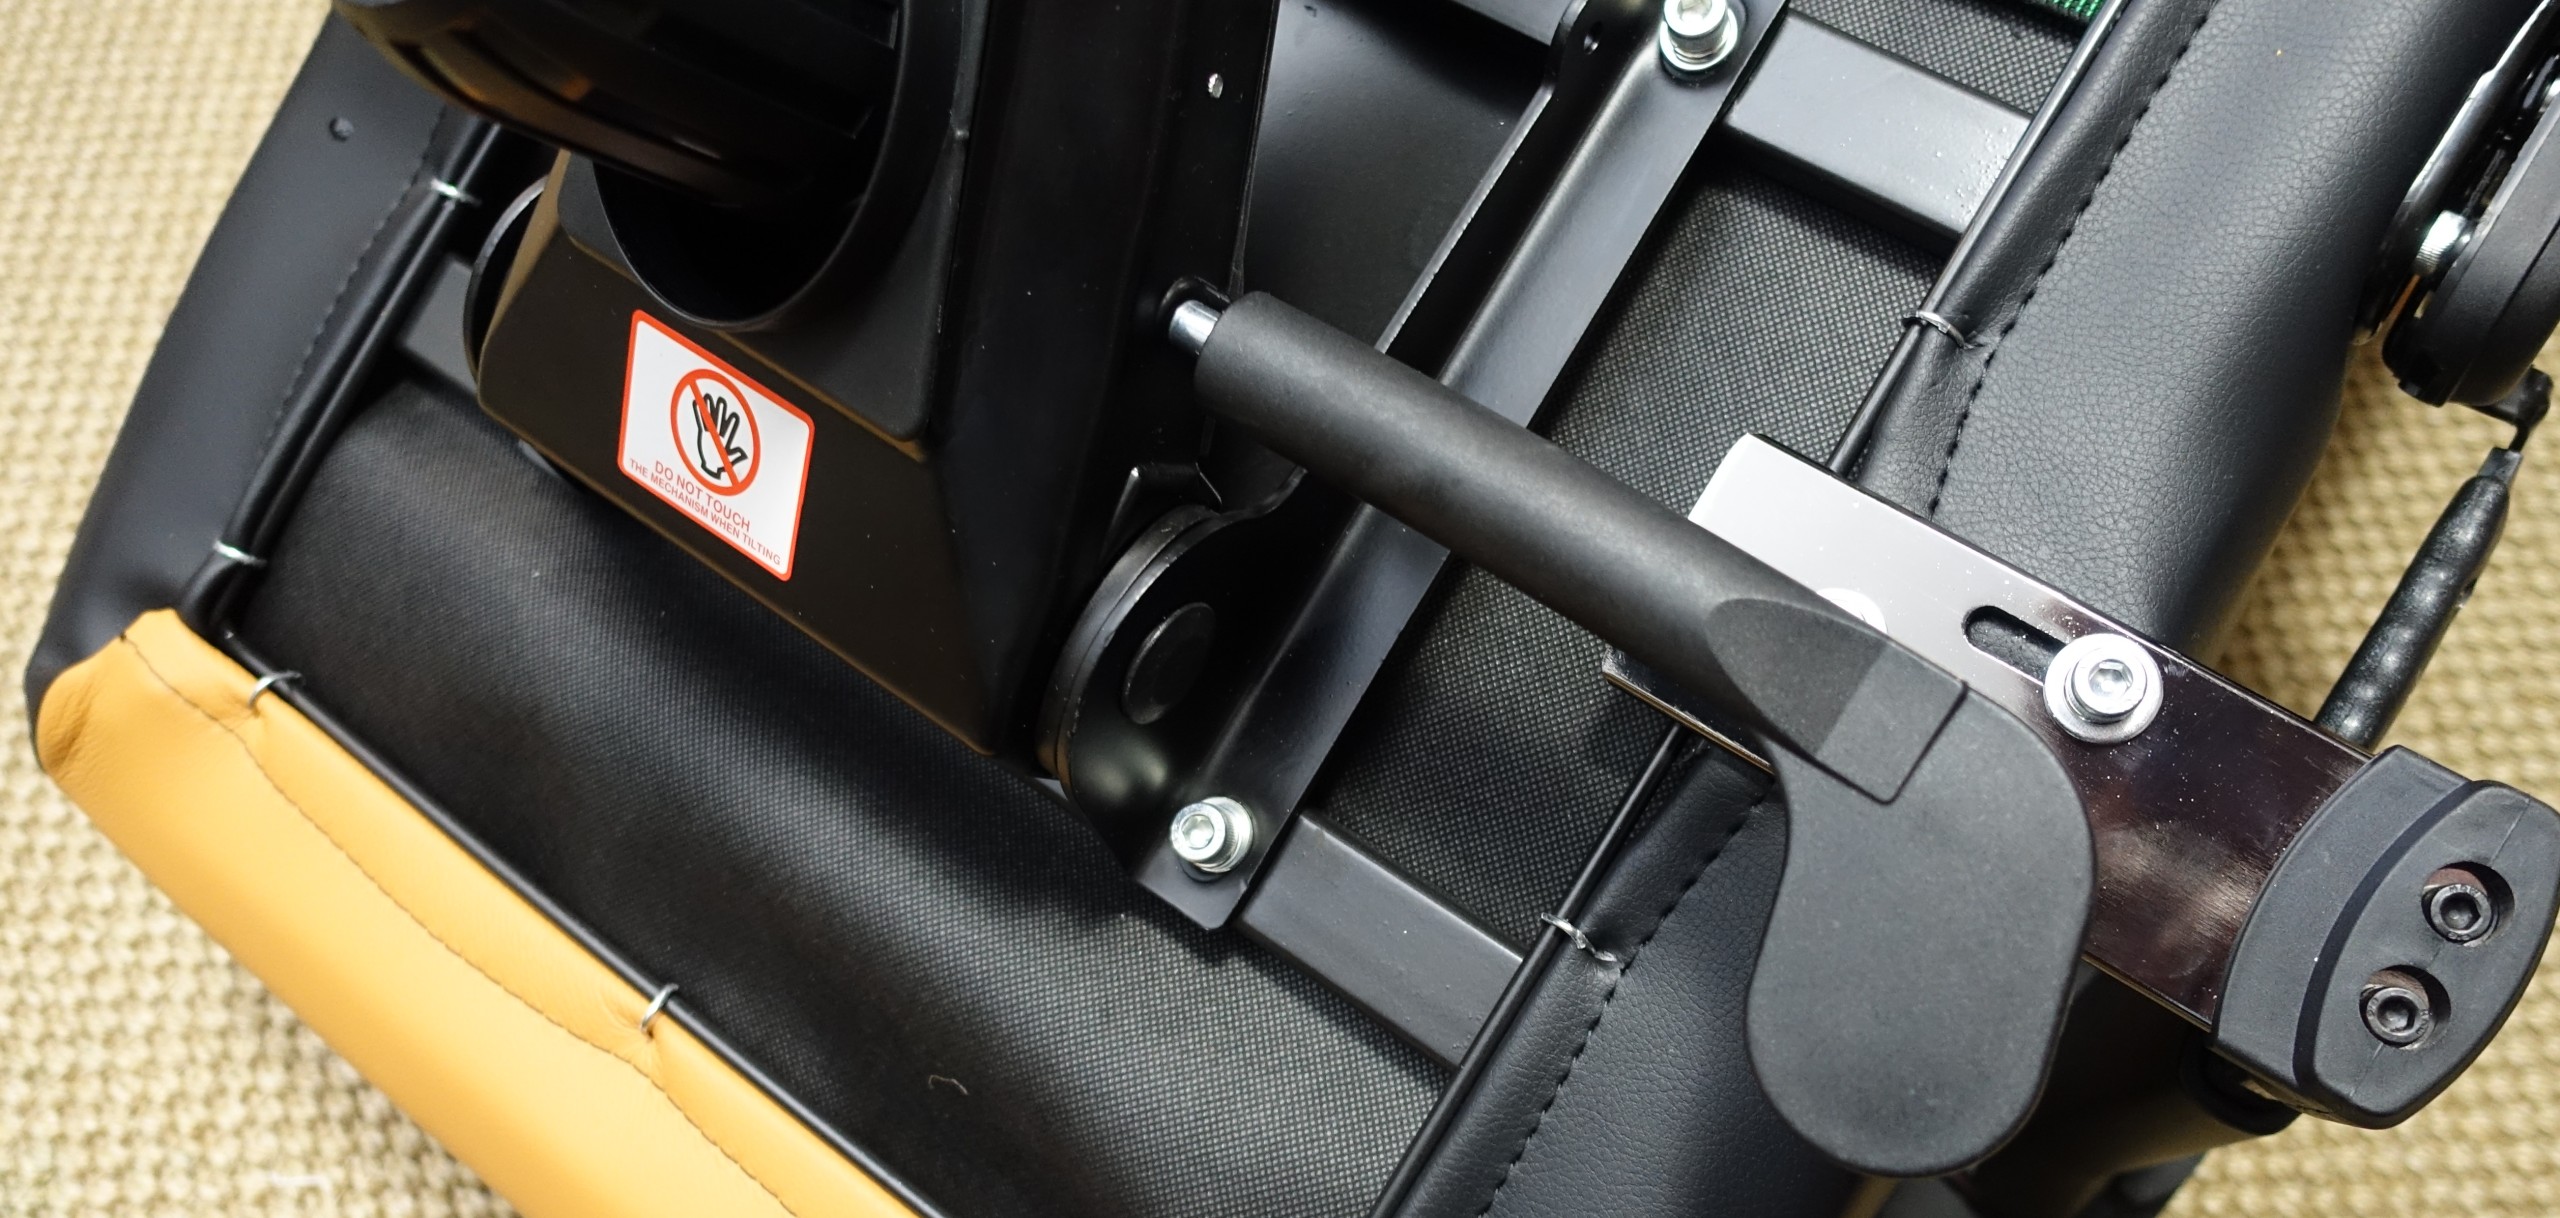
In the end, it's the mechanics' turn, if we haven't screwed it on yet. However, we deliberately leave the two plastic paddles for the seesaws to the left and mount them at the very end for good reason!
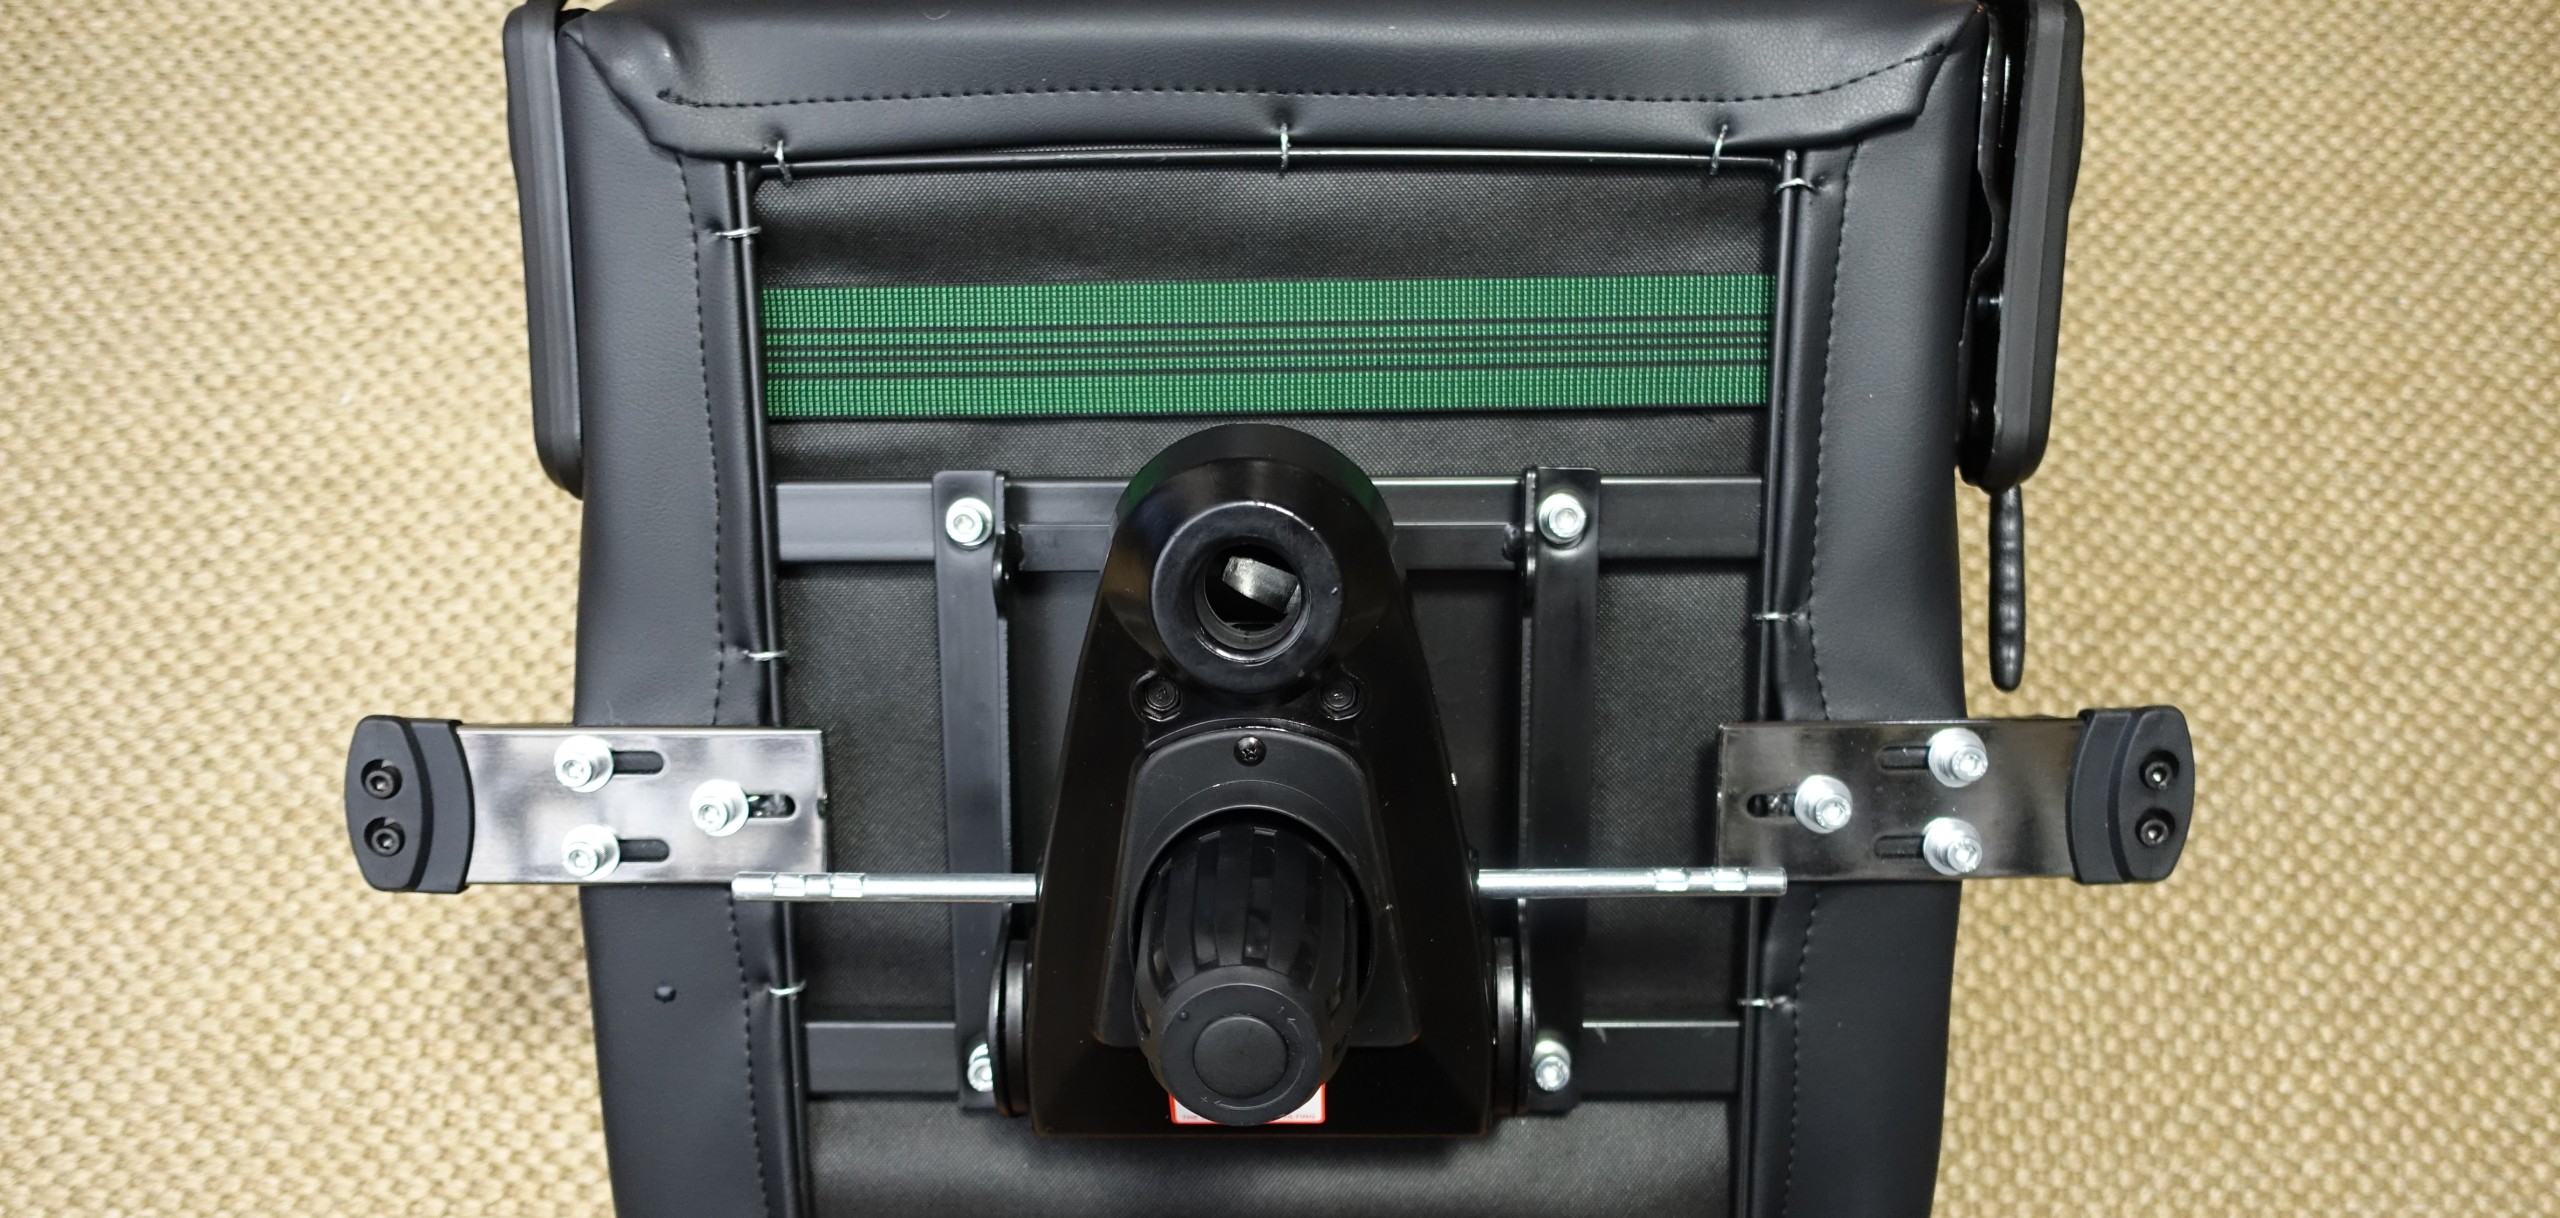
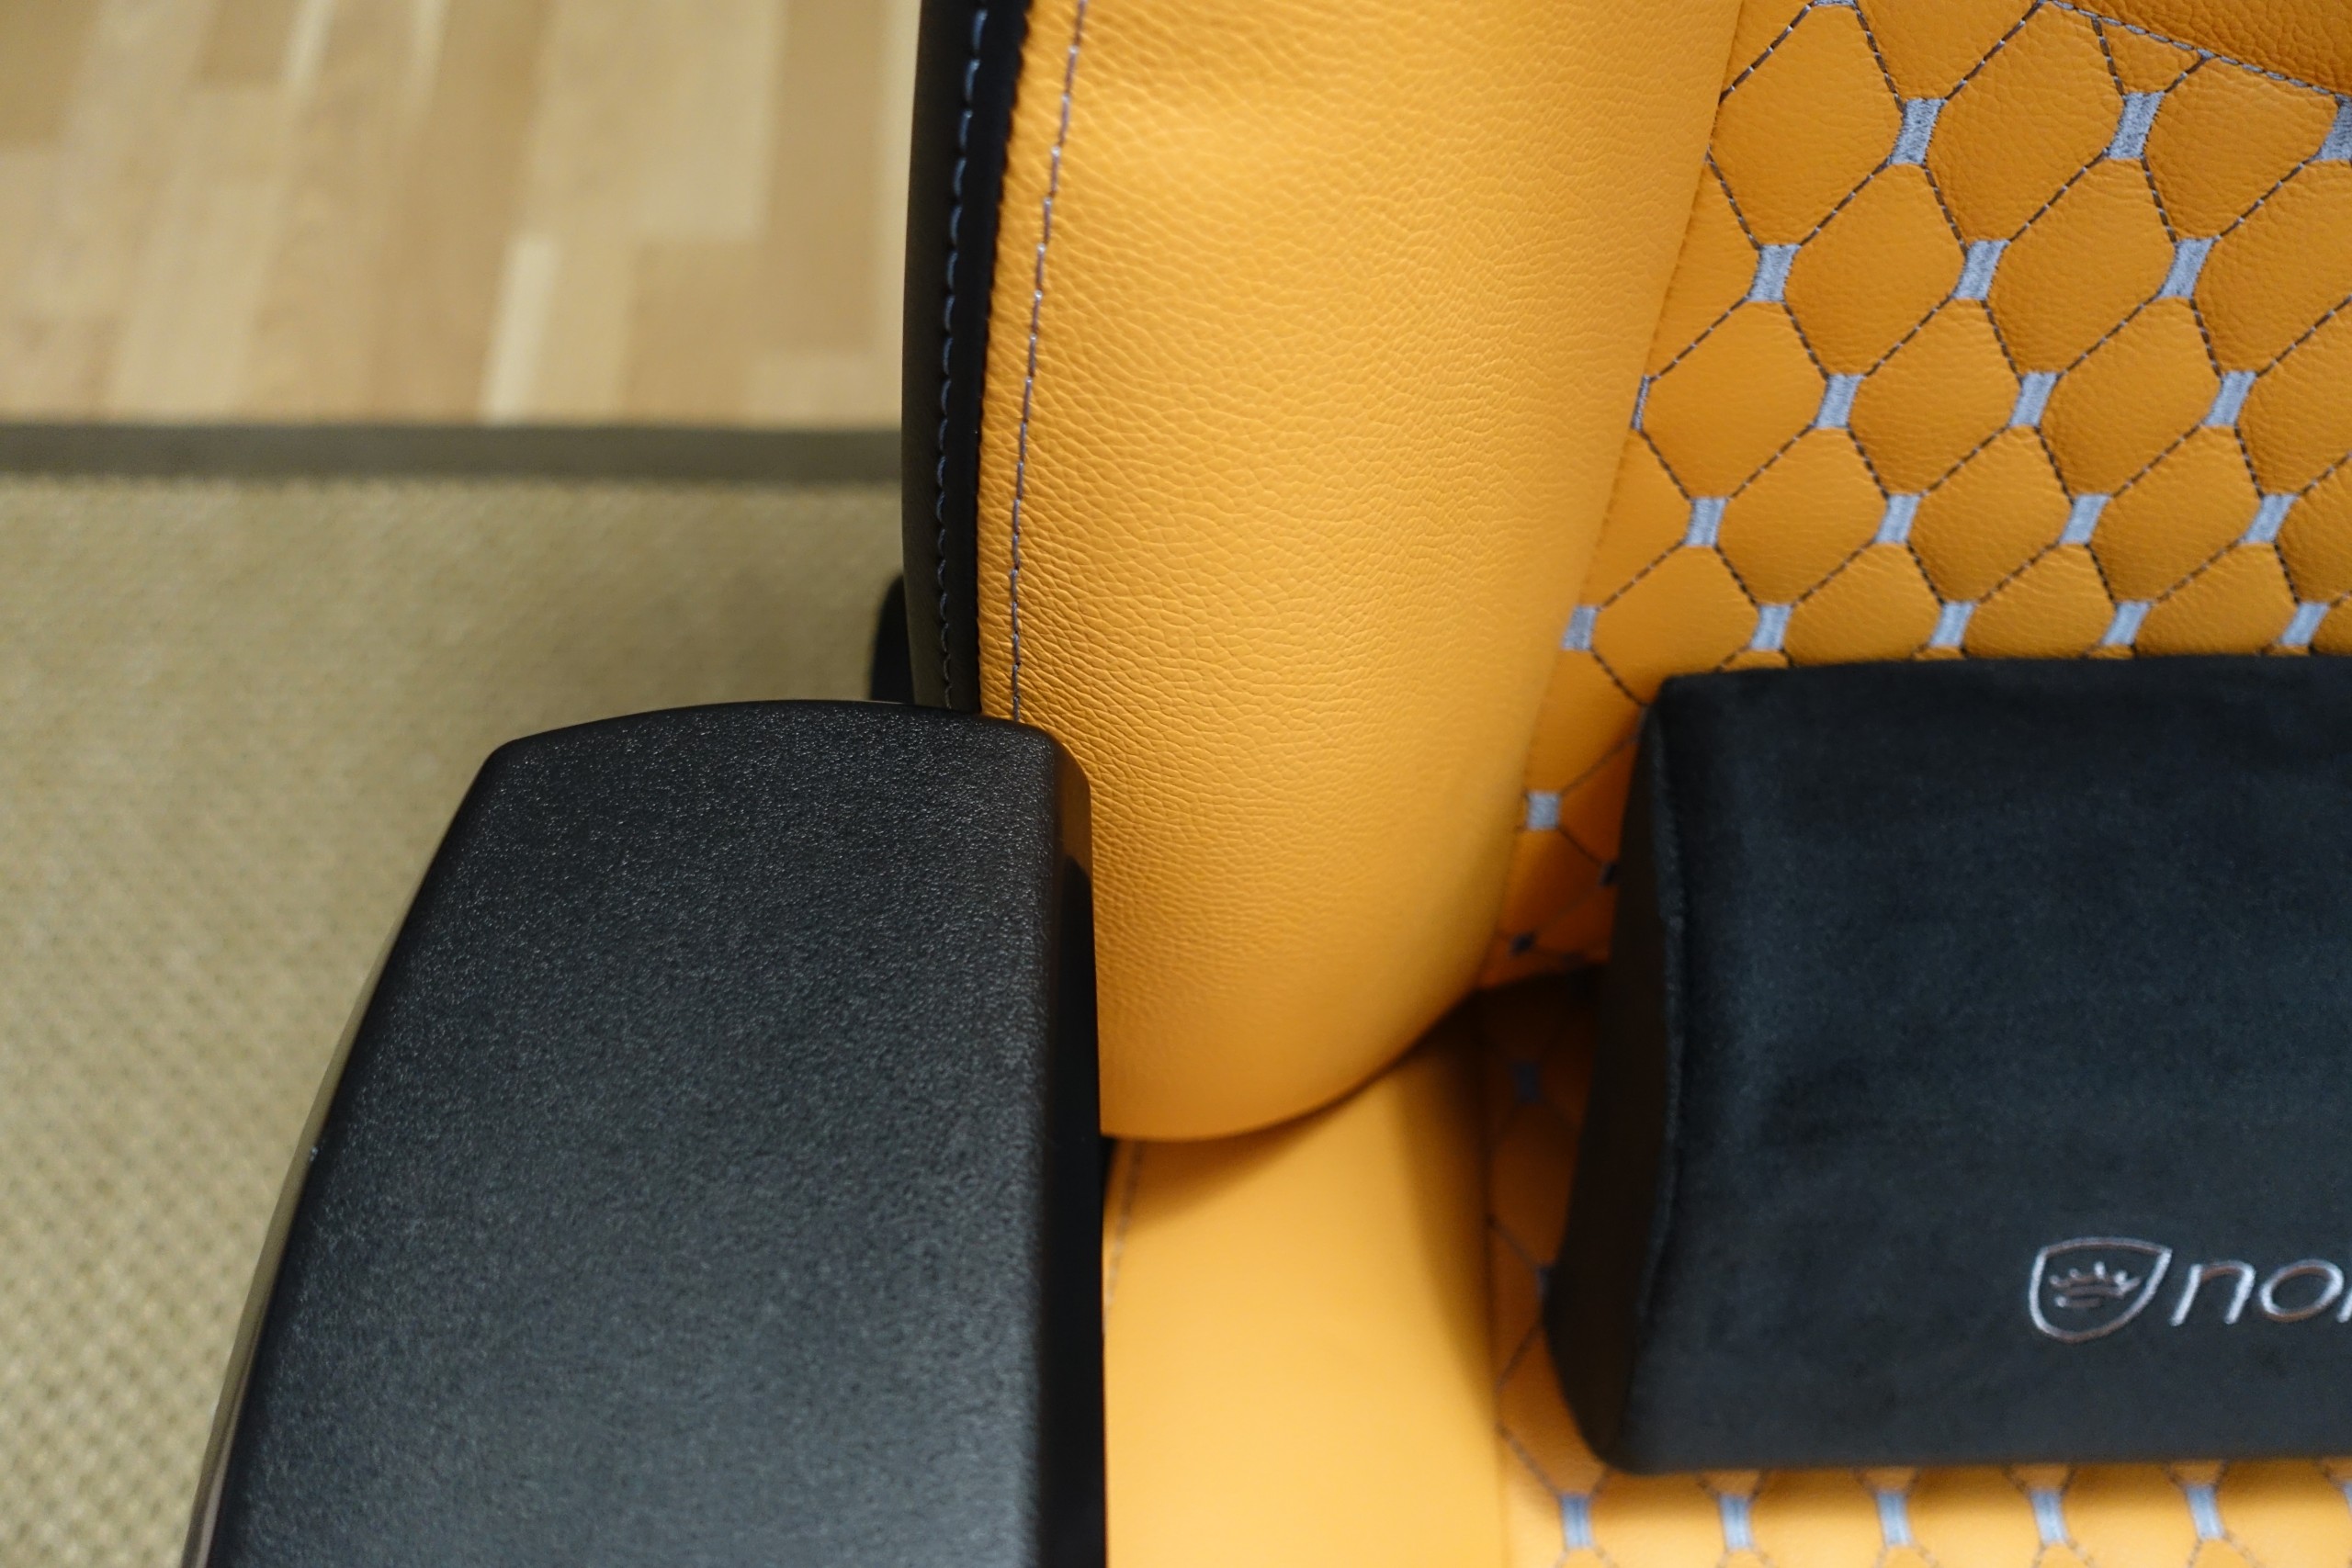
Before we do this, we should first check the position of the arm rests in the retracted state! These have not necessarily been screwed symmetrically.
 |
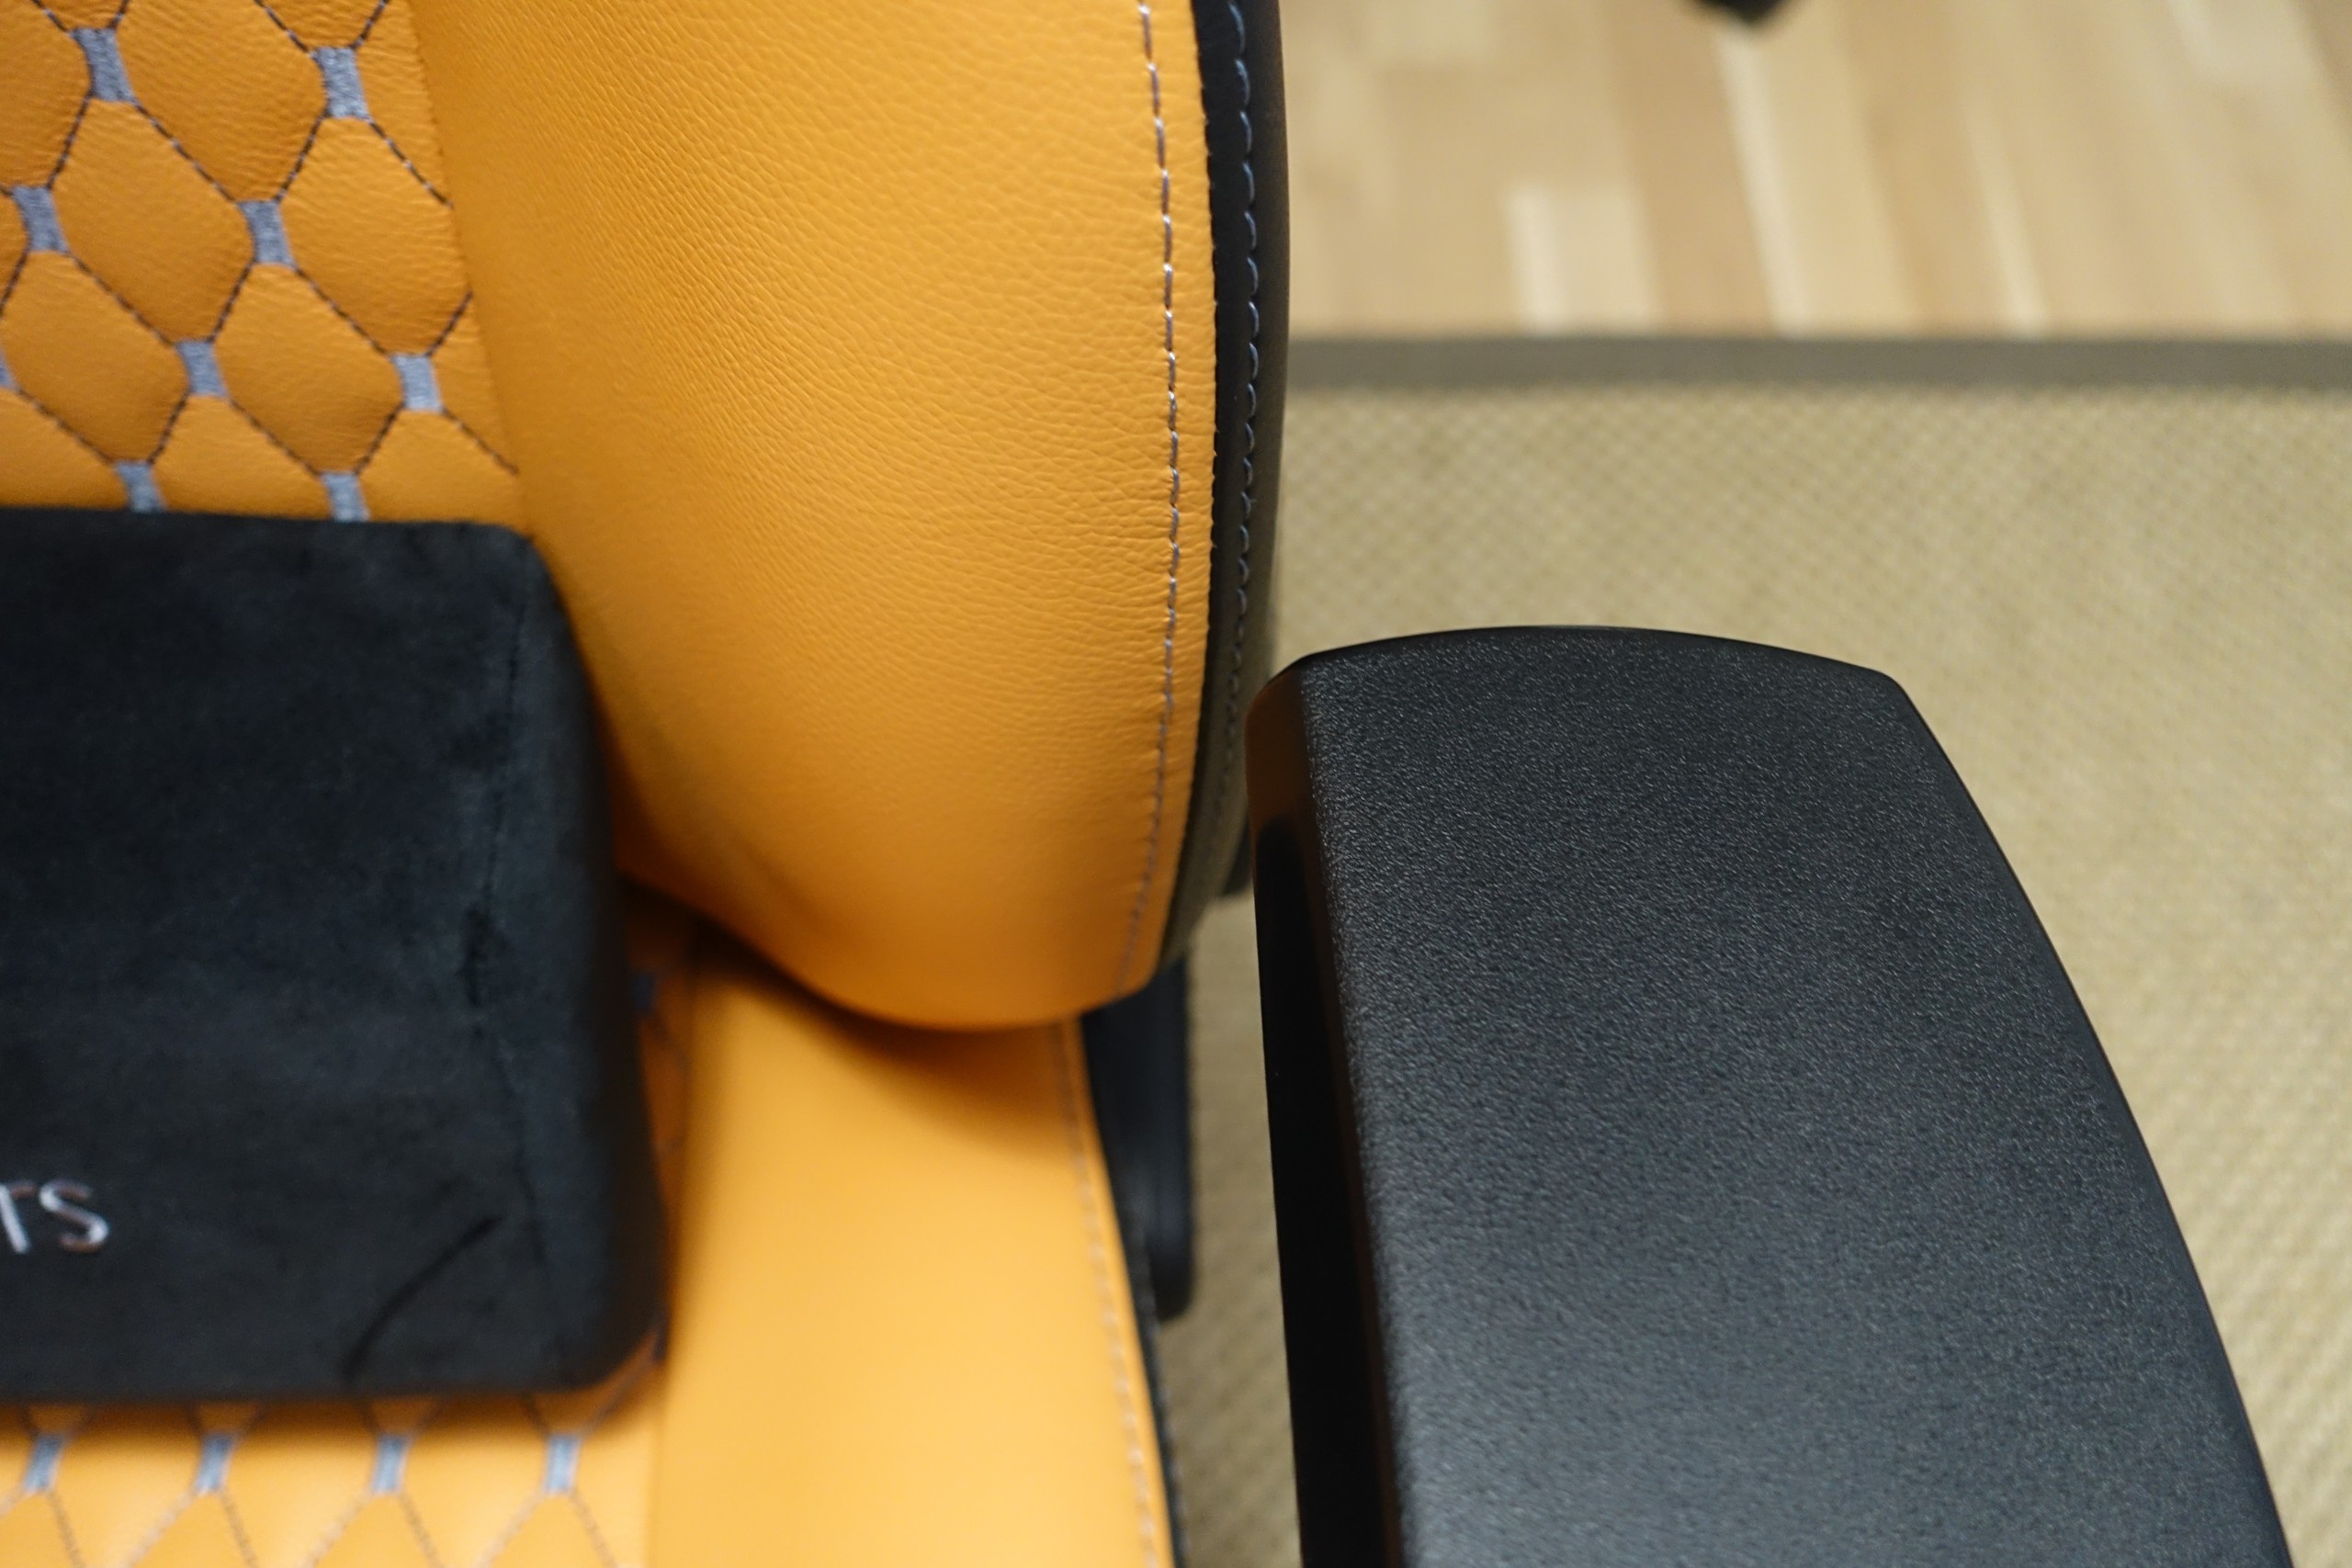 |
Since the holding angles have been provided with long holes, several centimetres of clearance are available to perfectly adjust and adjust the distances. However, if the paddles have already been inserted beforehand, as described in the manual, the key collides with the paddles when the screws are released (see picture below).
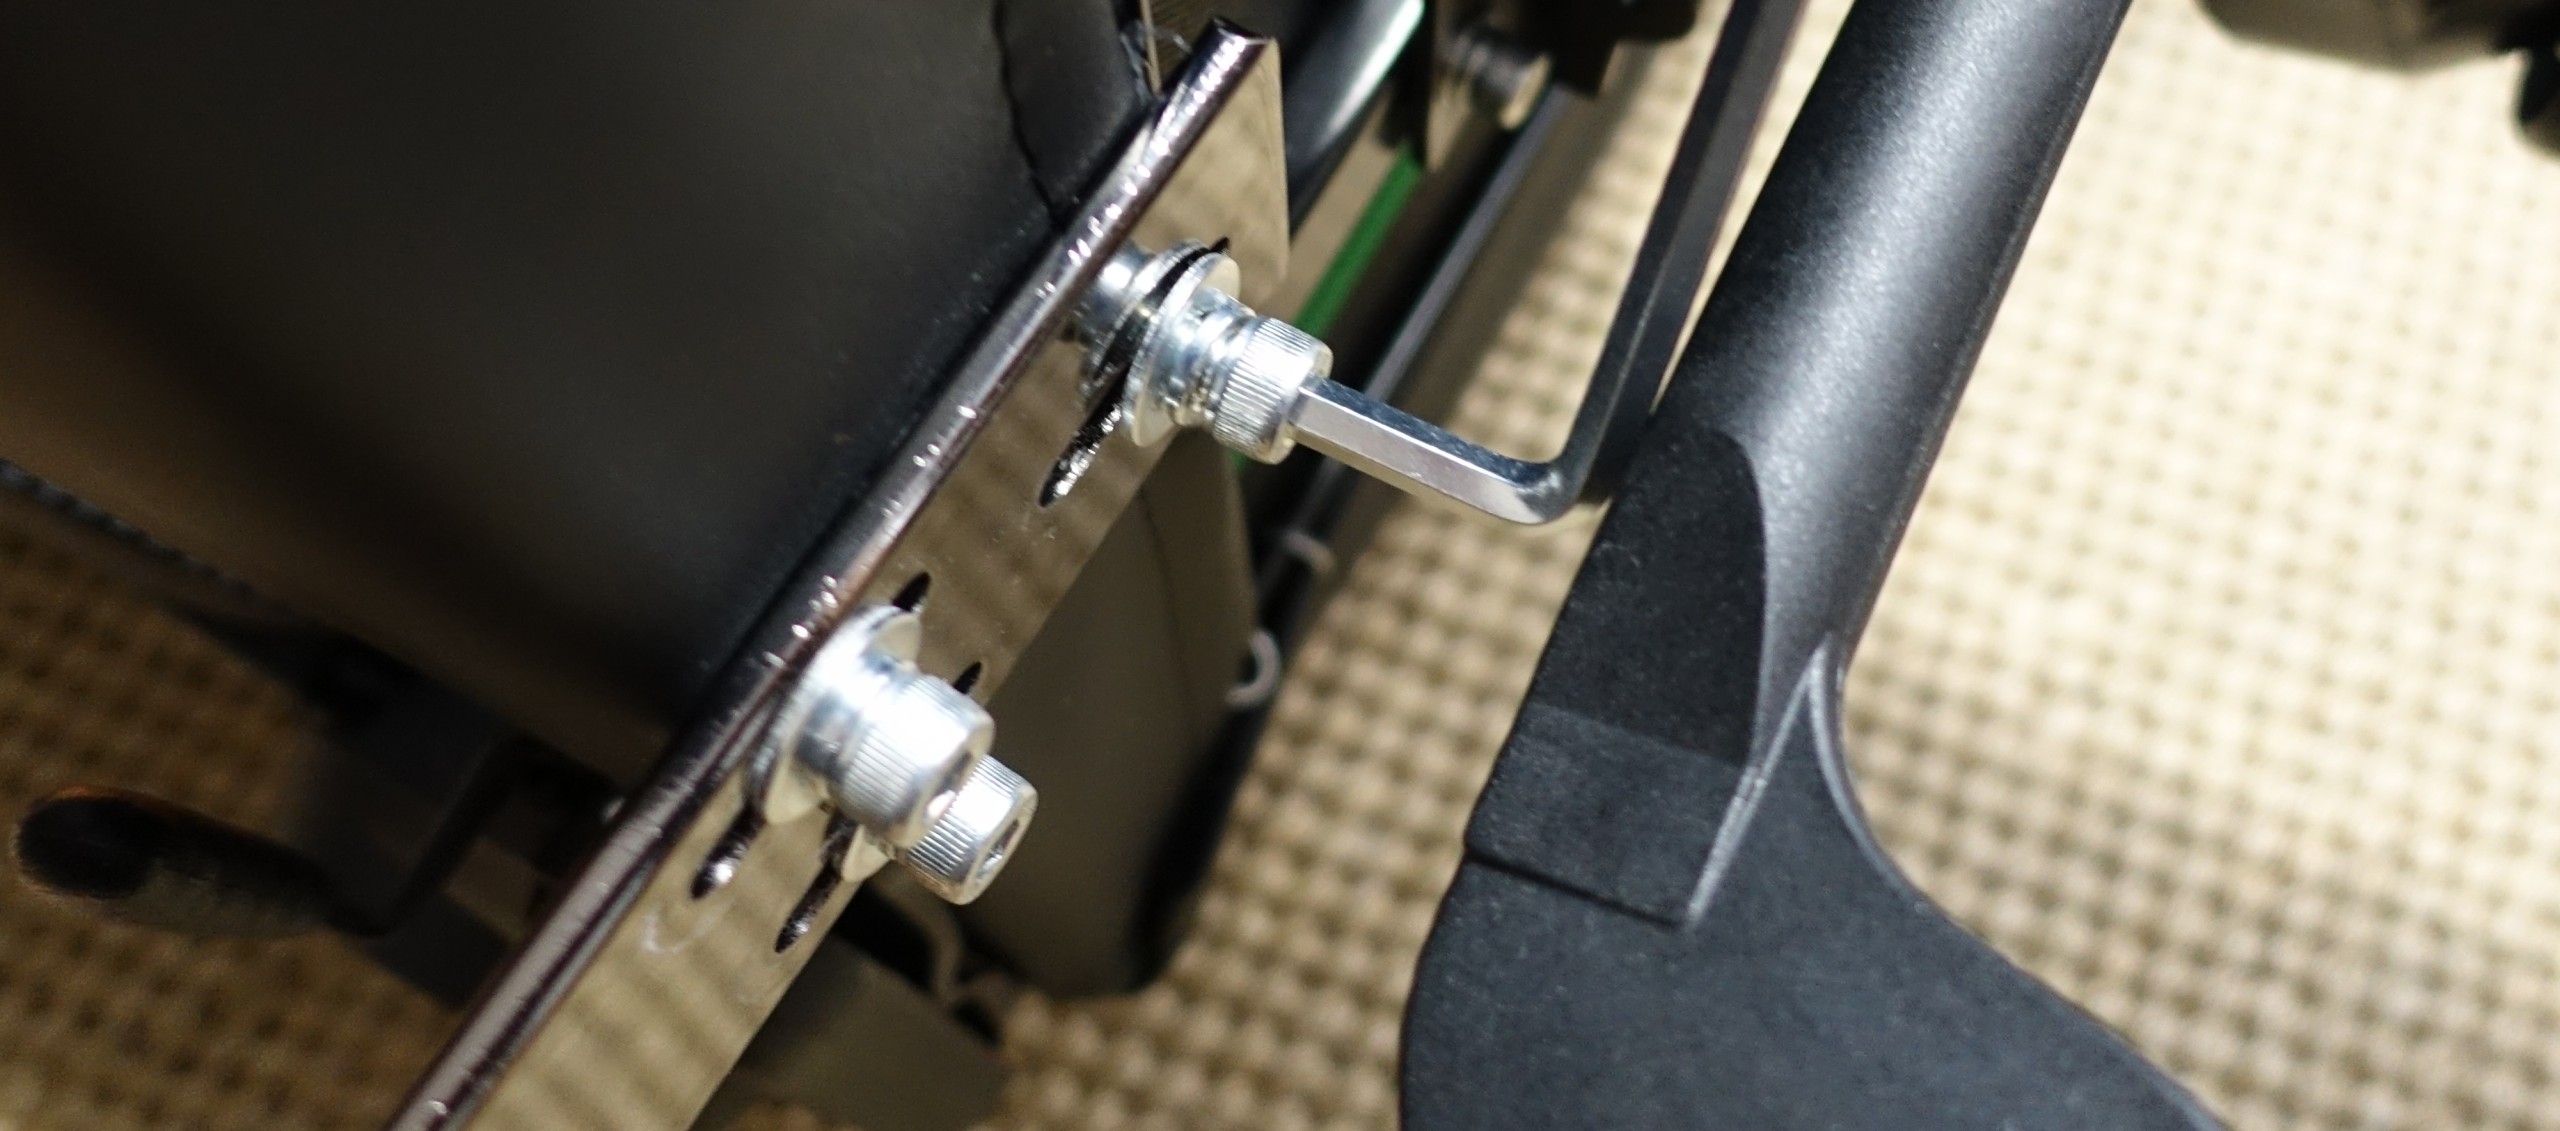
Therefore, the paddles are only mounted at the very end and checked the seat of all screws once again.
Afterwards, the fully assembled seat is placed on the base with the gas pressure spring and the installation of the icon has been successfully completed. The total assembly time should not be 15 to 20 minutes for experienced people.


Kommentieren