


Drying, deep cleaning, assembly
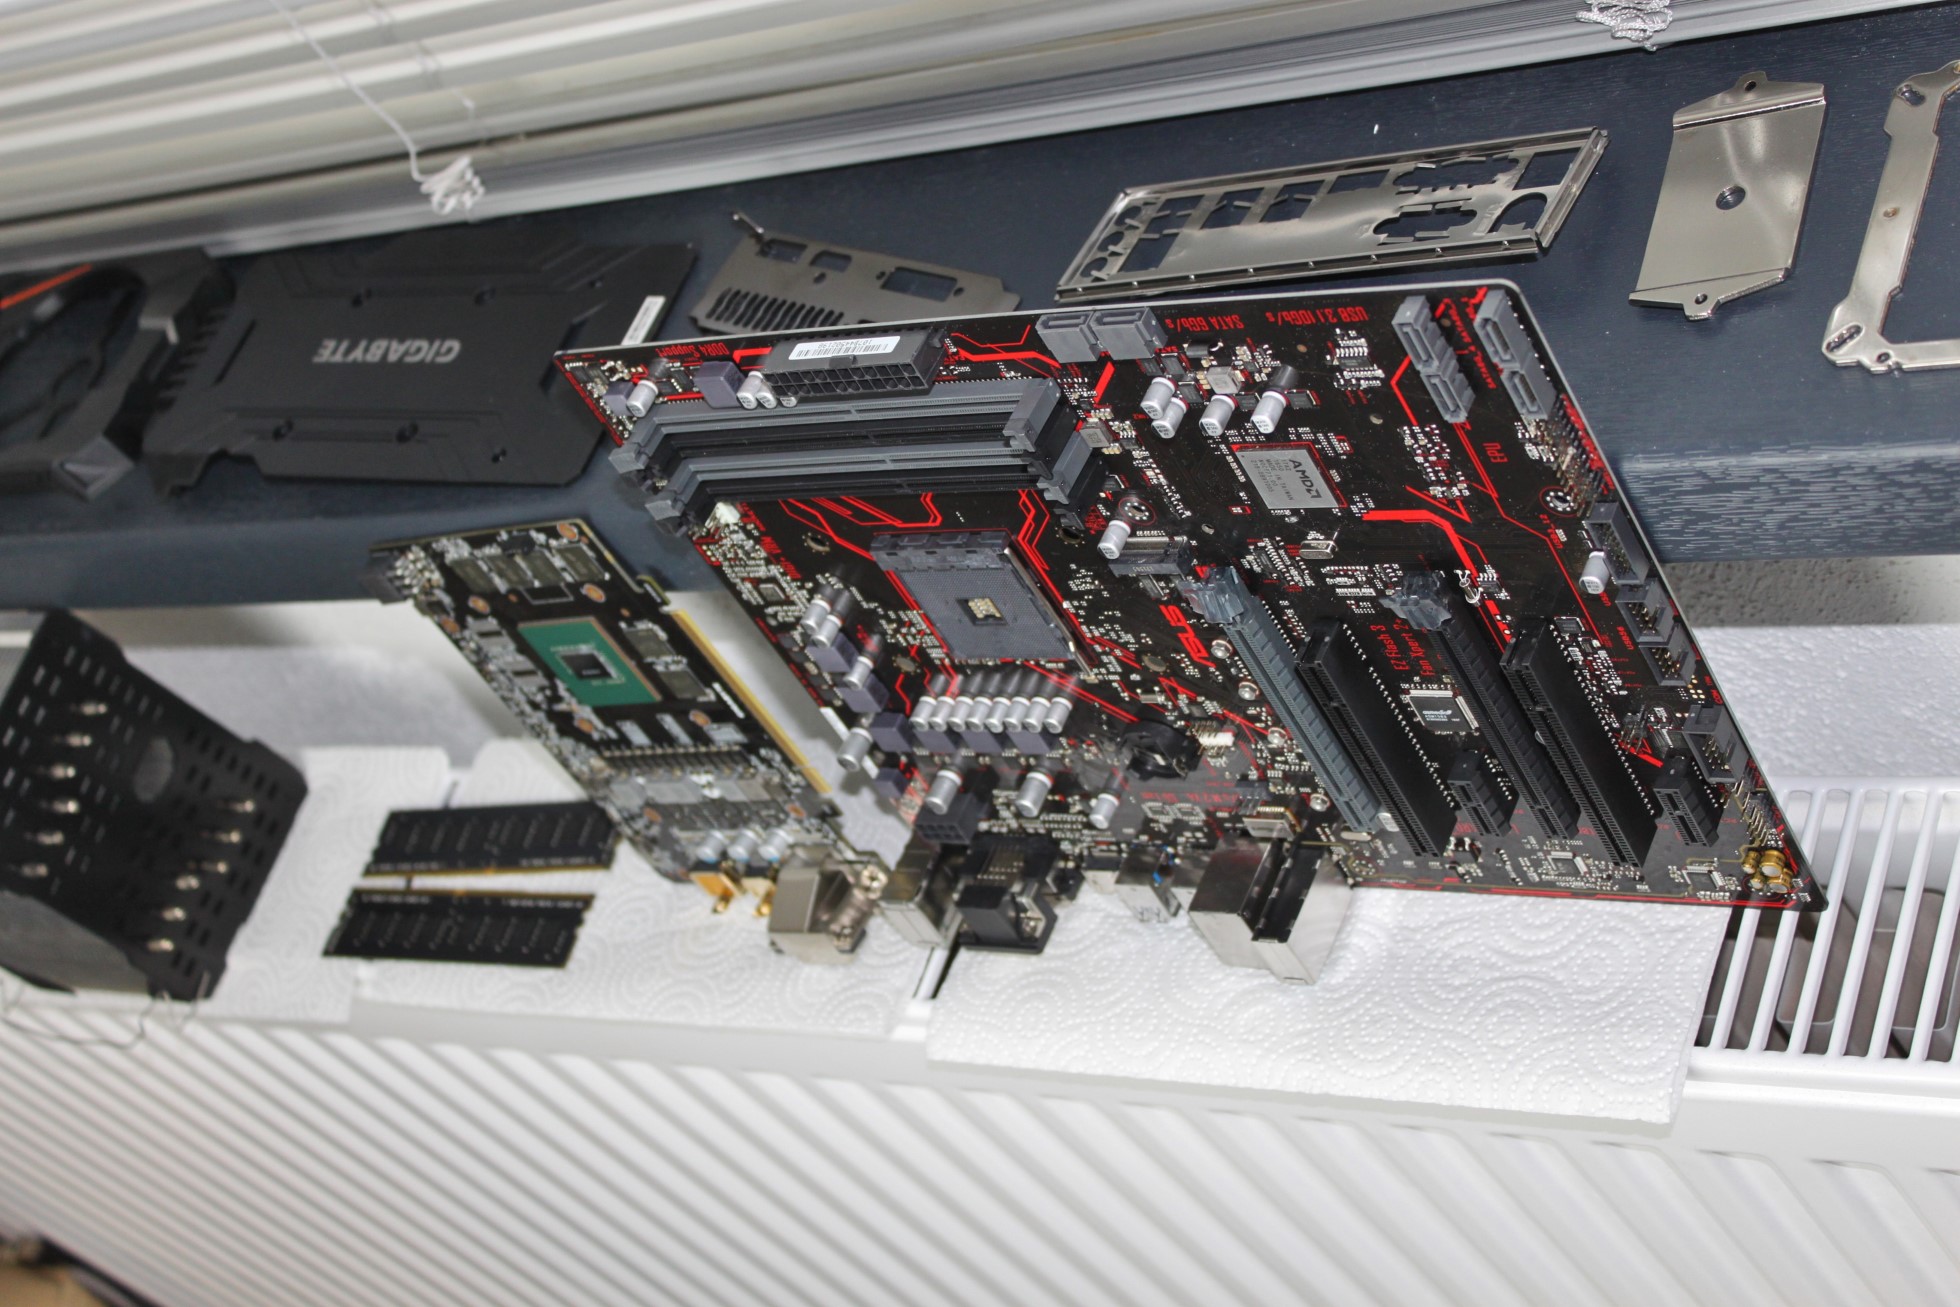
After the wash cycle, the hardware was placed on the heater to dry.
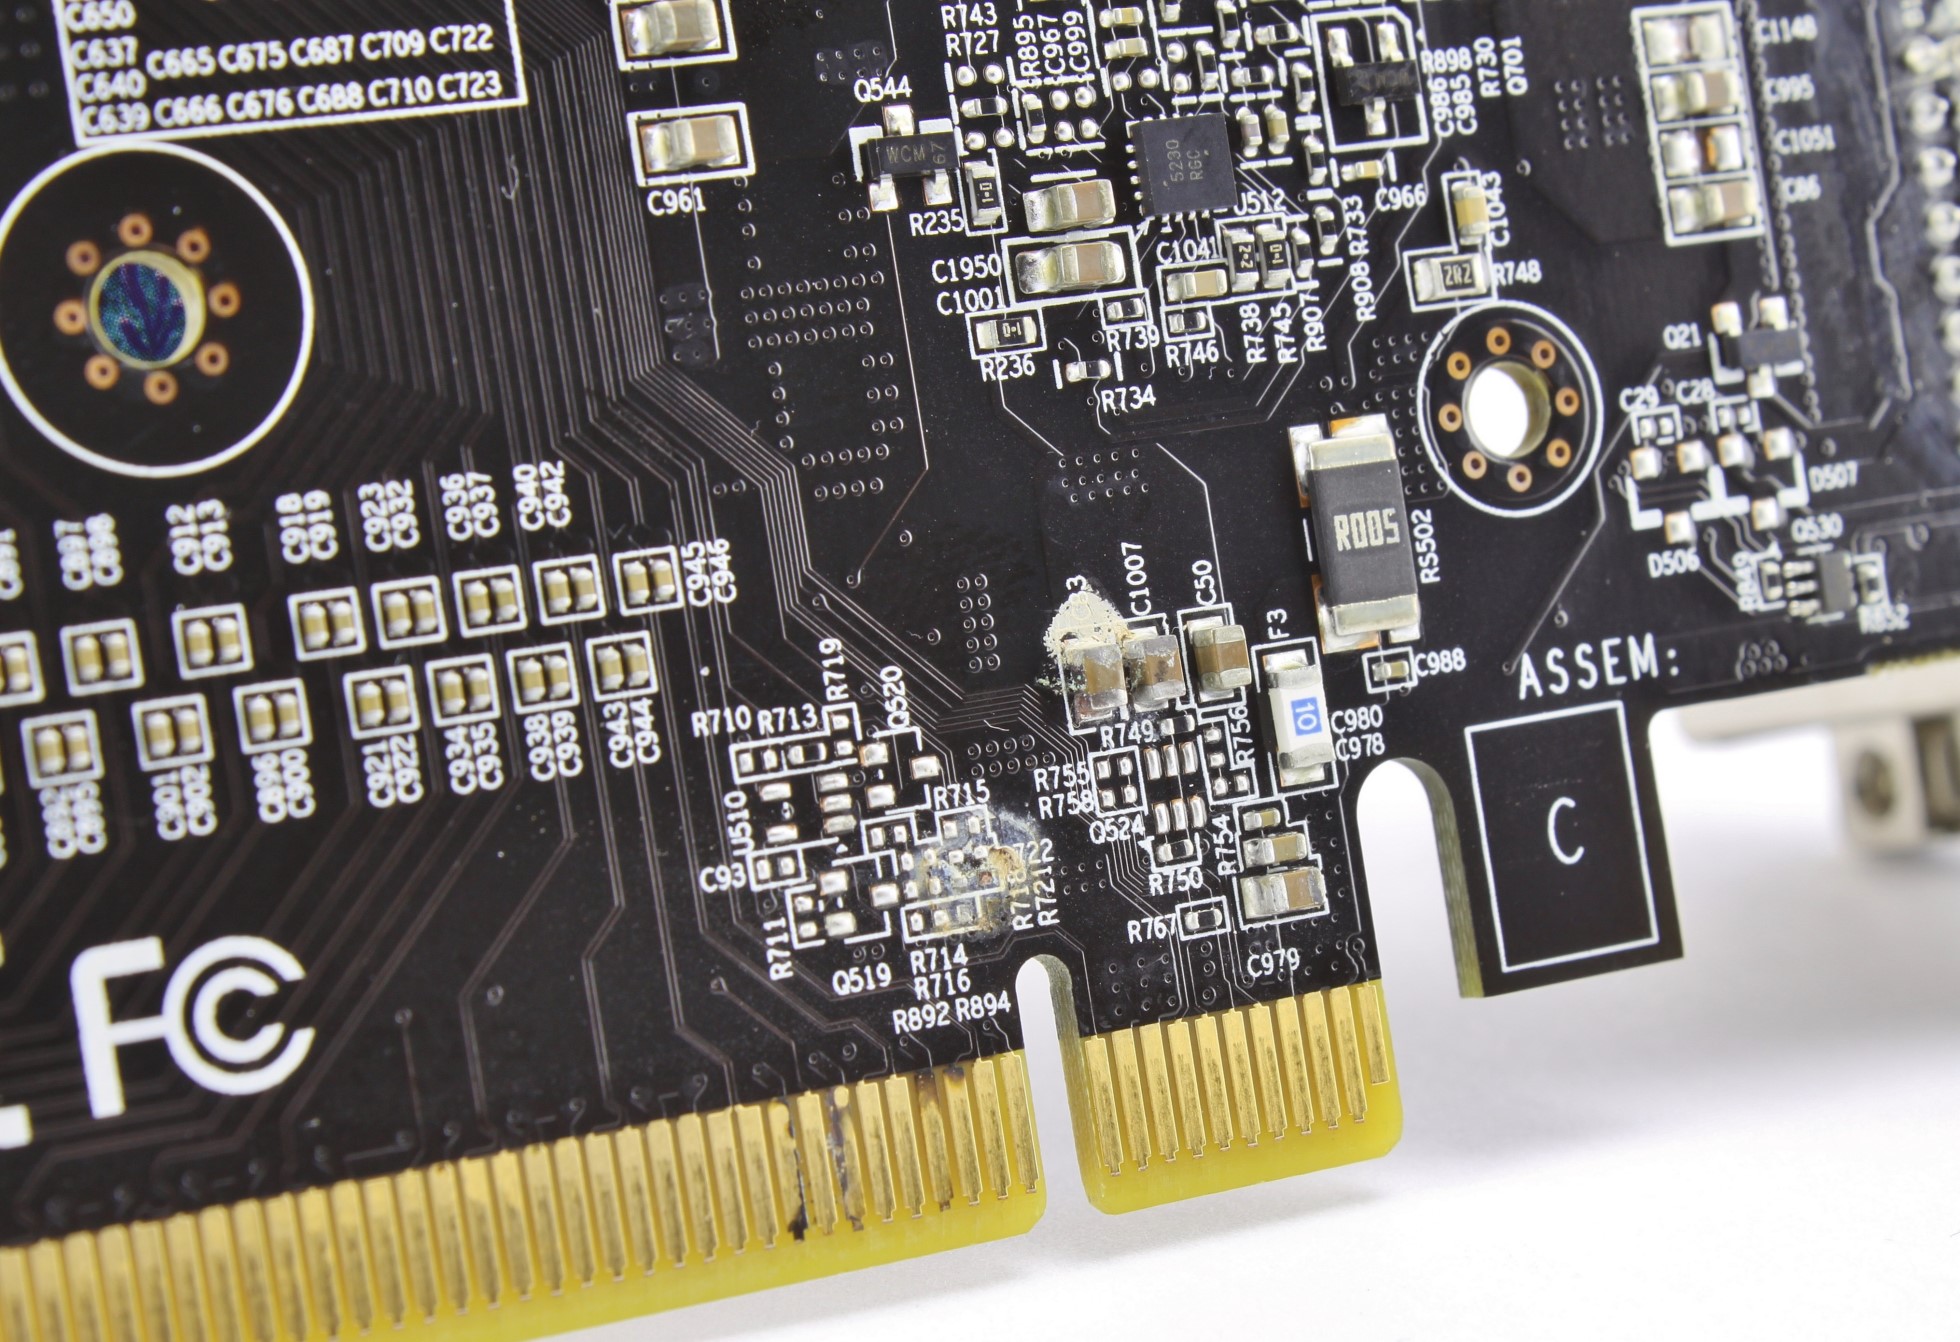
In fact, corrosion had already formed everywhere under all the sticky spots. Particular stomach ache had made me this place and the chip unfortunately cut off to the top of the picture. Here, small craters could be seen in the PCB and the spot also smelled slightly scorched.
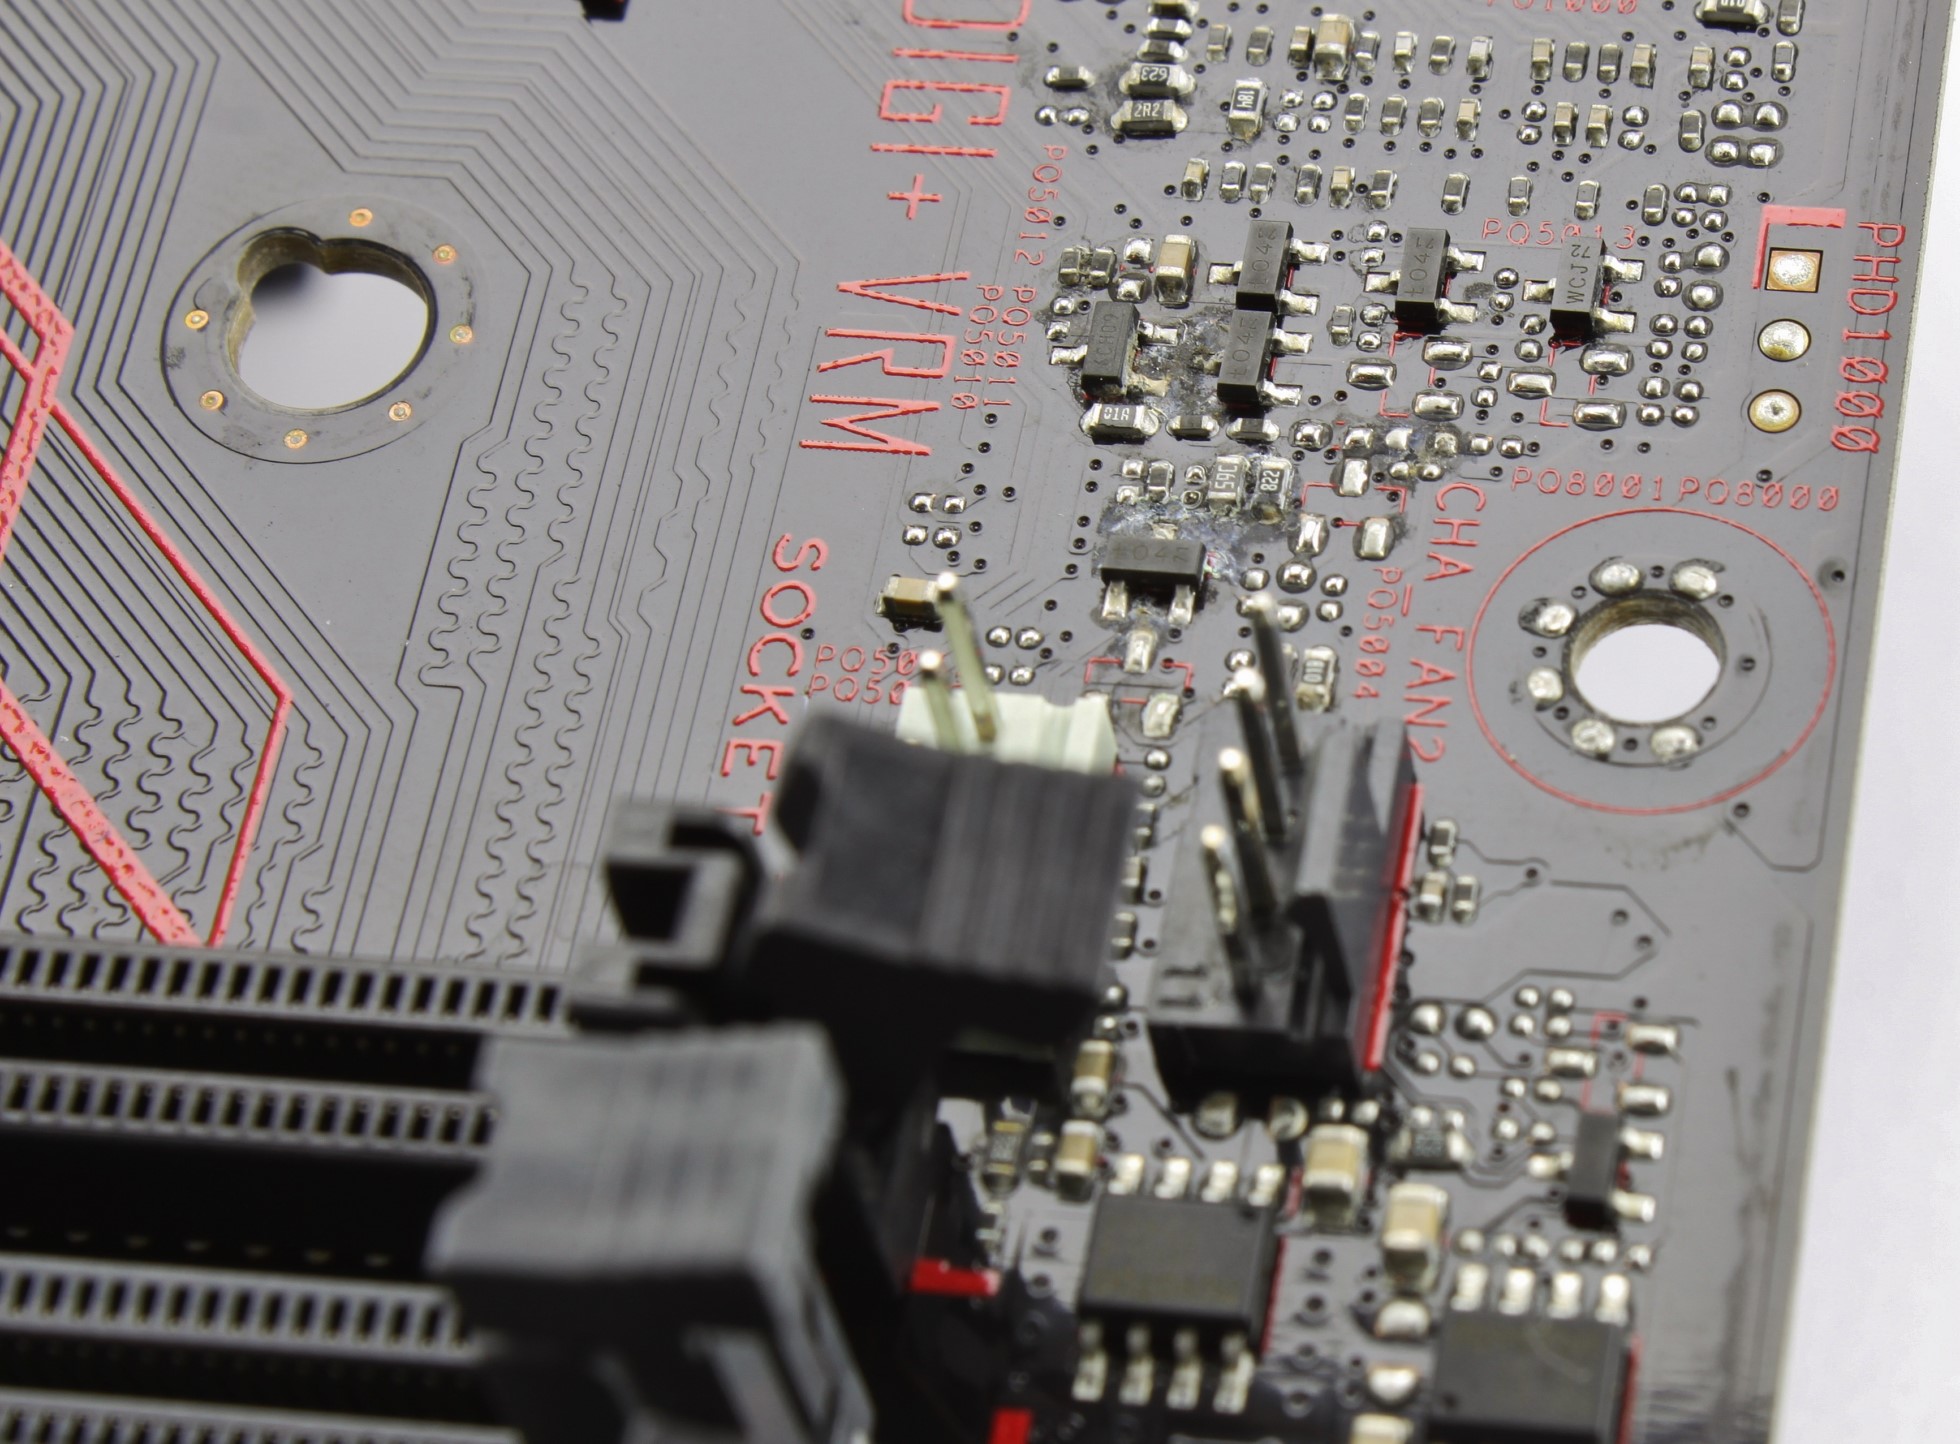
I had carefully cleaned all the corroded areas with isopropyl alcohol and a soft brush, which worked very well. Unfortunately, I had neglected the photos in the hectic somewhat. Apart from the aforementioned craters, it all actually looked quite promising. So thermal pads packed back on.
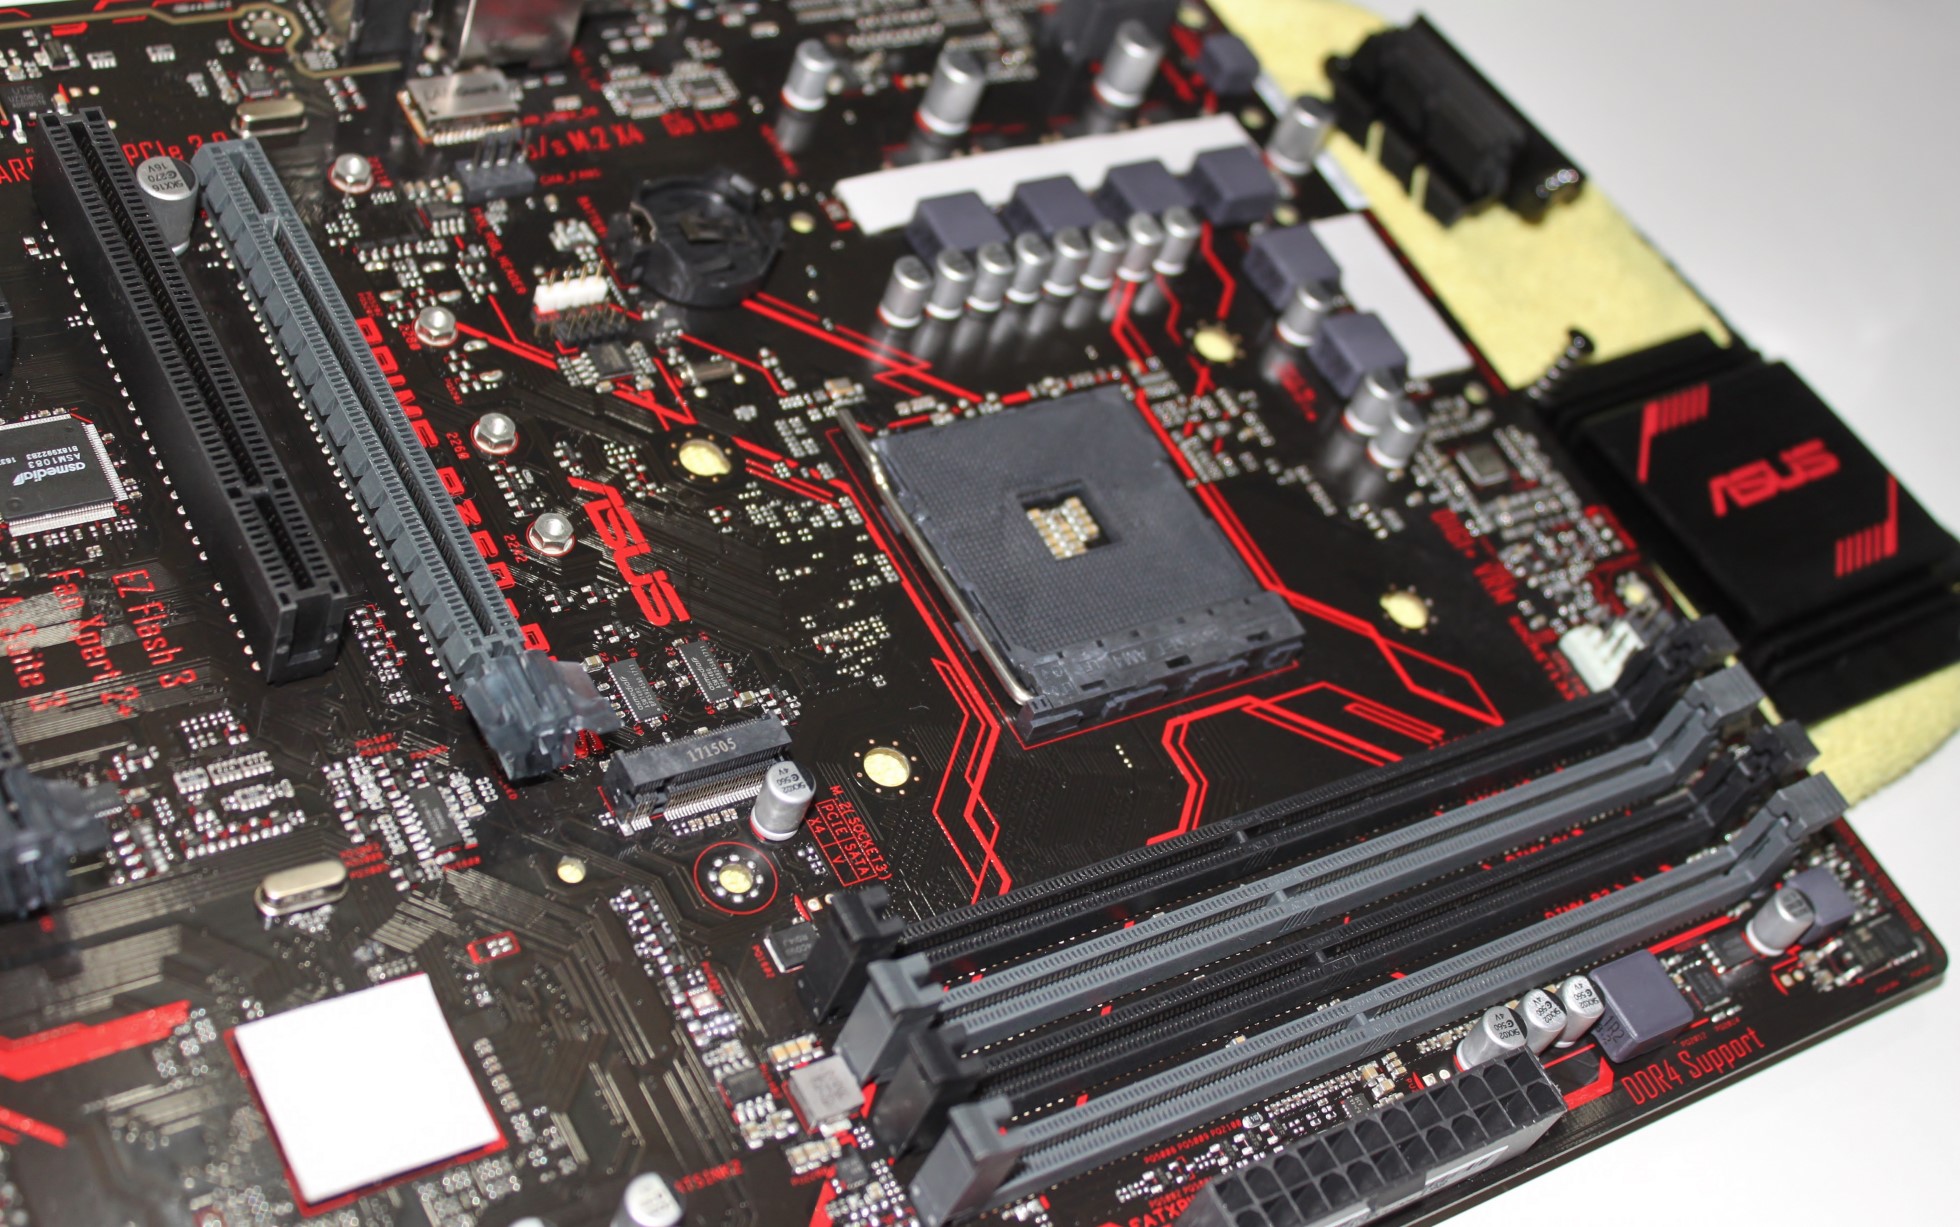
And then put the heat sinks back on.
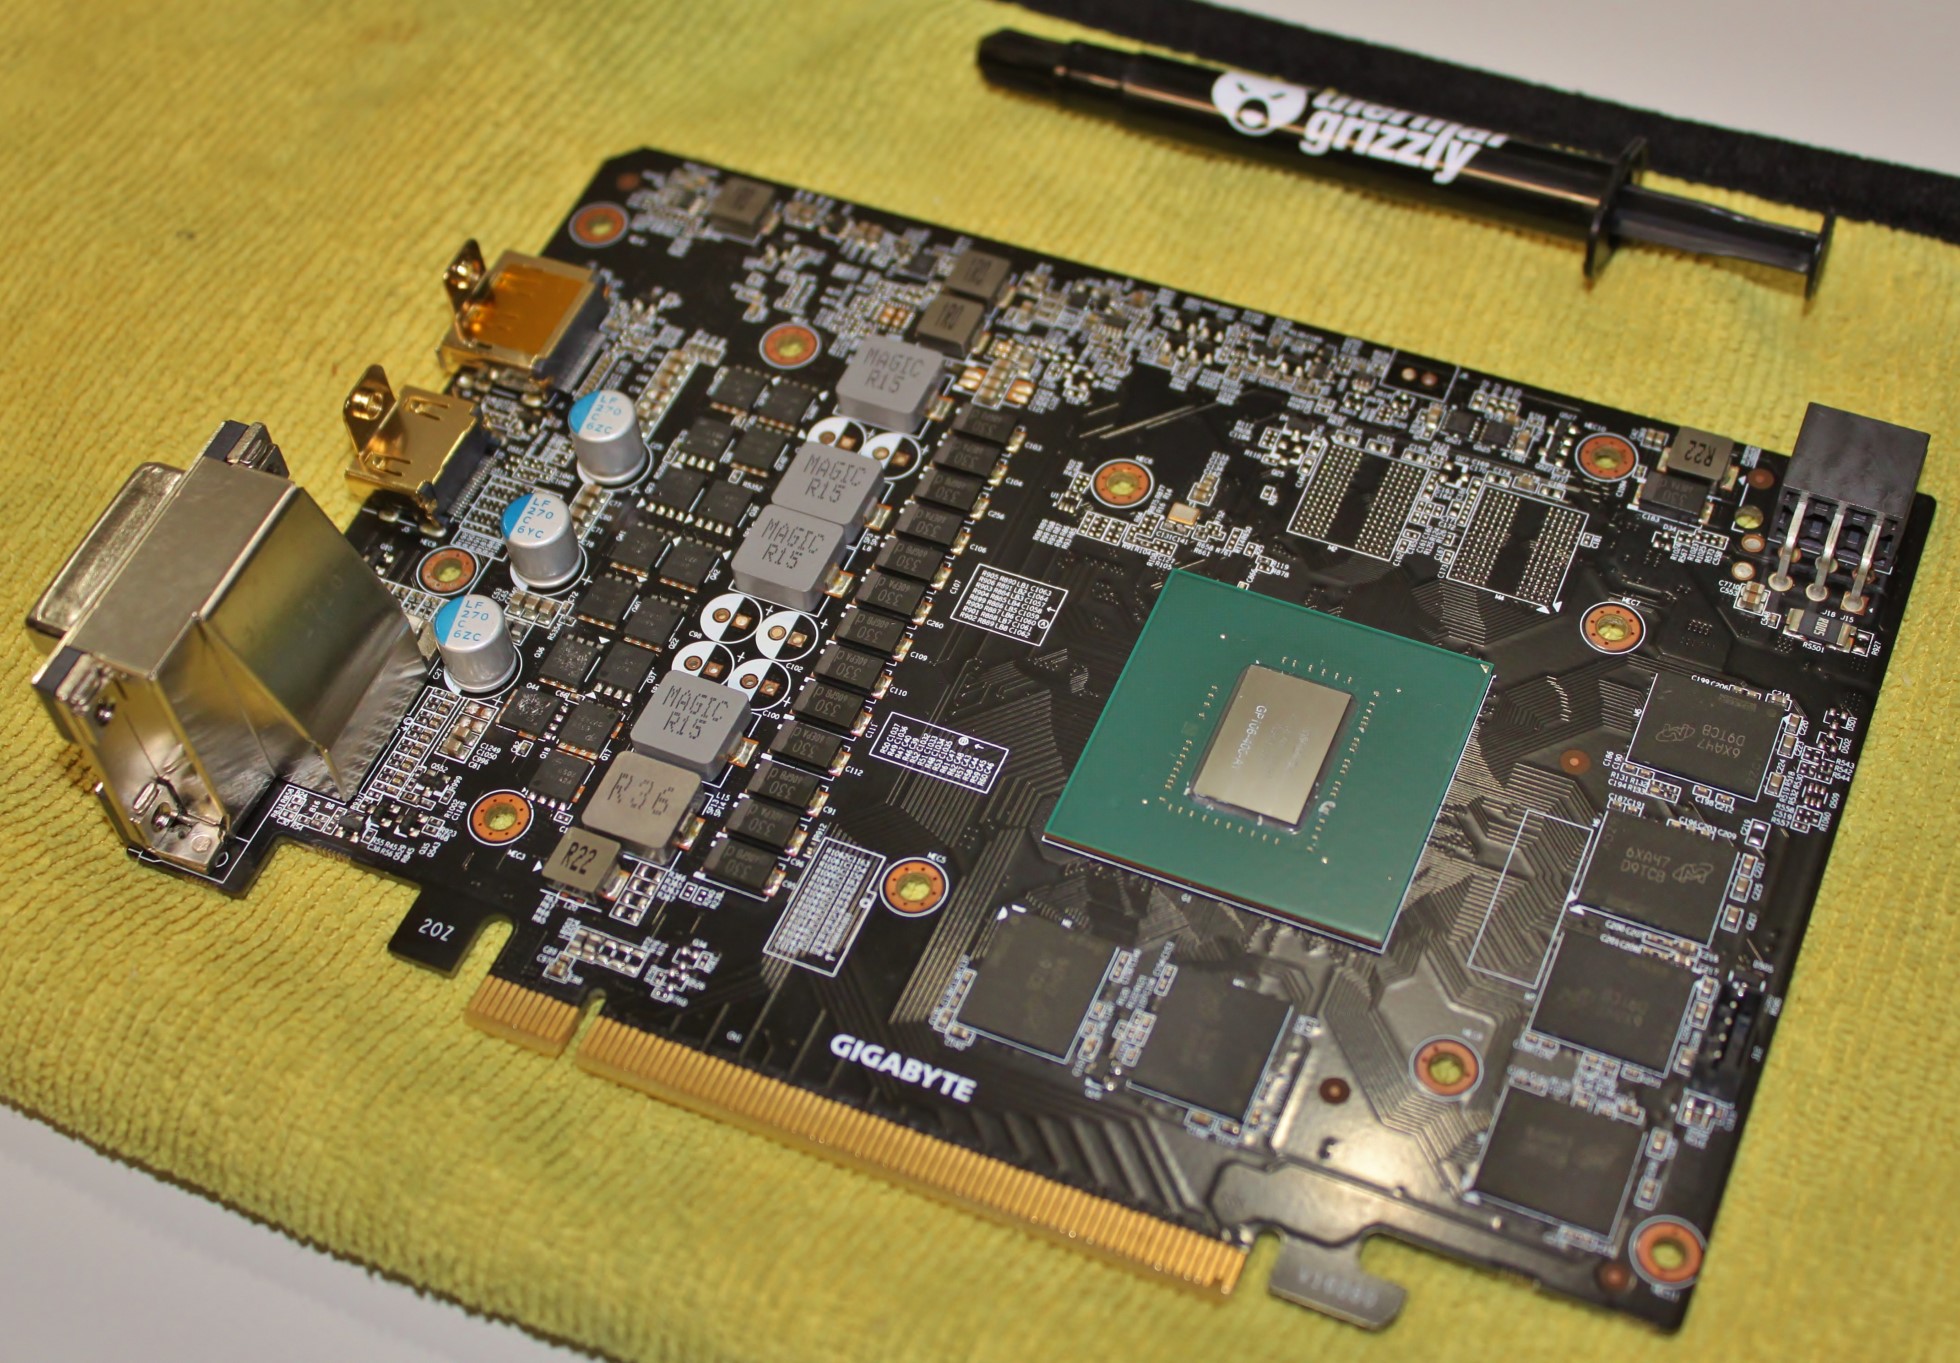
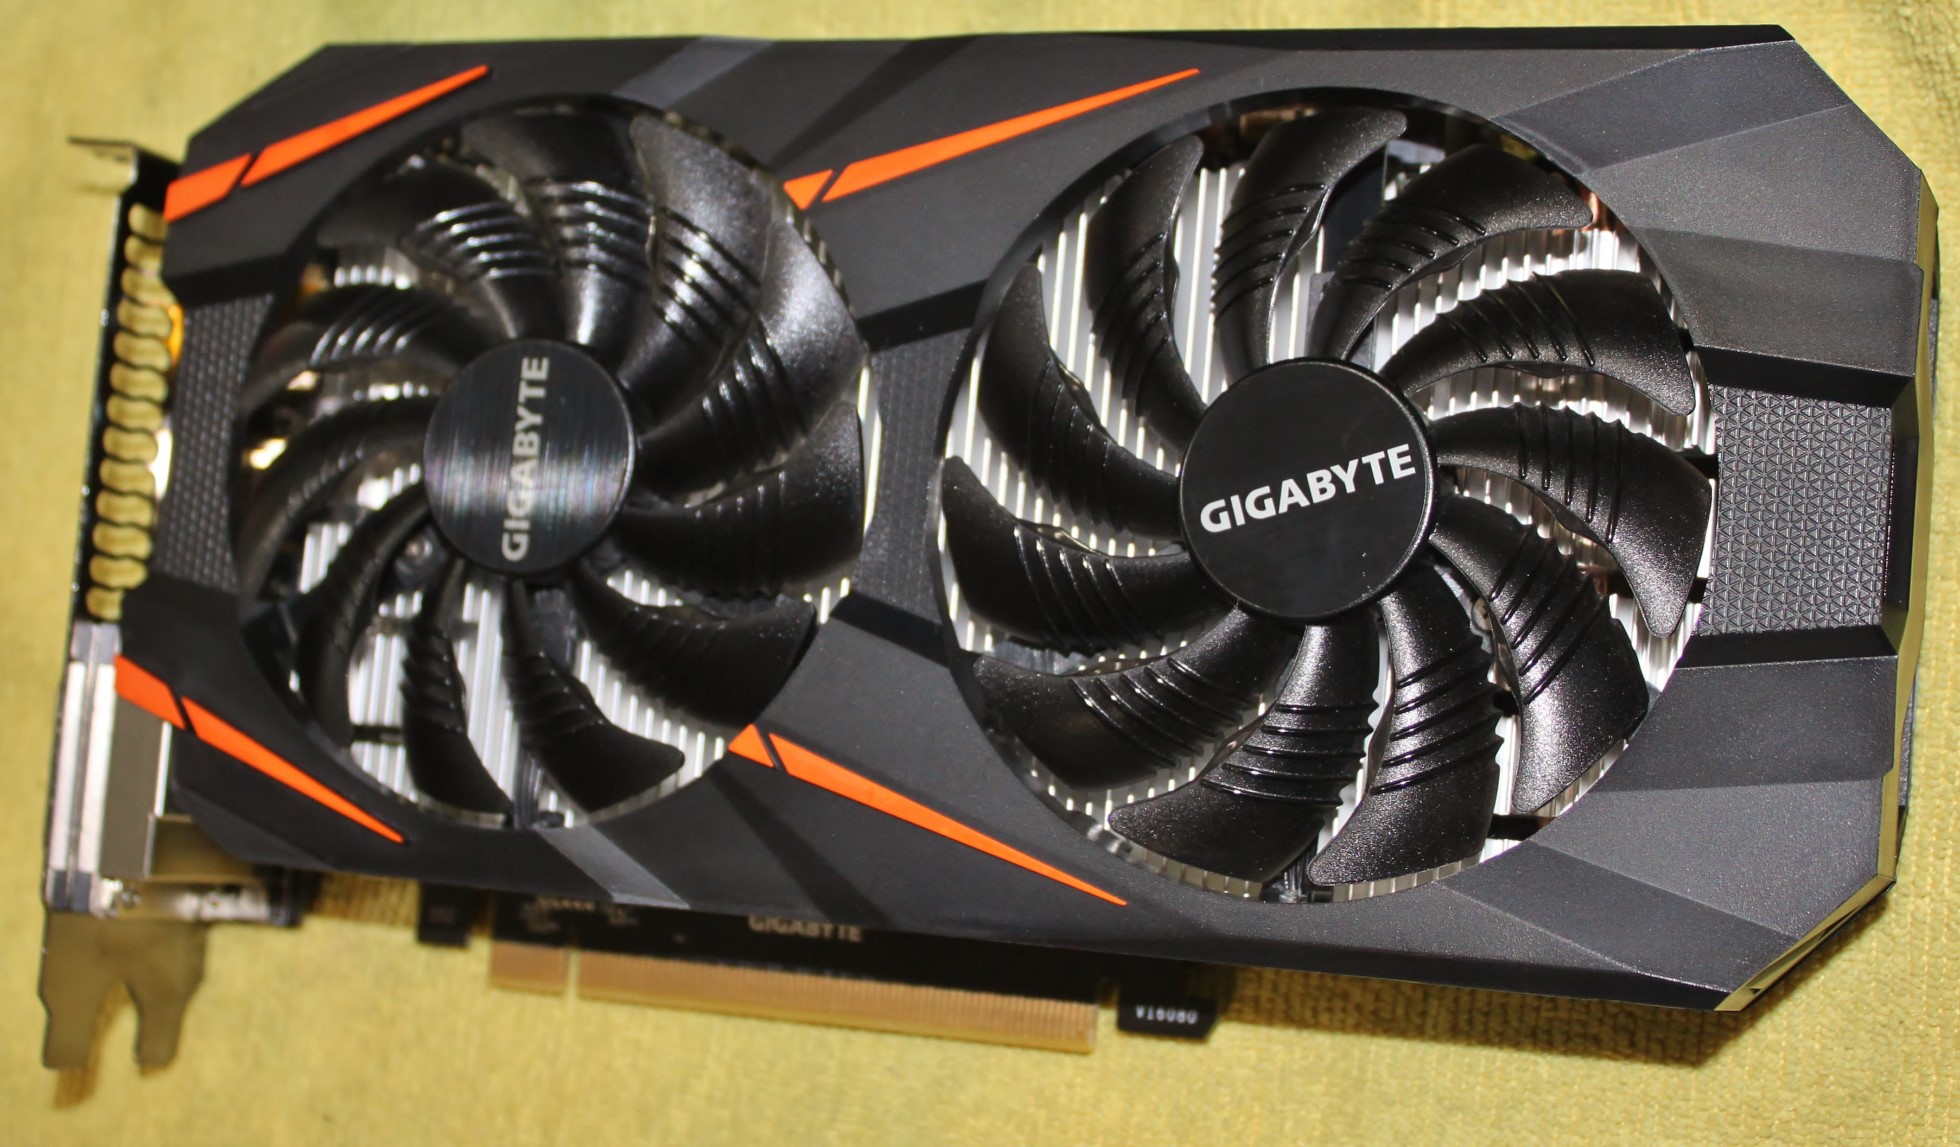
The same procedure was applied to the graphics card, which was also heavily corroded. The reverse side had not given me a headache.

Rather, it was these bright spots and the obviously scorched PCIE contacts that made me anxious.
Again, I used IPA and a brush very carefully, and lightly rubbed the braised areas of the contacts with 2000 grit sandpaper from the painter’s supply.
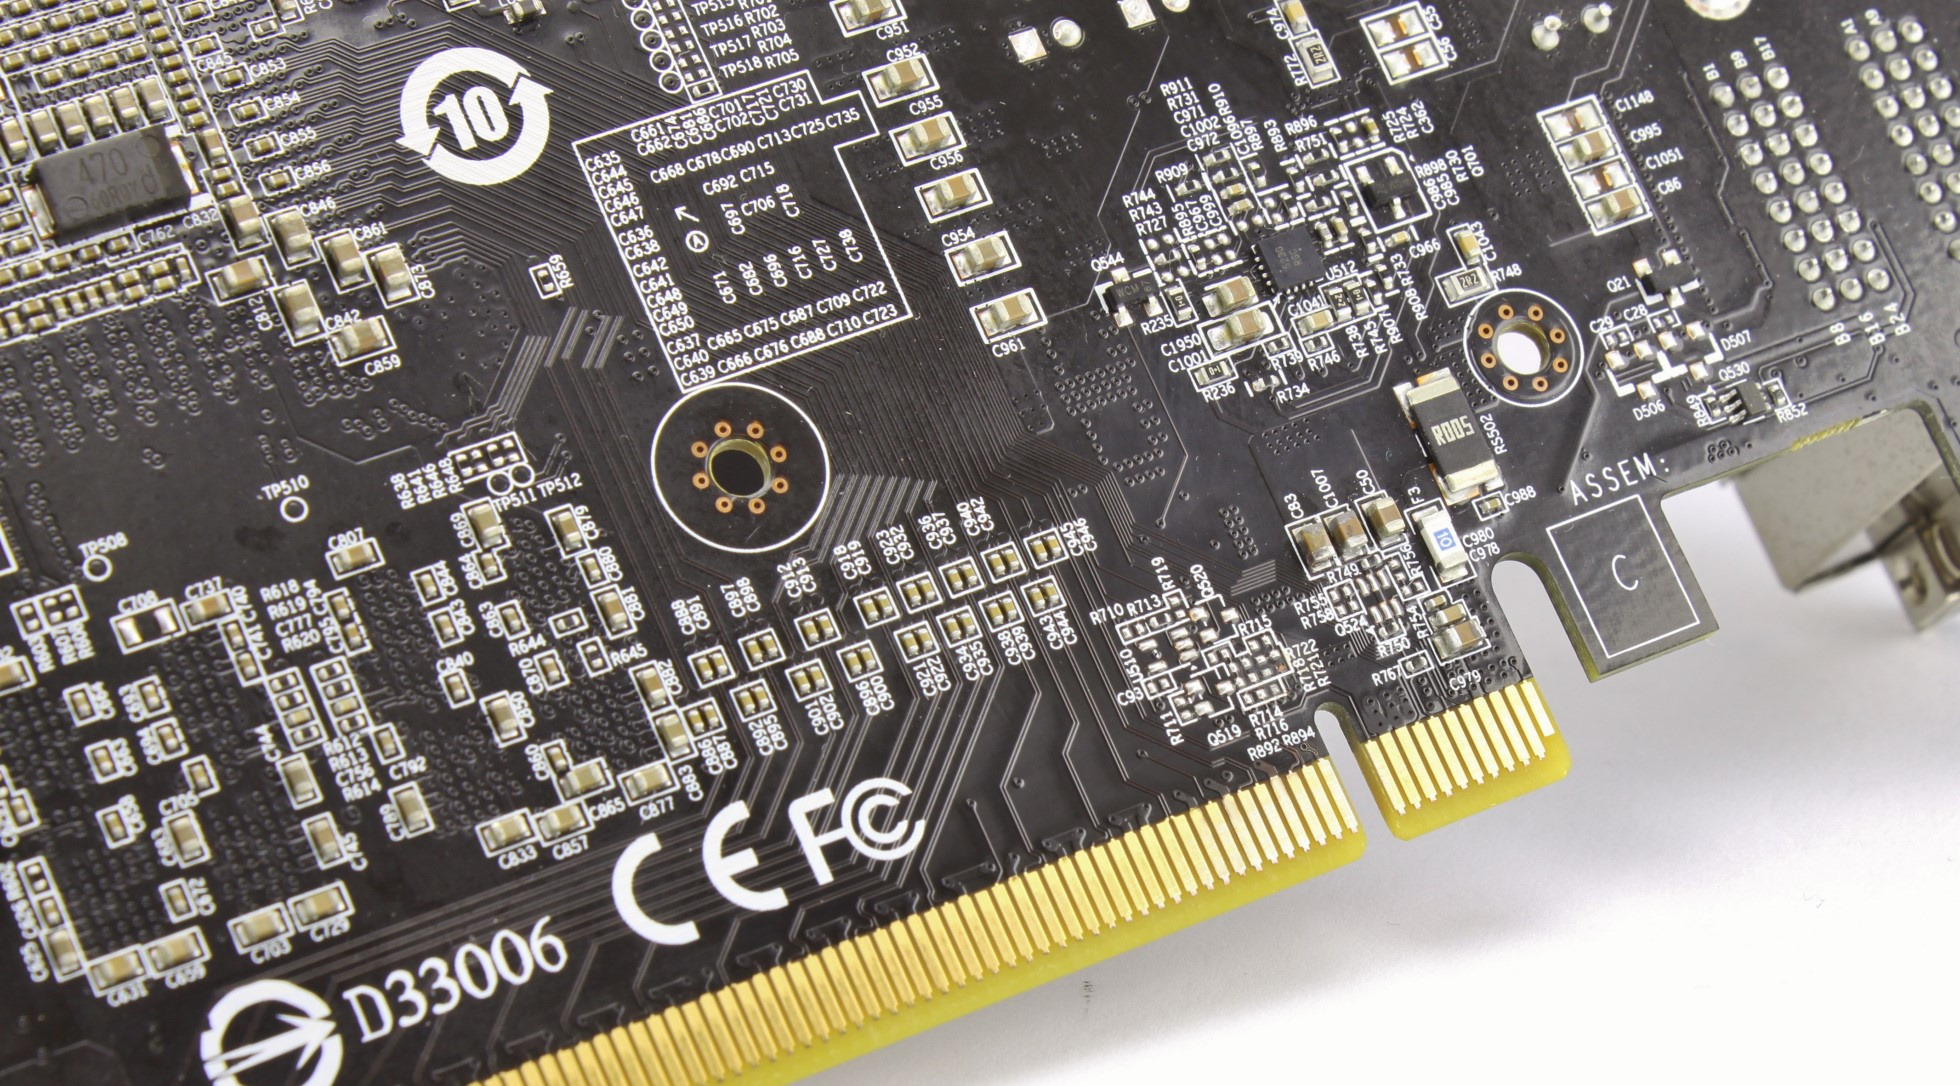
The liquid did not reach the front and everything was spotlessly clean after the rinse cycle.
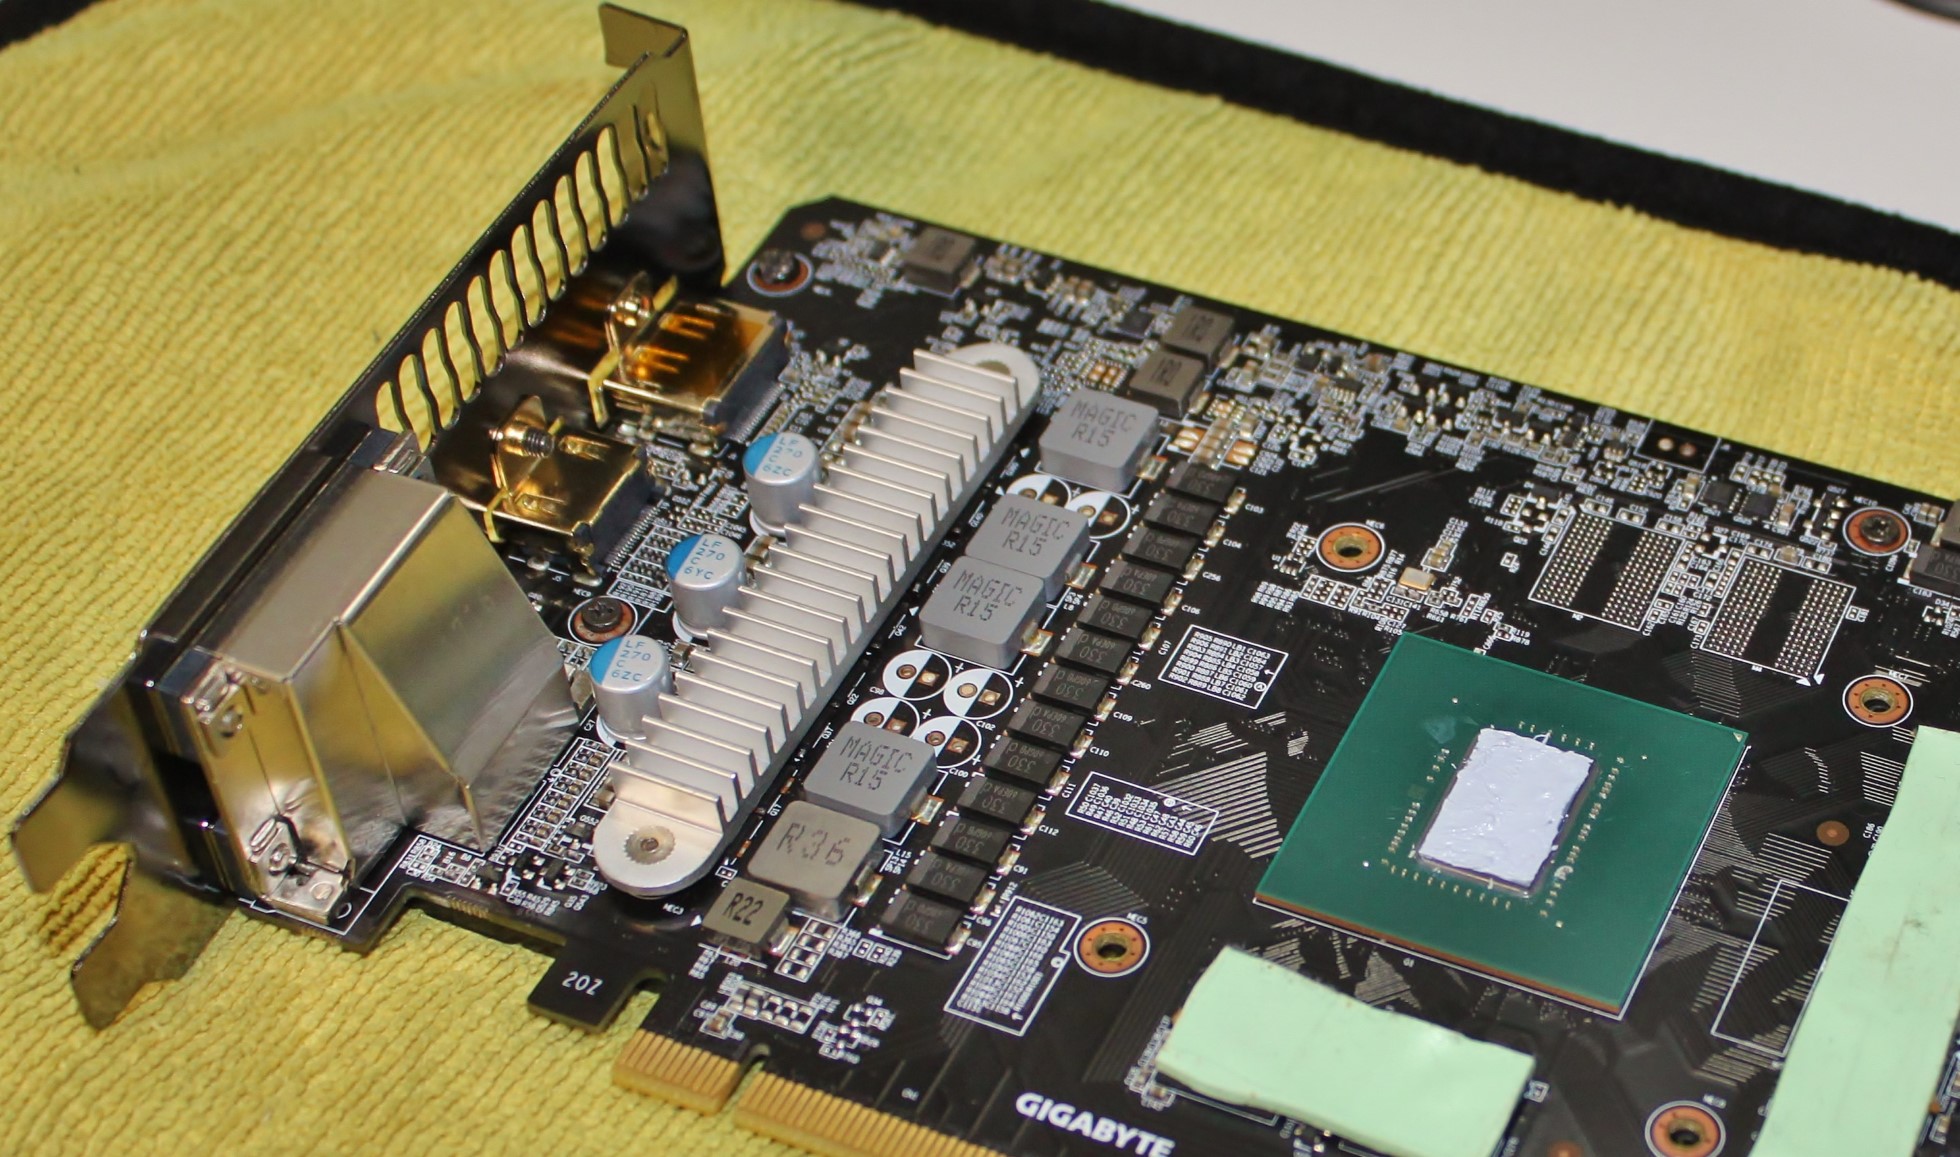
Fresh paste and the still sufficiently flexible pads back on.
And already the card was fresh again. I must admit, however, that I was a little queasy in the stomach just by grinding off the braising.
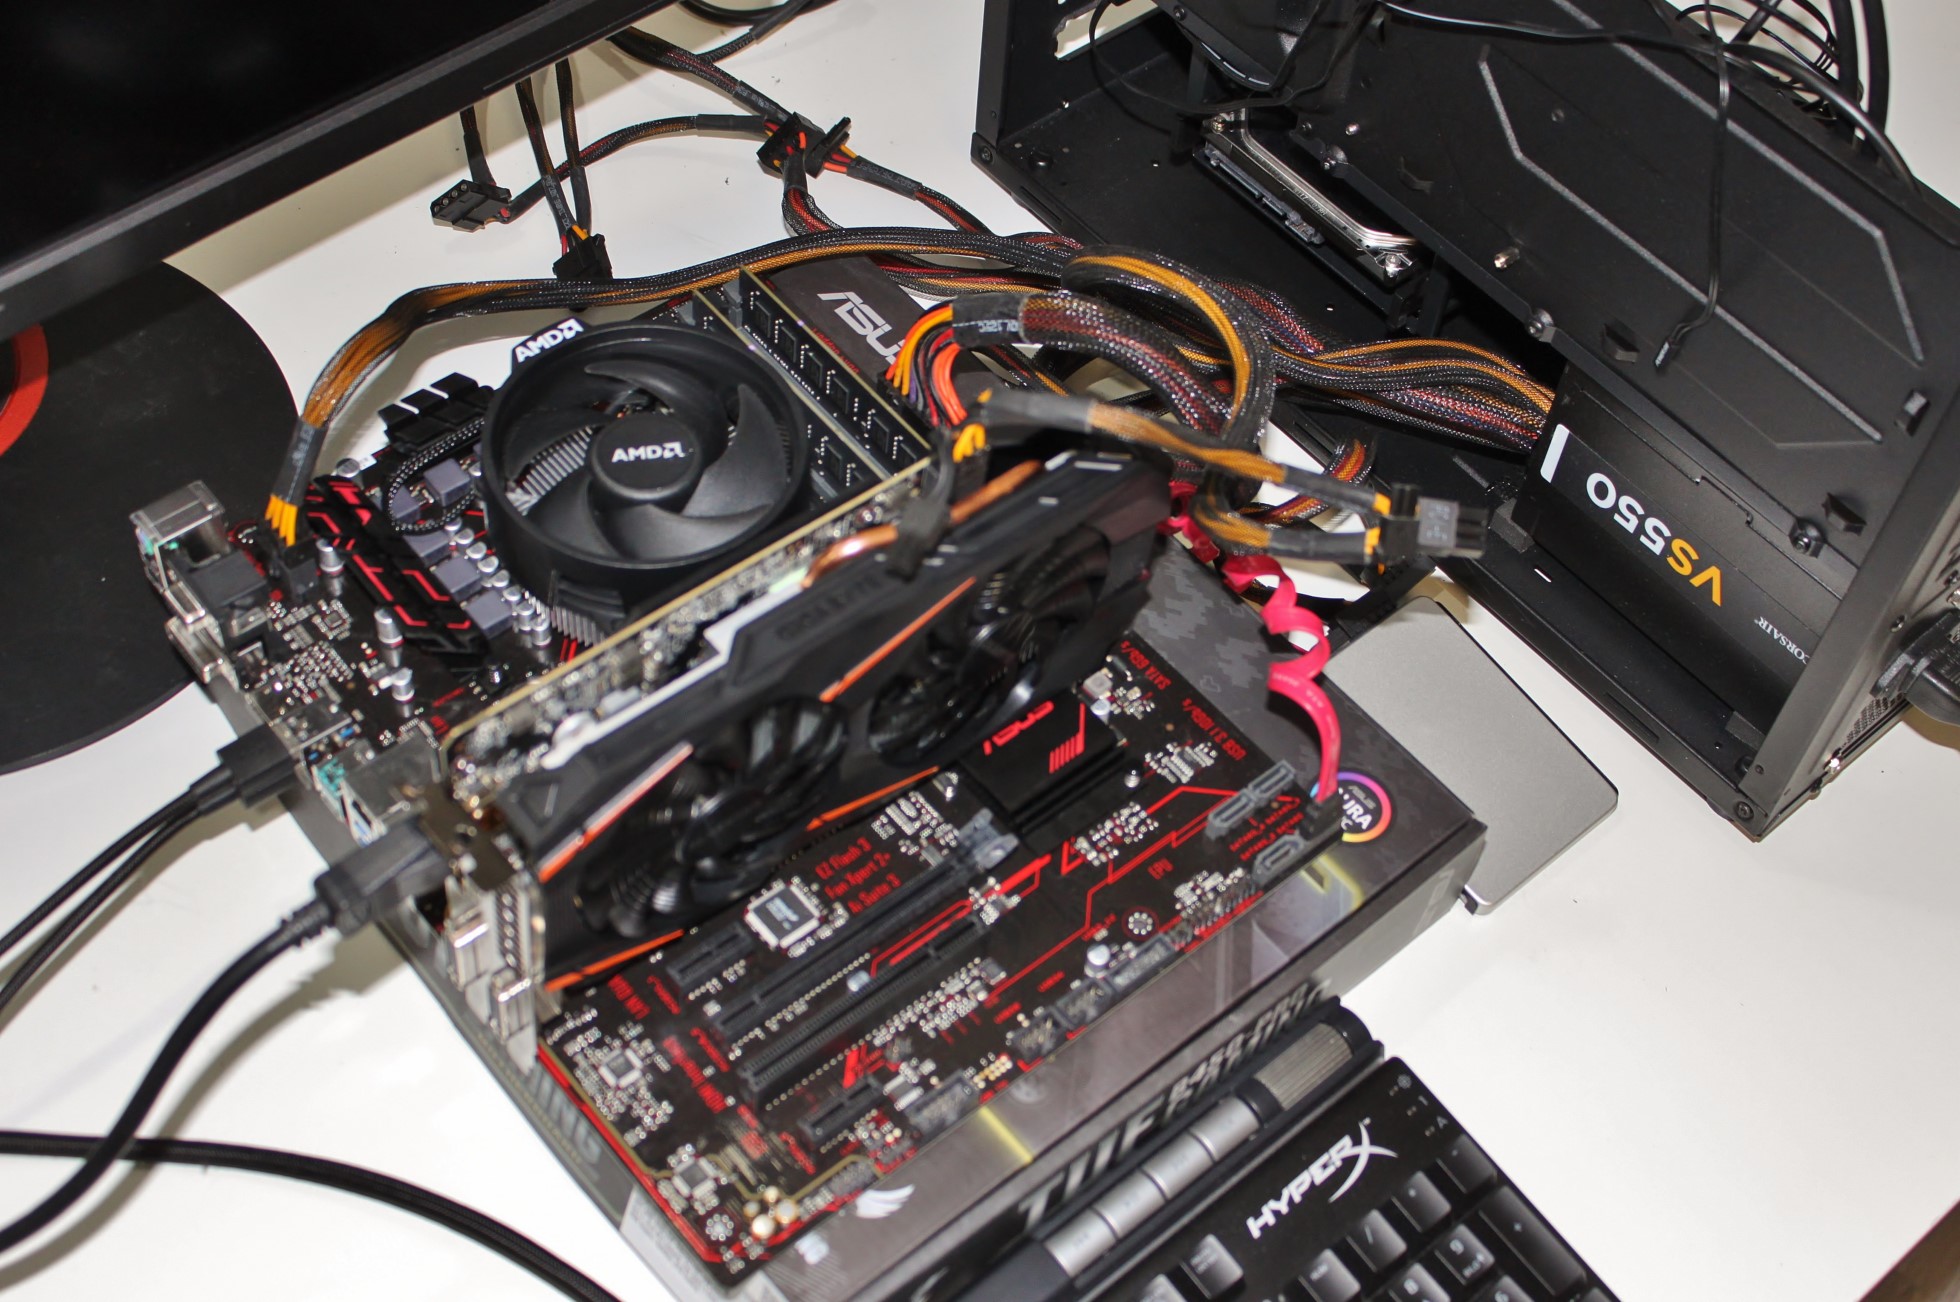
Now everything was set up on the fly. Should I dare?


61 Antworten
Kommentar
Lade neue Kommentare
Urgestein
1
Mitglied
Veteran
Urgestein
1
Veteran
Urgestein
1
Urgestein
Moderator
Veteran
Veteran
Urgestein
1
Veteran
Urgestein
1
Veteran
Alle Kommentare lesen unter igor´sLAB Community →