


In this first part, we'll start with the gaming benchmarks and then we'll look at workstation performance in CAD (real-time display), rendering, and compute.
- Part 1 – Gaming Performance
- Part 2 – Workstation Graphics Performance
- Part 3 – Rendering, Computing and Power Consumption
Preview
Much does not always help much – but on the other hand, a system that still looks slightly oversized today may reach its limits tomorrow. Therefore, one can probably never have enough performance and there is also a certain feeling of future and planning security, if one (justifiably) believes that one is still well prepared for future requirements.
Such an assumption can work, but it does not have to. First, you will have to think about what the PC needs to be prepared for in the present and near future, and what might be added later. That's exactly what you should focus on – and plan a little reserve.
Unfortunately, however, more performance always costs more money – often disproportionately – which is why one has to question the benefits of a (massive) performance reserve extremely critically.
We had just touched on the subject: often enough, demands, desires and financial possibilities are not very close together. But here the miracle medicine "reason" helps, which should lead the user to a willingness to compromise and an insight into the immutable facts. Aspects such as ecology (power consumption and longevity) and economics (effort and benefits) should always be in a healthy relationship. We just wrote it: It's best to buy only what you really need (or. in the near future).
The test setup
We have already described the test methodology in the basic article "How we test graphics cards, as of February 2017" in great detail and so we now only refer to this detailed description for the sake of simplicity. So if you want to read everything again, you are welcome to do so.
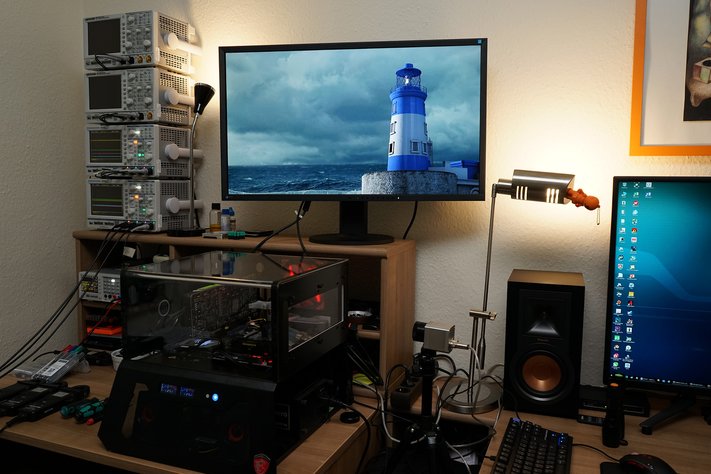
In this case, only the hardware configuration with CPU, RAM, motherboard, as well as the new cooling is different, so that the summary in table form quickly gives a brief overview of the system used here and today:
| Test systems and measuring rooms | |
|---|---|
| Hardware: |
AMD Socket AM4 MSI X370 Tomahawk 2x 8 GB G.Skill TridentZ DDR4-3200 RGB AMD Socket SP3 (TR4) AMD Socket AM3+ Intel Socket 1151 (Z270): Intel Socket 2011v3: 1x 1 TByte Toshiba OCZ RD400 (M.2, System SSD) |
| Cooling: |
Alphacool Ice Age 2000 Chiller Alphacool Ice Block XPX Thermal Grizzly Kryonaut (for cooler change) |
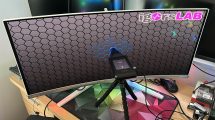
| Monitor: | Eizo EV3237-BK |
| Housing: |
Lian Li PC-T70 with expansion kit and modifications Modes: Open Benchtable, Closed Case |
| Power consumption: |
non-contact DC measurement on the PCIe slot (Riser-Card) non-contact DC measurement on the external PCIe power supply direct voltage measurement at the shunts, the respective feeders and the power supply Reading out the motherboard sensors 2x Rohde & Schwarz HMO 3054, 500 MHz multi-channel oscillograph with memory function 4x Rohde & Schwarz HZO50, current togor adapter (1 mA to 30 A, 100 KHz, DC) 4x Rohde & Schwarz HZ355, touch divider (10:1, 500 MHz) 1x Rohde & Schwarz HMC 8012, digital multimeter with storage function |
| Thermography: |
Optris PI640, infrared camera PI Connect evaluation software with profiles |
| Acoustics: |
NTI Audio M2211 (with calibration file) Steinberg UR12 (with phantom power for the microphones) Creative X7, Smaart v.7 own low-reflection measuring room, 3.5 x 1.8 x 2.2 m (LxTxH) Axial measurements, perpendicular to the center of the sound source(s), measuring distance 50 cm Noise in dBA (Slow) as RTA measurement Frequency spectrum as a graph |


Kommentieren