


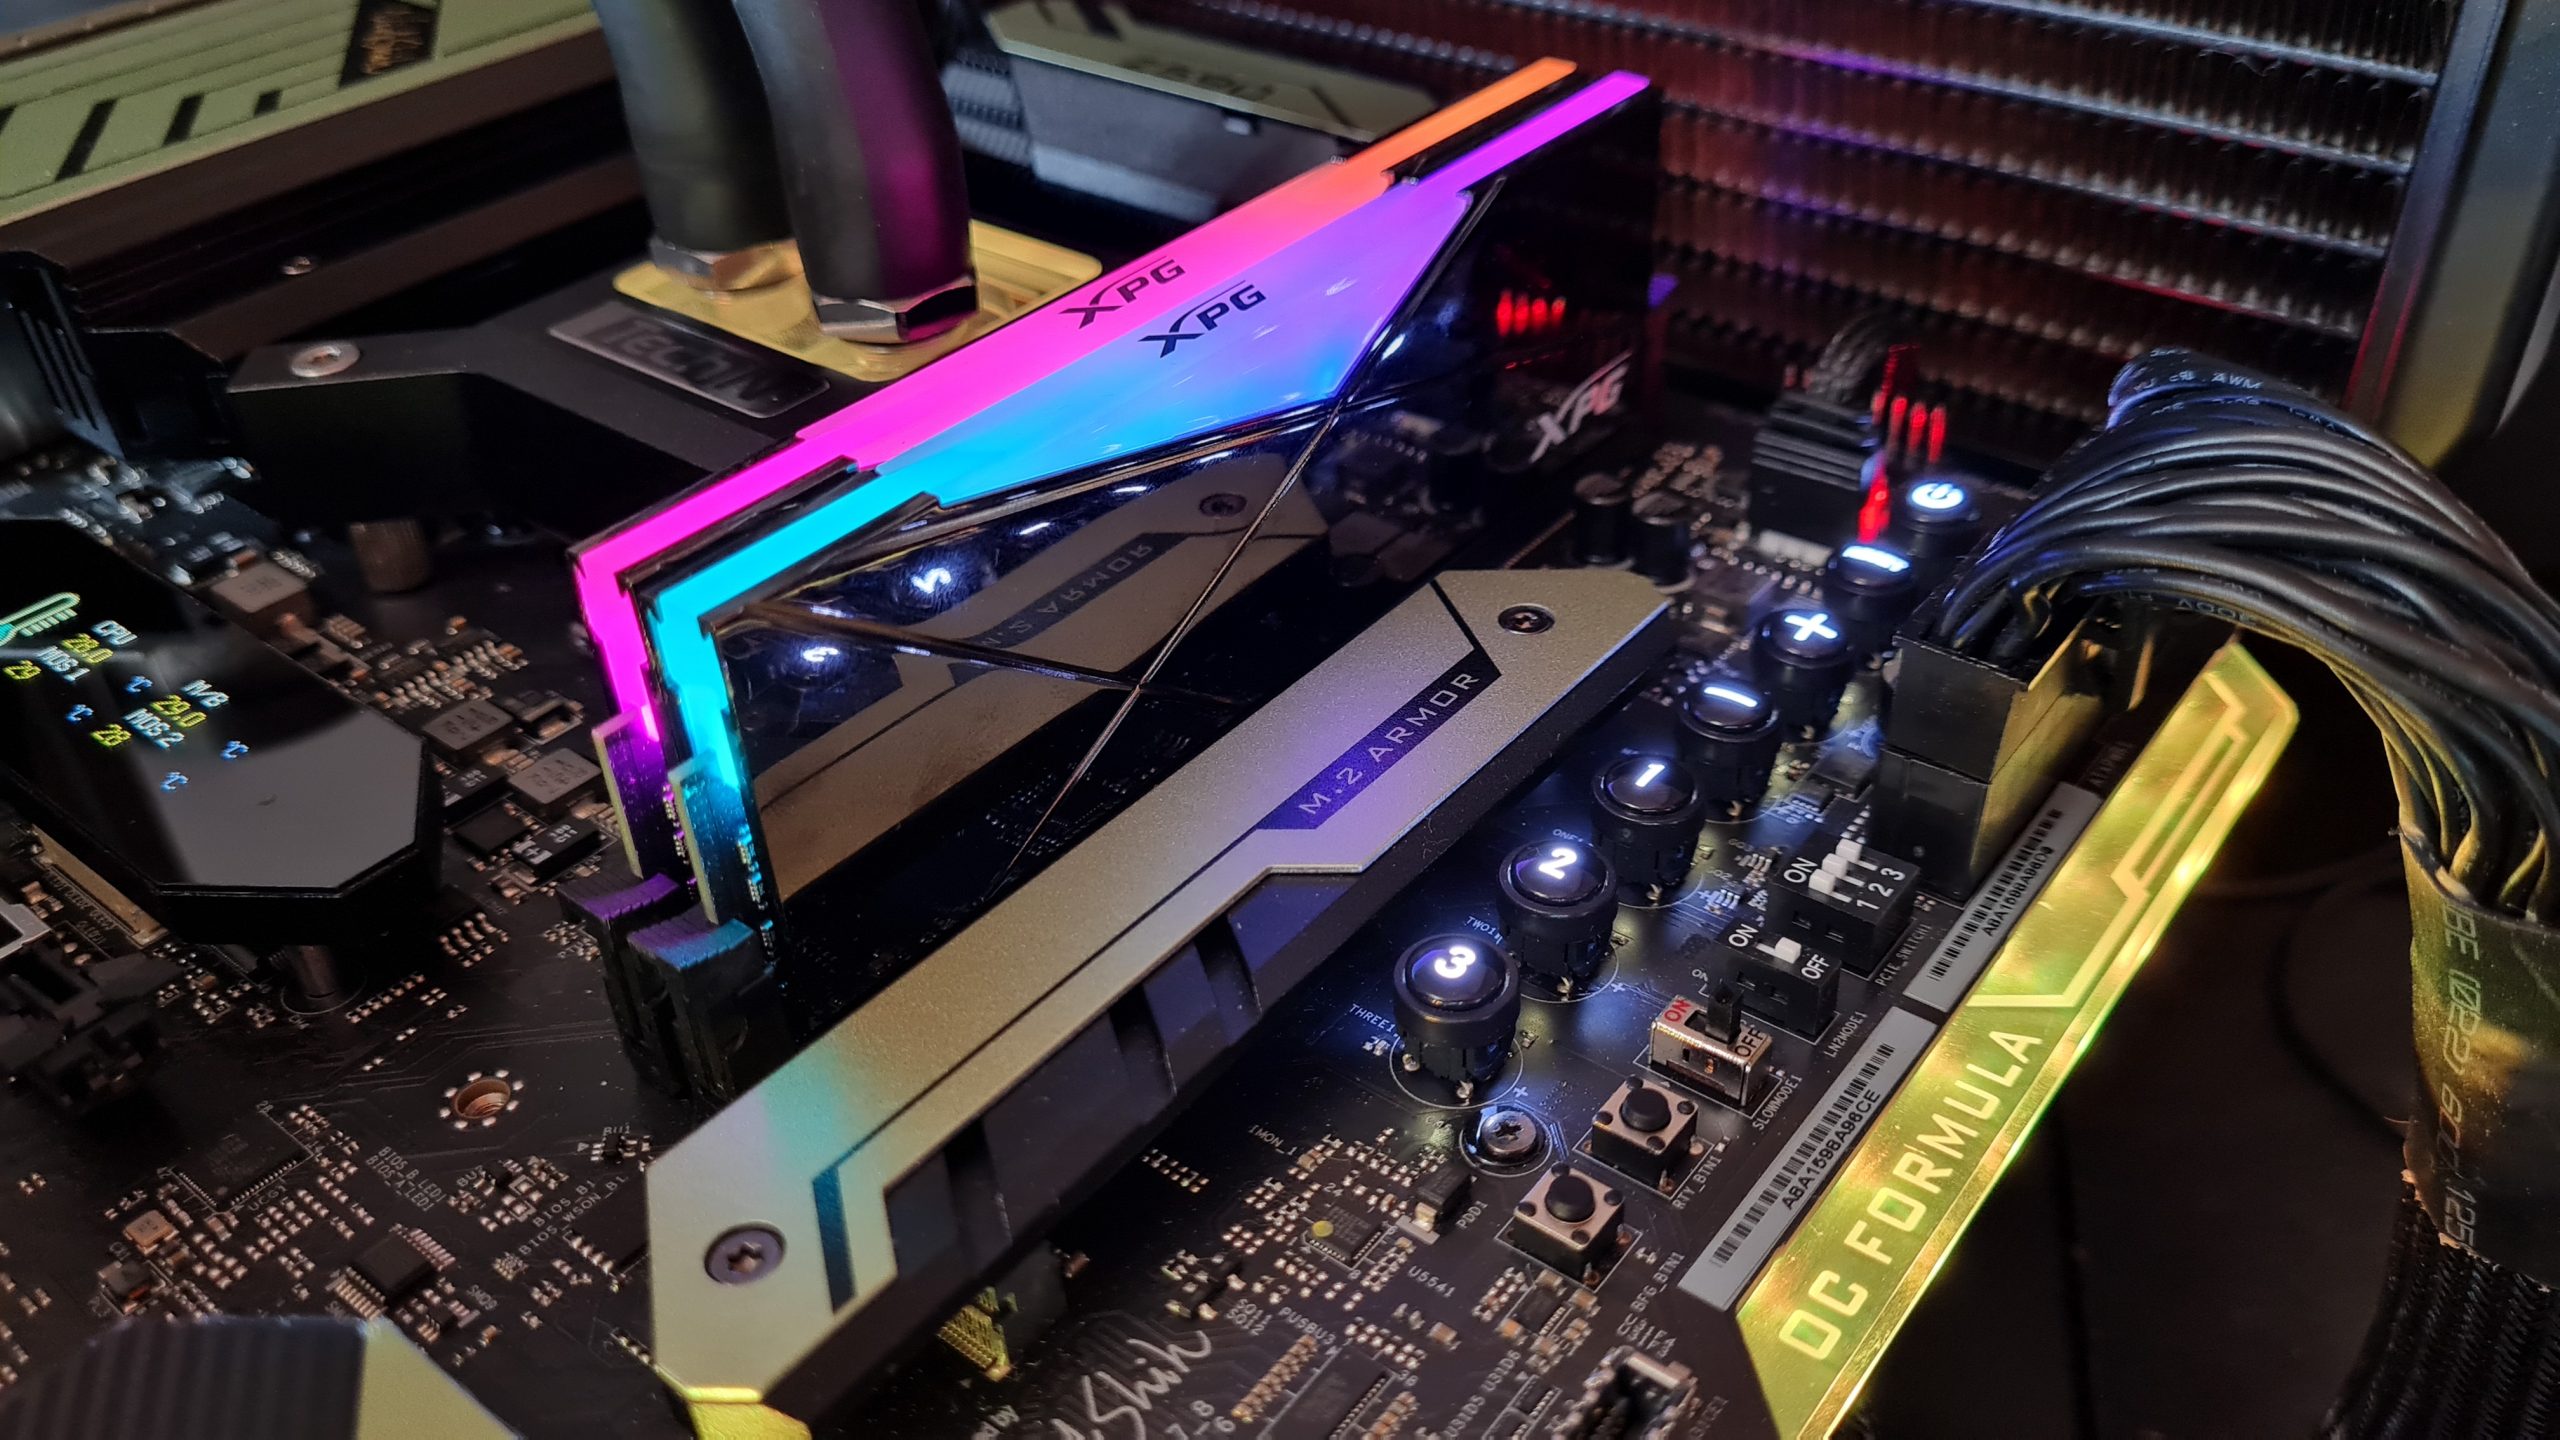
Just as important as high-quality hardware, of course, is the software that controls it. This is where the BIOS comes into play and the various optimizations to get the platform to its performance maximum as easily as possible. Especially when overclocking you want to be able to access all important features as uncomplicated as possible without having to learn new terms or other peculiarities first. Since this should be one of the deciding factors for many potential buyers of the board, there is an extra dose of BIOS and usability on this page.
Just as important as the content and structure of the BIOS, however, is how to get into it and how to recover from misconfigurations. This is where the dual BIOS implementation comes into play, whose switch is located on the IO-shield of the board. This way you can try out new BIOS versions without hesitation or restore the BIOS from a failed flash operation. For the latter, of course, the BIOS Flashback function can also be used.
Furthermore the board has dedicated onboard buttons for “BFG” and “Retry”. BFG is the counterpart to Asus’ “Safe Boot”, i.e. a safe mode where the system boots with predefined default BIOS settings without clearing your last BIOS settings. From there you can go back to the BIOS and correct the settings with which the board could not boot successfully before. A special feature of the BFG button is that it does not reboot or reset the board immediately when pressed, but BFG is only marked for the next system start.
This is where the Retry button comes into play, effectively “cold resetting” the system to allow the system to retry a failed memory training session or recover from a hang at boot time. This retry can then also be used to initiate the startup in safe mode that was marked with BFG. So you first press BFG, then Retry and then the board boots with the safe default settings and gives the user the possibility to get back into the BIOS.
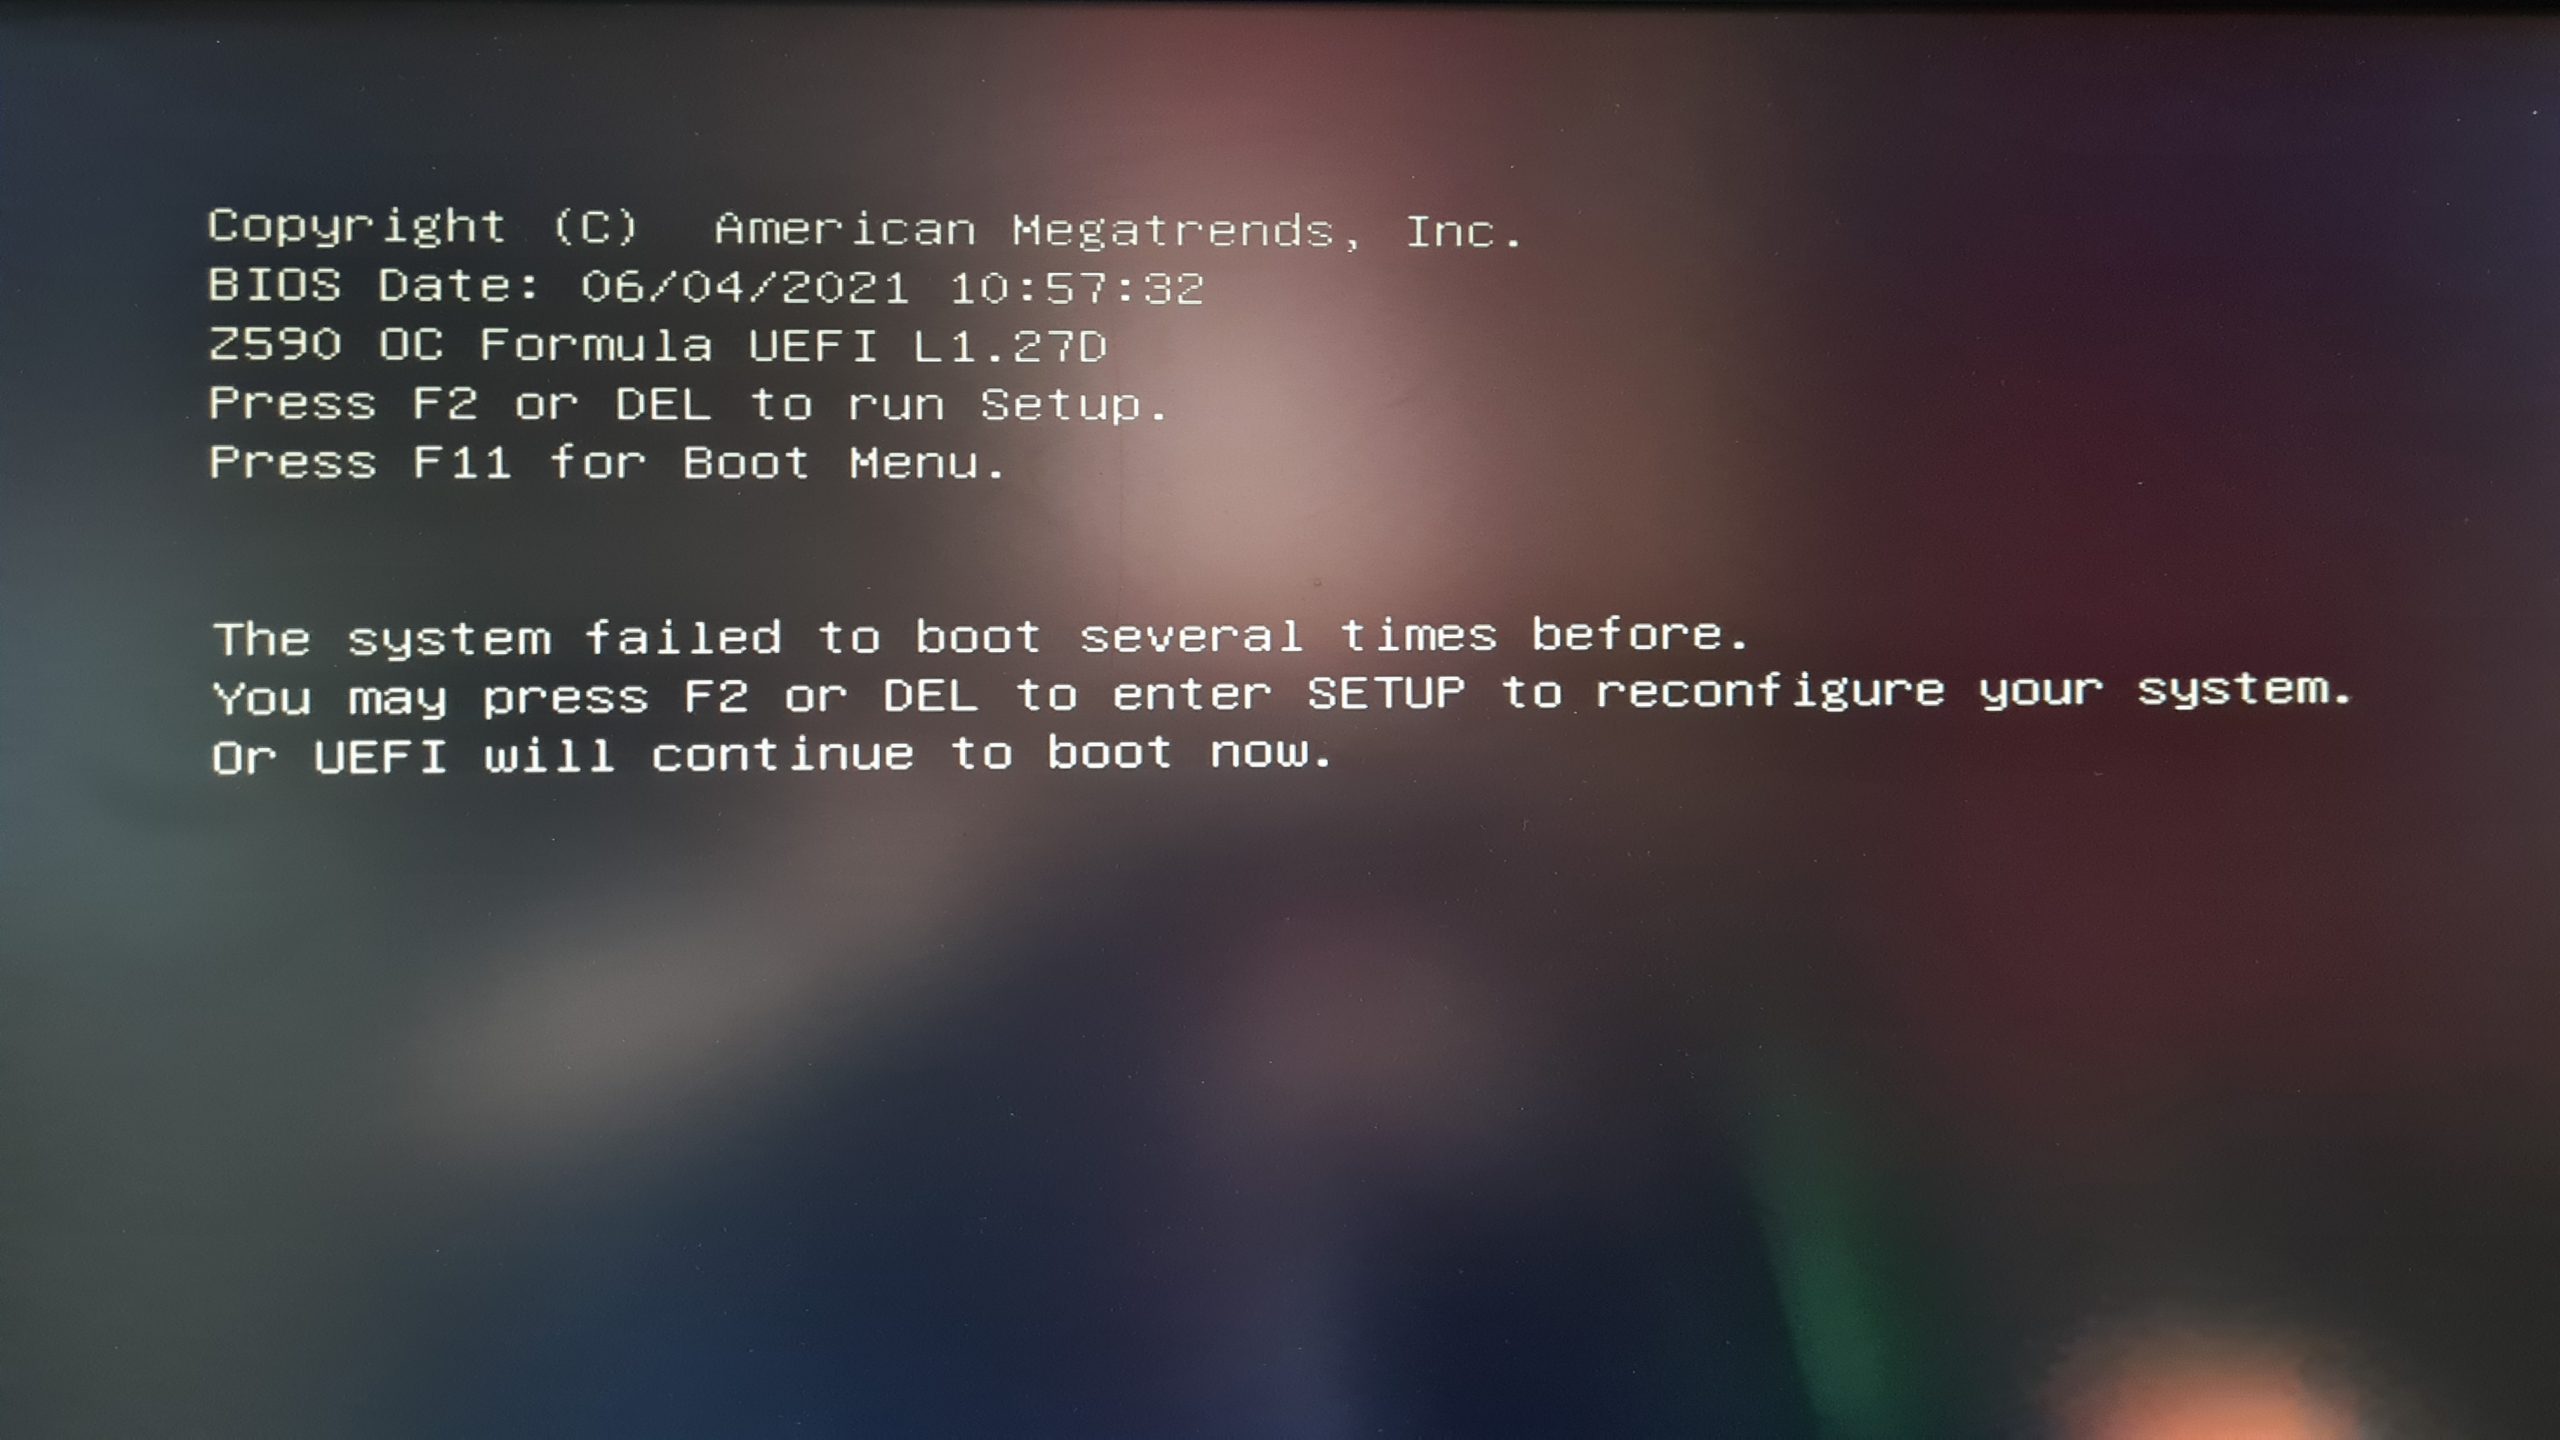
However, a second peculiarity is to be mentioned here, because the board does not go directly back into the BIOS or wait for a user confirmation before it continues with the boot process. Instead, only a prompt with a 10-second timeout is displayed, within which you must have pressed F2 or DEL. Otherwise, the system will continue to boot with the safe settings and into Windows if necessary.
How many times I ended up in Windows by mistake because my monitor didn’t wake up within the 10 seconds or I was just not paying enough attention… Here it would be really desirable if ASRock could integrate another BIOS option, so that the board either waits for a user input or goes directly into the BIOS. But to simply continue the boot after 10 seconds without comment is unfortunately a bit impractical.
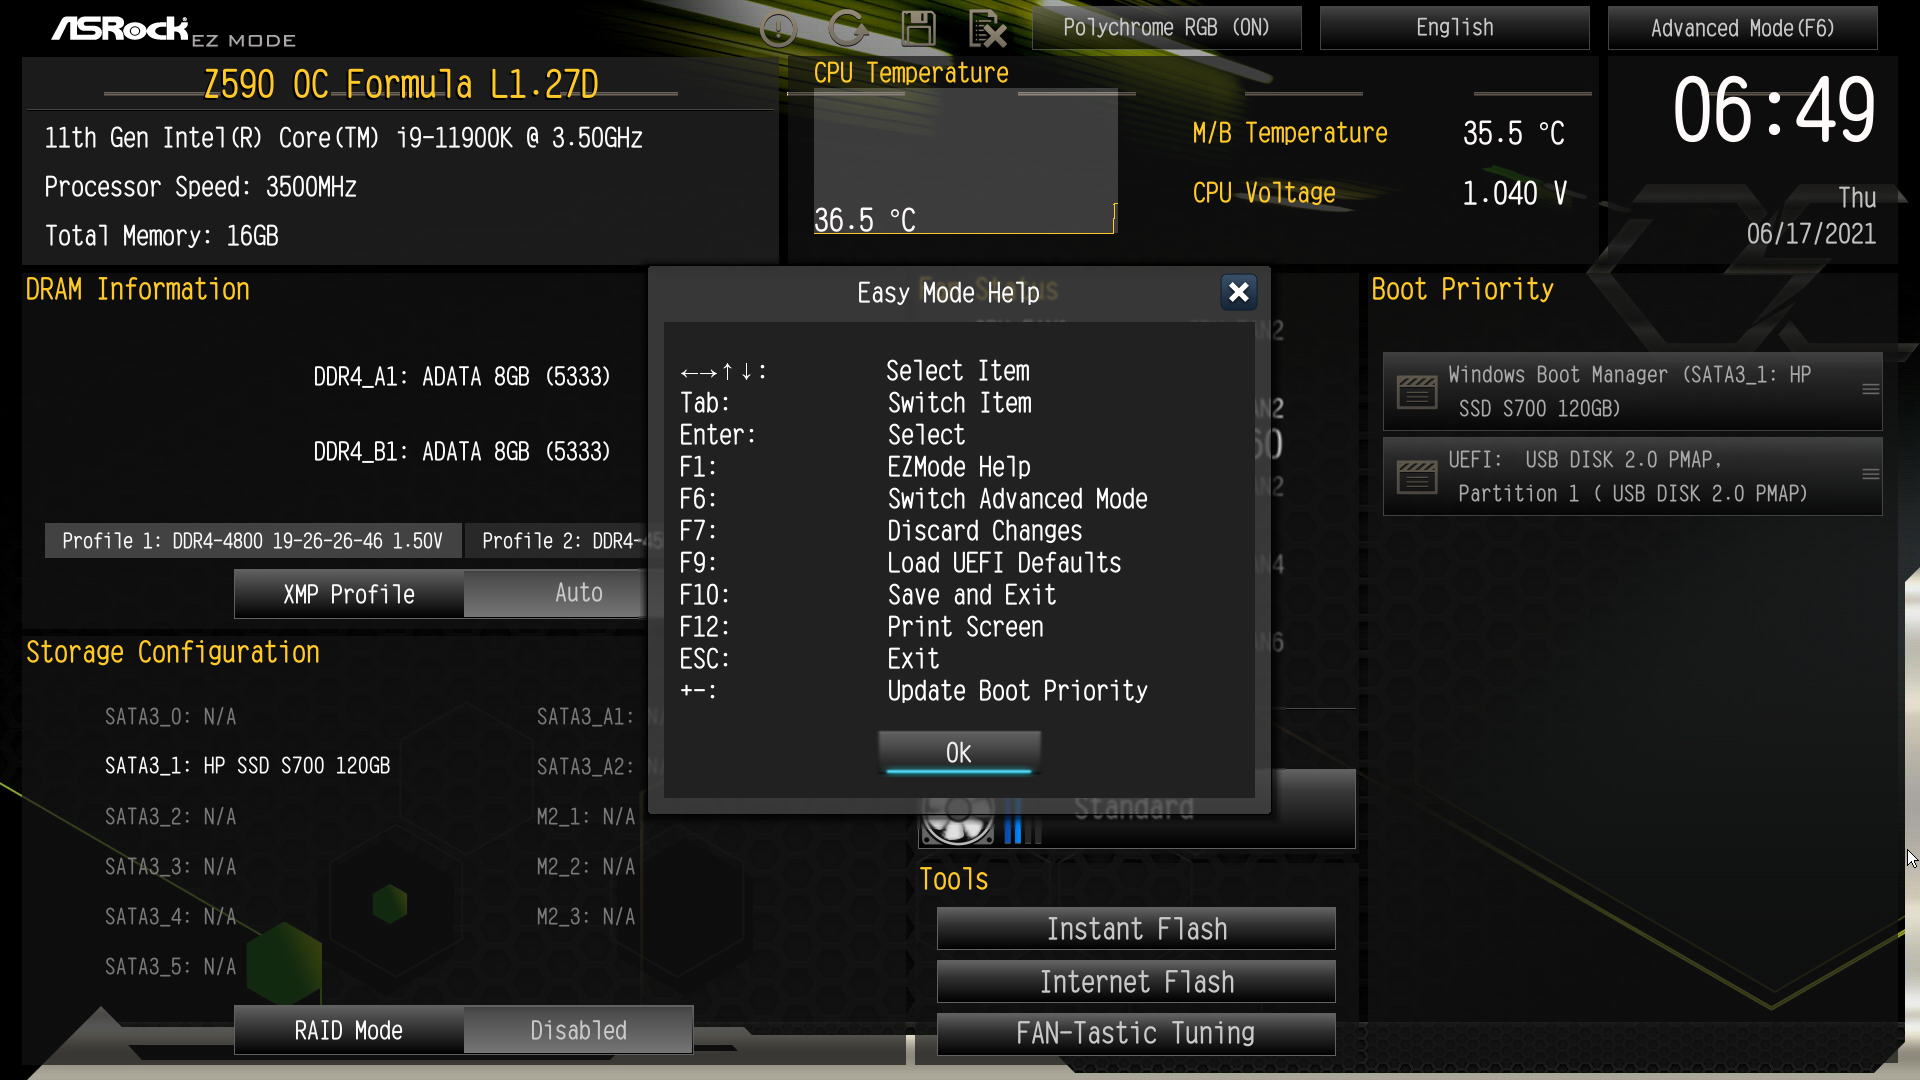
Of course you can also get into the BIOS by pressing F2 or DEL at system startup. The successful triggering and loading of the BIOS can be recognized by the postcode A2. The BIOS itself is clear and tidy, with several tabs into which the settings are categorized. Of course I mean the “Advanced Mode”, which you can switch to with F6 from the clicky-colorful “Easy Mode”. The only advantage of Easy Mode is that there is an undocumented shortcut with F3 to toggle the RGB lighting completely off and on – handy.

The various tabs do exactly what you’d expect, and sorting the individual settings into subcategories like OC Tweaker, for example, is actually intuitive. If you are used to BIOS layouts from other manufacturers, you might have to rethink a bit, but you will definitely find your way around after a few minutes.
Each setting can be marked as a favorite by pressing F5, so that it then appears under “My Favorite” below the “Main” tab. Conveniently, you can also define this favorites page as the entry point of the BIOS, so that you can completely save the navigation in submenus and always have direct access to all important settings.
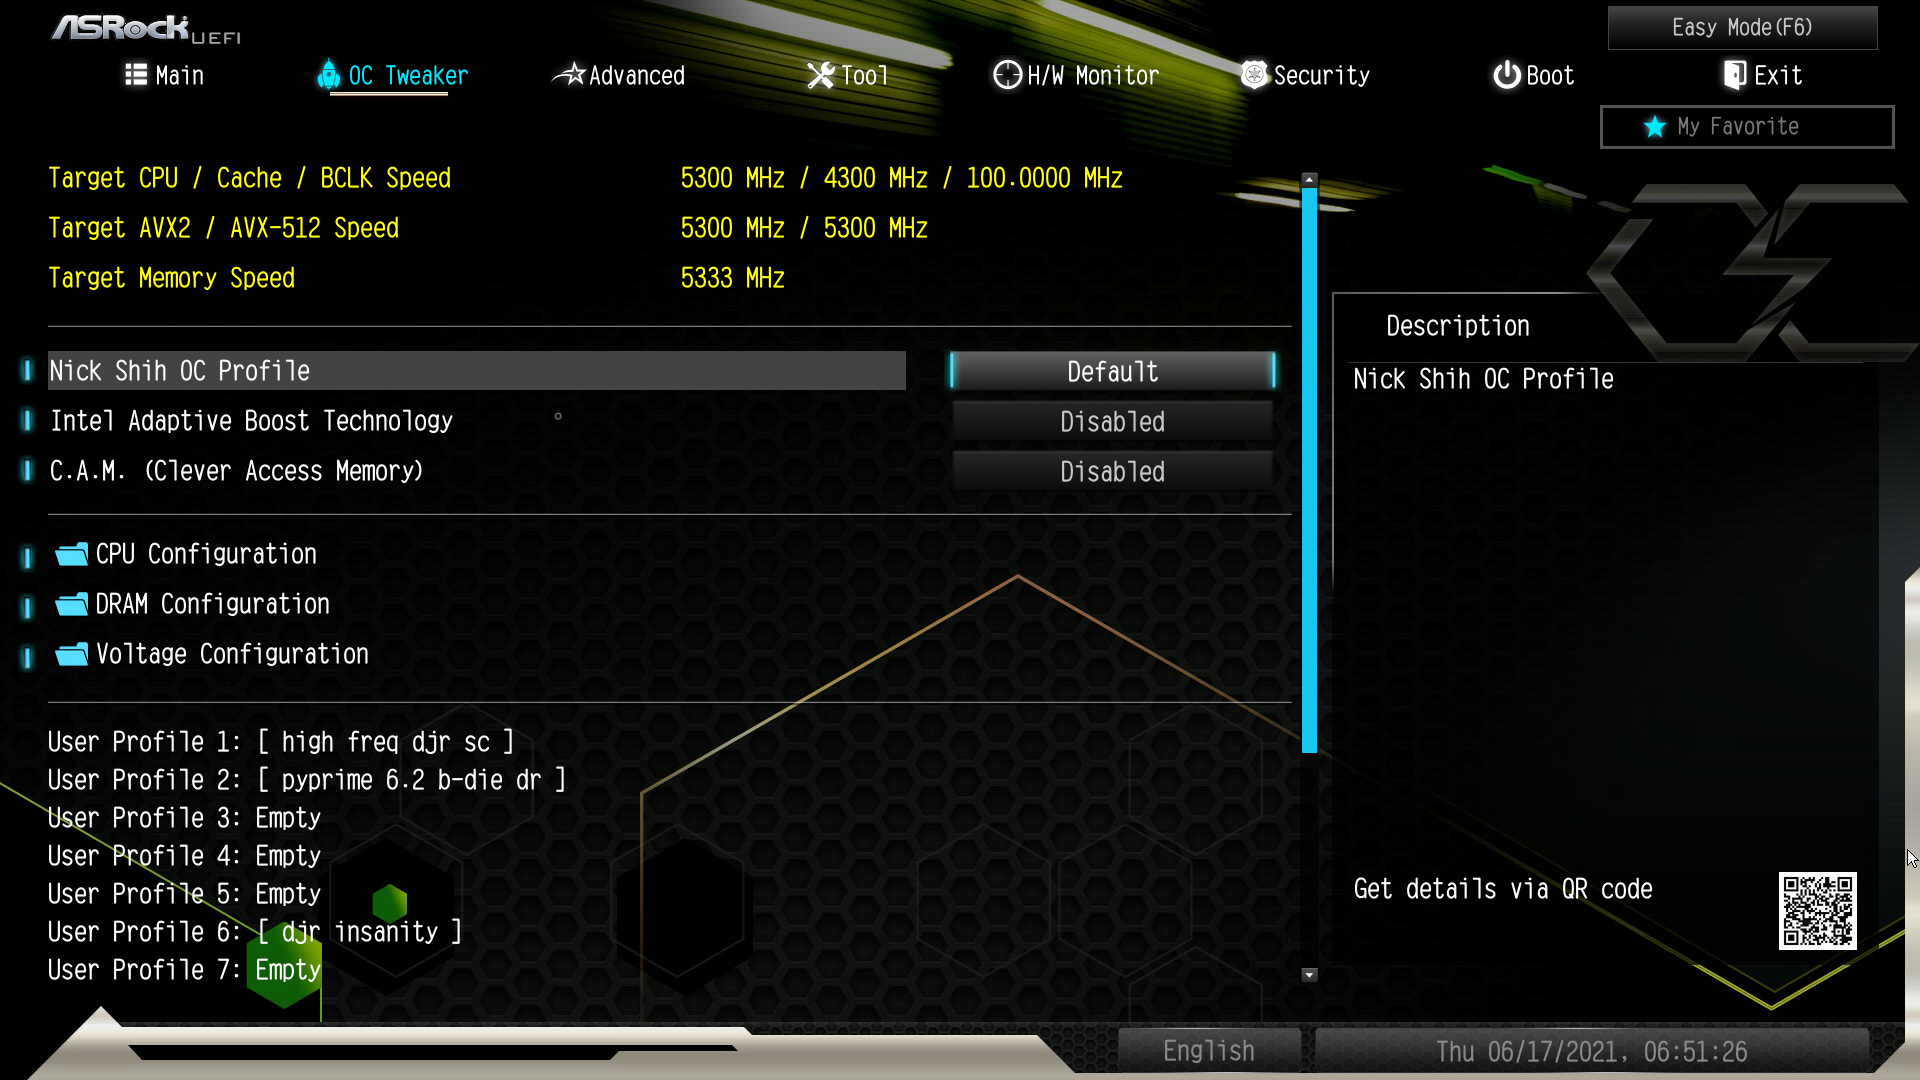
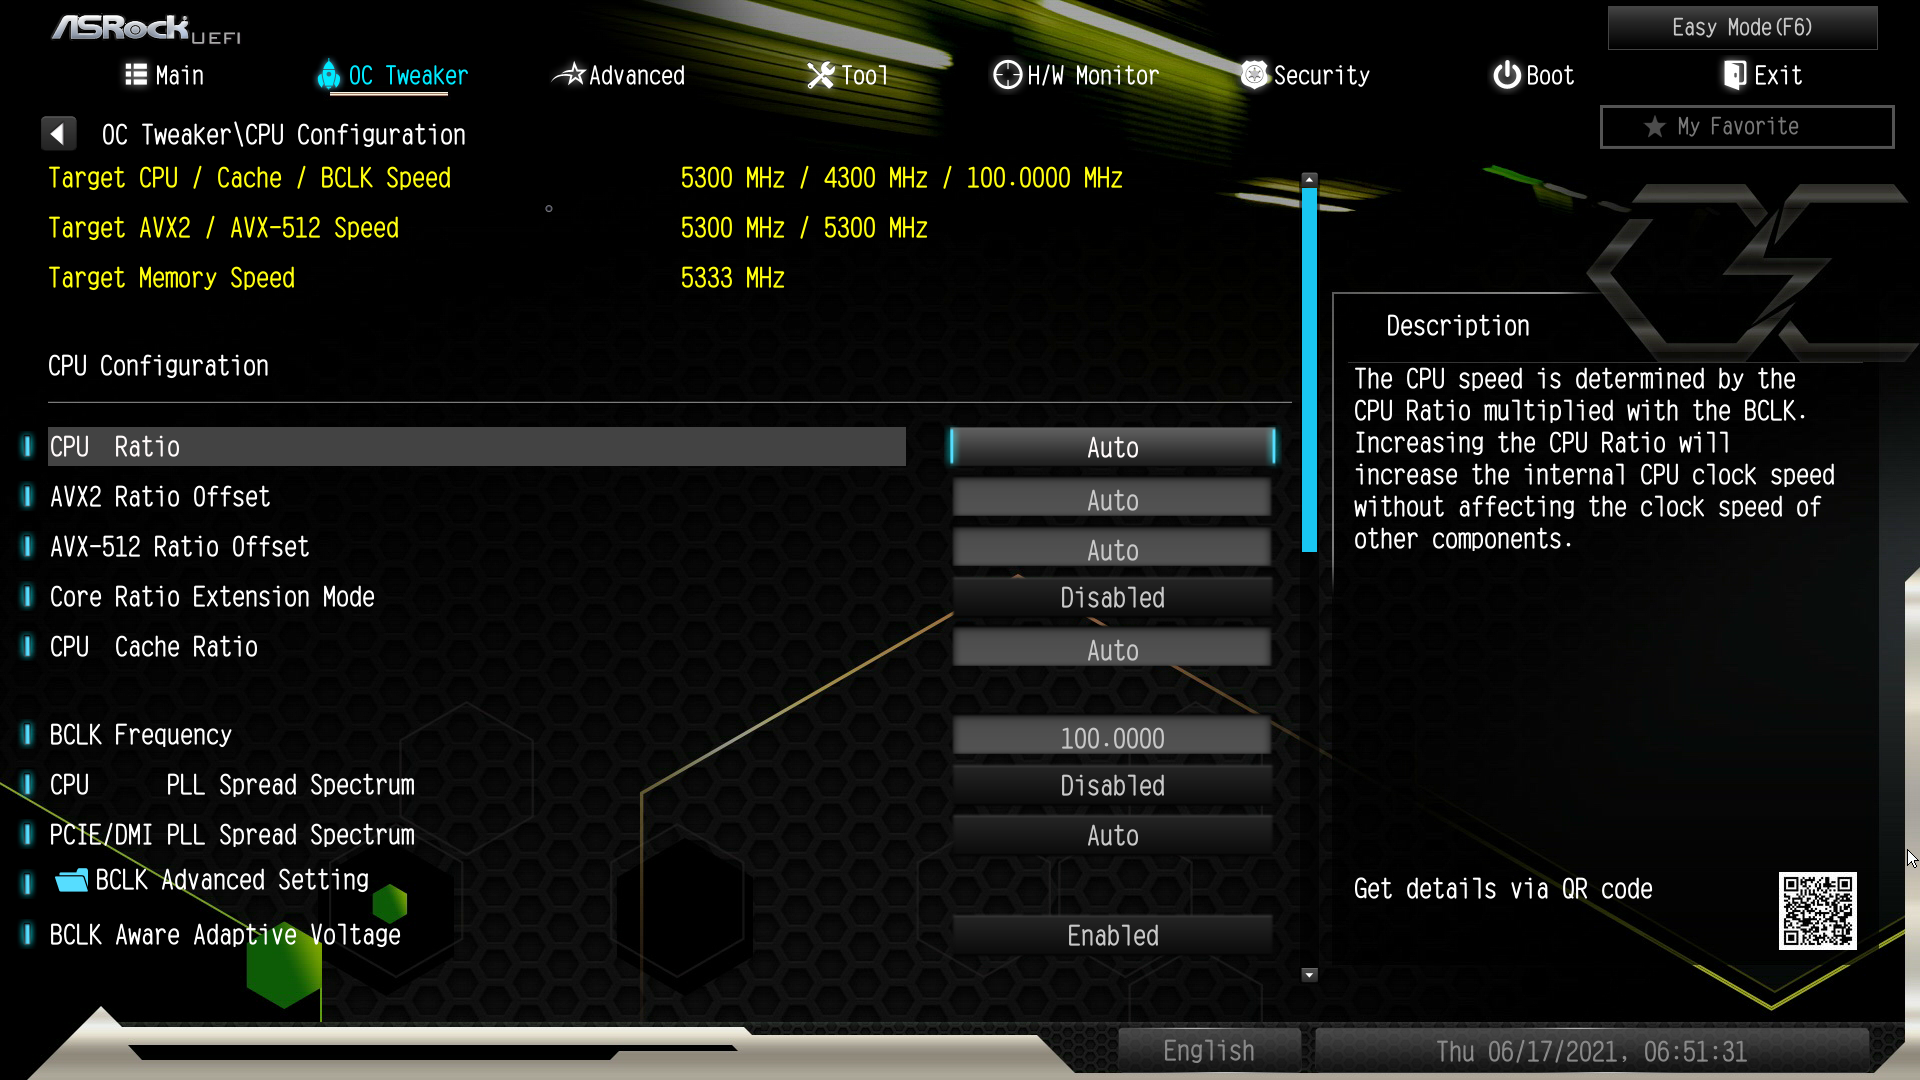
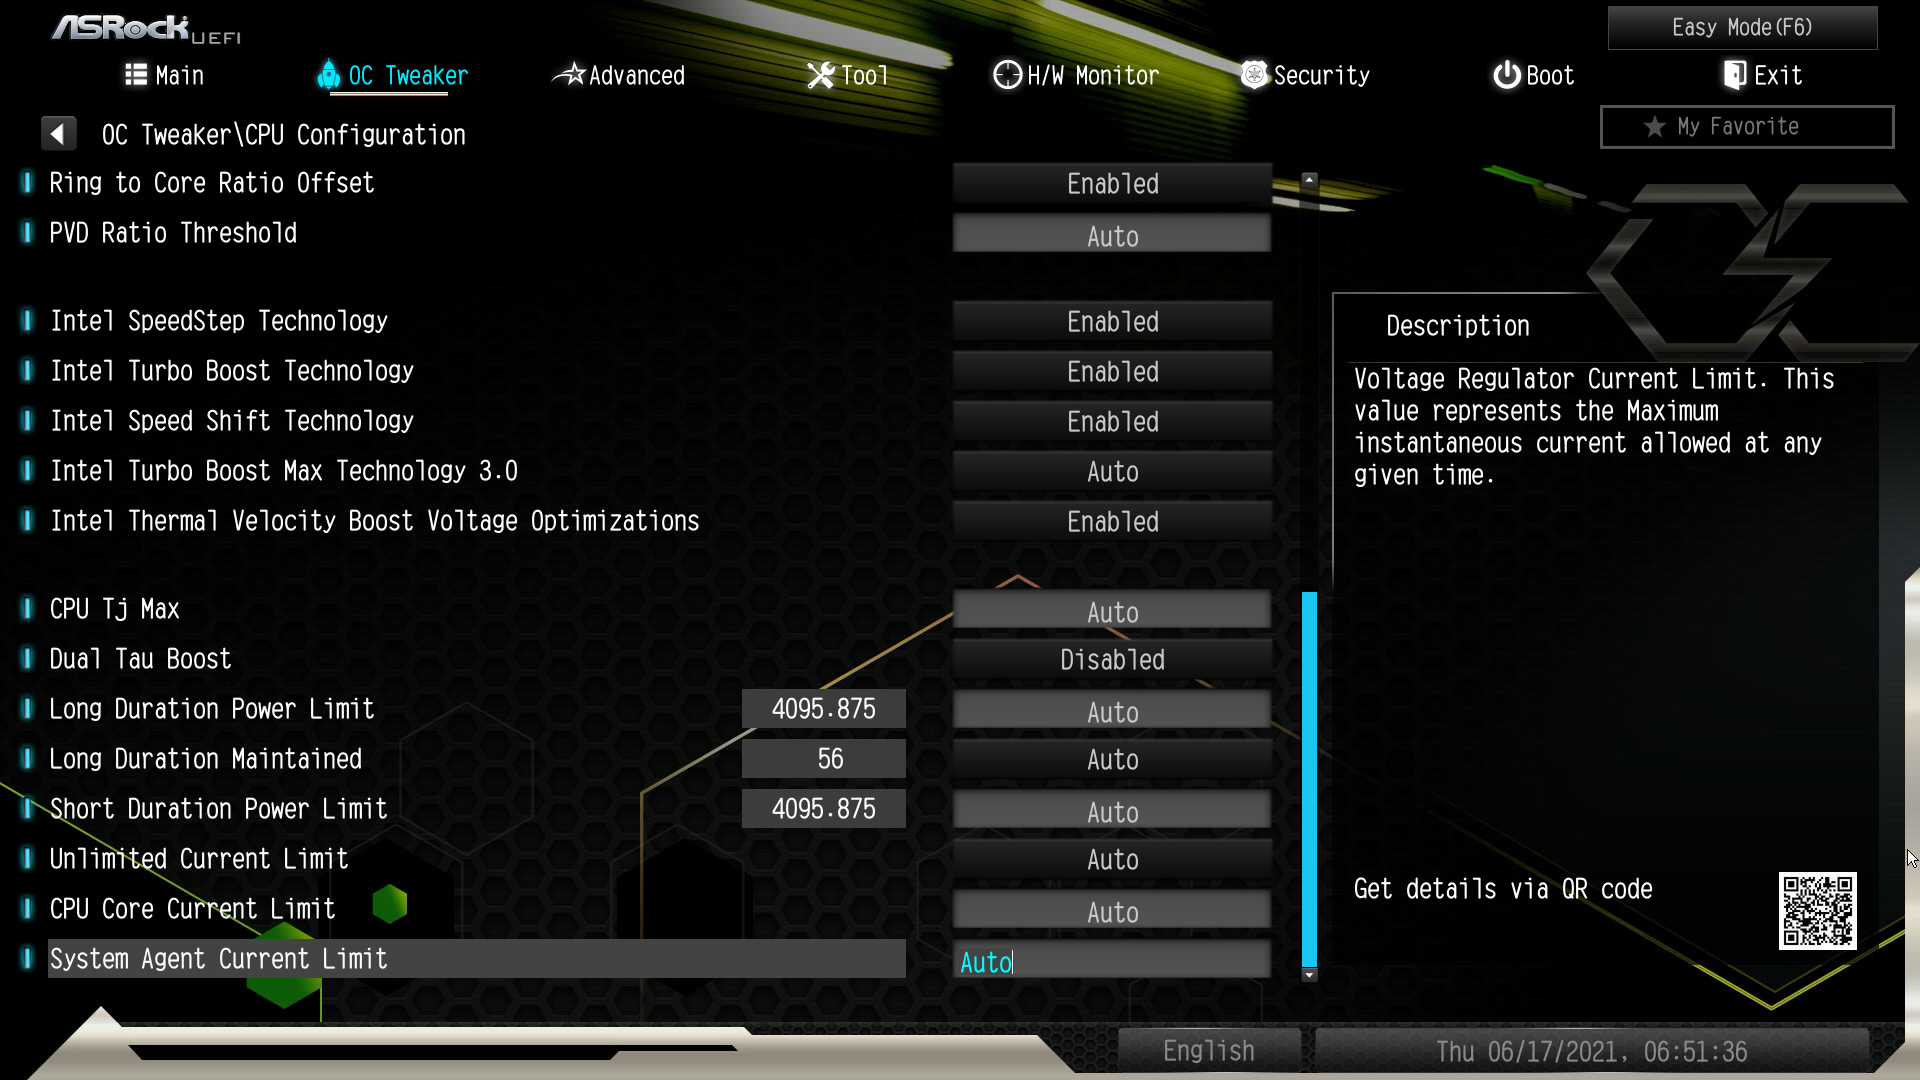
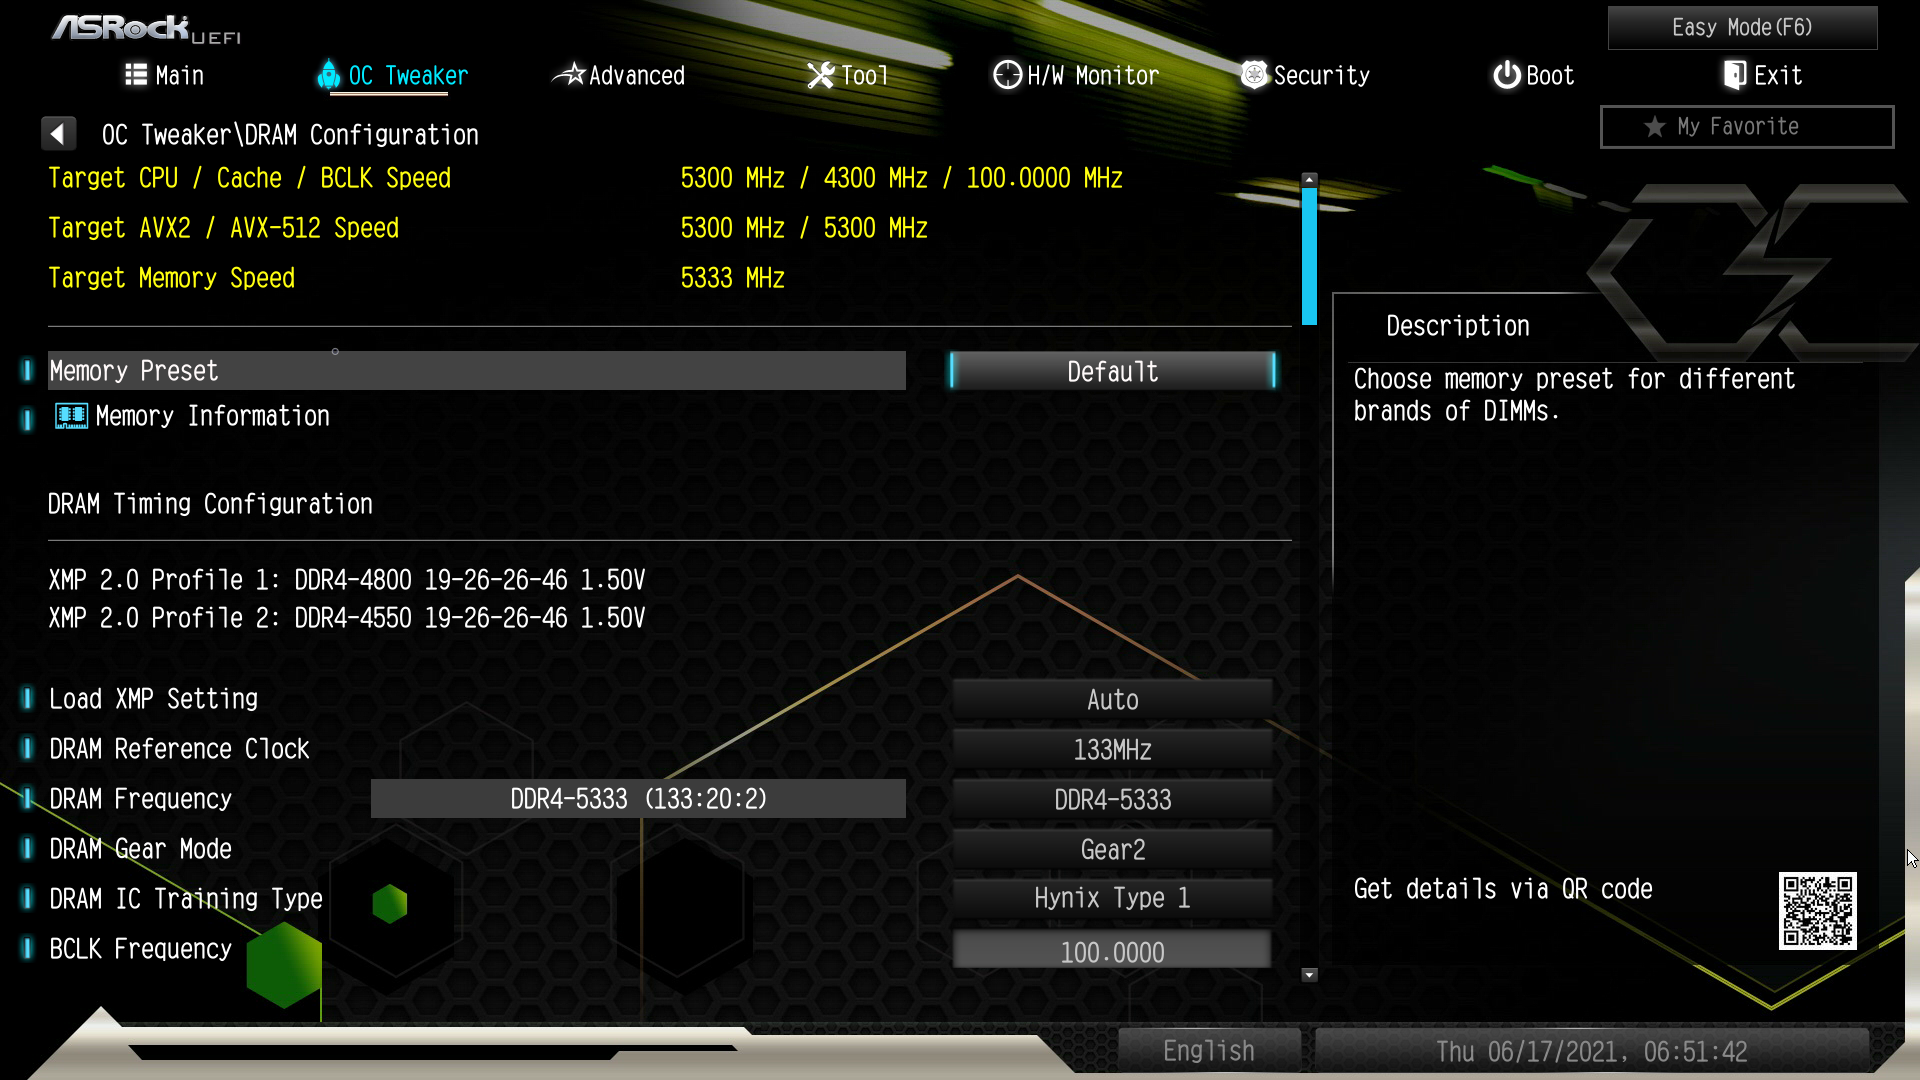
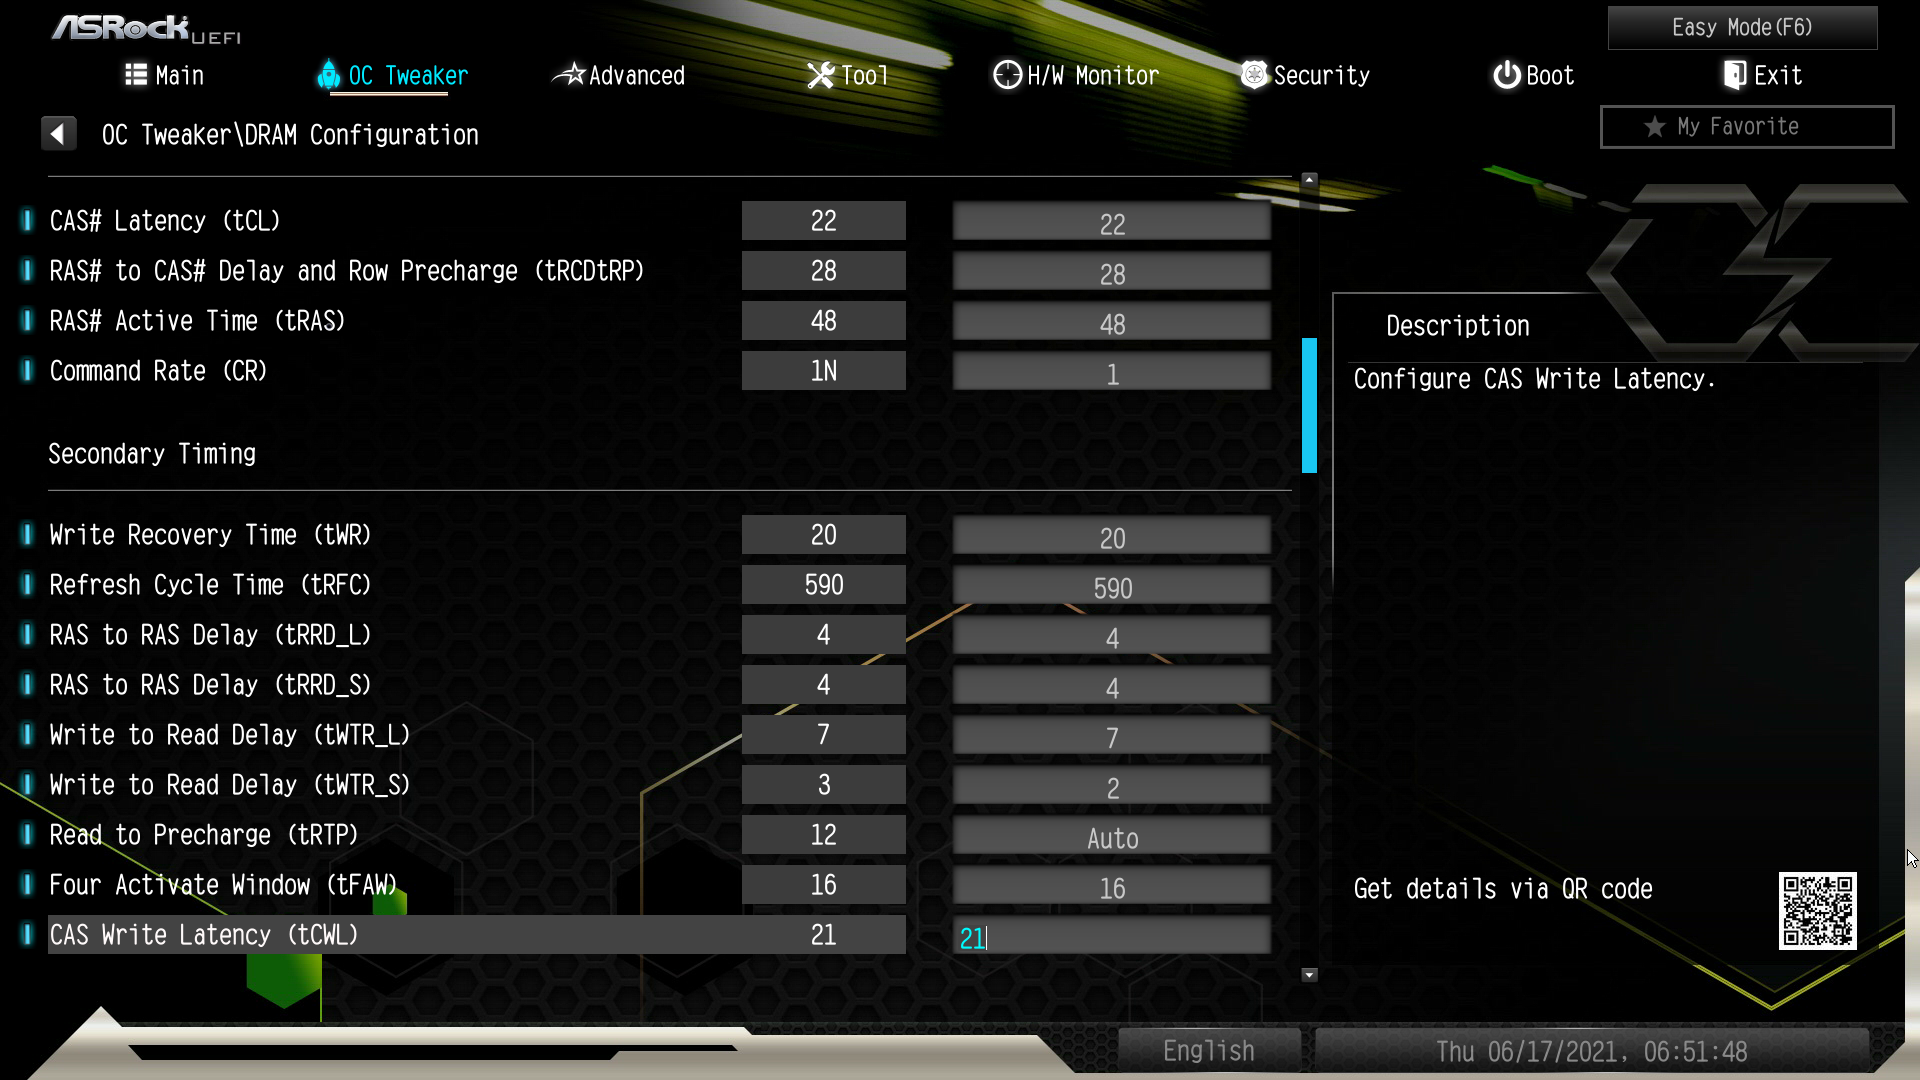
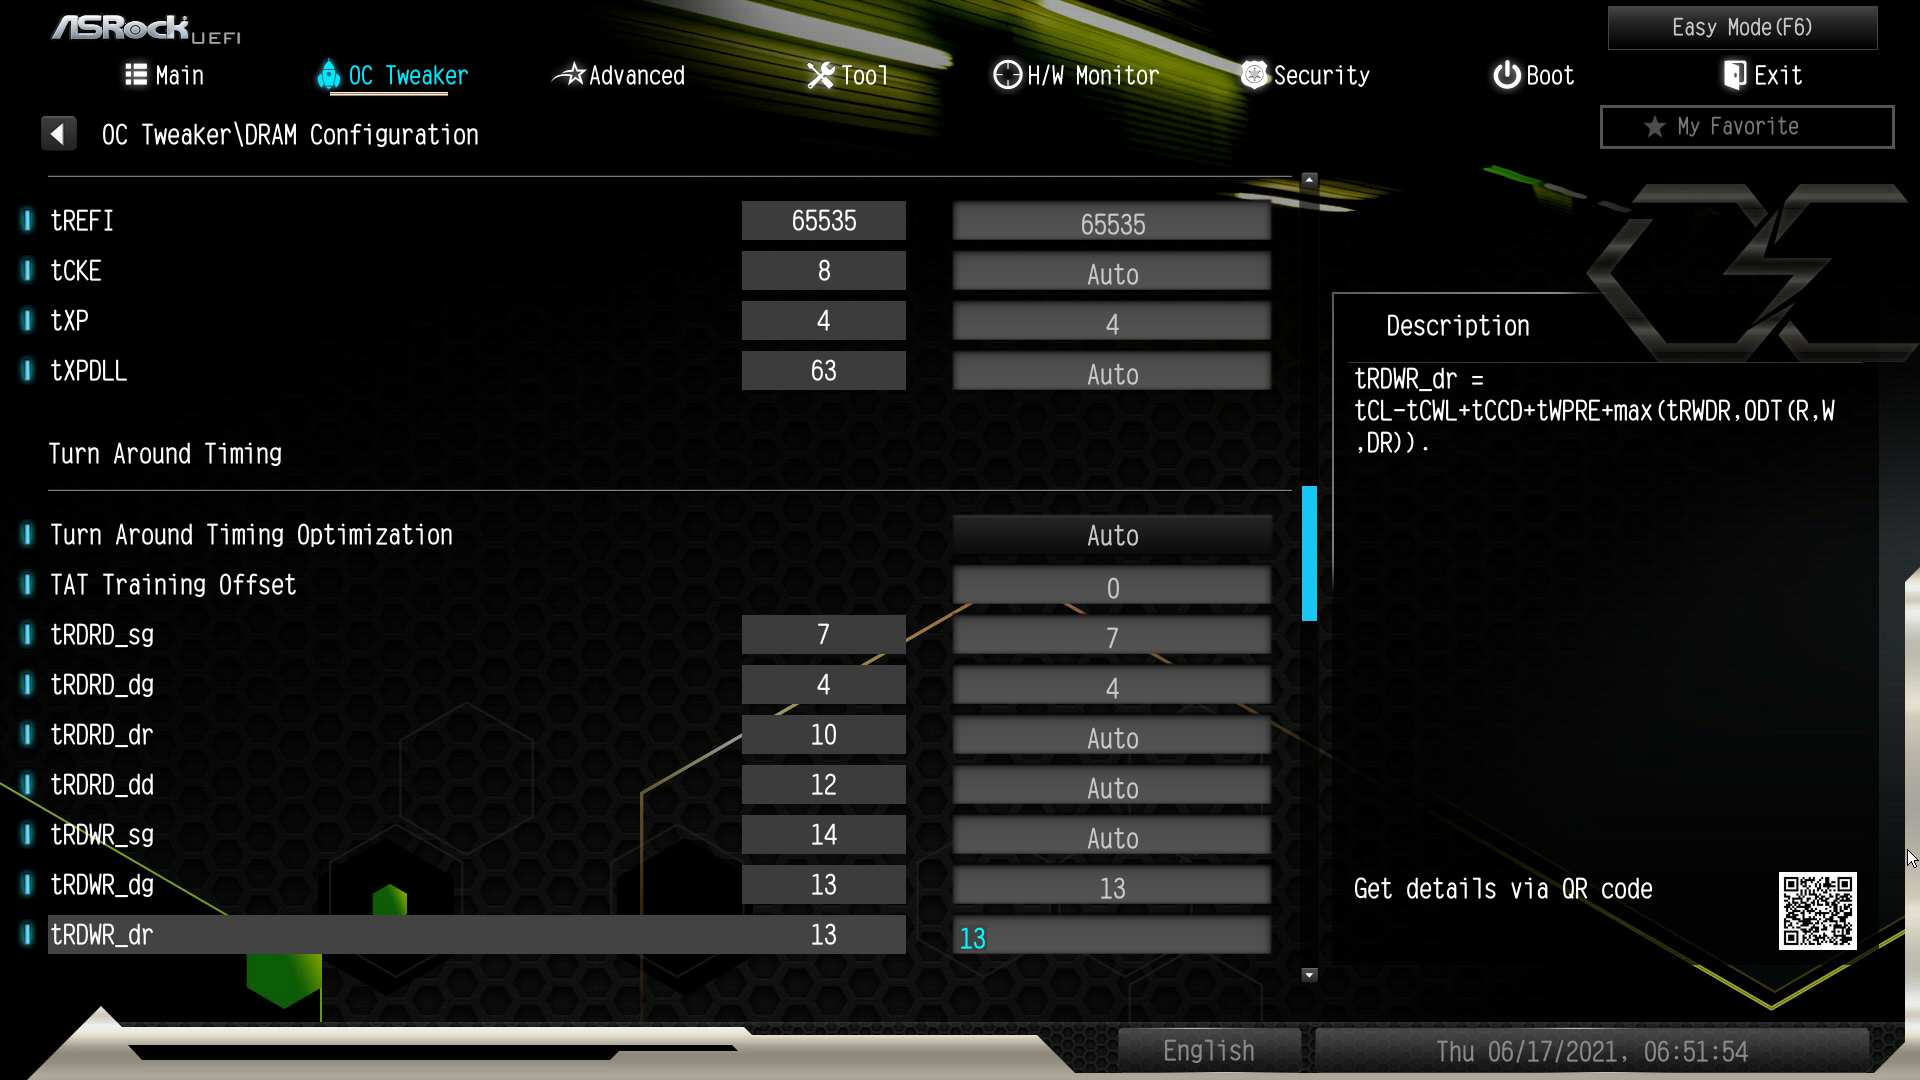

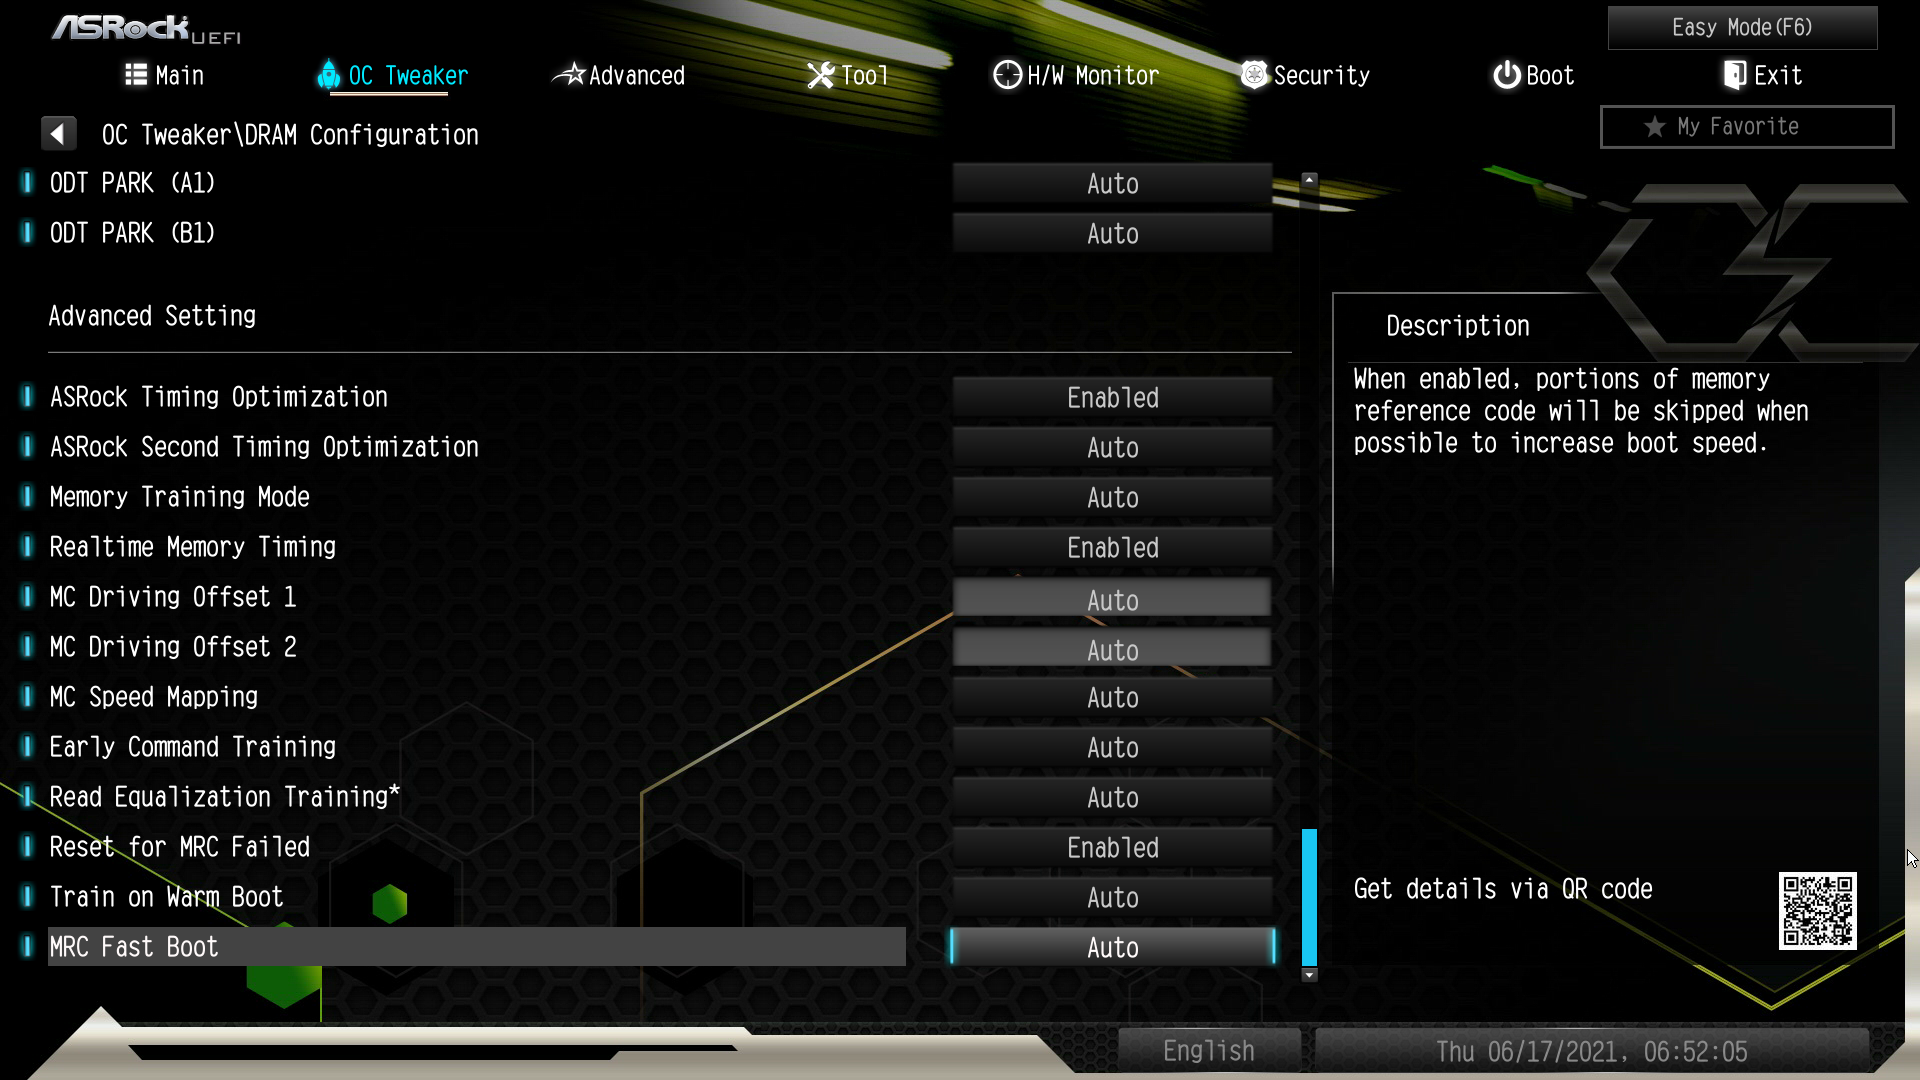
In the OC Tweaker tab, there are probably the most interesting menu items for overclockers besides predefined LN2 profiles from Nick Shih, Intel Adaptive Boost and SAM or CAM, as ASRock calls it here. CPU Configuration contains all settings for the CPU, like multiplier, limits, AVX offsets etc., except voltage. For DRAM Configuration you will find all timings, resistances and training settings for the RAM, again everything except voltage.
Additionally, Nick has added a “DRAM IC Training Type” setting here that can help with incompatibilities with certain memory ICs or PCB layouts. There is no definitive recommendation for individual ICs, so only trial and error will help if “Auto” does not work. With my kits “Samsung Type 2 DR” worked for Dual-Rank B-Die with B1 PCB and “Samsung Type 3 SR” or “Samsung Type 4 SR” for Single-Rank B-Die with A2 PCB.

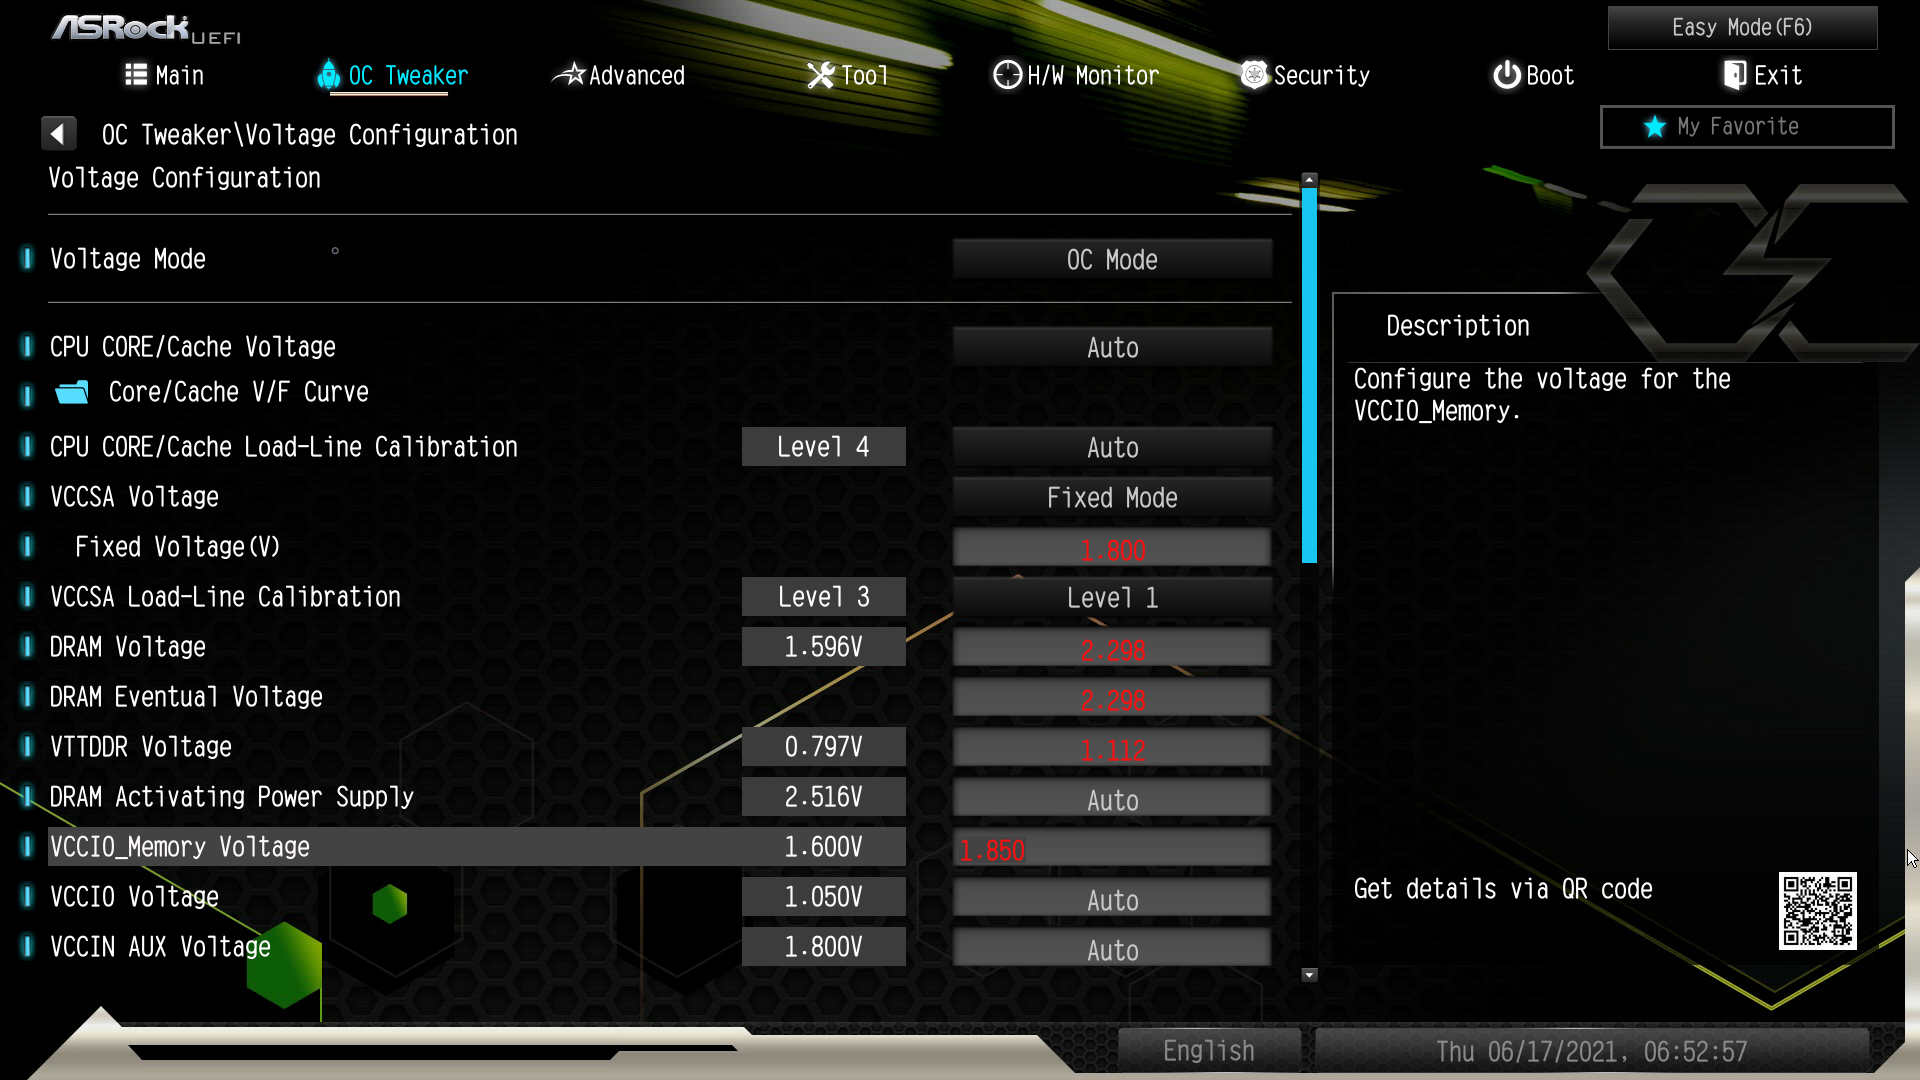
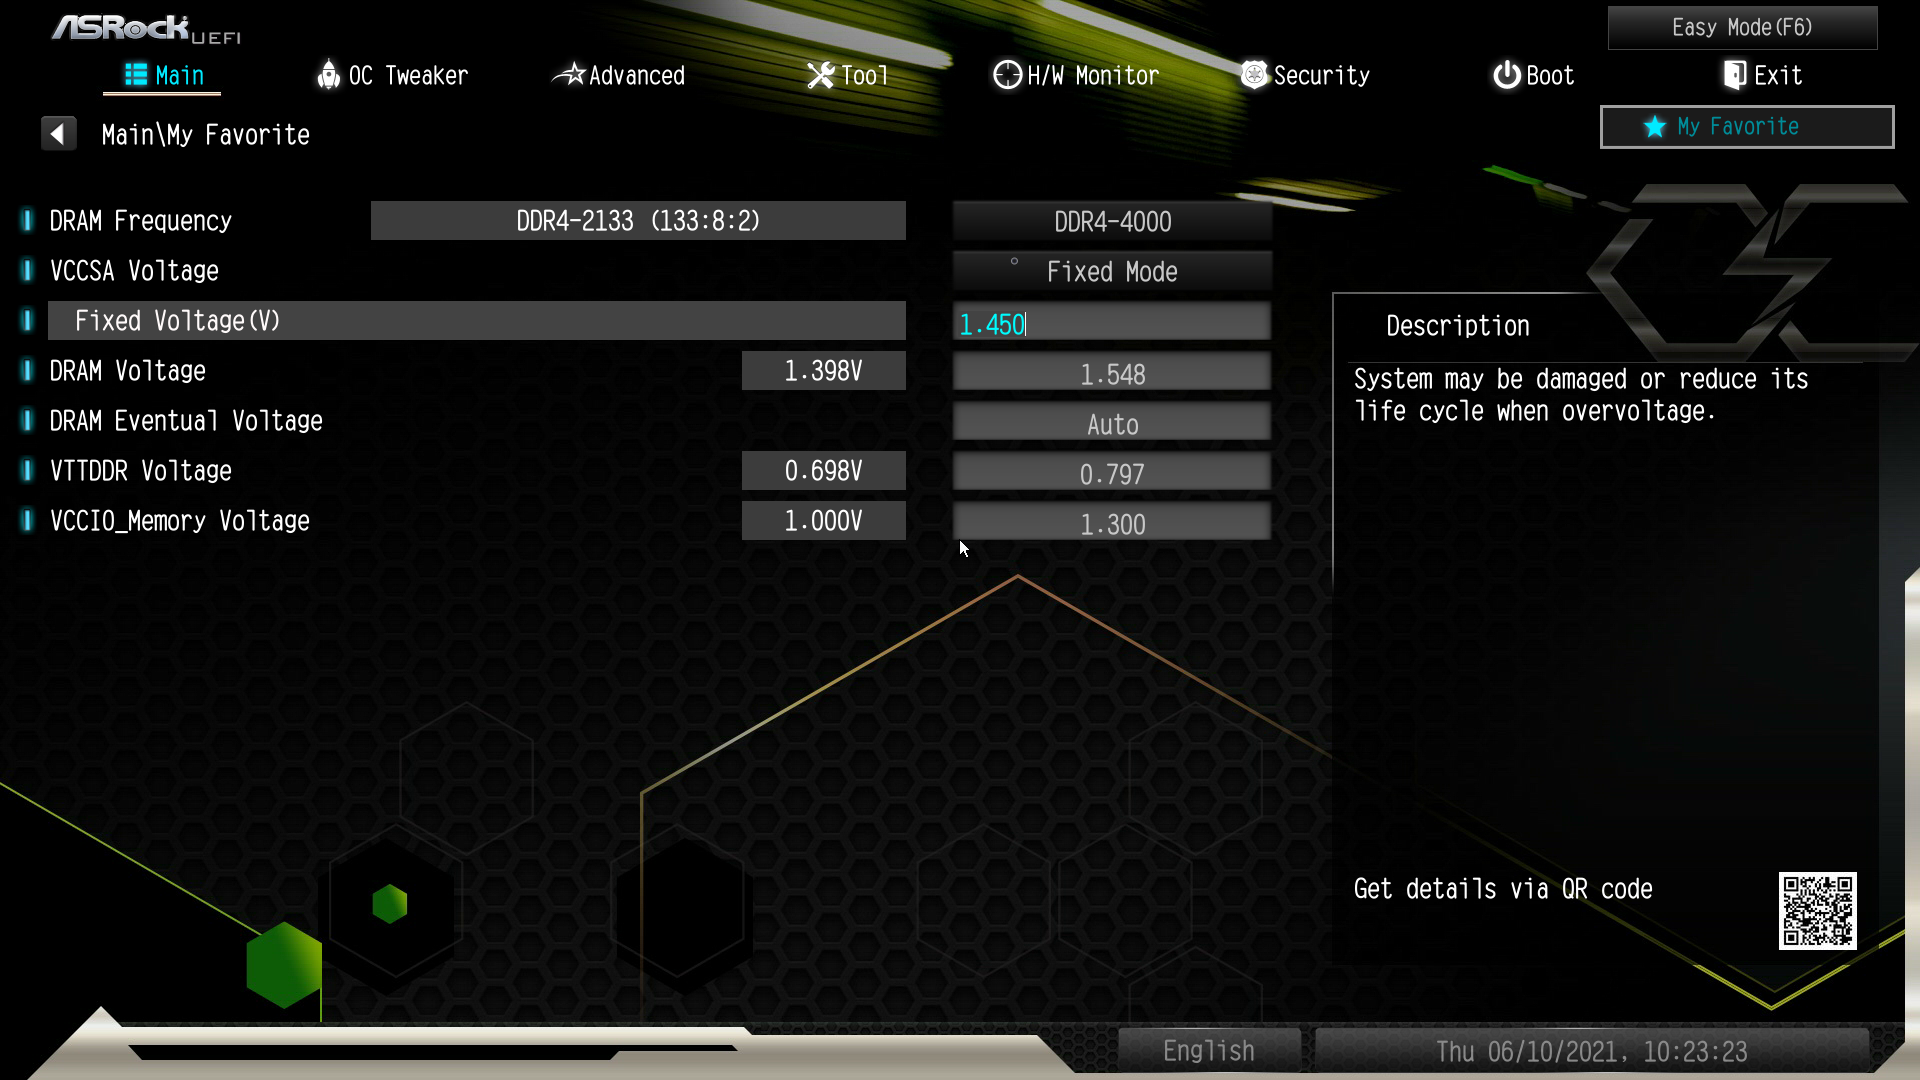
All voltage settings are located under Voltage Configuration, which as mentioned might take some getting used to, even if it actually makes sense. Here you have the choice between “Stable” and “OC Mode”, the latter simply allowing higher limits for valid voltage values. Up to 2.2 V Vcore, 1.8 V System Agent and 2.3 V DRAM Voltage should leave nothing to be desired even for extreme overclocking. Also praiseworthy is the directly adjustable VTTDDR voltage, which can be very helpful especially for stabilizing memory overclocks.
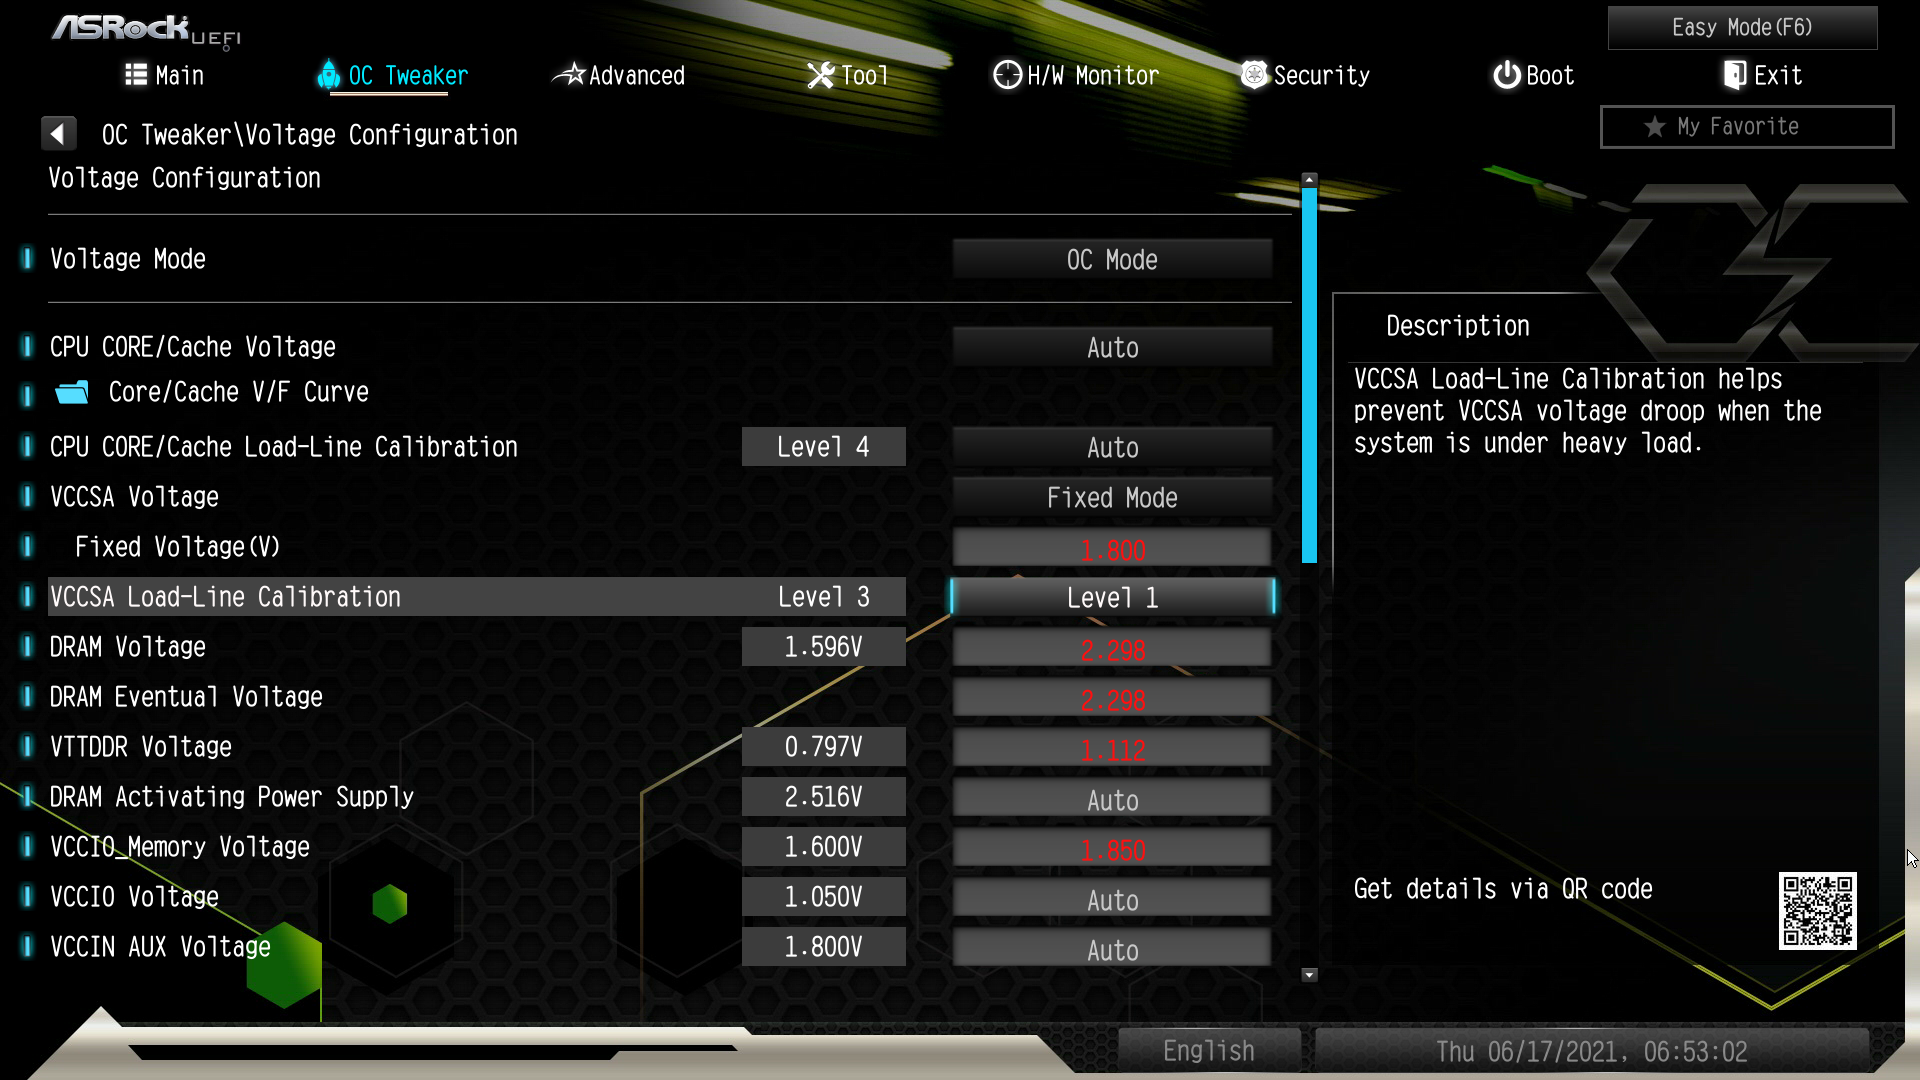
There is one small drawback, however, because if you change one of the voltages with the associated Load Line Calibration (LCC), such as Vcore or VCCSA, this LLC is also automatically set to Level 1, which cannot be deactivated. LLC Level 1 is the most aggressive setting with as little voltage droop as possible, which also introduces some danger if you don’t notice the automatic change. So here you have to be careful and if necessary you have to set the desired LLC again. Again, a simple additional setting “Automatic LLC Reset upon Voltage Change: Enabled/Disabled” would be a straightforward potential solution.
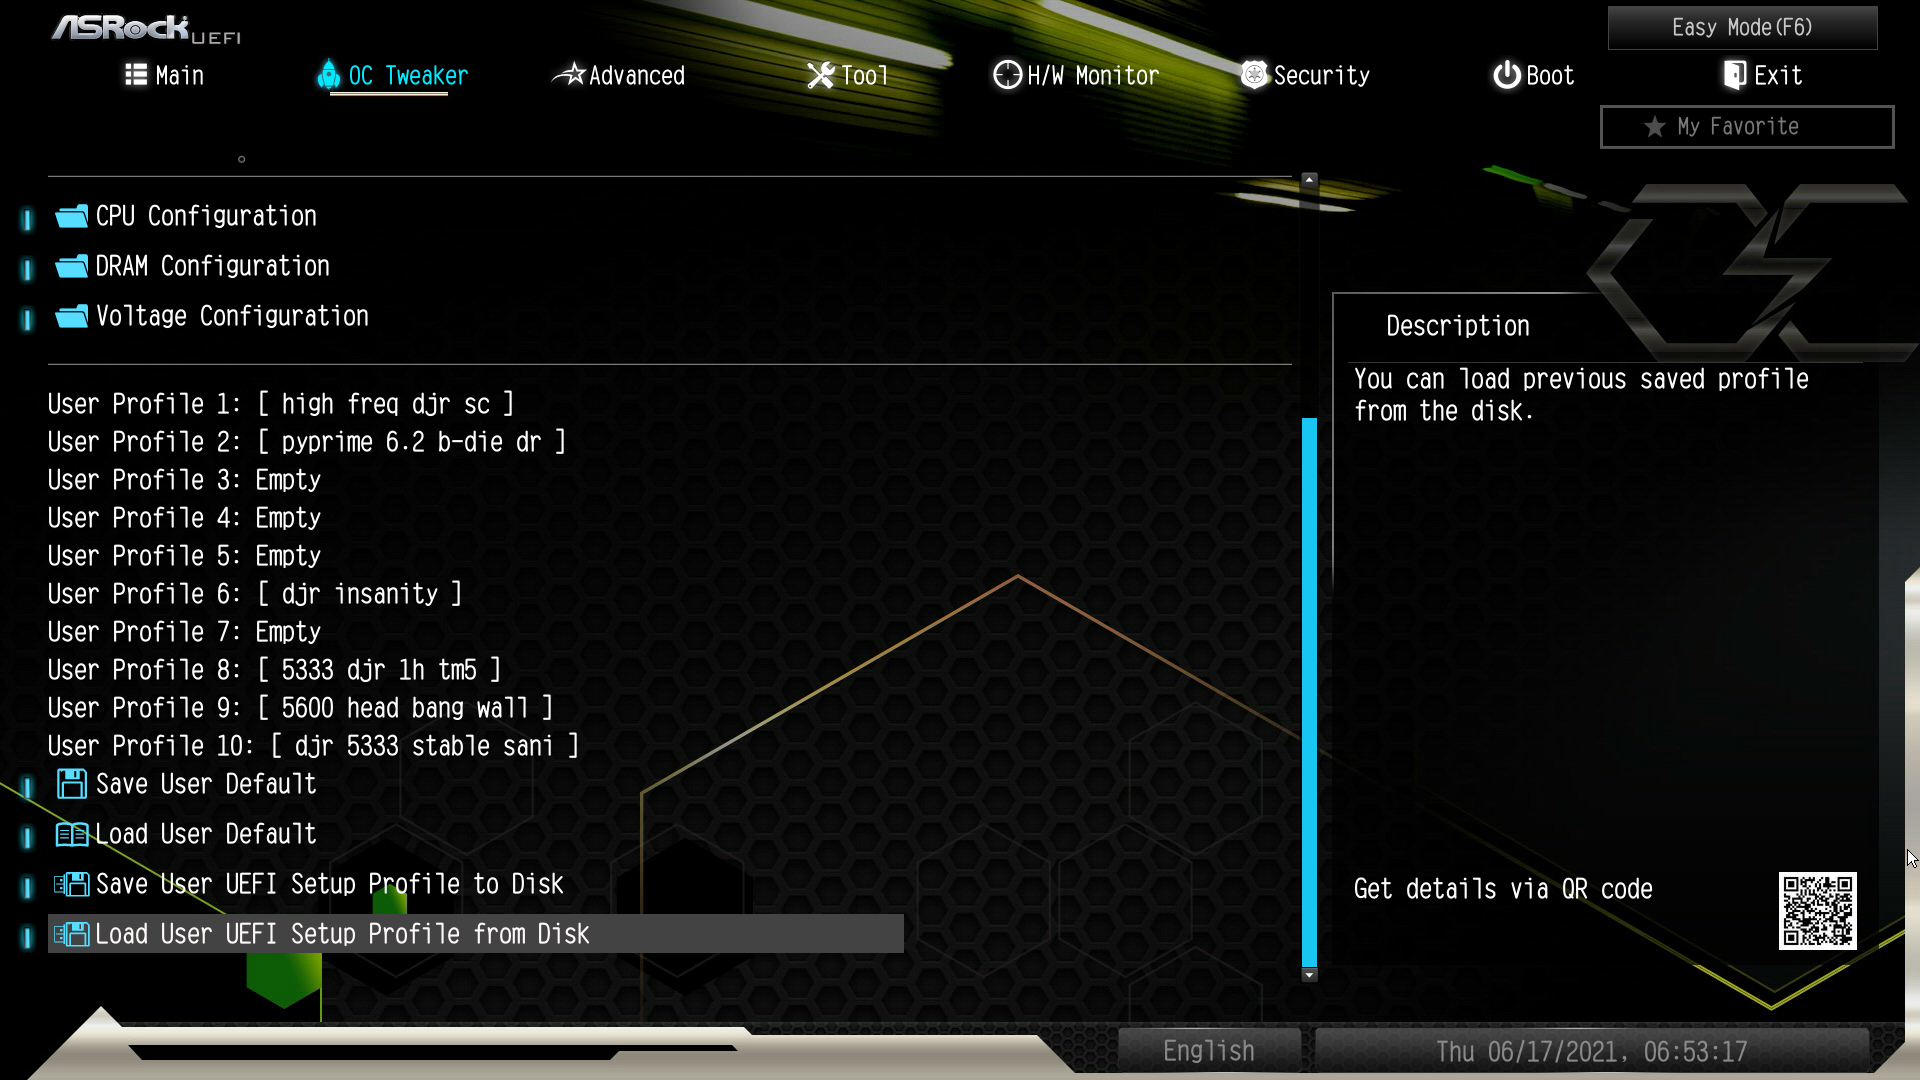
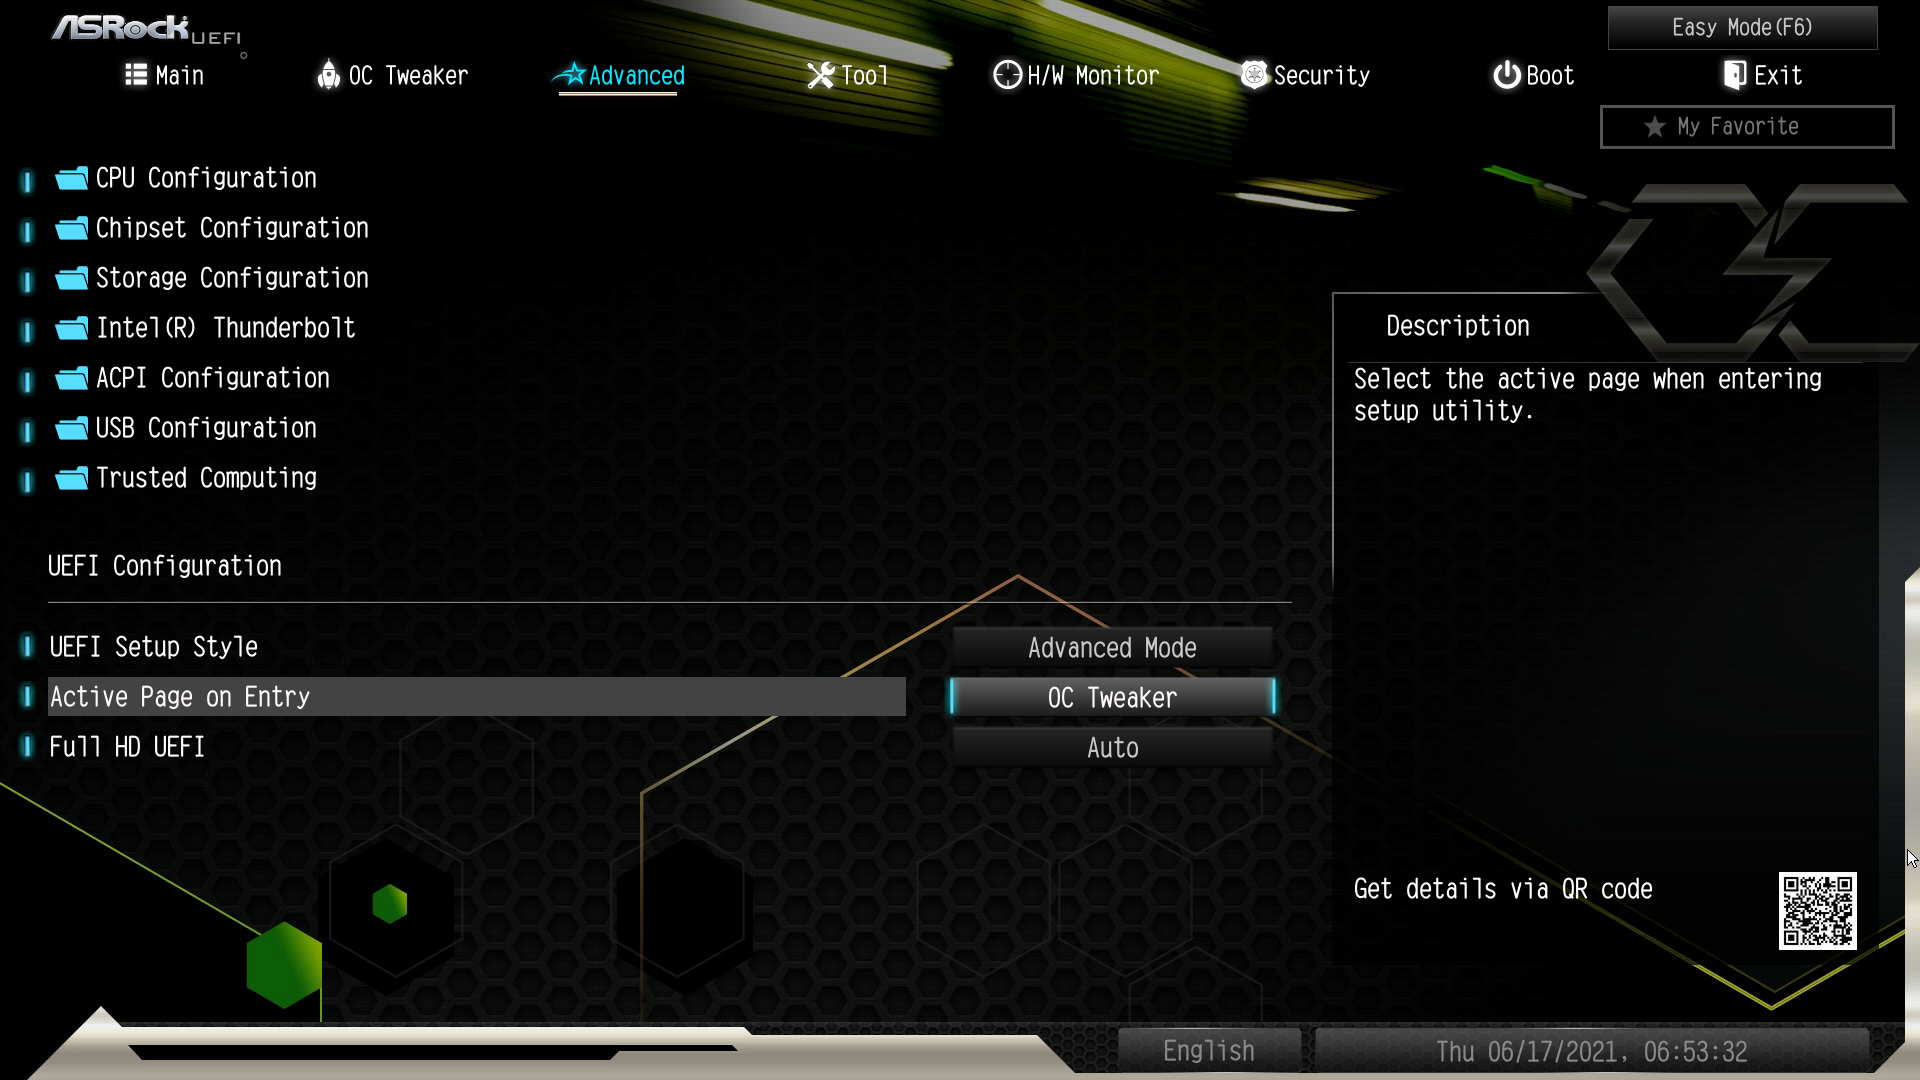
In the OC Tweaker Tab you can save and load 10 BIOS profiles, as you are used to from other boards and manufacturers, even on and from a USB stick – only requirement: this must be FAT32 formatted. In the Advanced tab you can find the generic other settings for CPU and chipset that are available on every board. Good to know, however, is here below the adjustable BIOS mode “Easy” or “Advanced” and the BIOS entry point, with which the ease of use can be improved considerably.
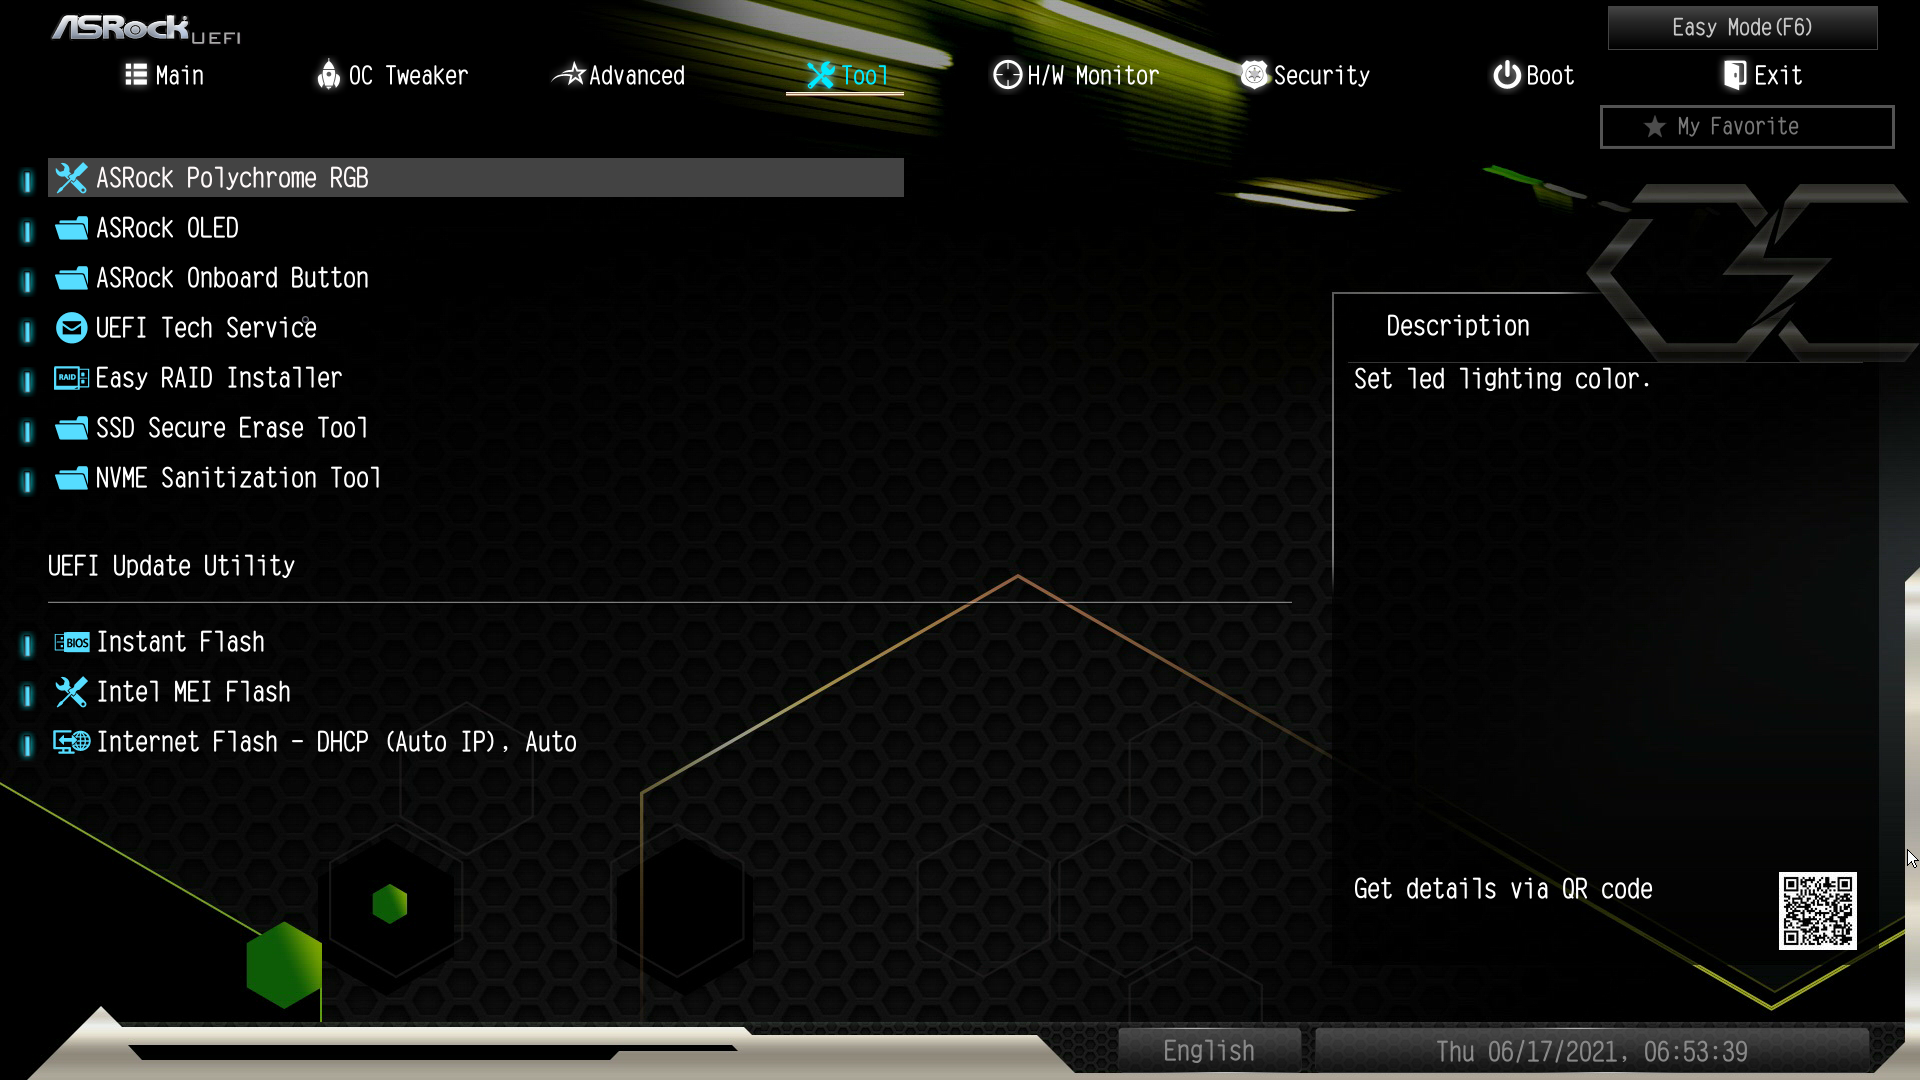
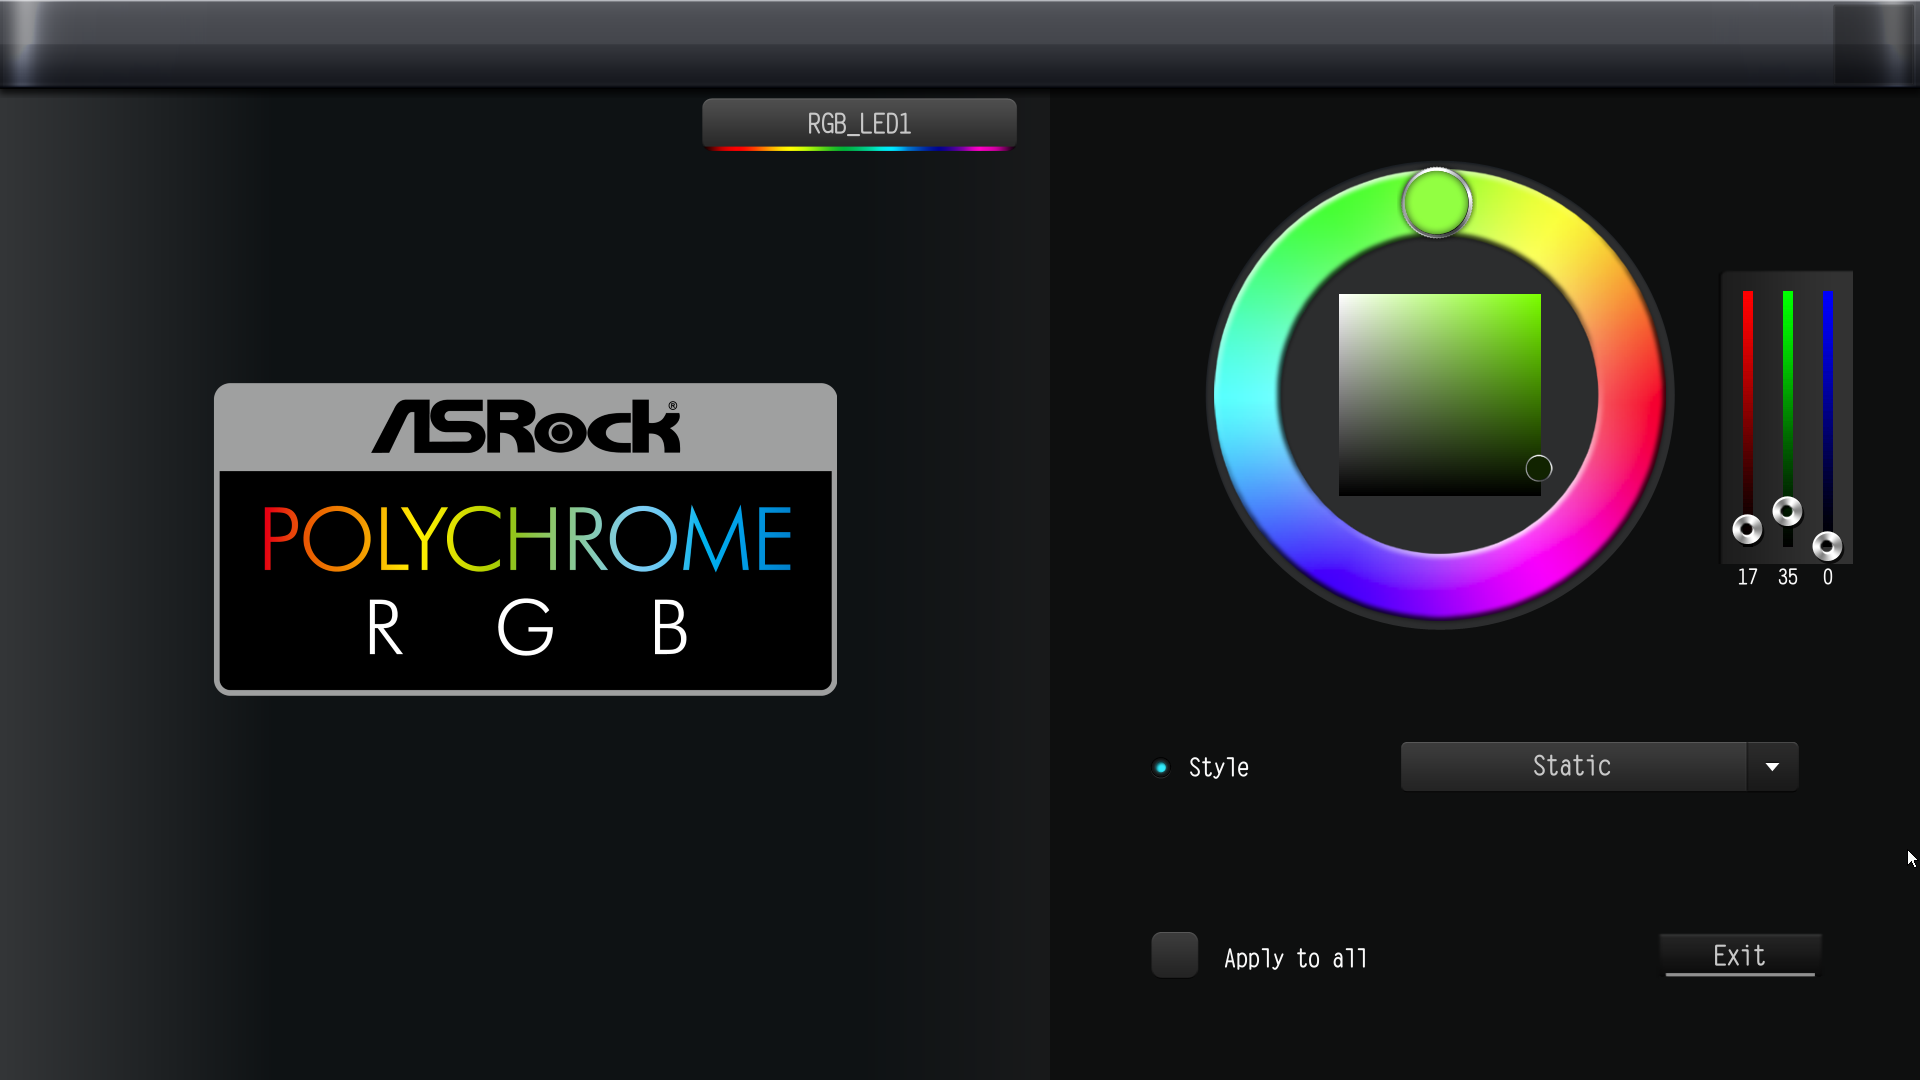
In the tool tab you will find many ASRock and board specific features, of which I would like to briefly discuss a few. Under ASRock Polychrome RGB you can easily and directly control the complete RGB lighting or even disable it completely, depending on how you want. I found a dark shade of green quite fitting with the rest of the board’s design – but that’s just by the by.
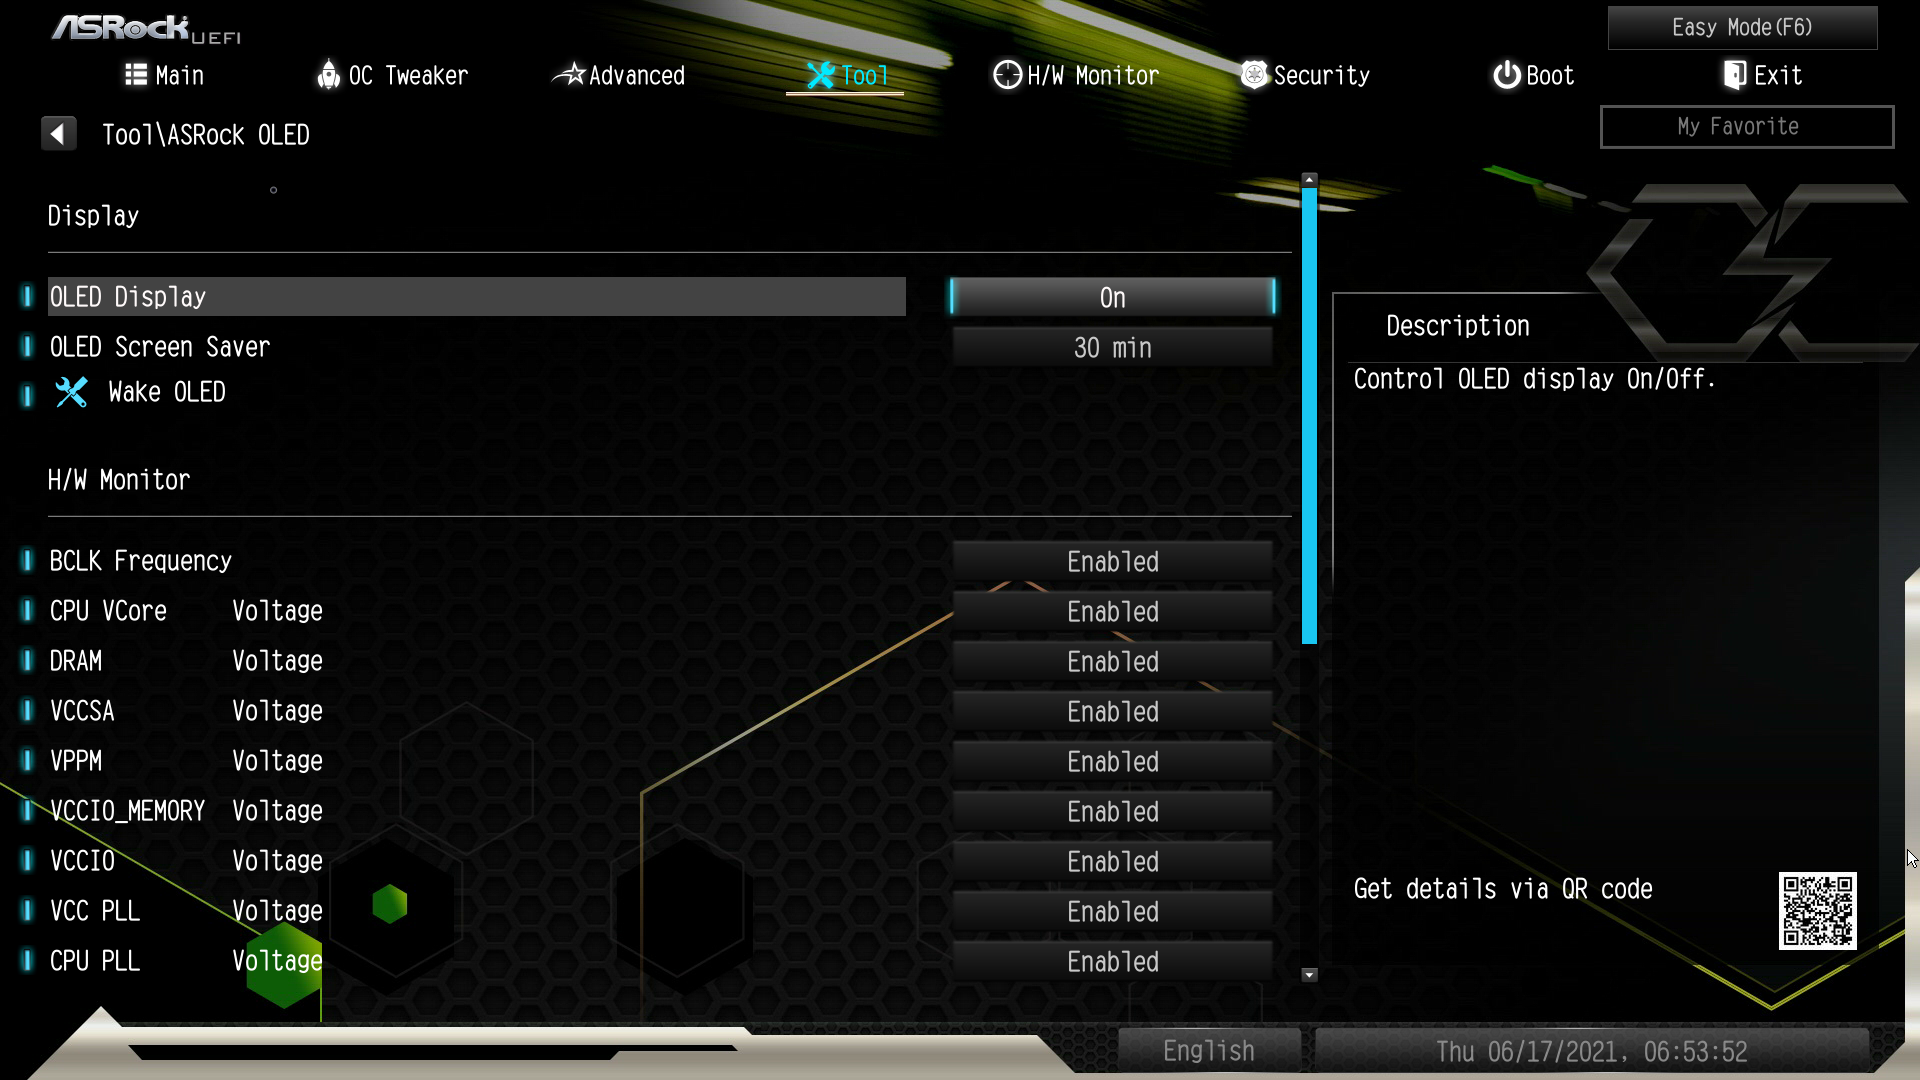
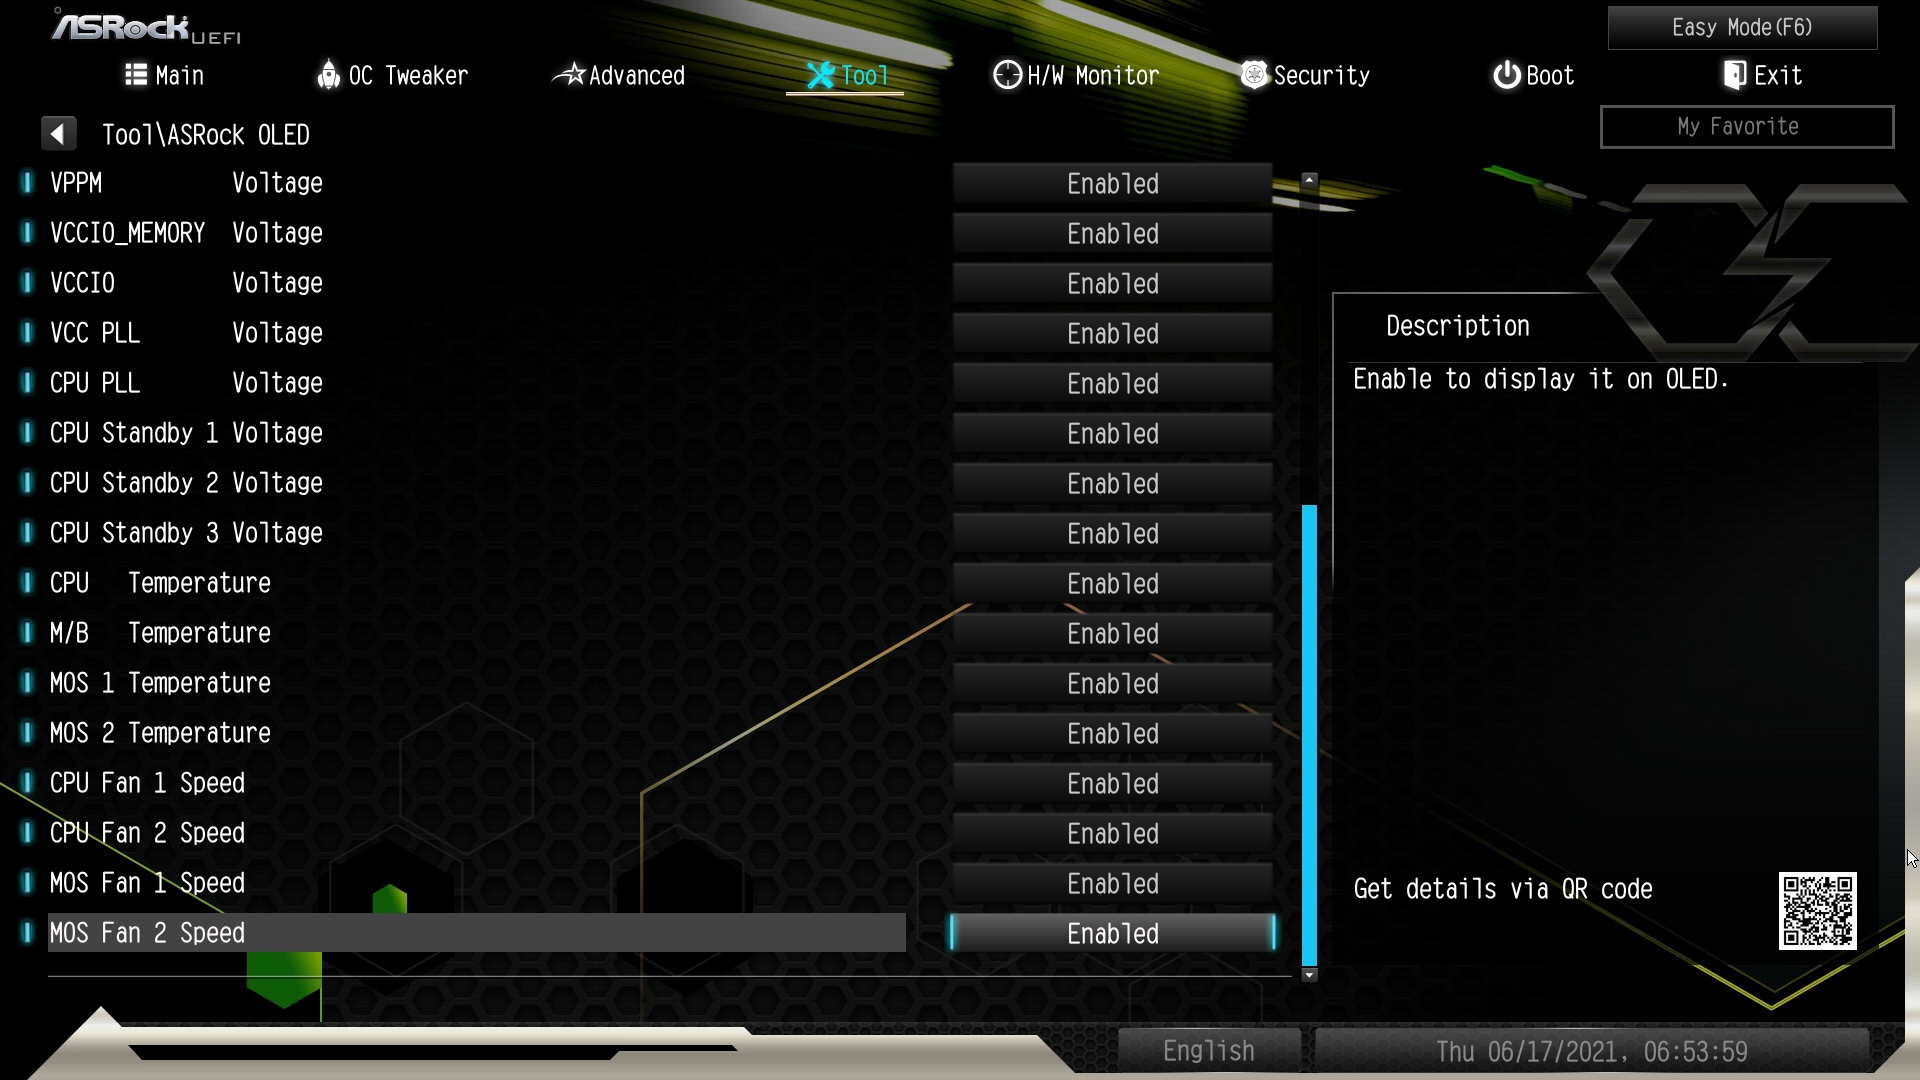
Under ASRock OLED you can configure the OLED display in the middle of the board, if it is active, after which time it switches off automatically and which values are displayed there. Currently, you can only show and hide values here, but not customize the layout of the displayed settings. Here, too, a future software update could bring the final touches.
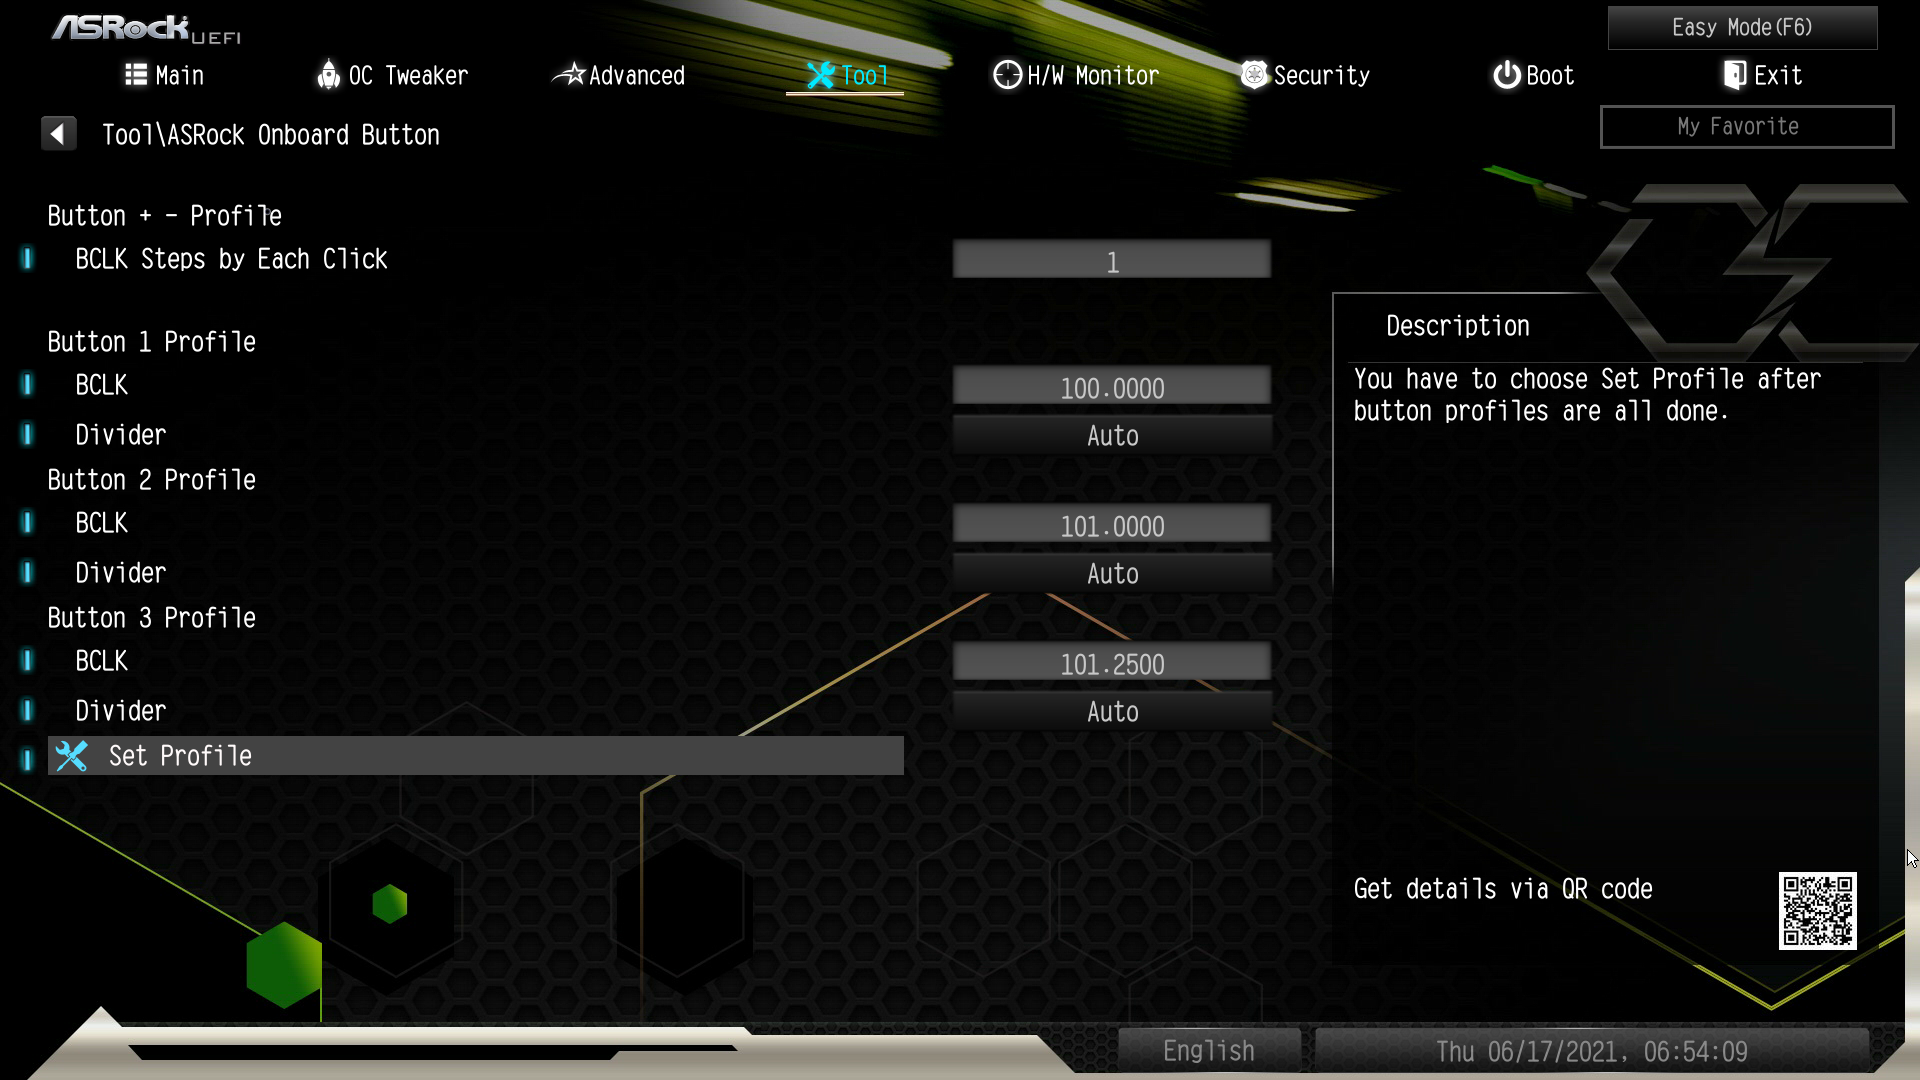
Under ASRock Onboard Button the buttons 1-3 on the board can be preconfigured which baseclock they should set. Unfortunately, the buttons can currently only set the BCLK and not other settings such as multiplier or voltages, or multiple settings at once. Now this sounds like complaining on a high level, but if you already have the buttons, it would be a shame to let the potential partially unused.
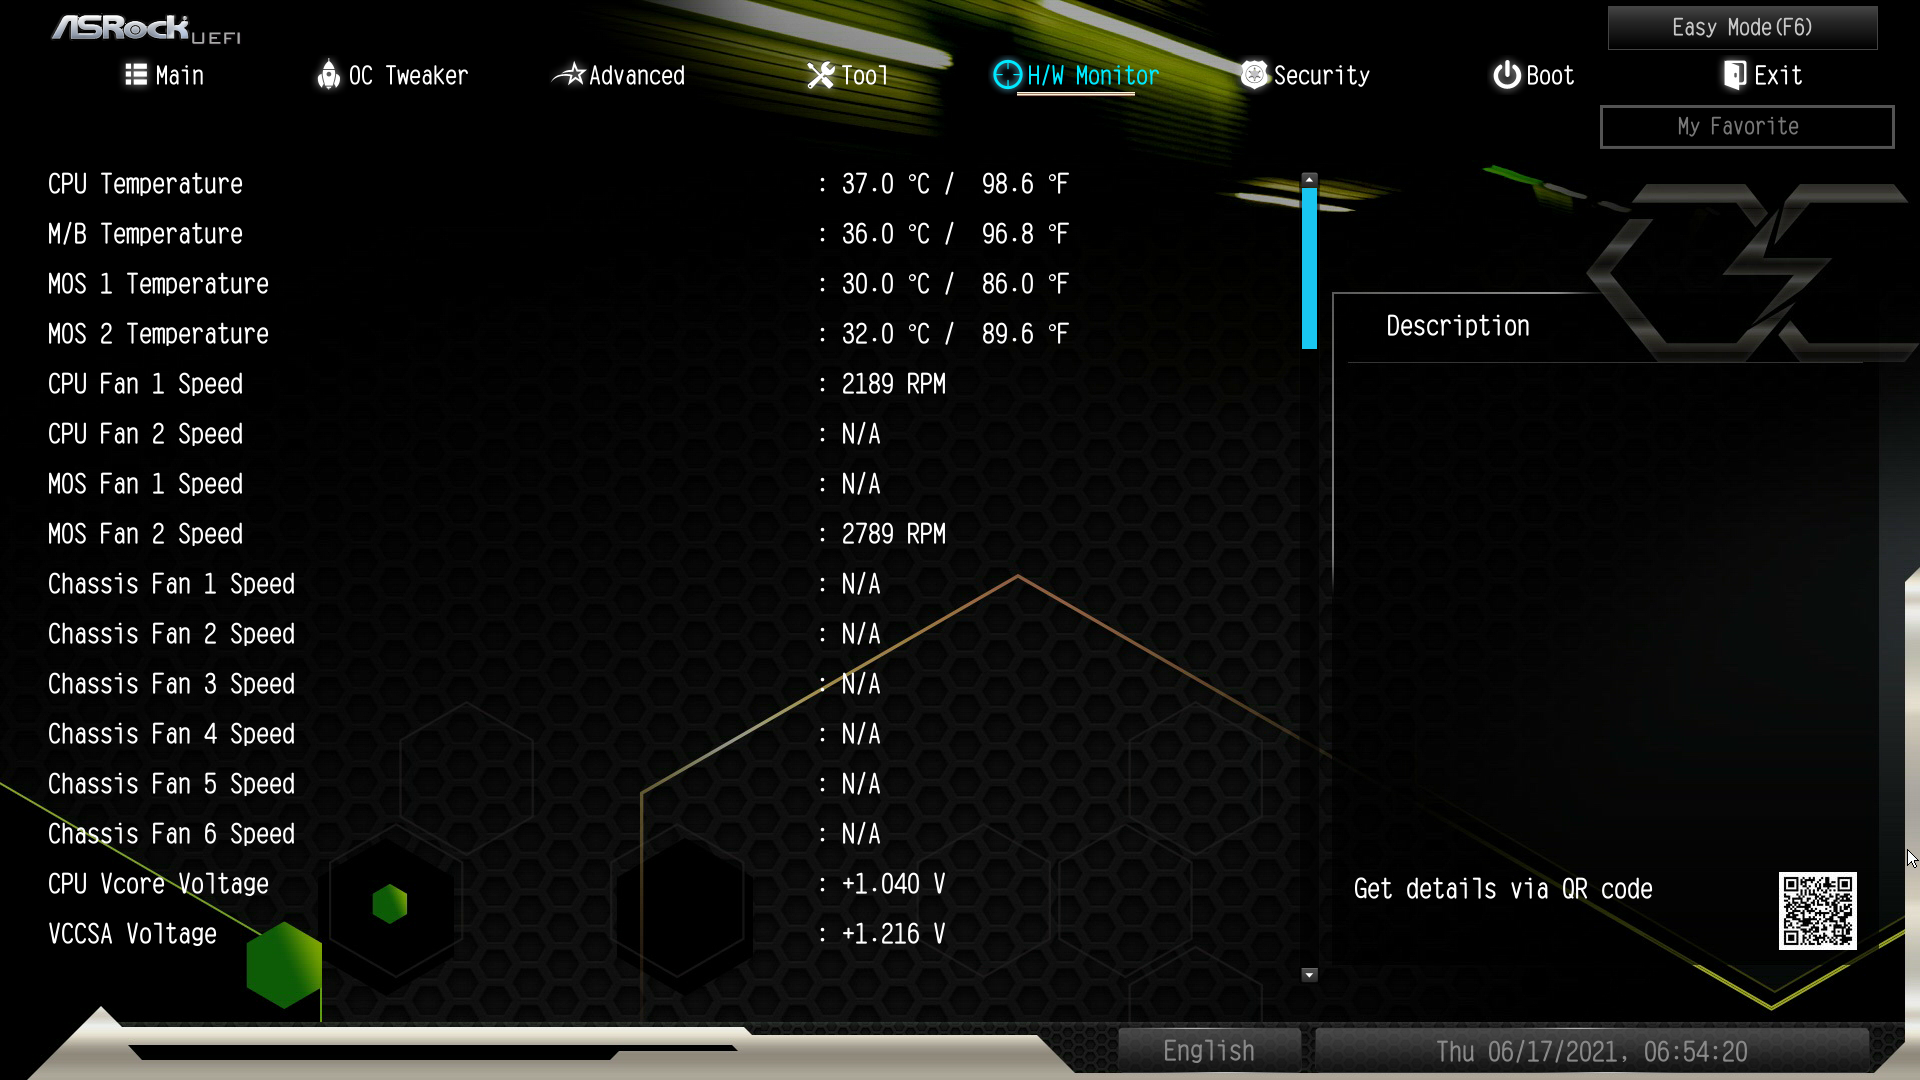
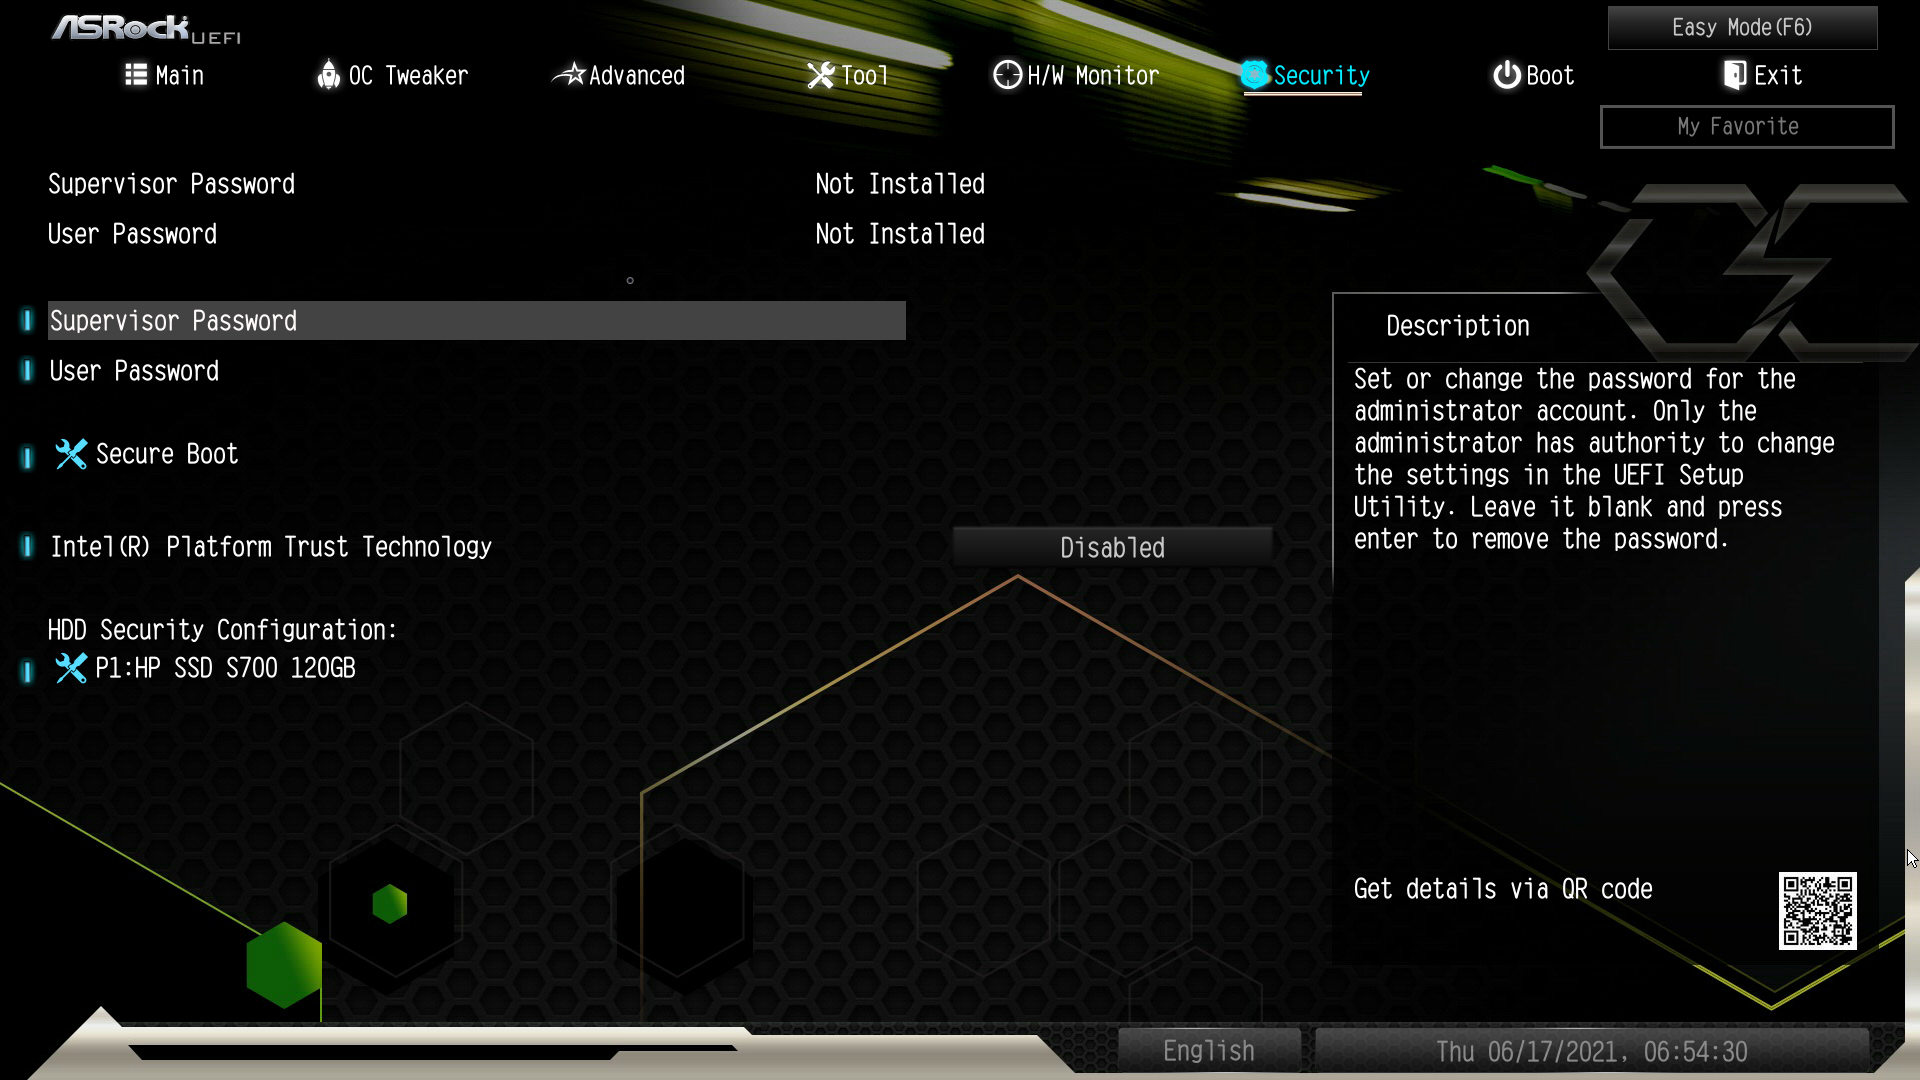
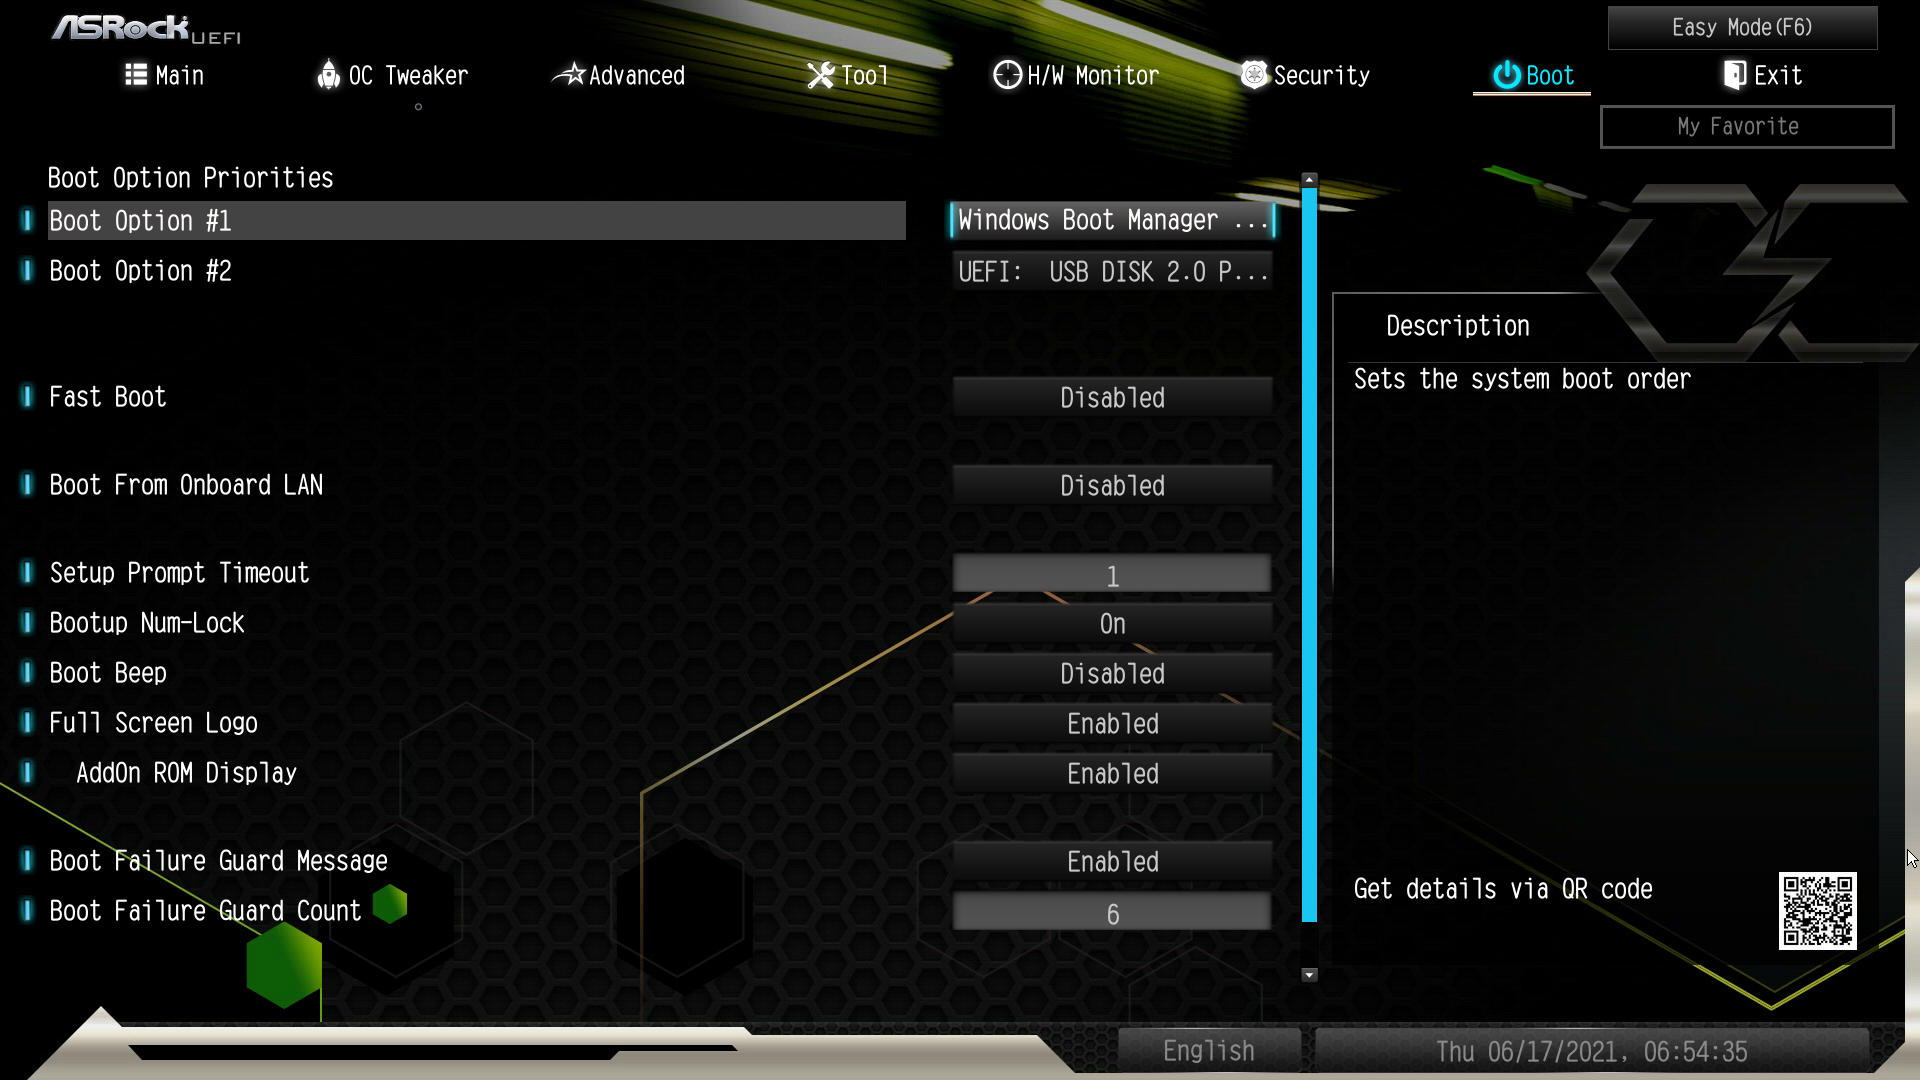
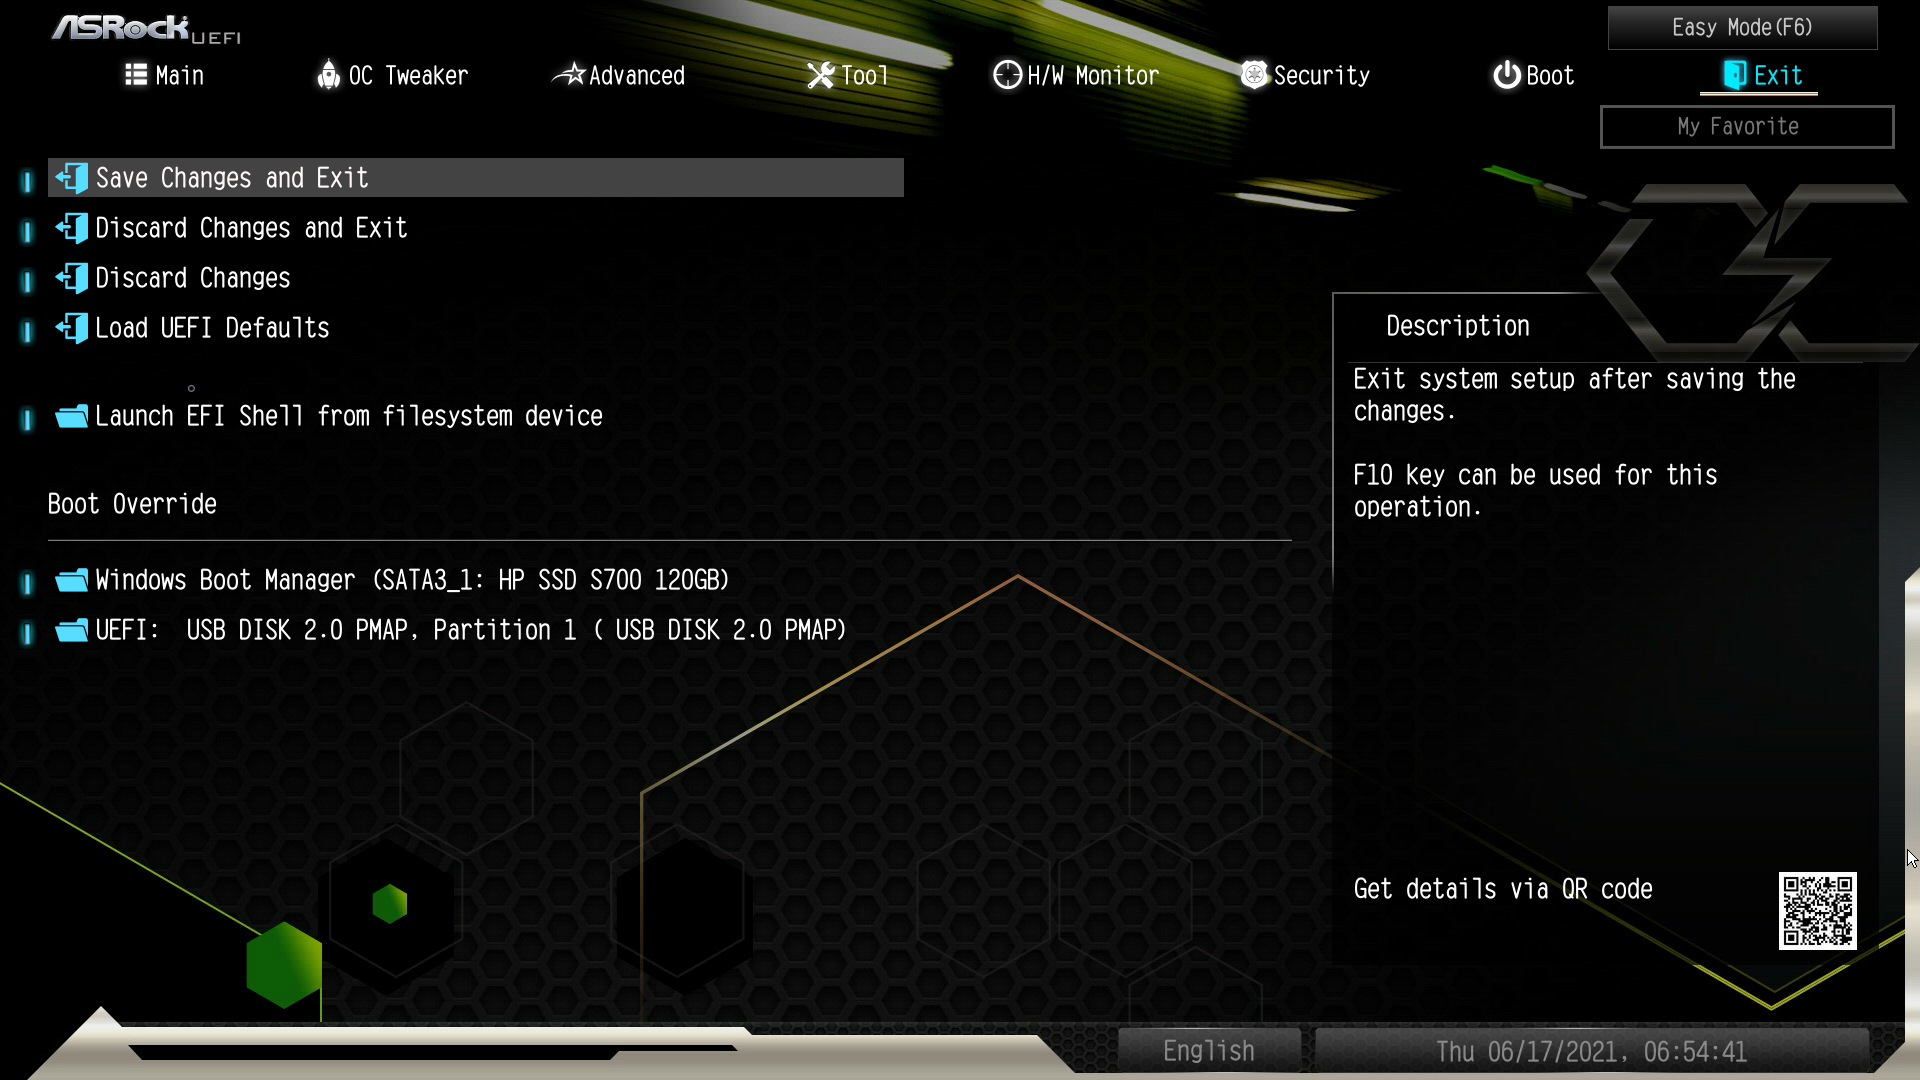
The rest of the tabs do what you would expect them to do, so they are just pictures to look at.


11 Antworten
Kommentar
Lade neue Kommentare
Veteran
Mitglied
Veteran
Moderator
Neuling
Urgestein
Veteran
Urgestein
Neuling
Mitglied
Alle Kommentare lesen unter igor´sLAB Community →