The latest USB podcast microphone from Blue is called Yeti X and is a 4-condenser microphone, which is currently available in the standard version for around 135 euros from various retailers. The biggest innovation with this microphone is that it can be customized using Logitech’s G-Hub software. This has never been possible with any Blue microphone before and is a significant improvement over its predecessors. The price of the new Blue Yeti X tested today with an RRP of 179 EURO is in the range of one to the Rode NT USB and the Elgato Wave 3.
Scope of delivery and accessories
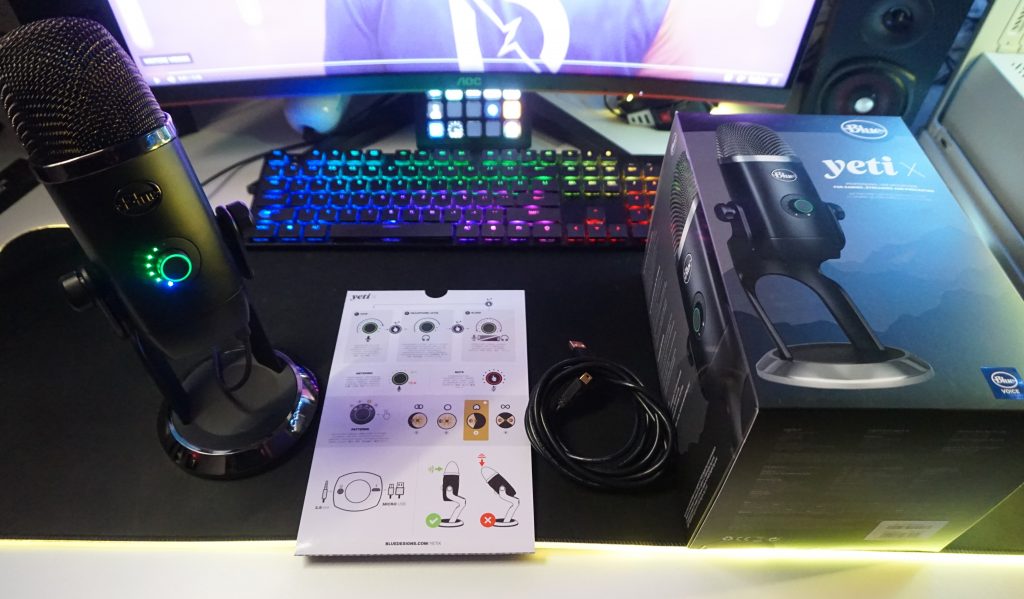
The box contains the microphone, which is already mounted in a heavy table stand, a quick start guide and a 2 meter long Micro-USB cable. More is not to be found in the box, a pop protection is not included, but this is available as a universal accessory for around 3 euros on the Internet.
Technical data
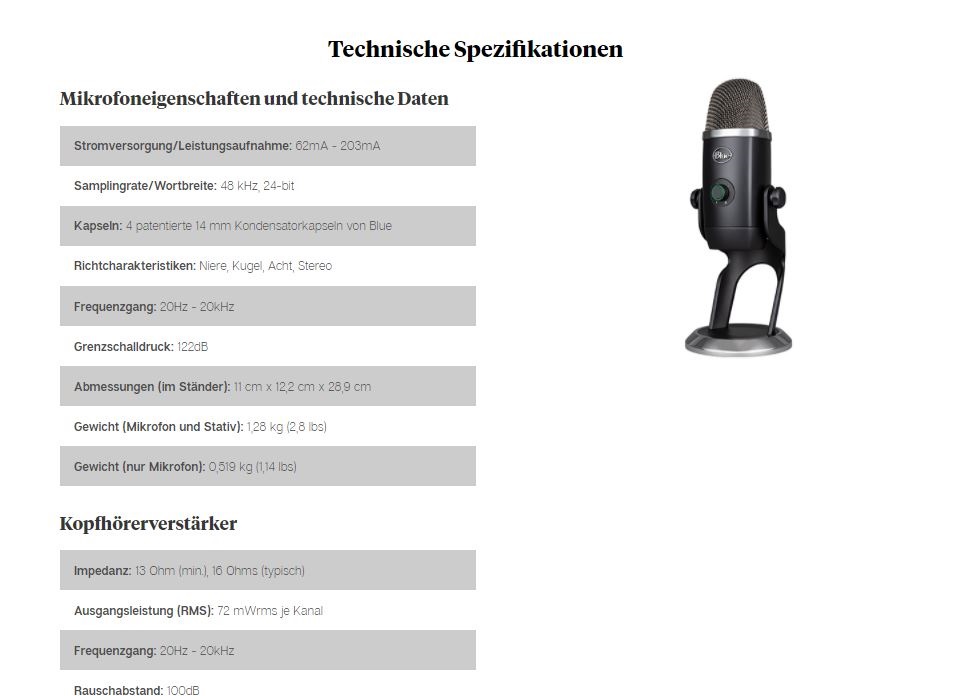
The Yeti X is a 4 x 14 mm condenser microphone, most competitors and also the predecessor are equipped with 3 transducers. The polar pattern can be set in cardioid, double cardioid, omnidirectional and stereo, which distinguishes it from too many competitors on the market and allows many options. The sampling rate (sampling rate) is 48 kHz with a resolution of 24 bits and a maximum sound pressure level of 122 dB. The weight without stand is 0.519 kg and with 1.28 kg.
Optics, haptics, functionality
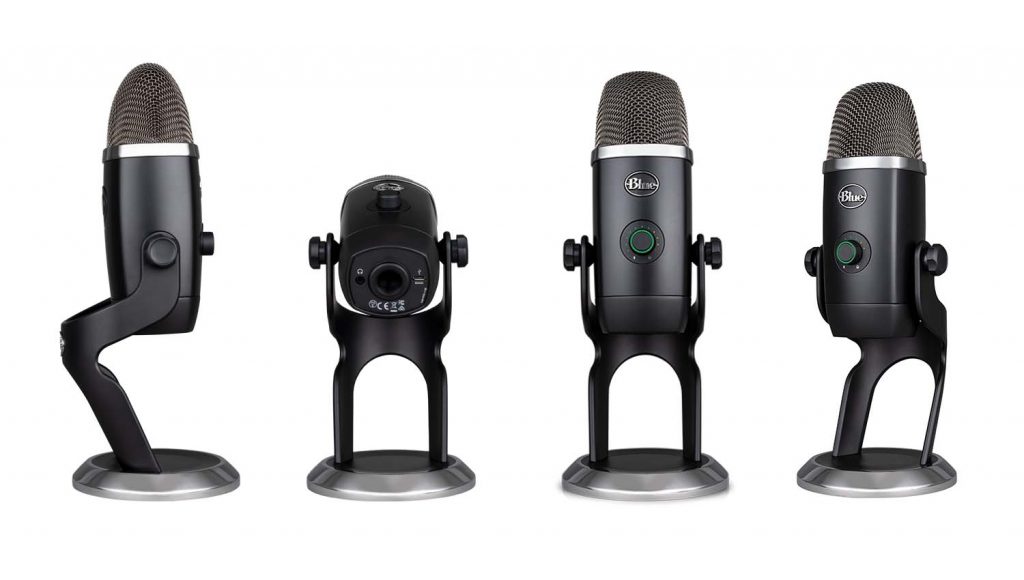
Let’s start with the exterior. The body is made of aluminium with a matt black lacquer finish and the transition to the perforated upper part is decorated with a chrome-coloured ring. On the bottom of the body there is a 3.5 mm jack connector for a headset, a micro-USB connector and a thread for a microphone boom. The table stand continues to reflect the look, as does the base. In the front is the knob for the microphone, integrated in it is the mute button.
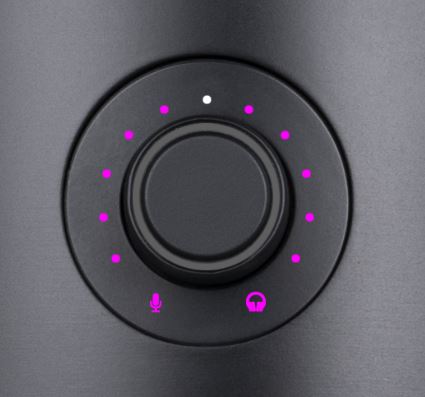
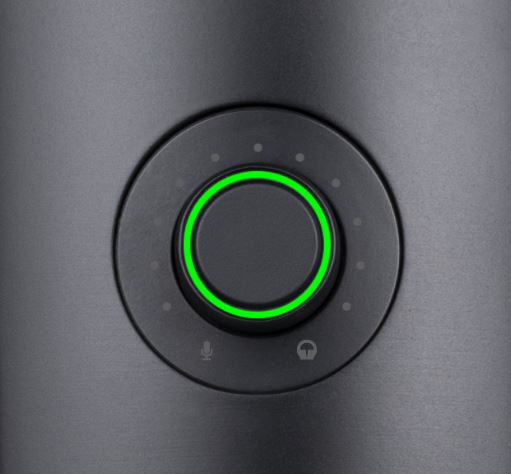
But this knob and button does not only have the functions for mute and gain, but combines 3 functions in one. By holding down the mute button we get to the volume for the headset. Pressing and holding the Mute button again will take you to the monitoring menu. There we can set whether we want to hear ourselves when we speak (for control) and how much we want to hear ourselves. All this is adjusted by turning to the left or right.
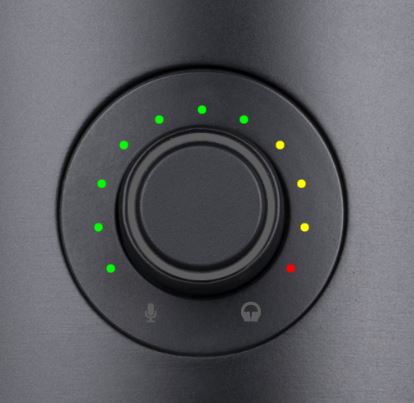
Around the button itself is a customizable LED display that shows us the set levels. In the default setting, the LED display also shows us our level, how loud we are speaking into the microphone or whether it is already overdriven. Classically this is displayed in the colours green, yellow, red. We can set these colors ourselves (in the software), but more about this later.
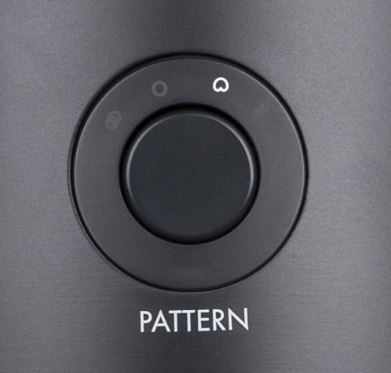
At the back of the microphone there is another button, there we can change the different polar patterns by pressing it, the default setting is cardioid. The cardioid polar pattern is the right choice for podcasts, game streaming, Skype telephony, vocals and instruments and for picking up sources that are directly in front of the microphone. The sound is quite detailed and authentic. The omnidirectional characteristic can capture the sound from all directions equally, unfortunately also a lot of background noise. This polar pattern is recommended for applications where you want to authentically reproduce the spatial perception, such as in a telephone conference.
The double cardioid characteristic in this mode records the signals in front of and behind the microphone. This polar pattern is recommended for recording or streaming conversations between two people. Well, and the stereo mode uses the left and right channels and is recommended for realistically picking up several sound sources positioned in front of the microphone.
The software and the practical test are now on the next page






Kommentieren