


Assembly and important notes
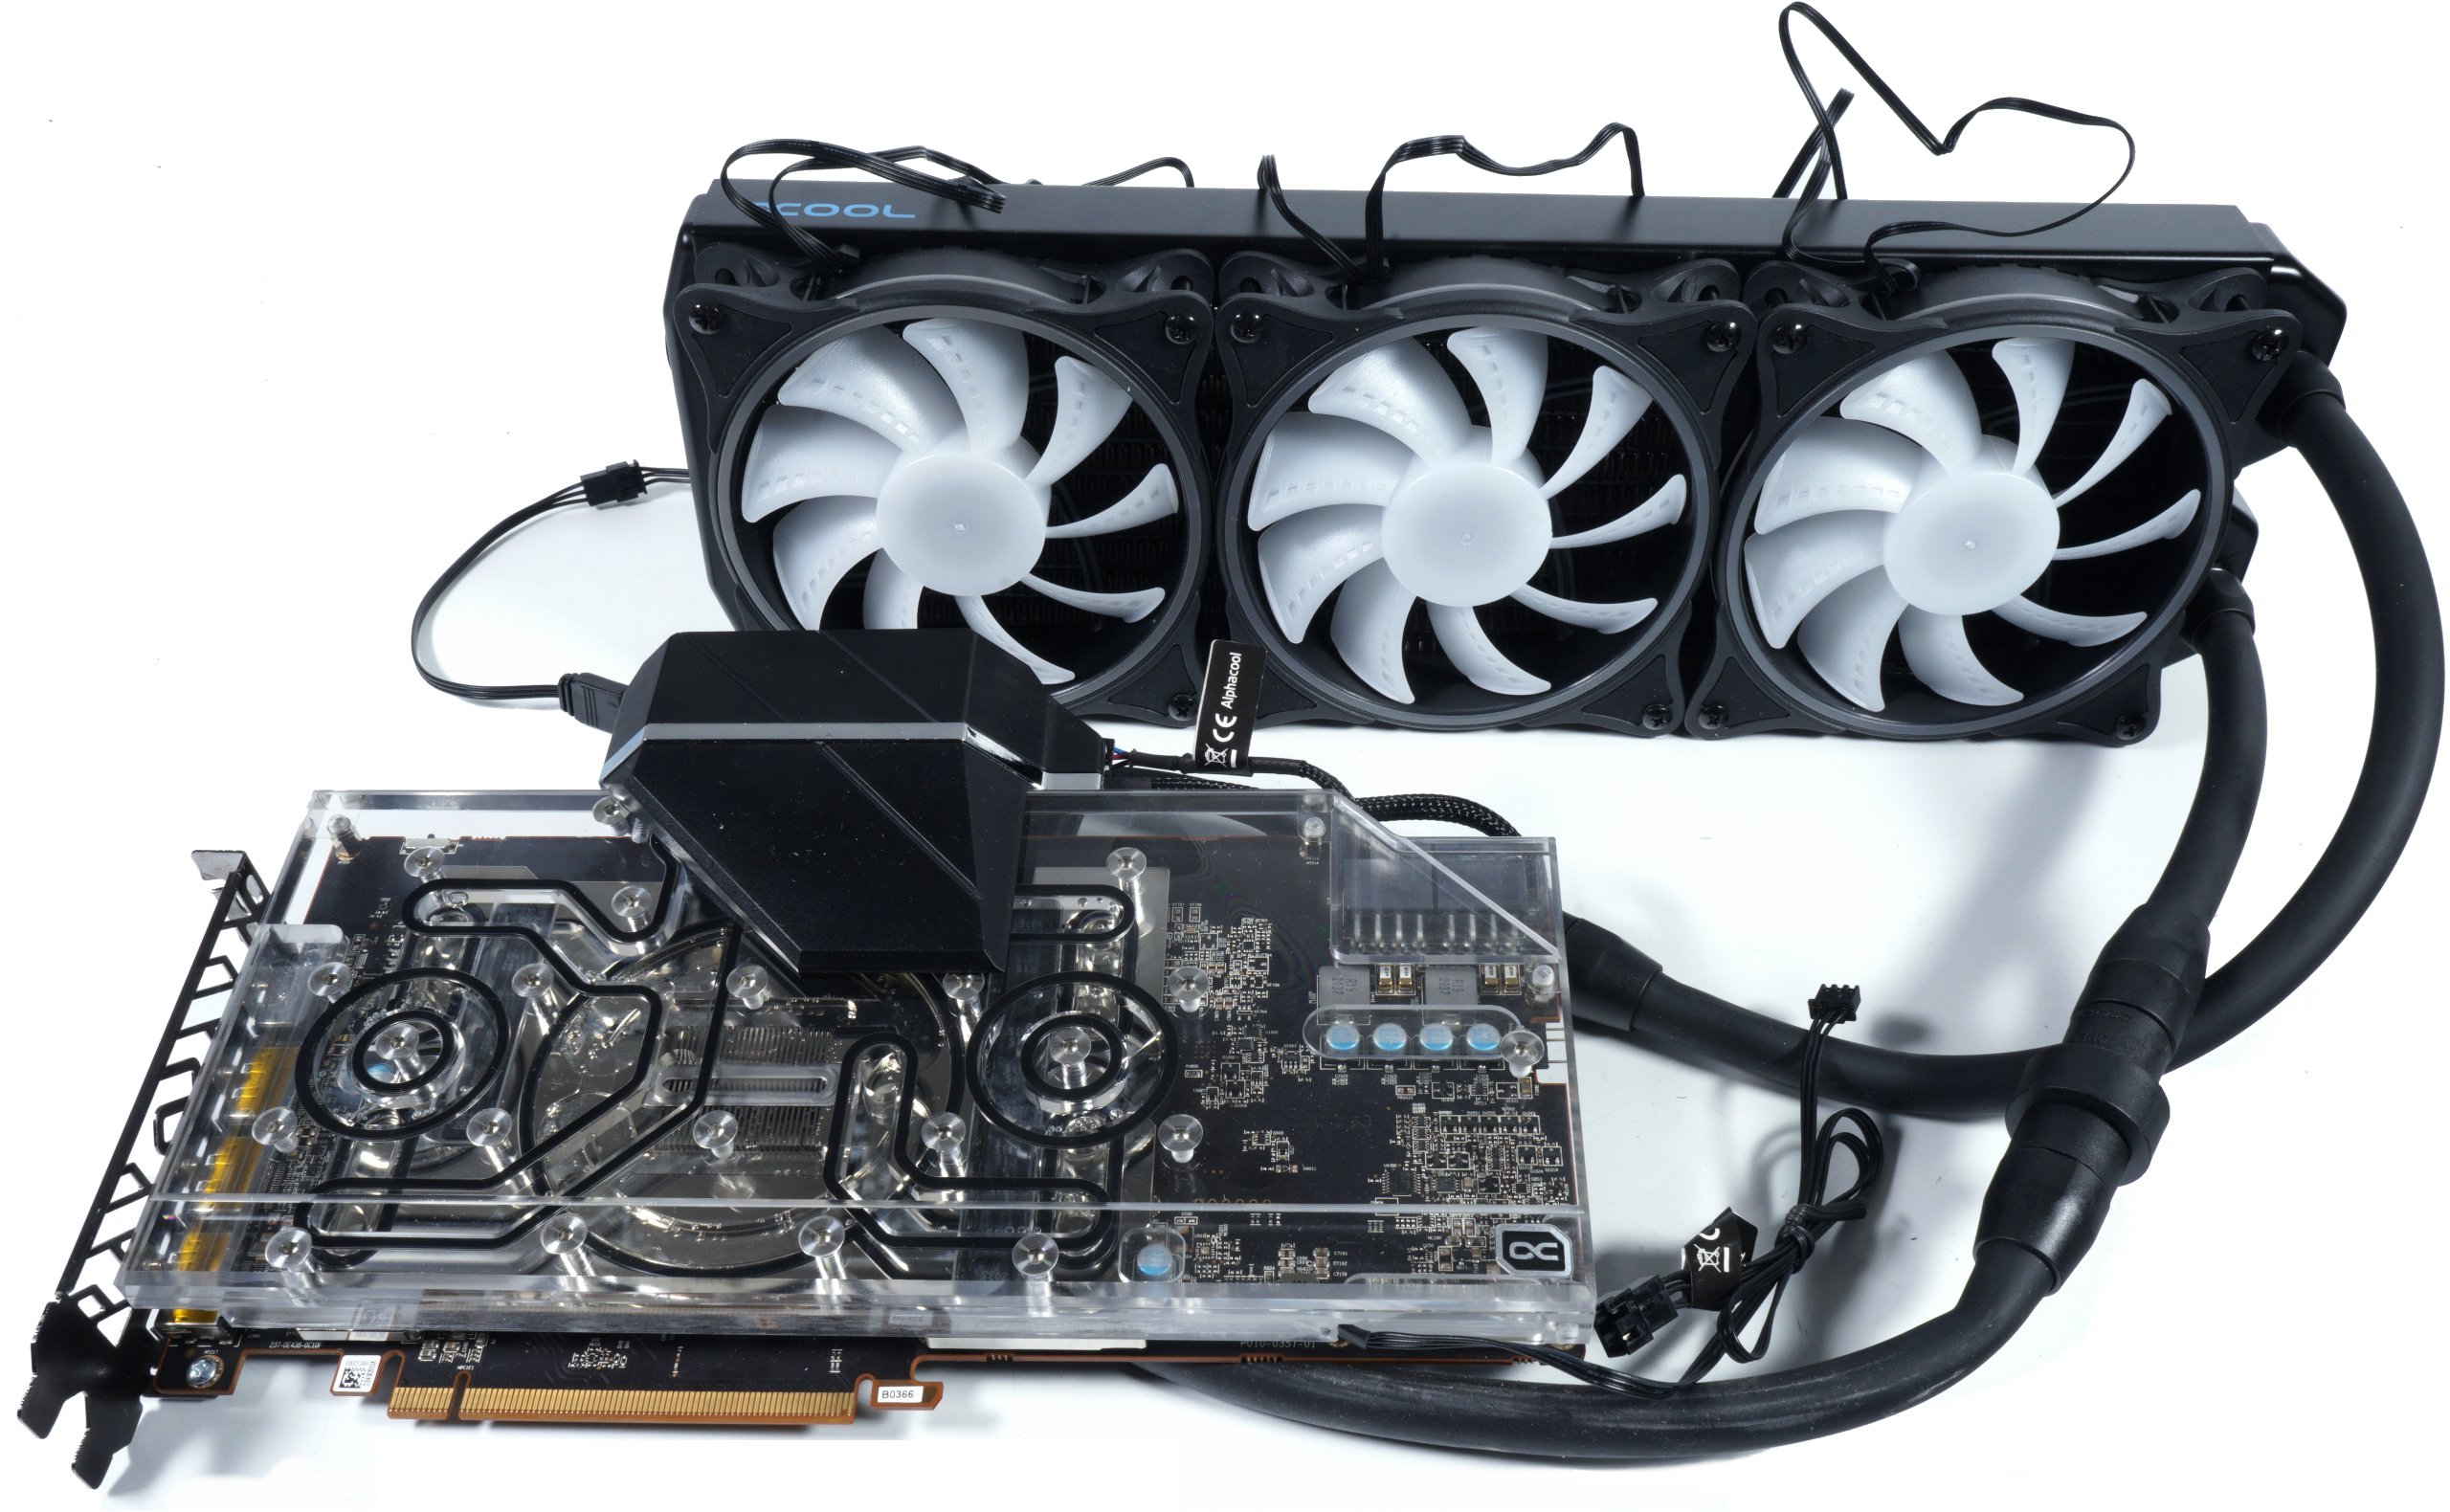
First of all, you have to completely disassemble and clean the card of your choice, but this should not be a hurdle. All dismantled parts should of course be properly cleaned and bagged. Point of honor, by the way. The assembly afterwards is quite simple. Putting on the few pads is almost a loosening up exercise for the fingers. They stick well, but you should still keep something in mind: These thermal pads belong on the water block and not on the PCB. The block should later lie on the table during final assembly and the PCB should be placed from above. Then nothing falls off (and down) even when turning the board upside down.
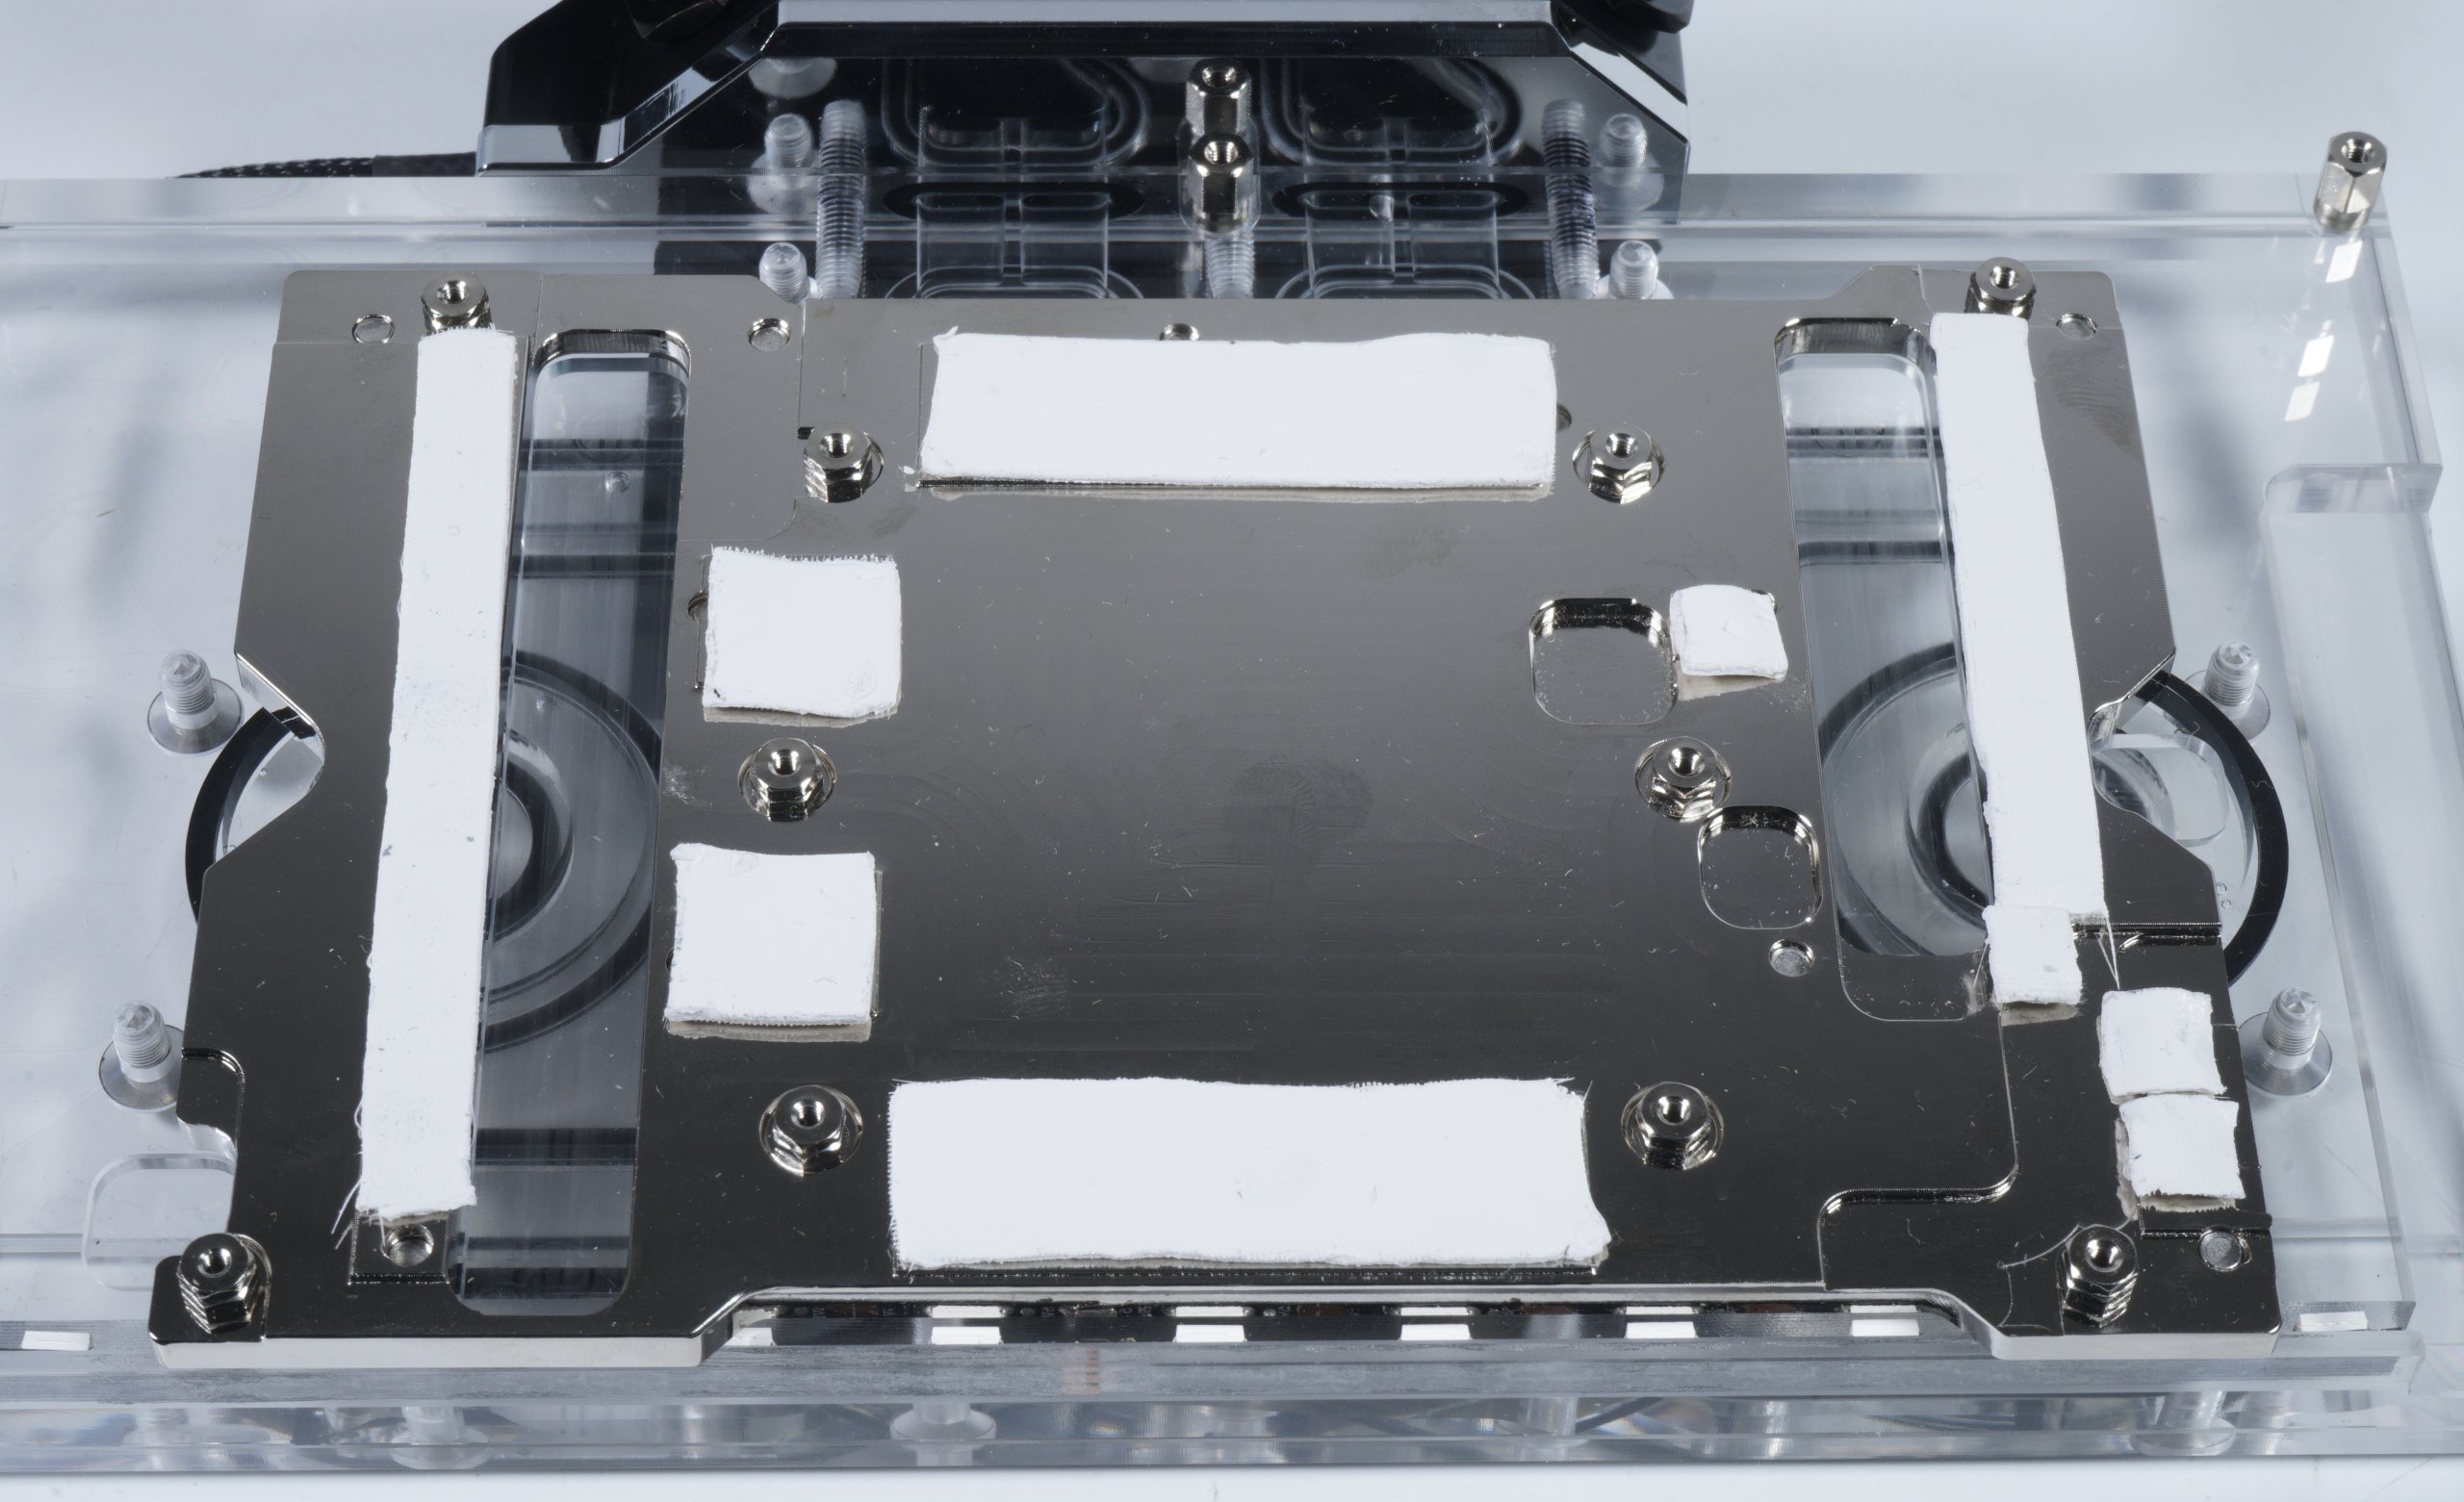
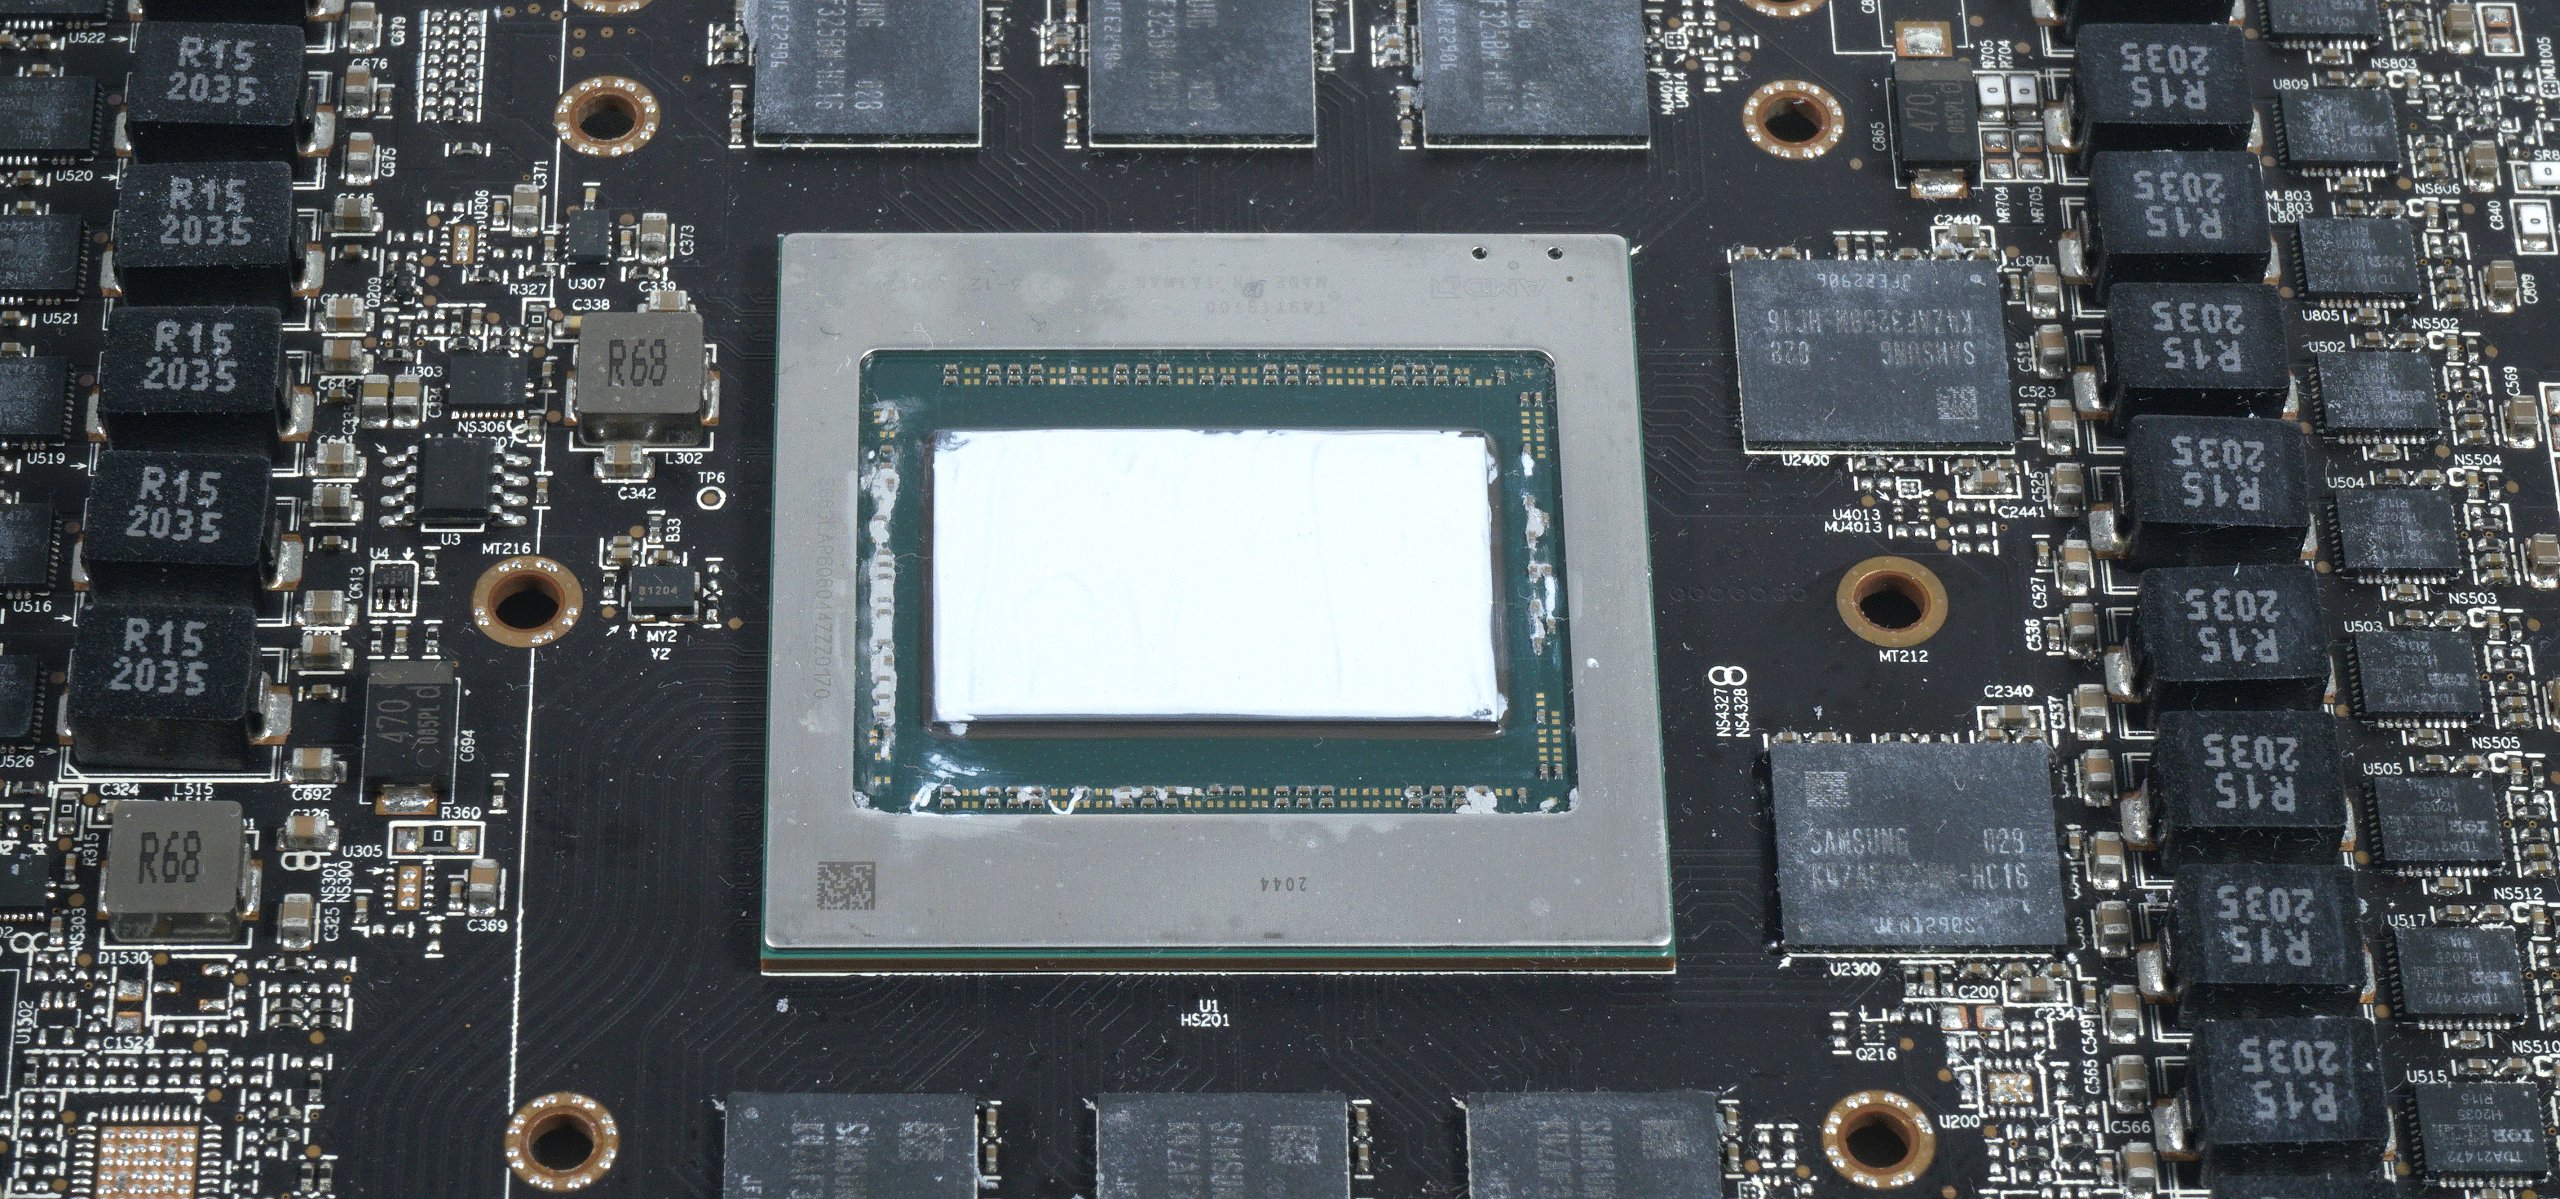
The thermal paste is a little tricky with Big Navi. It is best to spread thinly and screw in the 6 screws from the middle outwards. Then it also works with the hotspot.
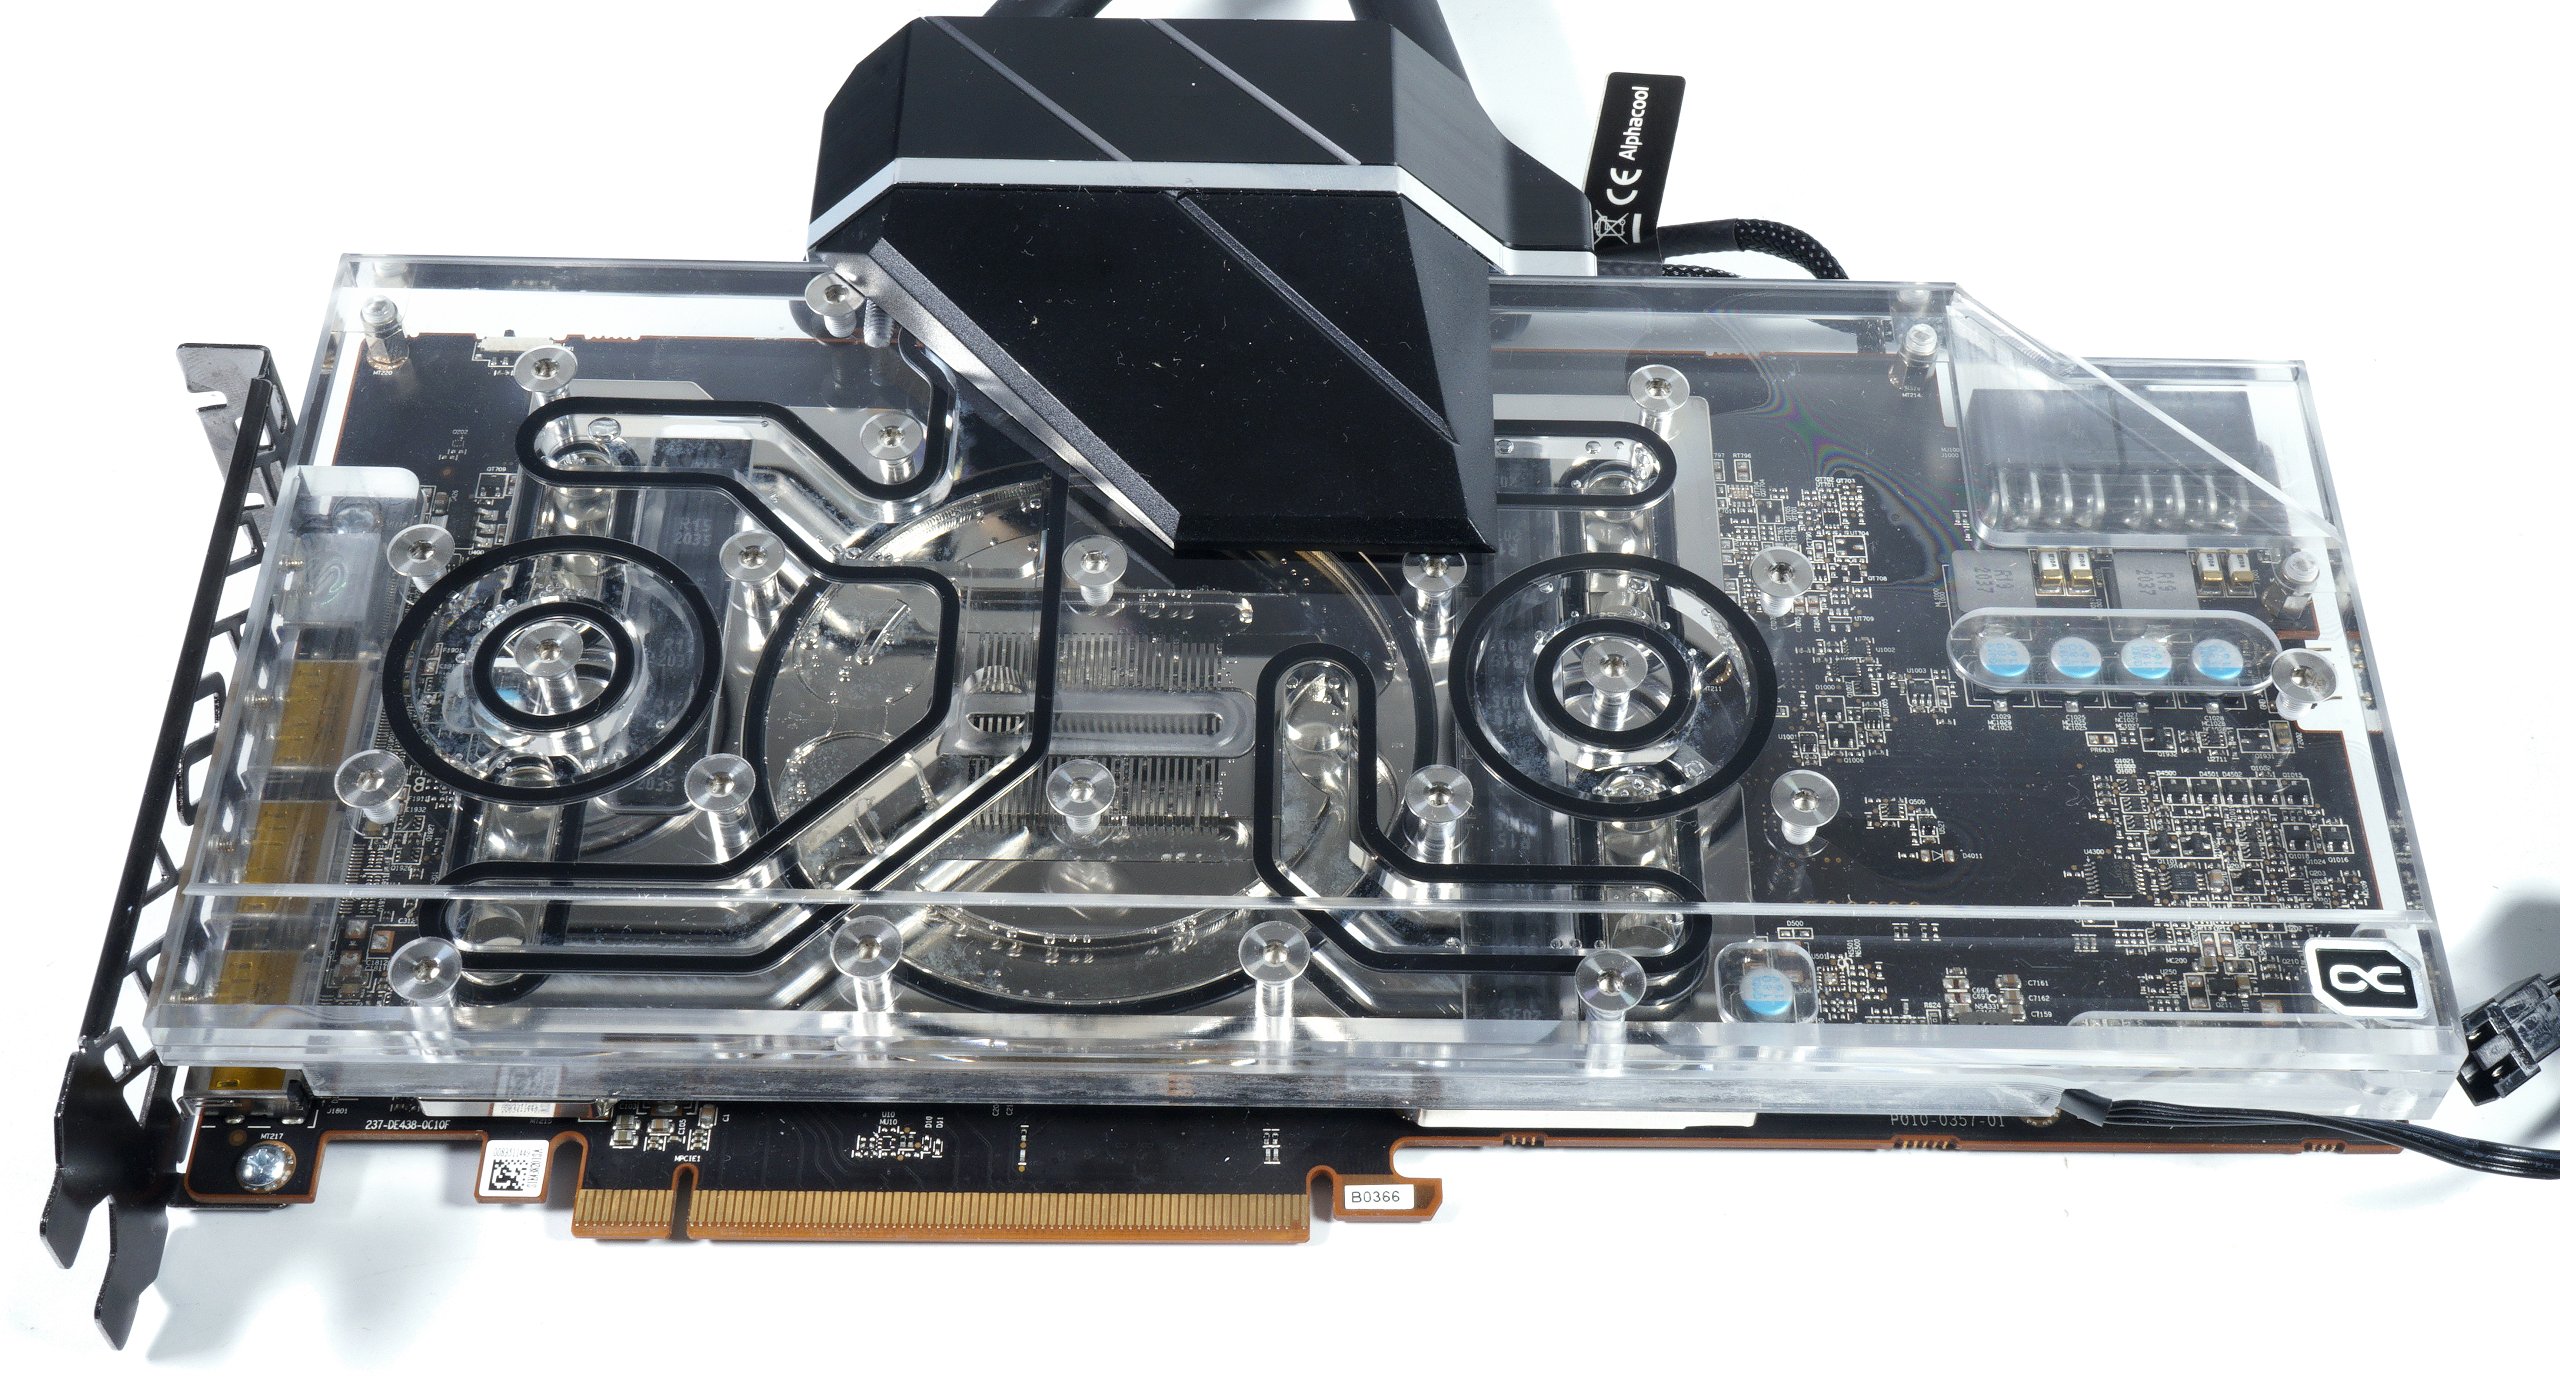
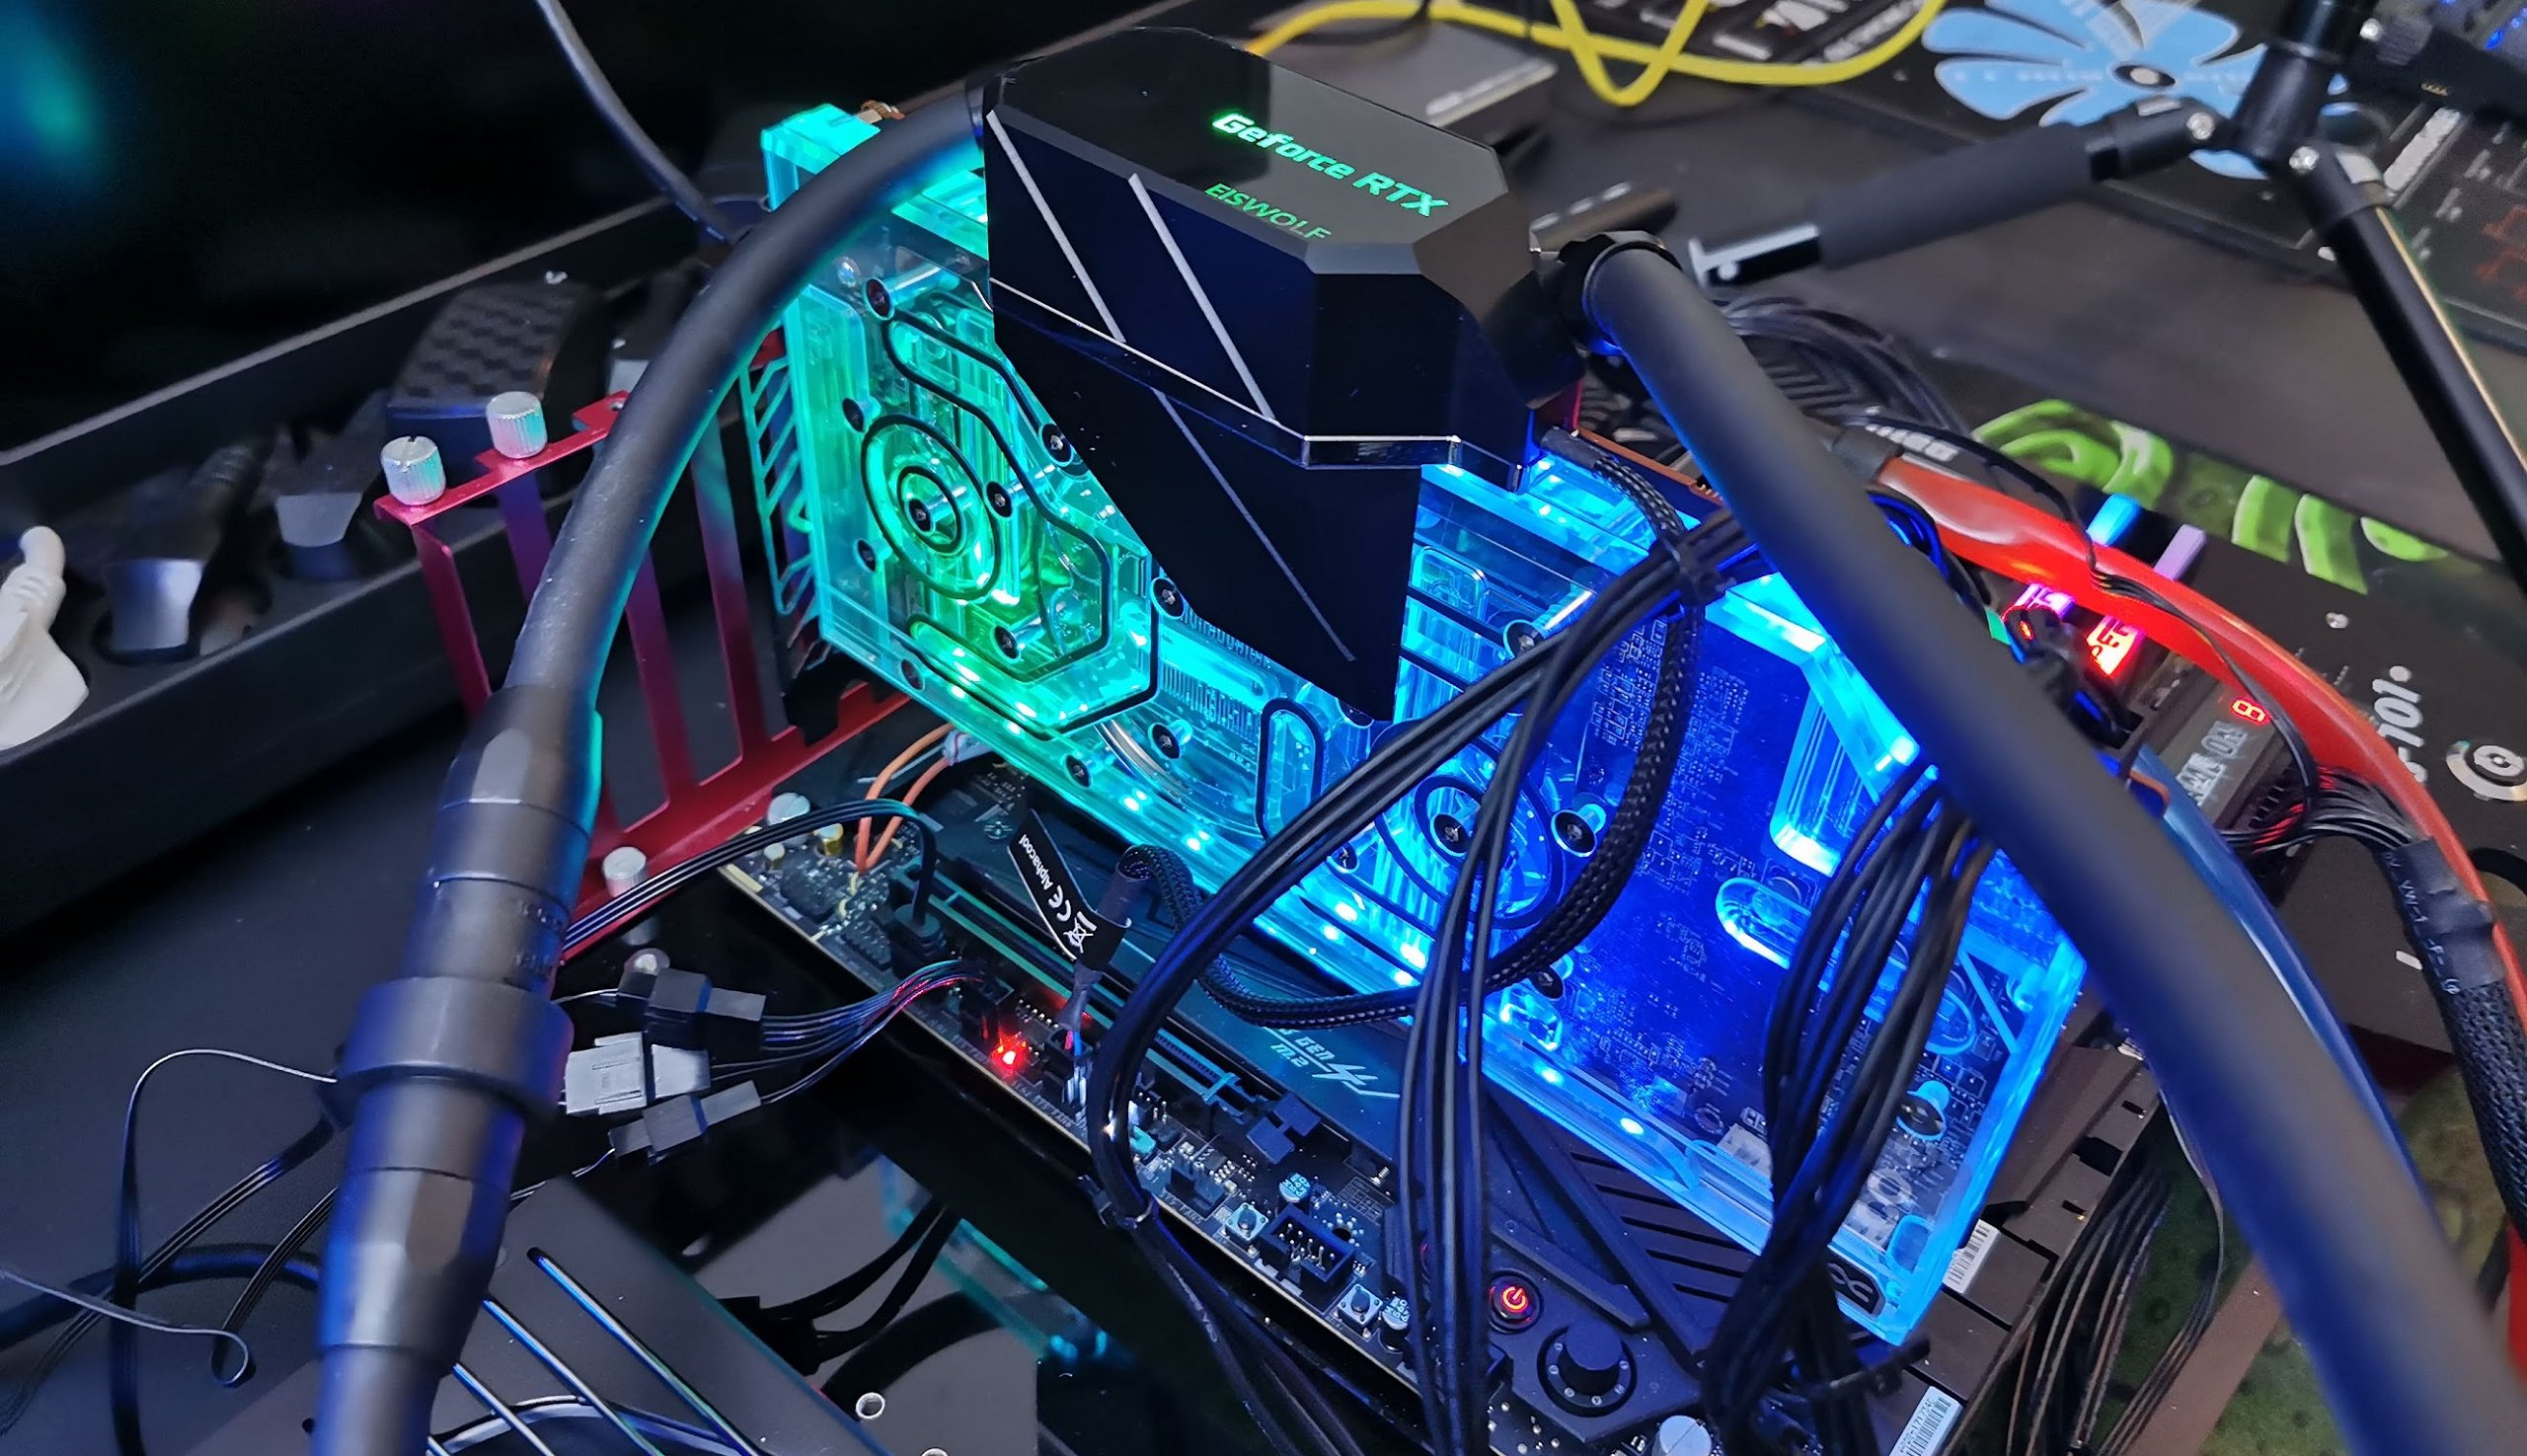
I won’t go into detail about all the technical data now or in the following, it’s available at the end of this page as a full data sheet for reference anyway. At least I haven’t noticed anything negative that should have been mentioned up to this point. The radiator is a so-called slim radiator and with its 3 cm thickness it is not a real obstacle when installing the case. The Alphacool labeled aRGB fans are just ok, if a bit cheeky. Here, I later took heat flow measurements for specific speeds to allow for optimization. The RGB faction will make it glow by connecting the adapter to the motherboard’s 5V preci dip connector. All current Alphacool components with aRGB can also be easily connected (cascaded) to each other.
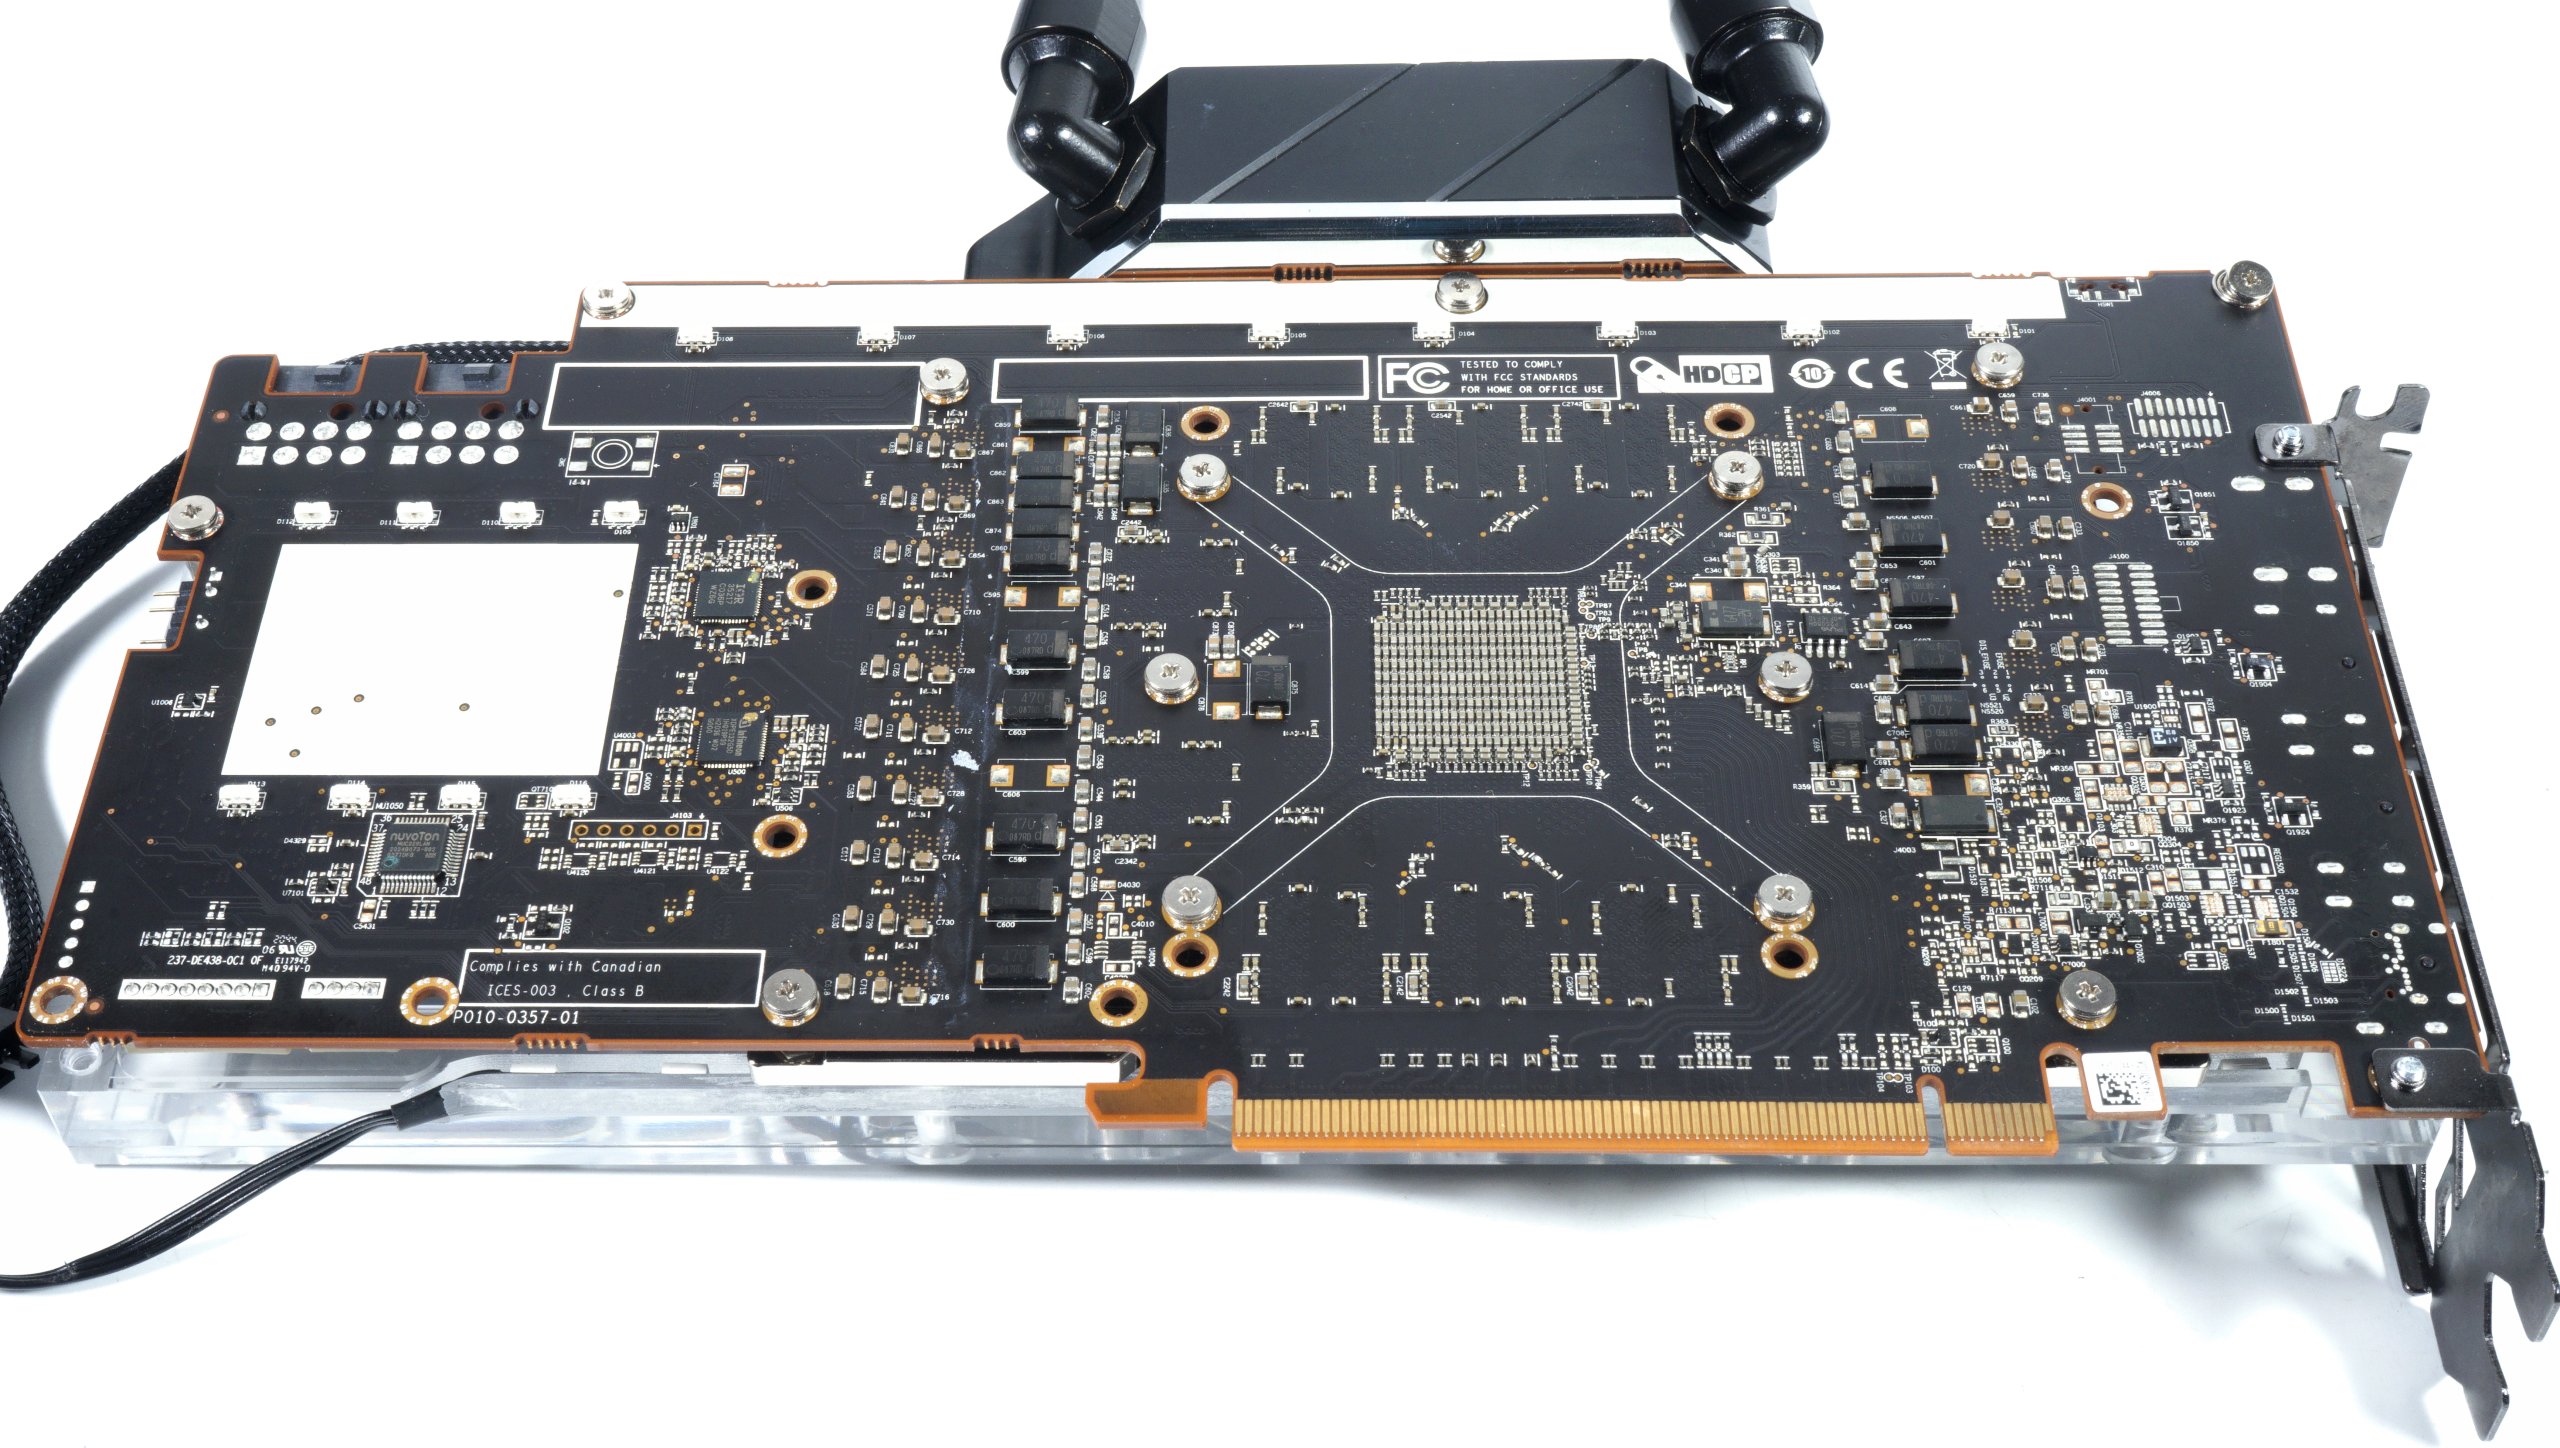
Once you have put everything together correctly (even a newcomer can easily do this in about 30 minutes), there is nothing standing in the way of initial commissioning. So equipped, we can now get down to the measurements. I measure the power consumption in the lab and set the two runs to 300 and 350 watts each as TBP for the whole card, which it then of course reaches permanently, but never exceeds. Measurements are taken with the GPU diode (GPU-Z), a control sensor on the board including an evaluation device and several measuring points on the back of the board using a high-resolution thermal camera.
I set the fan speeds in descending order in the following increments: 2050 rpm (maximum value) and 1100 rpm. For each speed range, I take both a game (Control + DXR in UHD) and the stress test (Furmark). Each run lasts at least 30 minutes or until saturation is reached and temperatures no longer change. The room is air-conditioned at 22 °C. However, for safety reasons I only measure the lowest speed with the 300 watt version. By the way, the plausibility measurement in idle resulted in about 32 to 36 °C for the GPU, no matter which fan setting was selected. The rest differs a little.


54 Antworten
Kommentar
Lade neue Kommentare
Veteran
Urgestein
Mitglied
Urgestein
1
Veteran
Mitglied
Veteran
1
Mitglied
Urgestein
Veteran
Mitglied
1
Mitglied
Veteran
Mitglied
Mitglied
Mitglied
Alle Kommentare lesen unter igor´sLAB Community →