


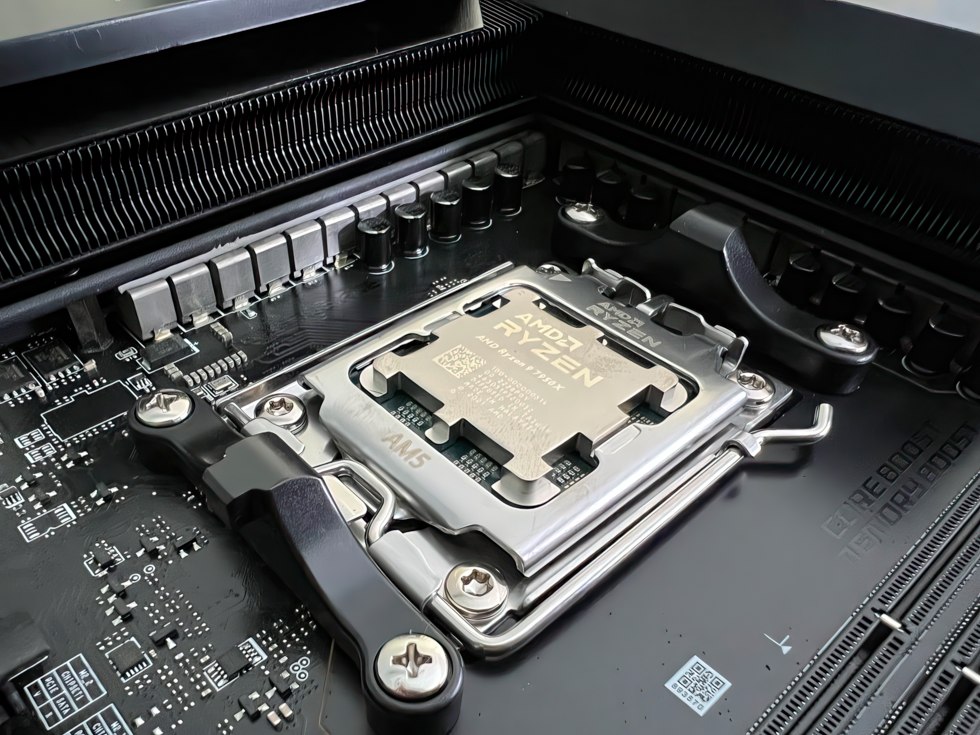
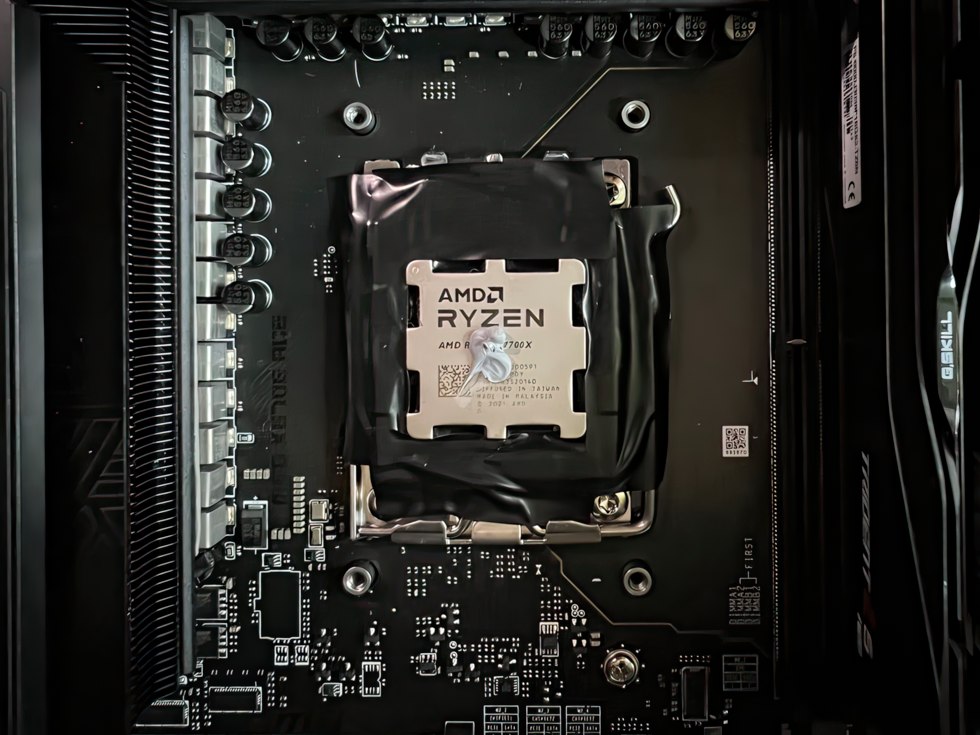
Now we come to the covering of the CPU and the application of the thermal paste. I already wrote that the IHS is so insanely thick. Compared to that, the layer of thermal paste is really thin, but it can still have a certain impact if you do it completely wrong. Nevertheless, to put it bluntly, it almost doesn’t matter what you put on it. The main thing is nice and thin. That may sound a bit flippant, but it almost doesn’t matter whether you add one or two more to the 20 K delta. To describe it in reverse. If I lower the water temperature by 5 degrees, the CPU is also only 1-2 degrees cooler, if that. But there’s no need to worry, let’s get started. Because I’m already excited, the base is too.
First, I want to cover the recesses so that the thermal grease doesn’t settle here later. Even if AMD has glued the visible components in the gaps and at least partially covered them with varnish – I simply don’t have to have something like that. Of course, the paste is generally not electrically conductive either, but it just doesn’t belong there. Mechanical cleaning and scratching is then the worst tidying measure in retrospect anyway. So it is better not to soak anything with paste in the first place.
To do this, I cut the eight small strips I needed from black insulating tape (green, yellow or red will also work, of course), which must be wider and also longer than the indentations. The protruding sides (approx. 1 mm) and the strip can then be pressed in with a cotton swab and also lightly pressed on at the edges. This then fits quite neatly, but you have to be careful that nothing folds over and later gets between the IHS and the radiator bottom.
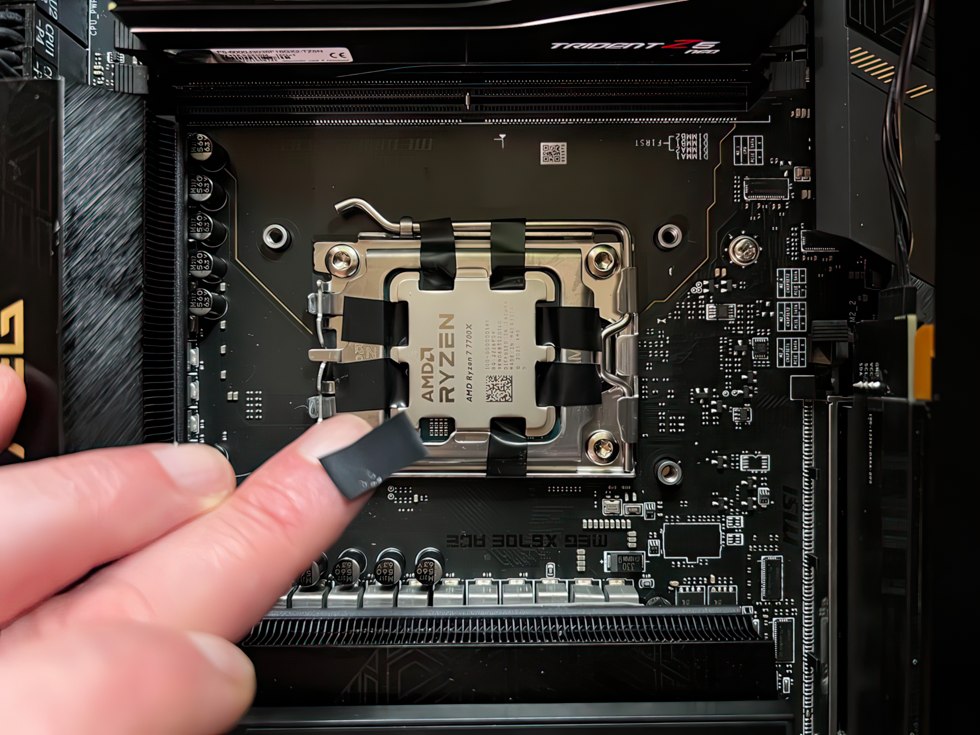
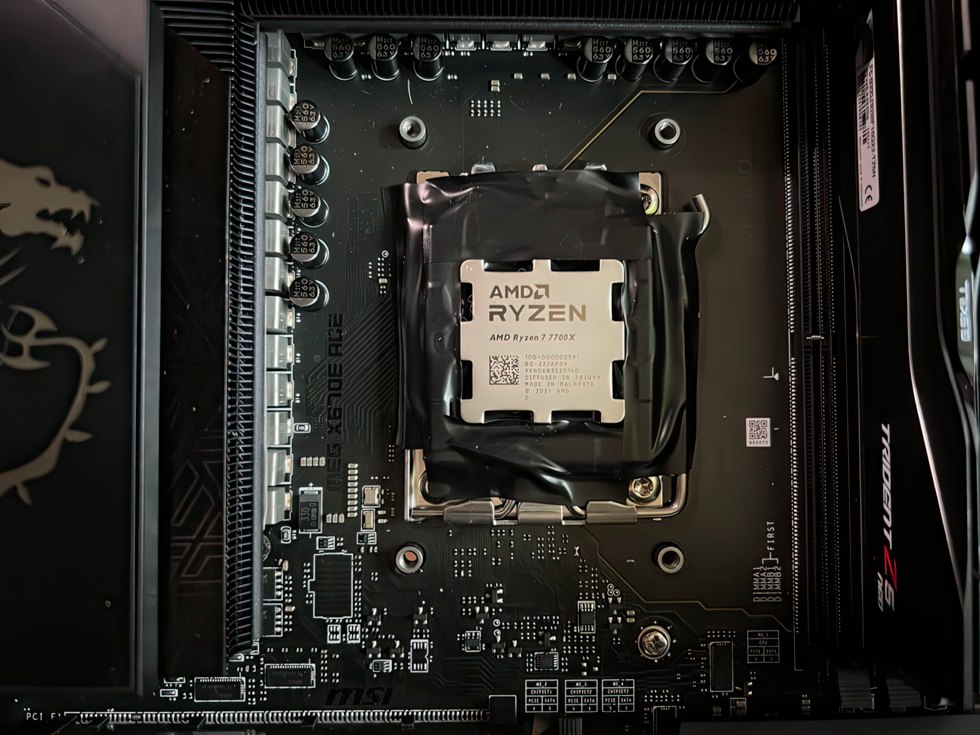
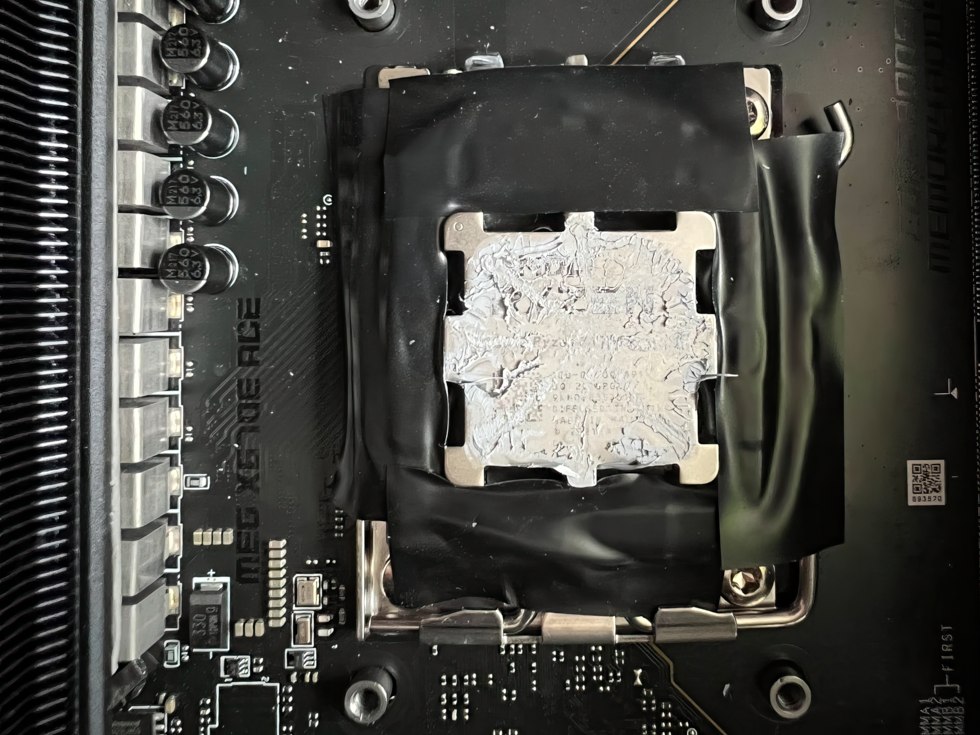
Afterwards I taped the CPU flush above the first bead outside with further, longer strips. Firstly, this fixes the eight small strips that have already been applied and secondly, it also covers the rest of the edge well.
We can see the finished taped CPU on the picture below. You can check with your fingertip from the inside out to make sure that nothing is protruding in such a way that it would interfere later.
Now it’s the turn of the thermal paste. Not too thin and rather a bit more viscous, because you actually always get the paste pressed thin enough due to the high contact pressures. Blob and well, easy!
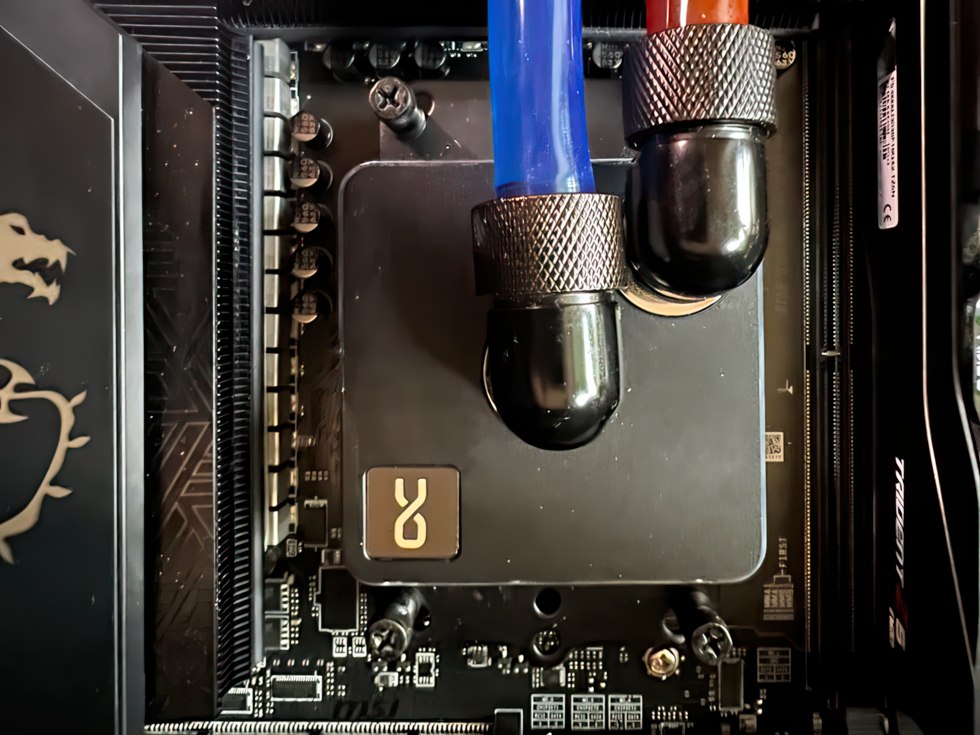
Screwing the cooler is also uncomplicated. Take the measurements, lay them on and press them down properly right in the middle with your hand BEFORE screwing. Then you can alternate the screws and tighten them diagonally to the end. That’s it, and you don’t have to experiment with blobs, sausages or other art forms. All tested, it brings out mostly more grease next to the CPU also no more improvement.
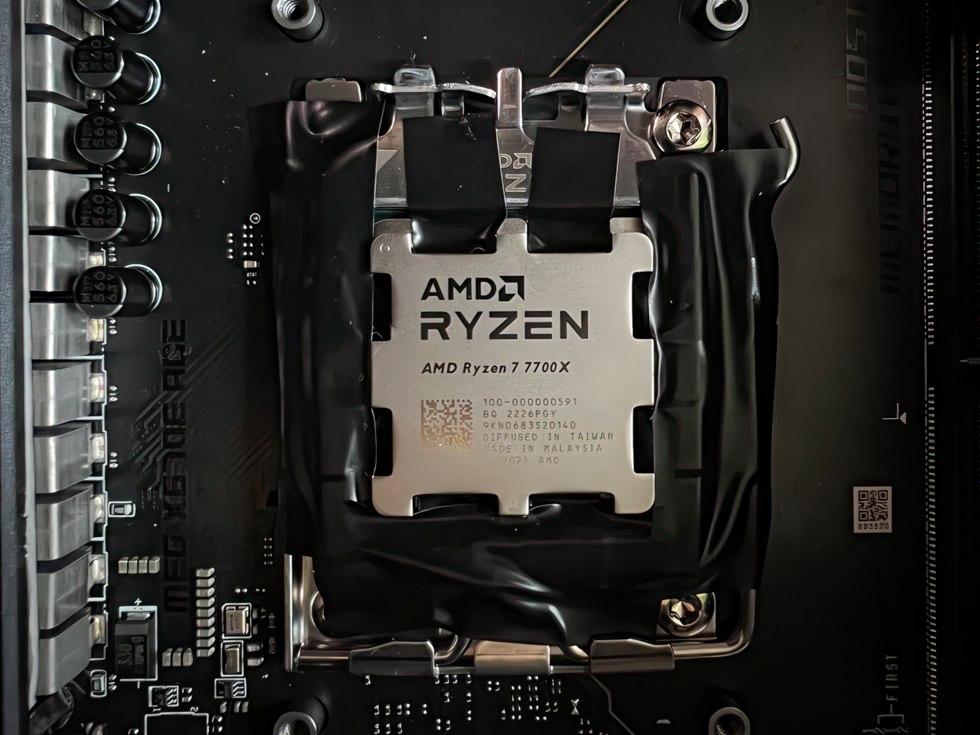
After use, you can also remove the cooler again nice and easily, since the CPU is held in place by the LGA socket. Thanks for this! We can see from the layer that the four outer corners that have fallen off are not covered with paste, but the four noses on the long edges are. They are much more even. If the picture of the thermal paste residue looks like this, you haven’t done anything wrong either.
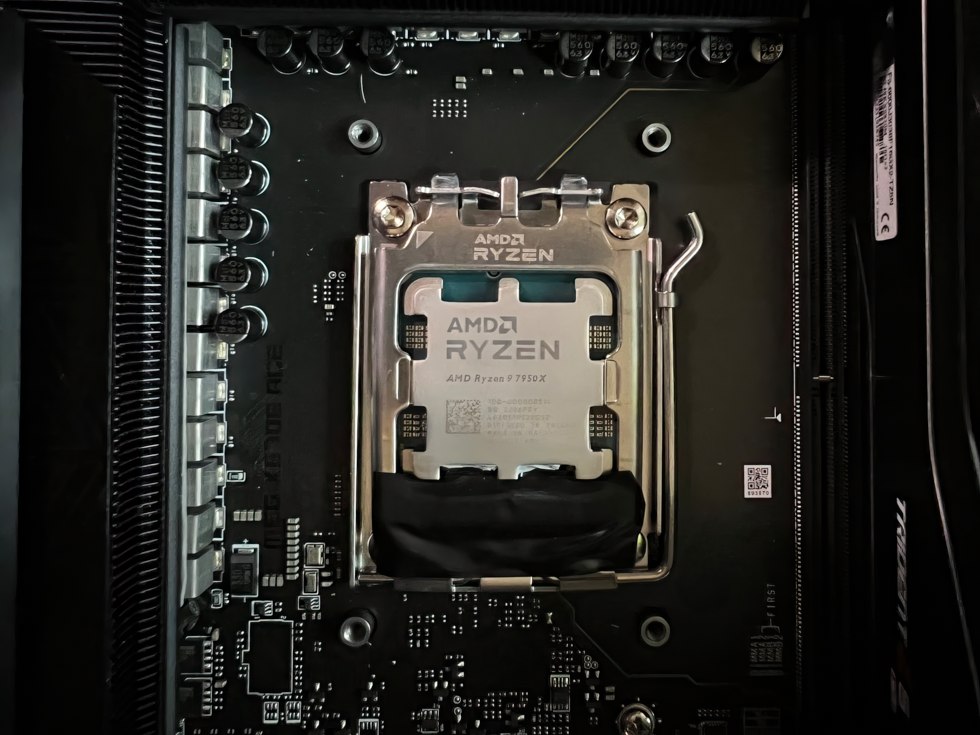
After that, you simply pull off the insulating tape from the outside to the inside and get a clean CPU that looks like new! You don’t always have to dirty everything, it’s much easier to live clean…
If there are any small remnants left on the edges, you can pull them off with a small spatula from the bottom to the top. Rubbing does not help.
And now that we’ve internalized that, we’re off to find the hotspots and take temperature readings. And yes, it will be really interesting, guaranteed!


113 Antworten
Kommentar
Lade neue Kommentare
Veteran
Urgestein
Veteran
Veteran
Urgestein
Mitglied
Urgestein
Veteran
Urgestein
Veteran
Veteran
Urgestein
Mitglied
Mitglied
Veteran
1
Veteran
Urgestein
Urgestein
Alle Kommentare lesen unter igor´sLAB Community →