


Radiator and disassembly
The front is dominated by the two 9.5 cm fans with 11 rotor blades each, of which the right one acts quite quietly, while the left one immediately gave up the ghost. Unfortunately, each manufacturer cooks its own soup and I could not take a suitable XFX fan from another card, was first of all good advice expensive. Nevertheless, I have of course further dissected the map, because somehow it is also about the principle and possible solutions.

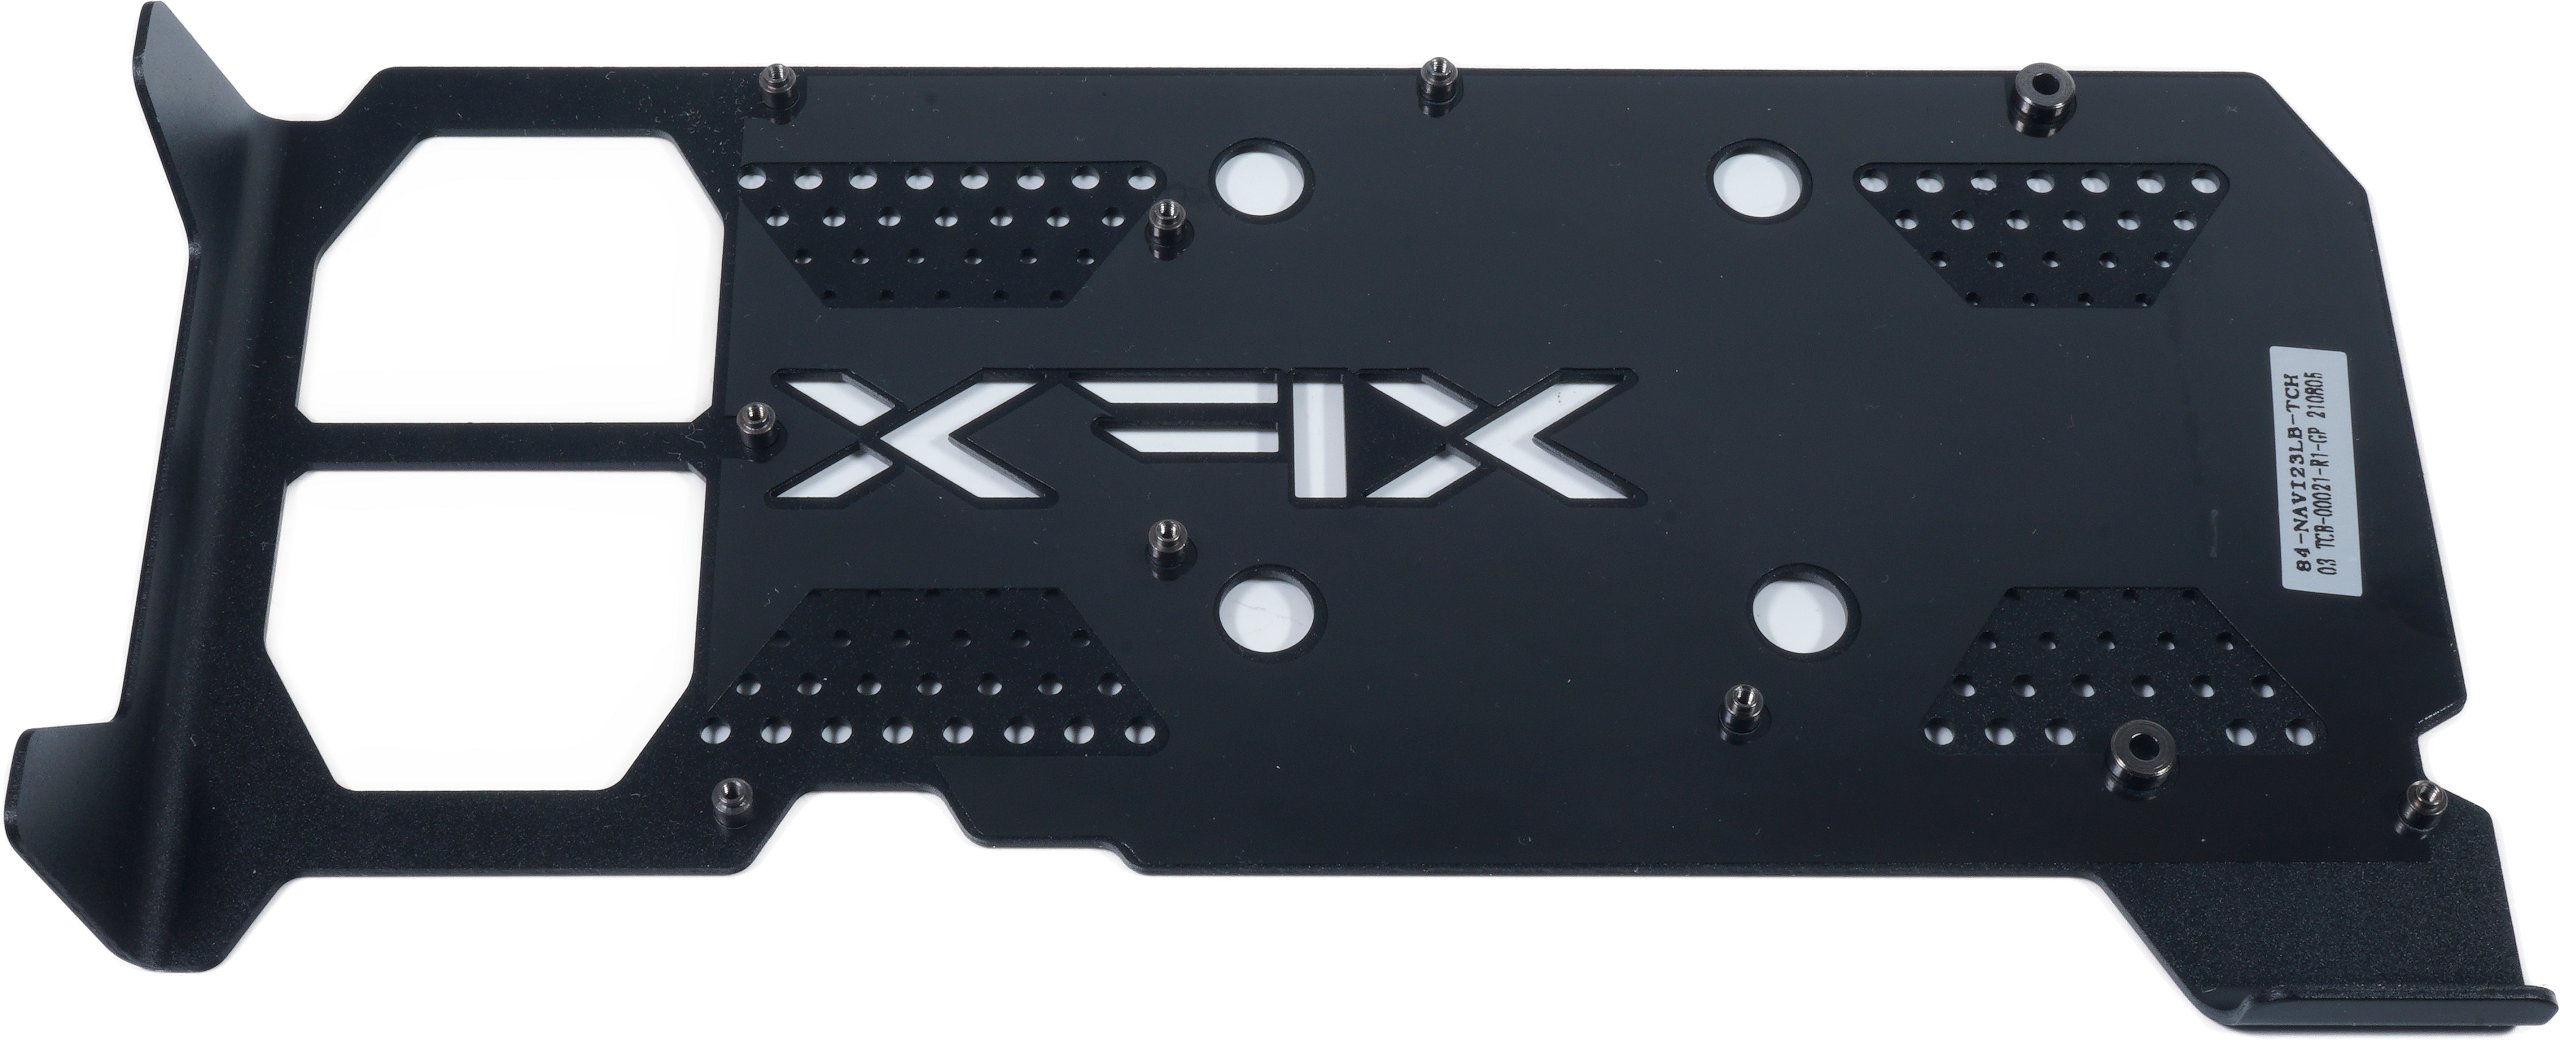
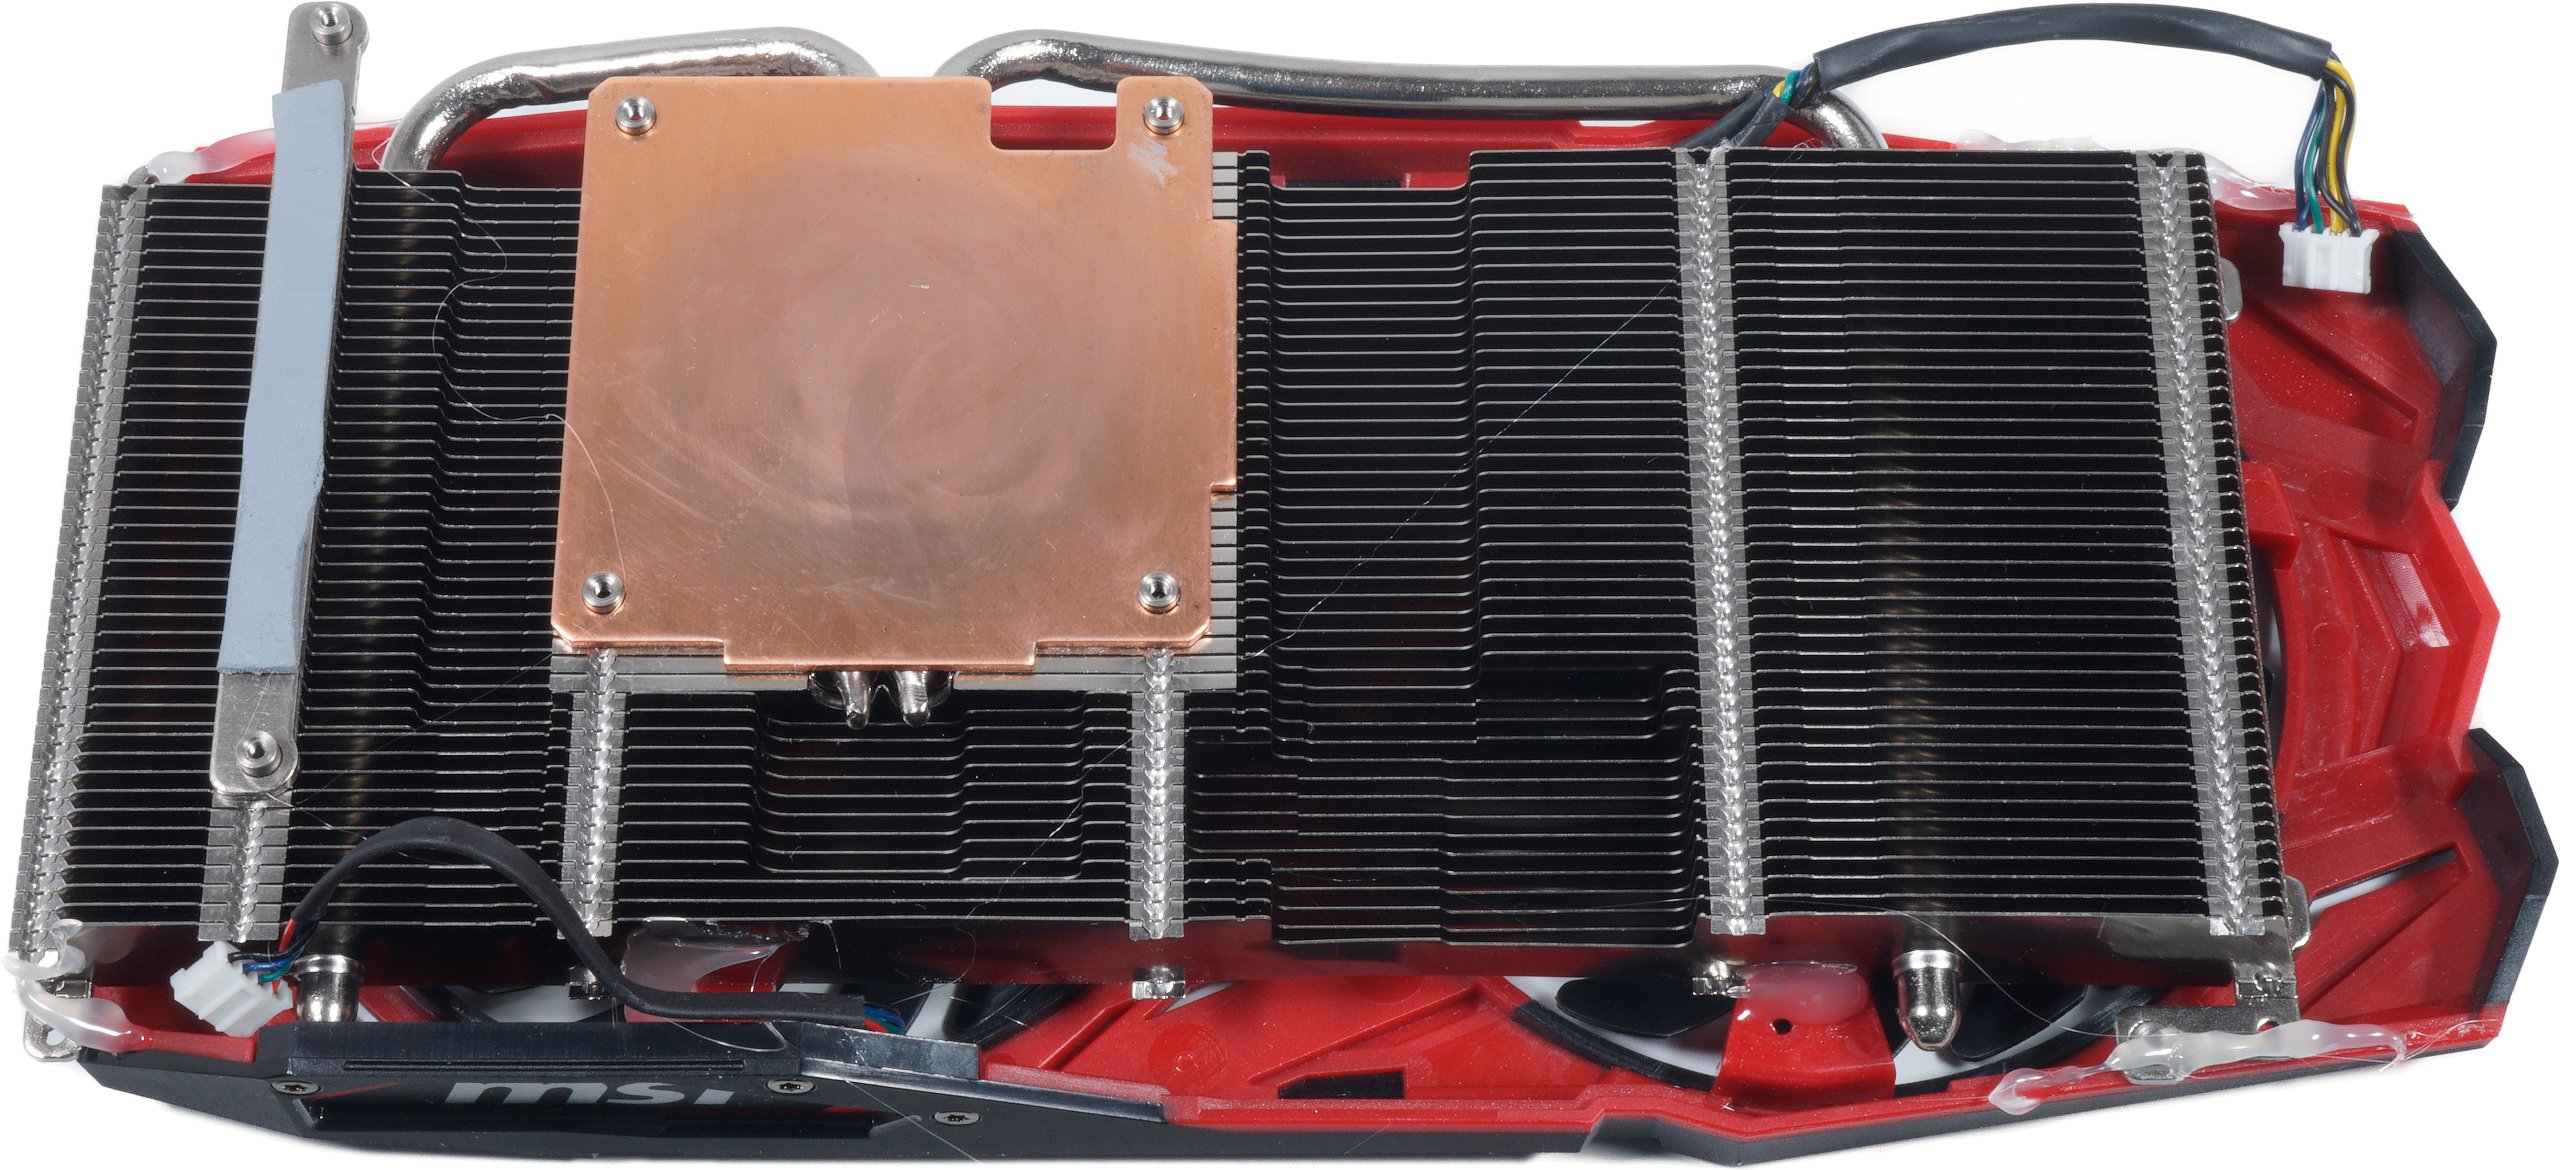
The disassembly of this card is quite simple anyway. After removing the four GPU screws and the two on the voltage converter heatsink, the cooler can also be removed quite easily. All you have to do is disconnect the fan cable. The very soft pads on the memory modules and VRM do their job, but are not top shelf. We see a total of two 6mm nickel-plated copper composite heatpipes mounted above the GPU on the heatsink. The memory is well cooled by 0.5 mm thick pads, the voltage converters at the cooler also put on 2 mm pads.

On the rear side you find a backplate made of light metal (which is screwed through the board from above), but without pads and therefore without a passive cooling function, which will take its revenge, because the board glows at full load at one point. But I’ll get to that later.
But now back to the fans, which would have to be replaced as a pair, because only one returns the tacho signal and exactly that one is burnt out. The connectors from other manufacturers only fit on the motherboard, so I went searching in my archives. In the end, I found an MSI RX 570 Mech whose shroud had roughly the same dimensions and, purely coincidentally, also relied on very similar fans with identical maximum speed and diameter, but relied on 14 rotor blades instead of 11. However, this is not a disadvantage for the time being, on the contrary.
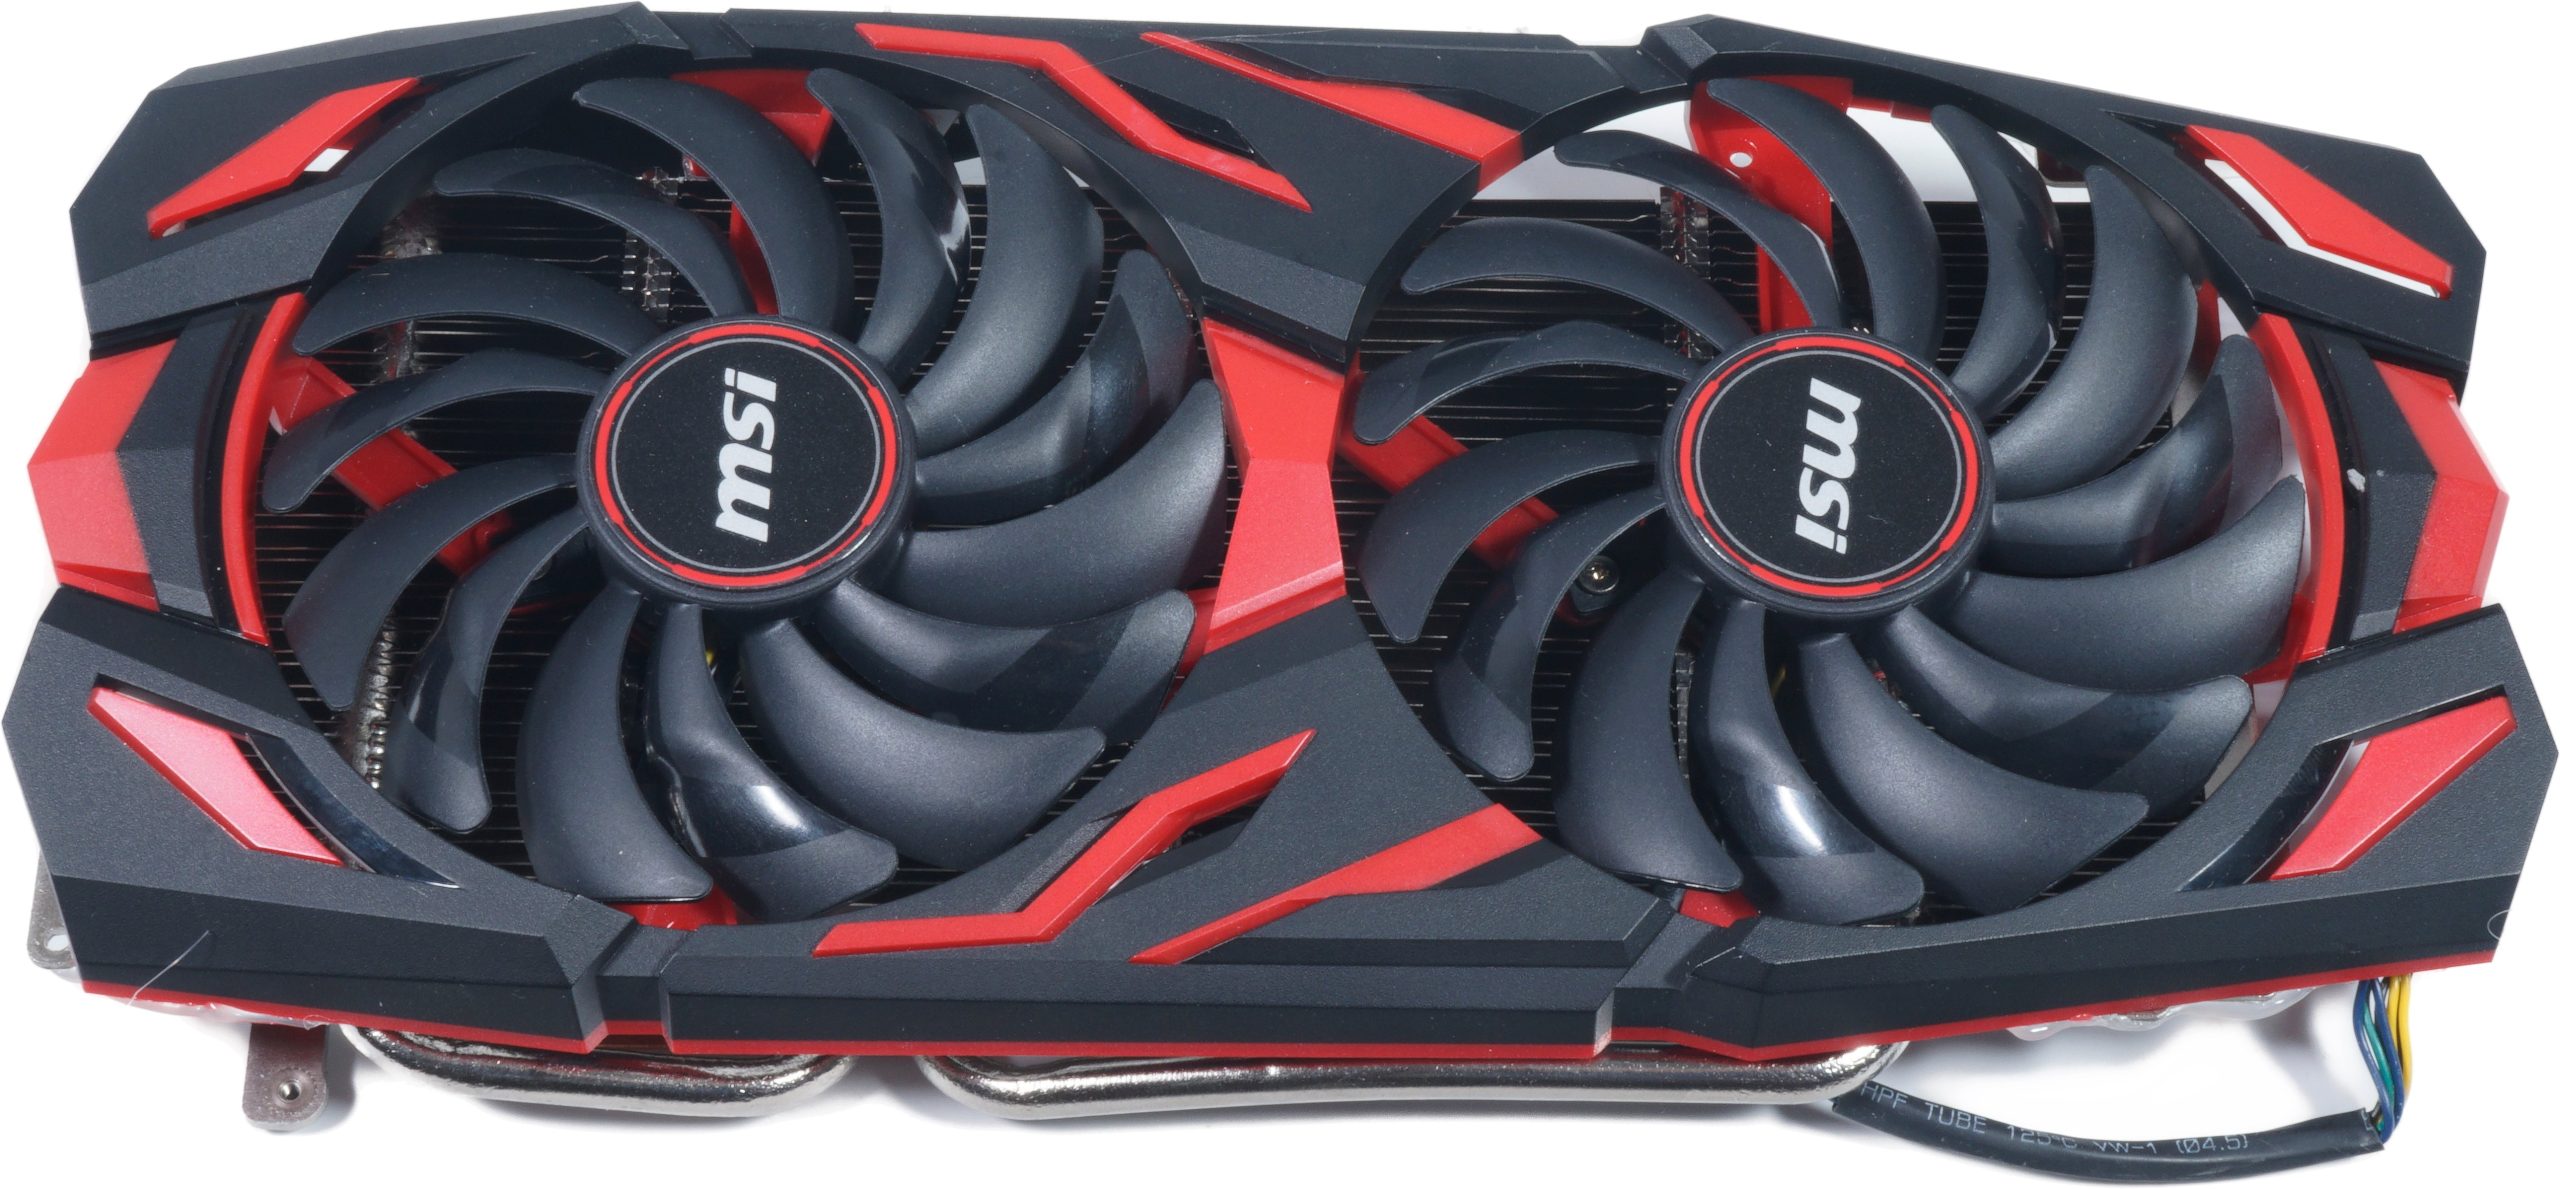
I then positioned this cover including the fan so that the cooler could be inserted perfectly. The offset of the fan centers of only 2 mm on the longitudinal axis is negligible, the rest fit just as perfectly as the connection cable on the board. Only the screw connection didn’t work of course, so I just attached the flat lying radiator to the shroud with hot glue. This holds bombproof and completely fulfills its purpose. Curtain up for the MSI XFX Hybrid Cooler!
And because it is so beautiful, I show you the whole thing again from the front. Here you go:
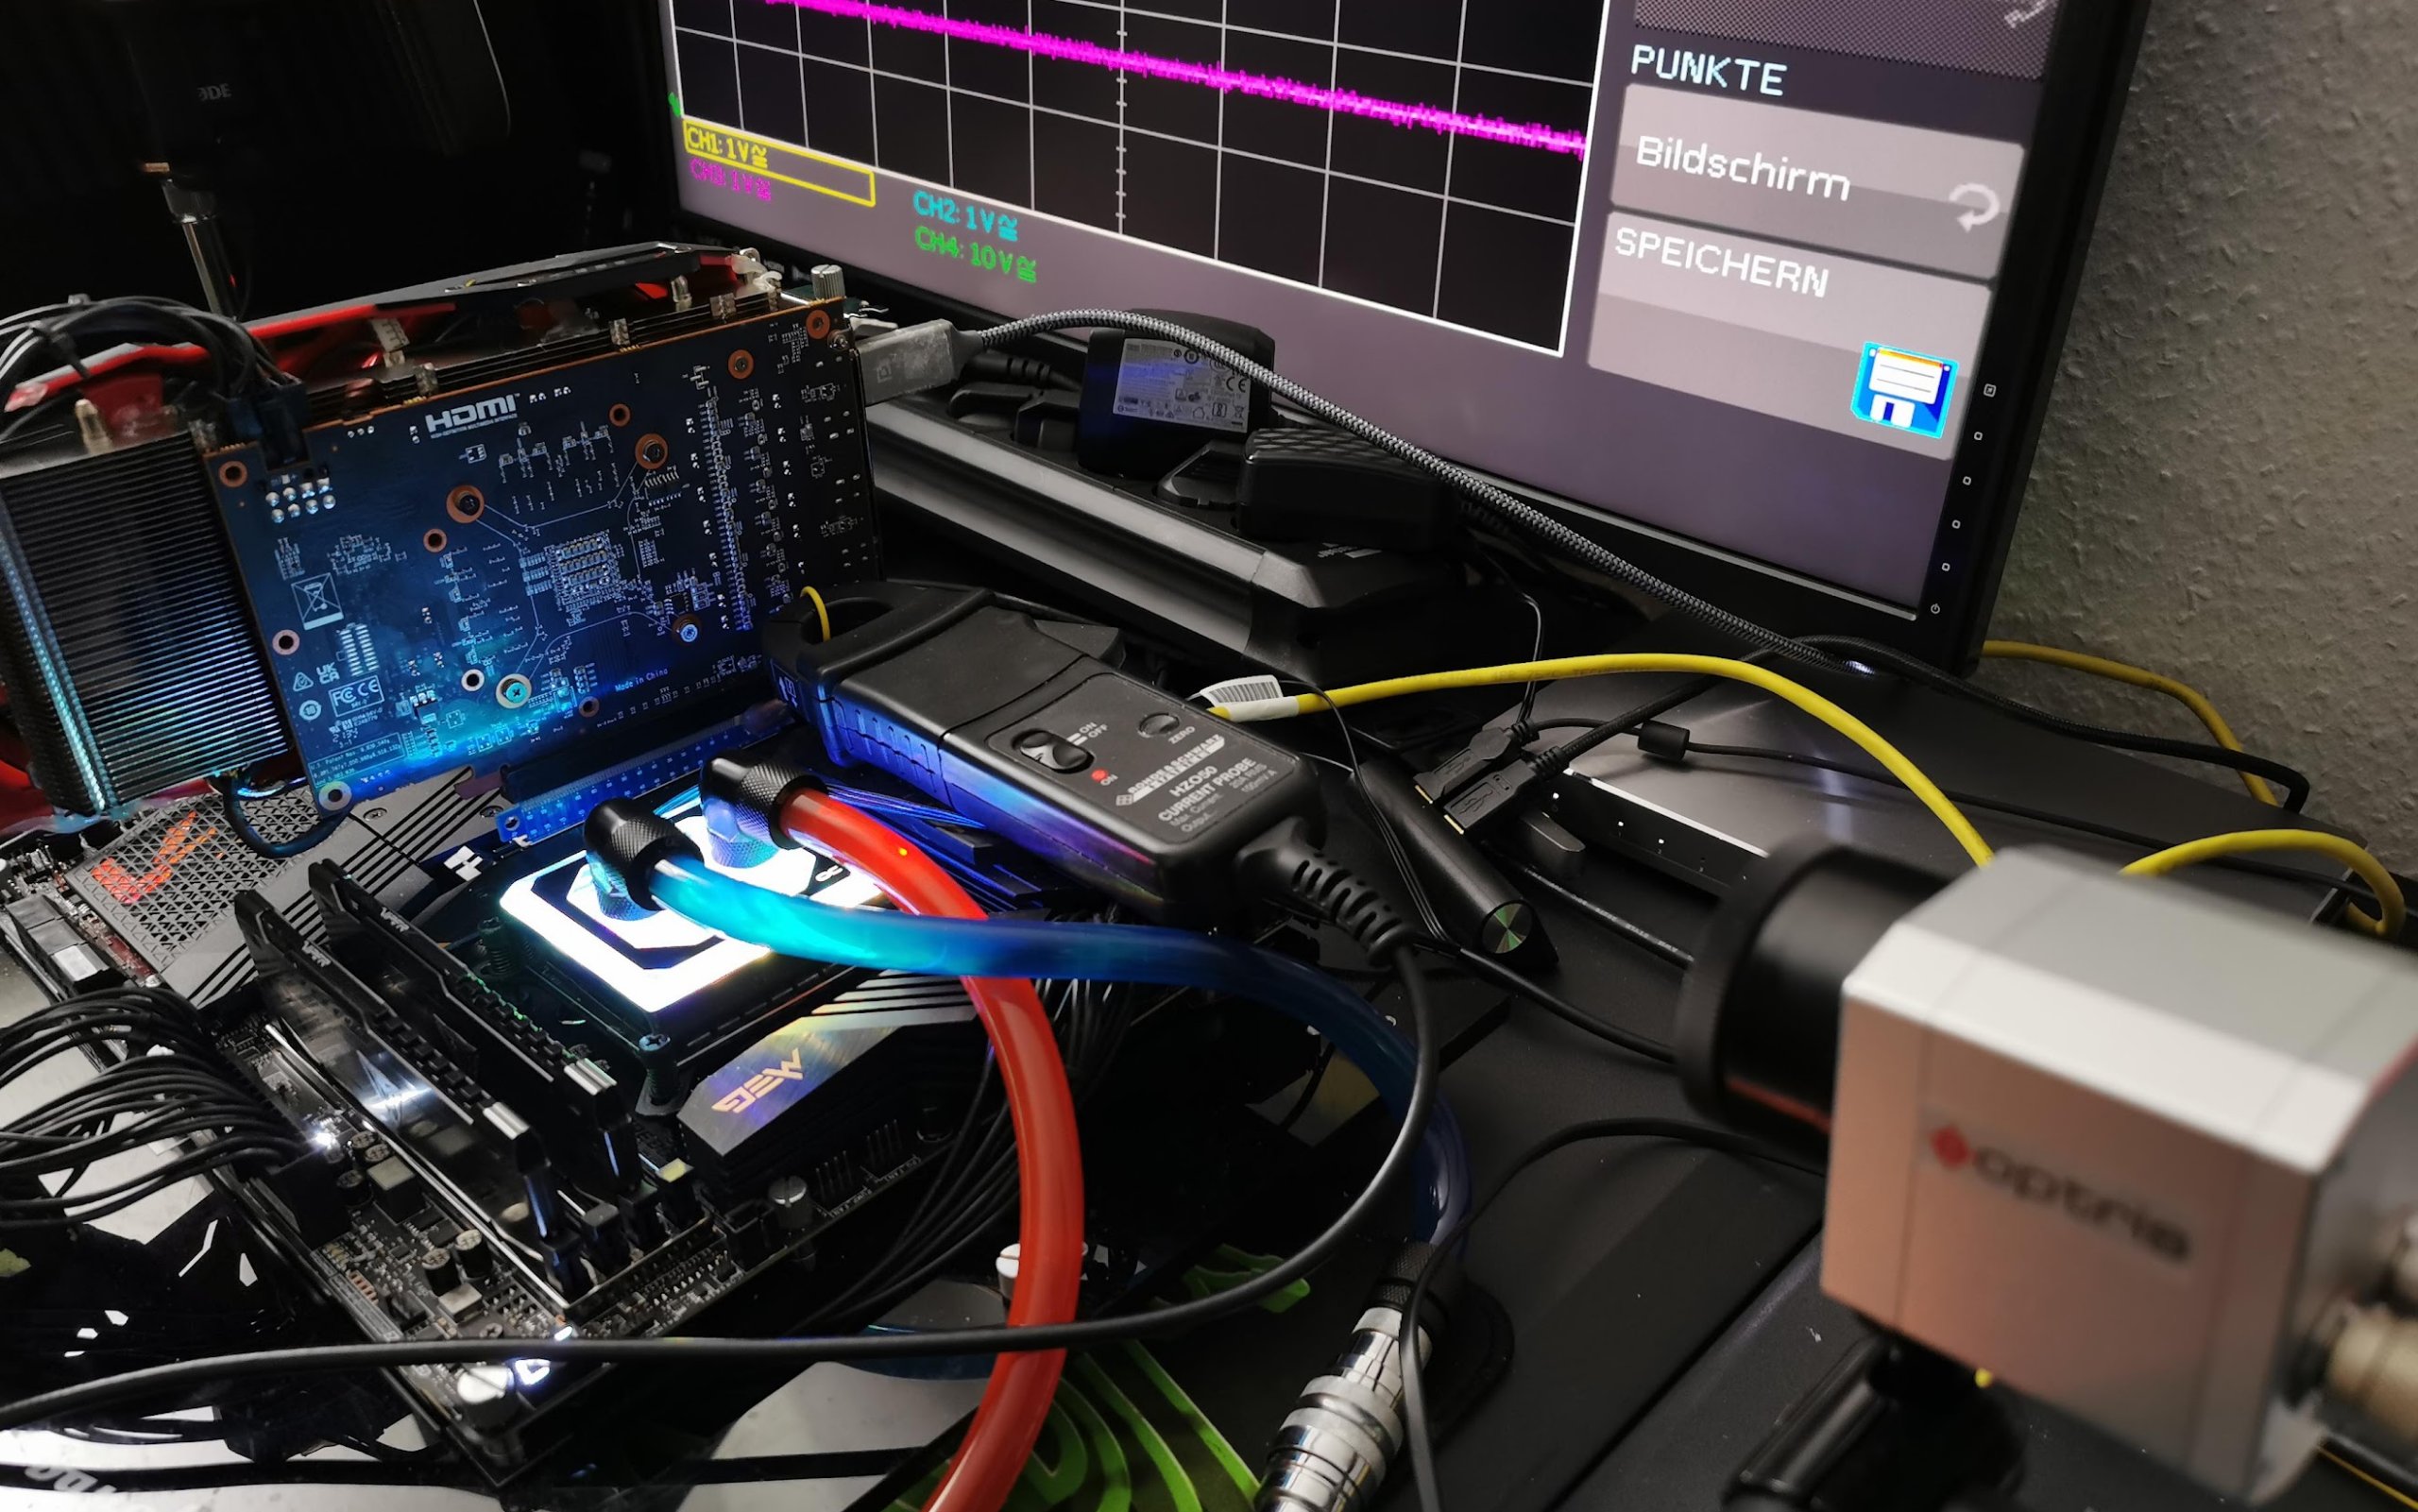
How the whole thing looks like in operation, you can see in the function test in the measurement lab:


39 Antworten
Kommentar
Lade neue Kommentare
Urgestein
Veteran
1
Veteran
Veteran
Urgestein
Urgestein
Veteran
Mitglied
Urgestein
Mitglied
Urgestein
Alle Kommentare lesen unter igor´sLAB Community →