


With the Alphacool GPU water block Aurora Plexi GPX-N RTX 3090/3080 I want to start the new round of GPU water blocks, but this time for Ampere and not Turing. A water cooling system makes sense with power losses of over 300 watts and creates real added value. Let’s start now with the Alphacool product, which was the first model available to me, the possible rest comes later.
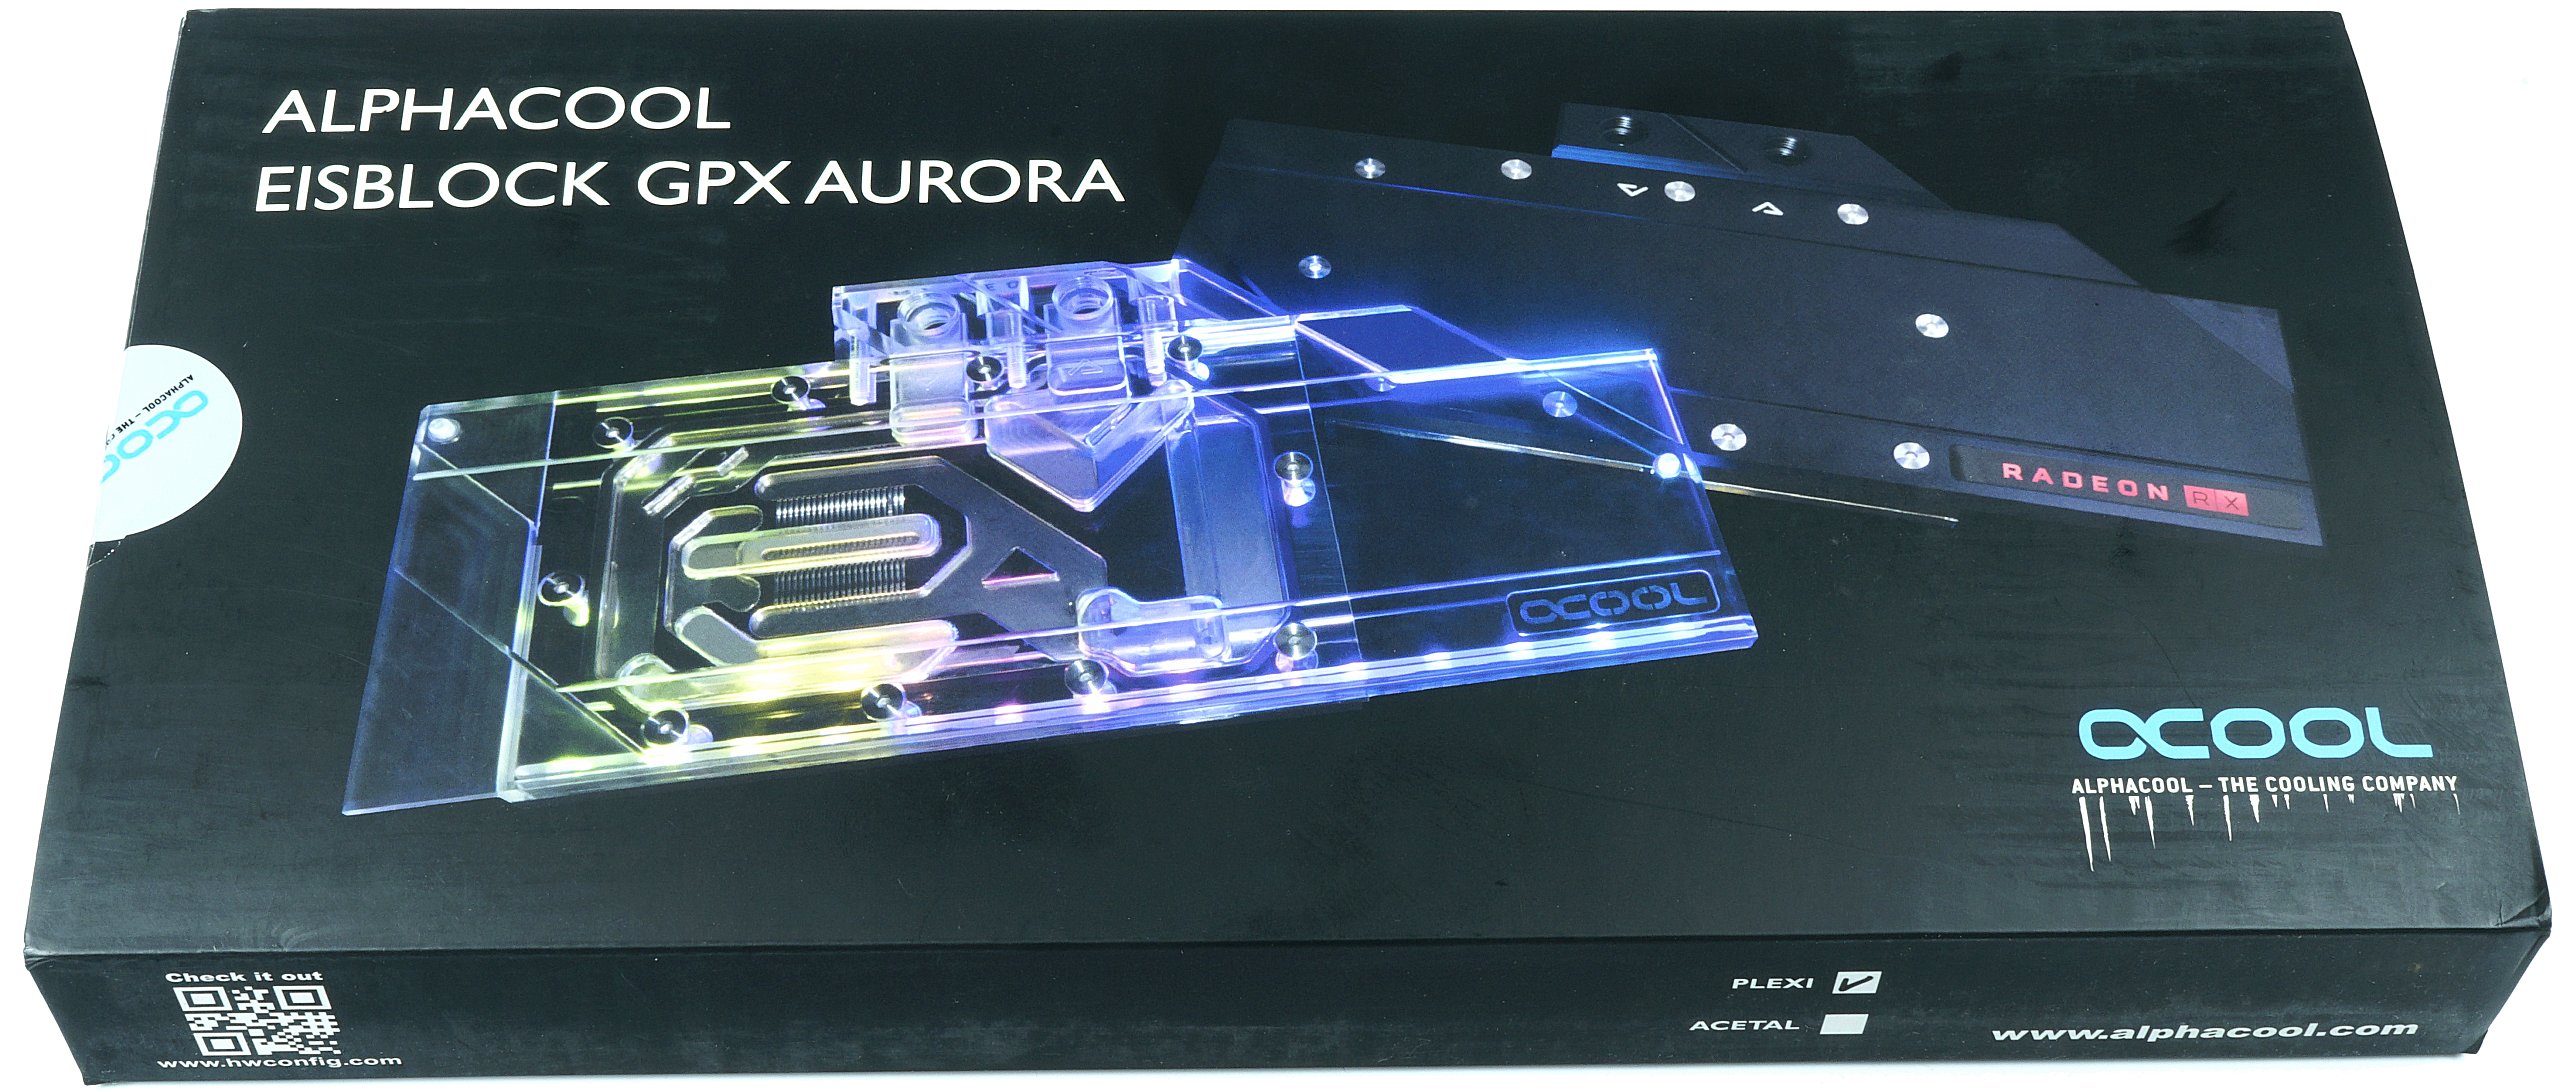
Scope of delivery and unboxing
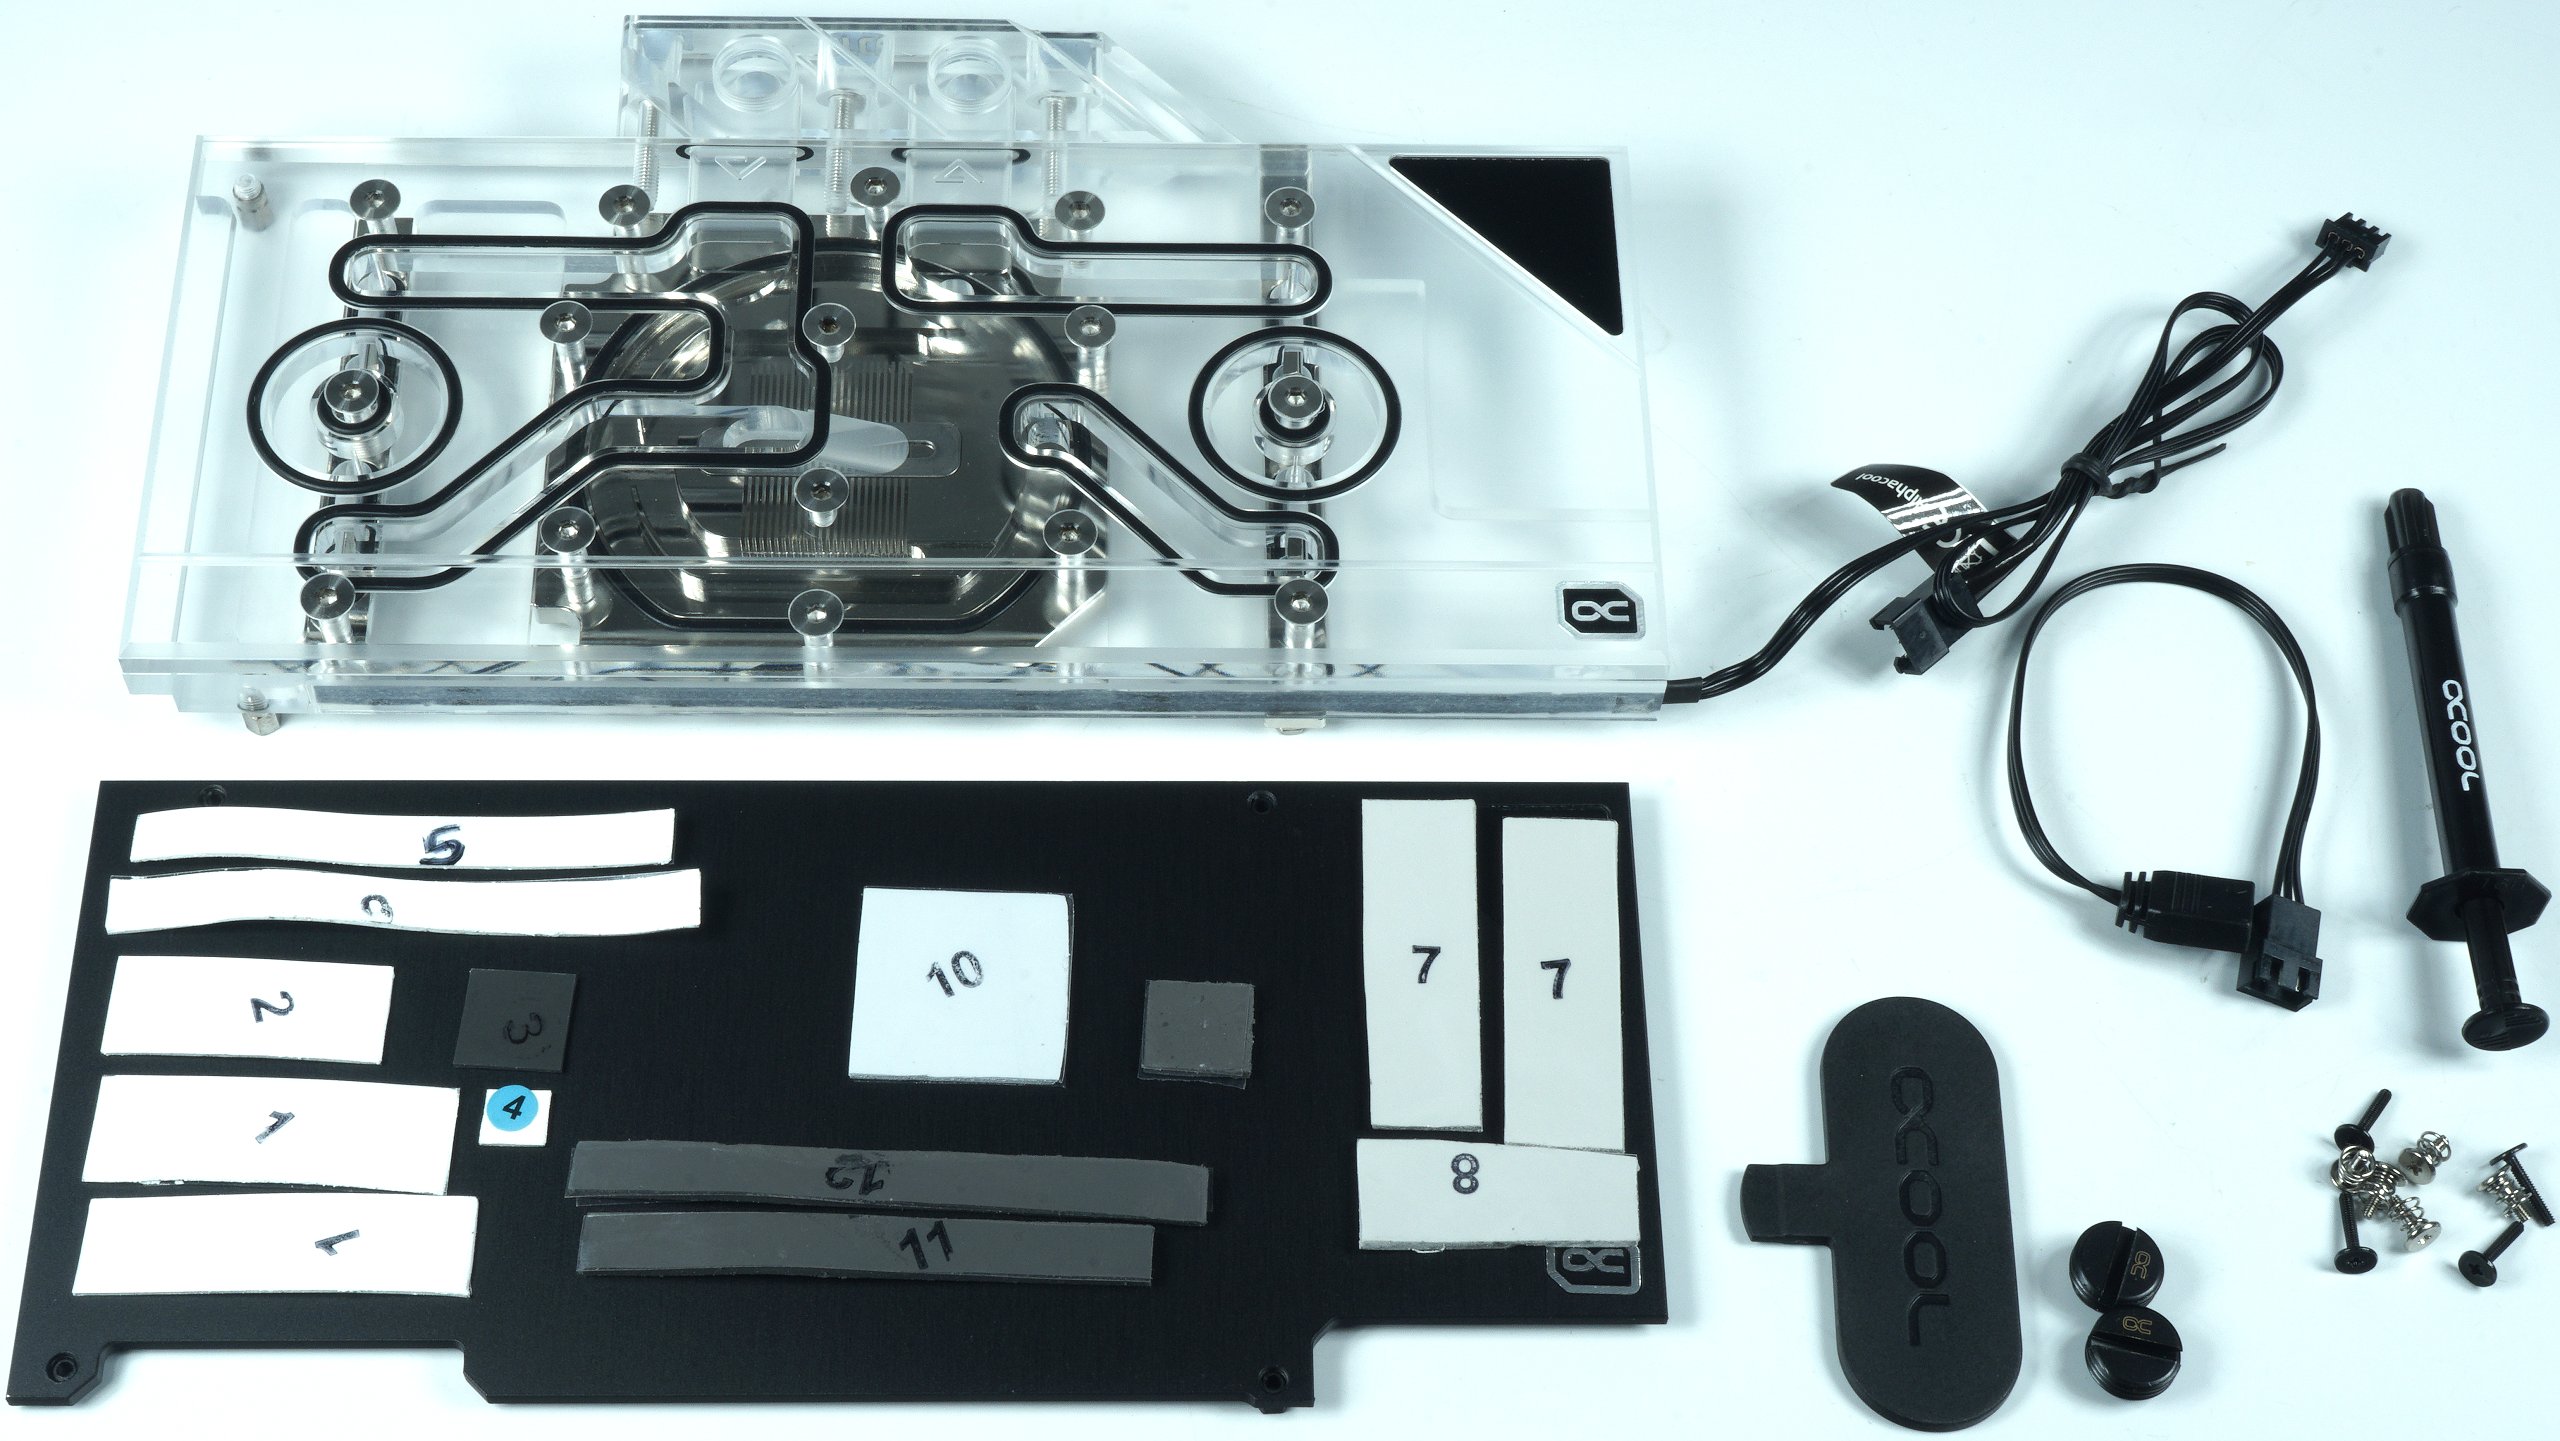
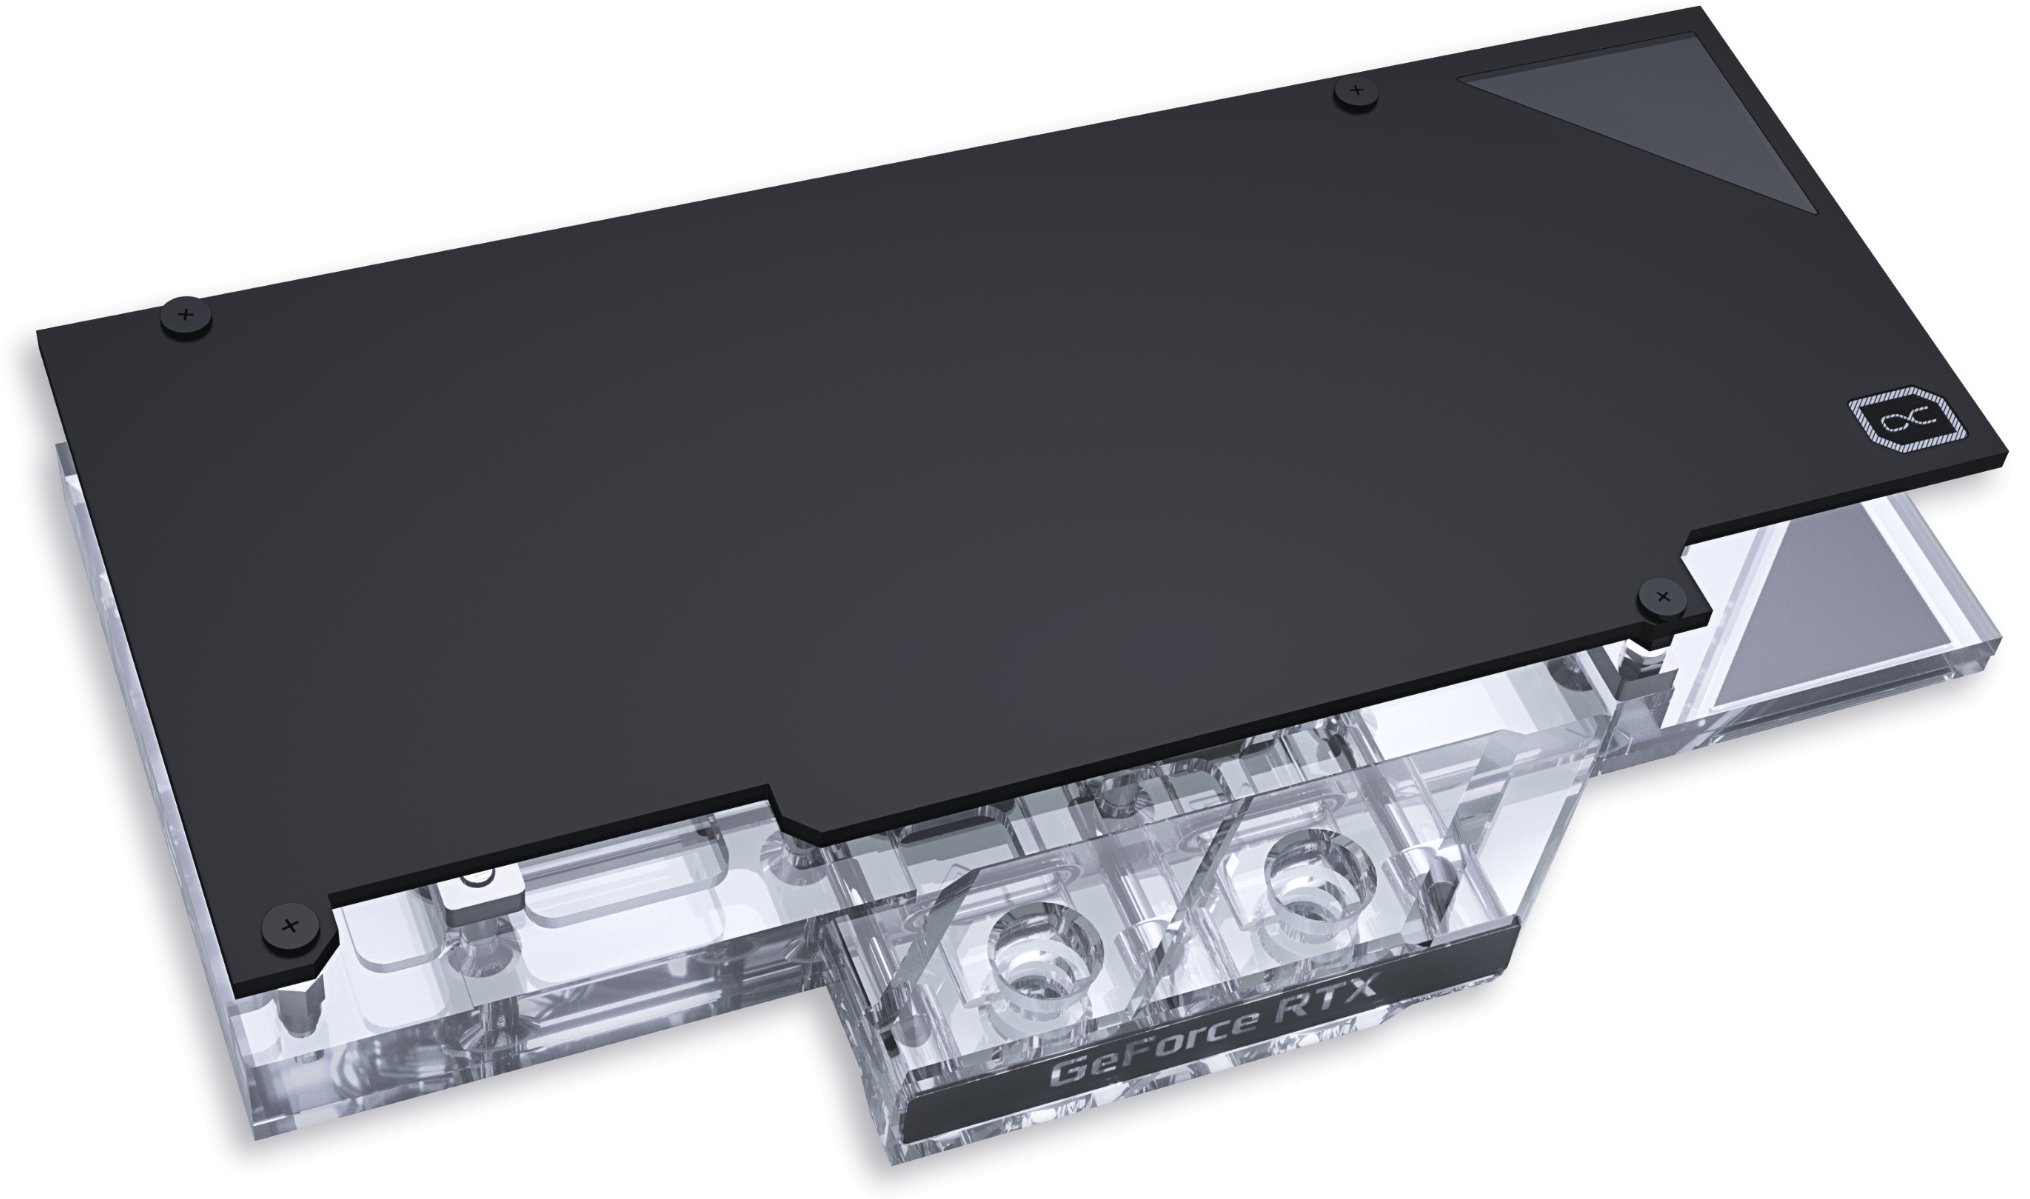
The manufacturer has fundamentally reworked the cooler compared to its predecessors, which you will notice later in the test, but I don’t want to spoil it. The edge design of the plexiglass front is not new, only the rest has been redesigned from scratch. But let’s unpack all the fun for now. What you get for the almost 127 euro is a pre-assembled cooler with terminal, including a recessed 5V aRGB strip and matching preci-dip adapter, a backplate with cooling function, two rimless plugs, screws, thermal pads and thermal paste. The manual is available in printed and digital form, exemplary.
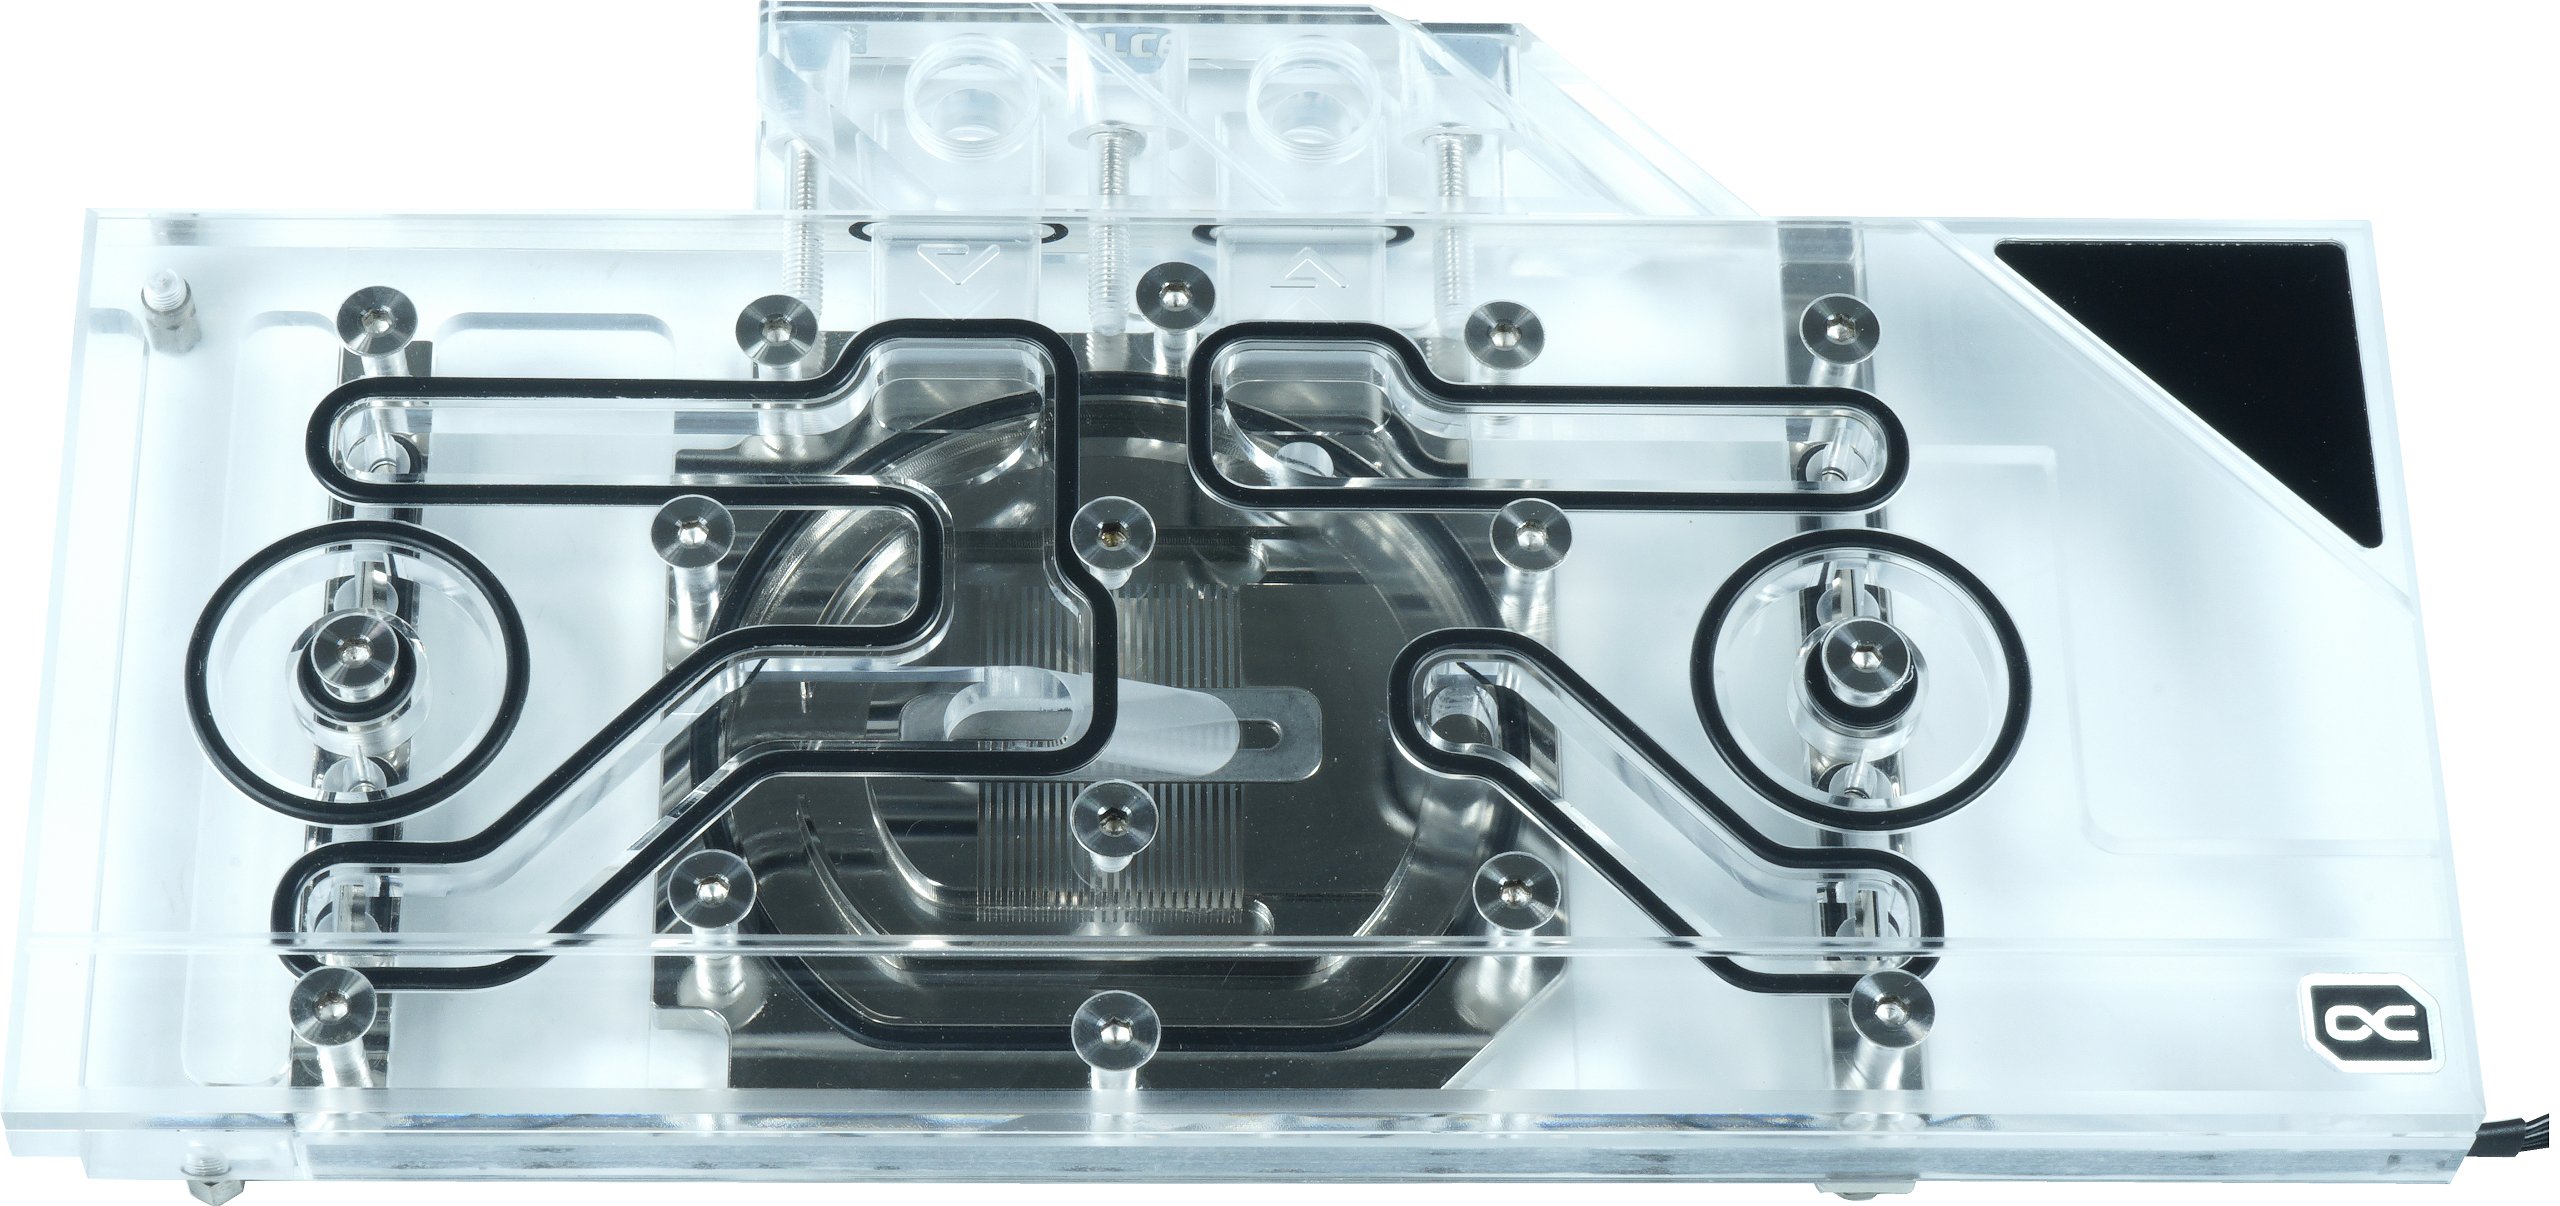
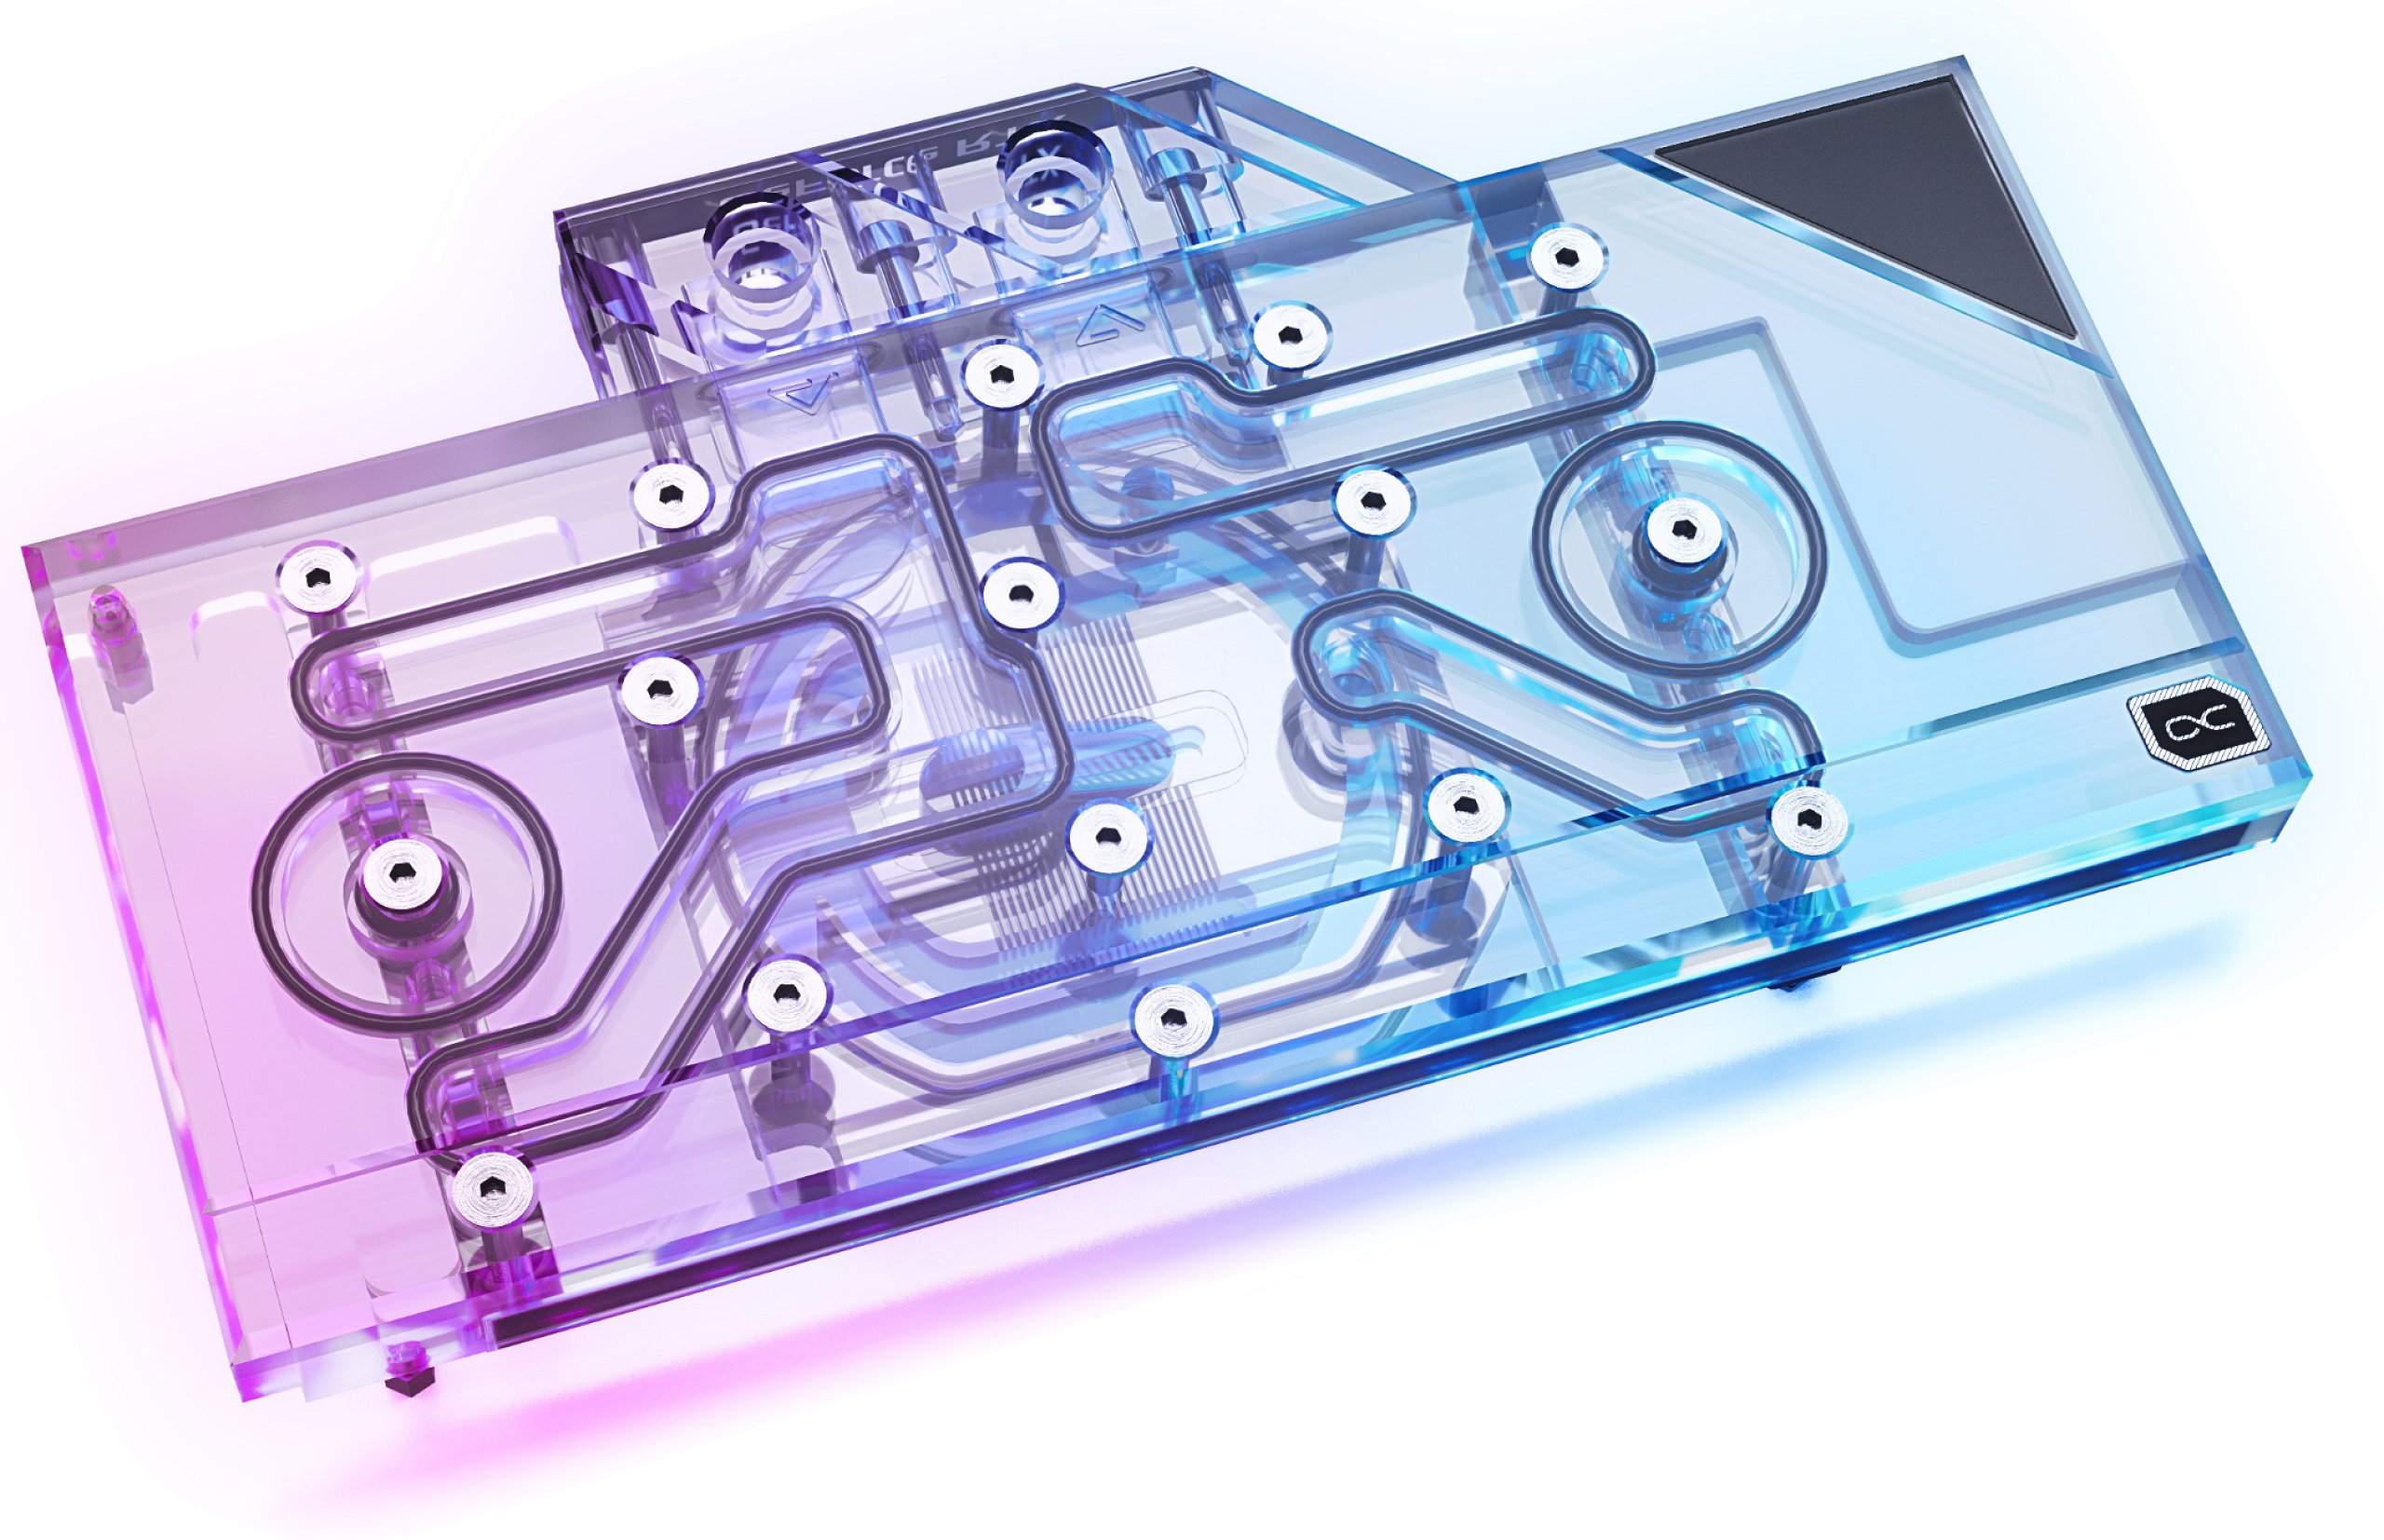
Which finally brings us to the water block. Alphacool has killed two birds with one stone here. Because one would like to use the design for the Founders Edition in an adapted form (it is not the reference design this time!), one would not have been able to get there without problems even with the previous 7 mm for the copper thickness, because e.g. the 5-pin connector to the original cooler is higher and could only be cut out with difficulty. So, based on the board layout, it was decided to cleverly divide the cooling surfaces into three parts instead of using 12 mm copper, which would have made the cooler unnecessarily heavy. With this pitch it was even possible to go to 5.5 mm thick copper, which does not save any costs due to the additional work involved in creating the individual parts and assembly, but at the same time opens up new design variants.
What looks strange here has a method. The focus is on the large cooling block for GPU and memory. To decouple this thermally from the voltage transformers makes perfect sense. The injection is made centrally above the GPU after cooling the smaller VRM block towards the slot bracket, and the circuit, which is now split in two, goes back to the outlet via the accumulators on the one hand and in a second channel via the larger of the two VRM blocks on the other. Alphacool had to make a compromise here in order to minimise the pressure loss and not reduce the flow so much. In the end, this works quite well, but exactly this spot doesn’t really look like a record when it comes to the final voltage transformer temperatures.
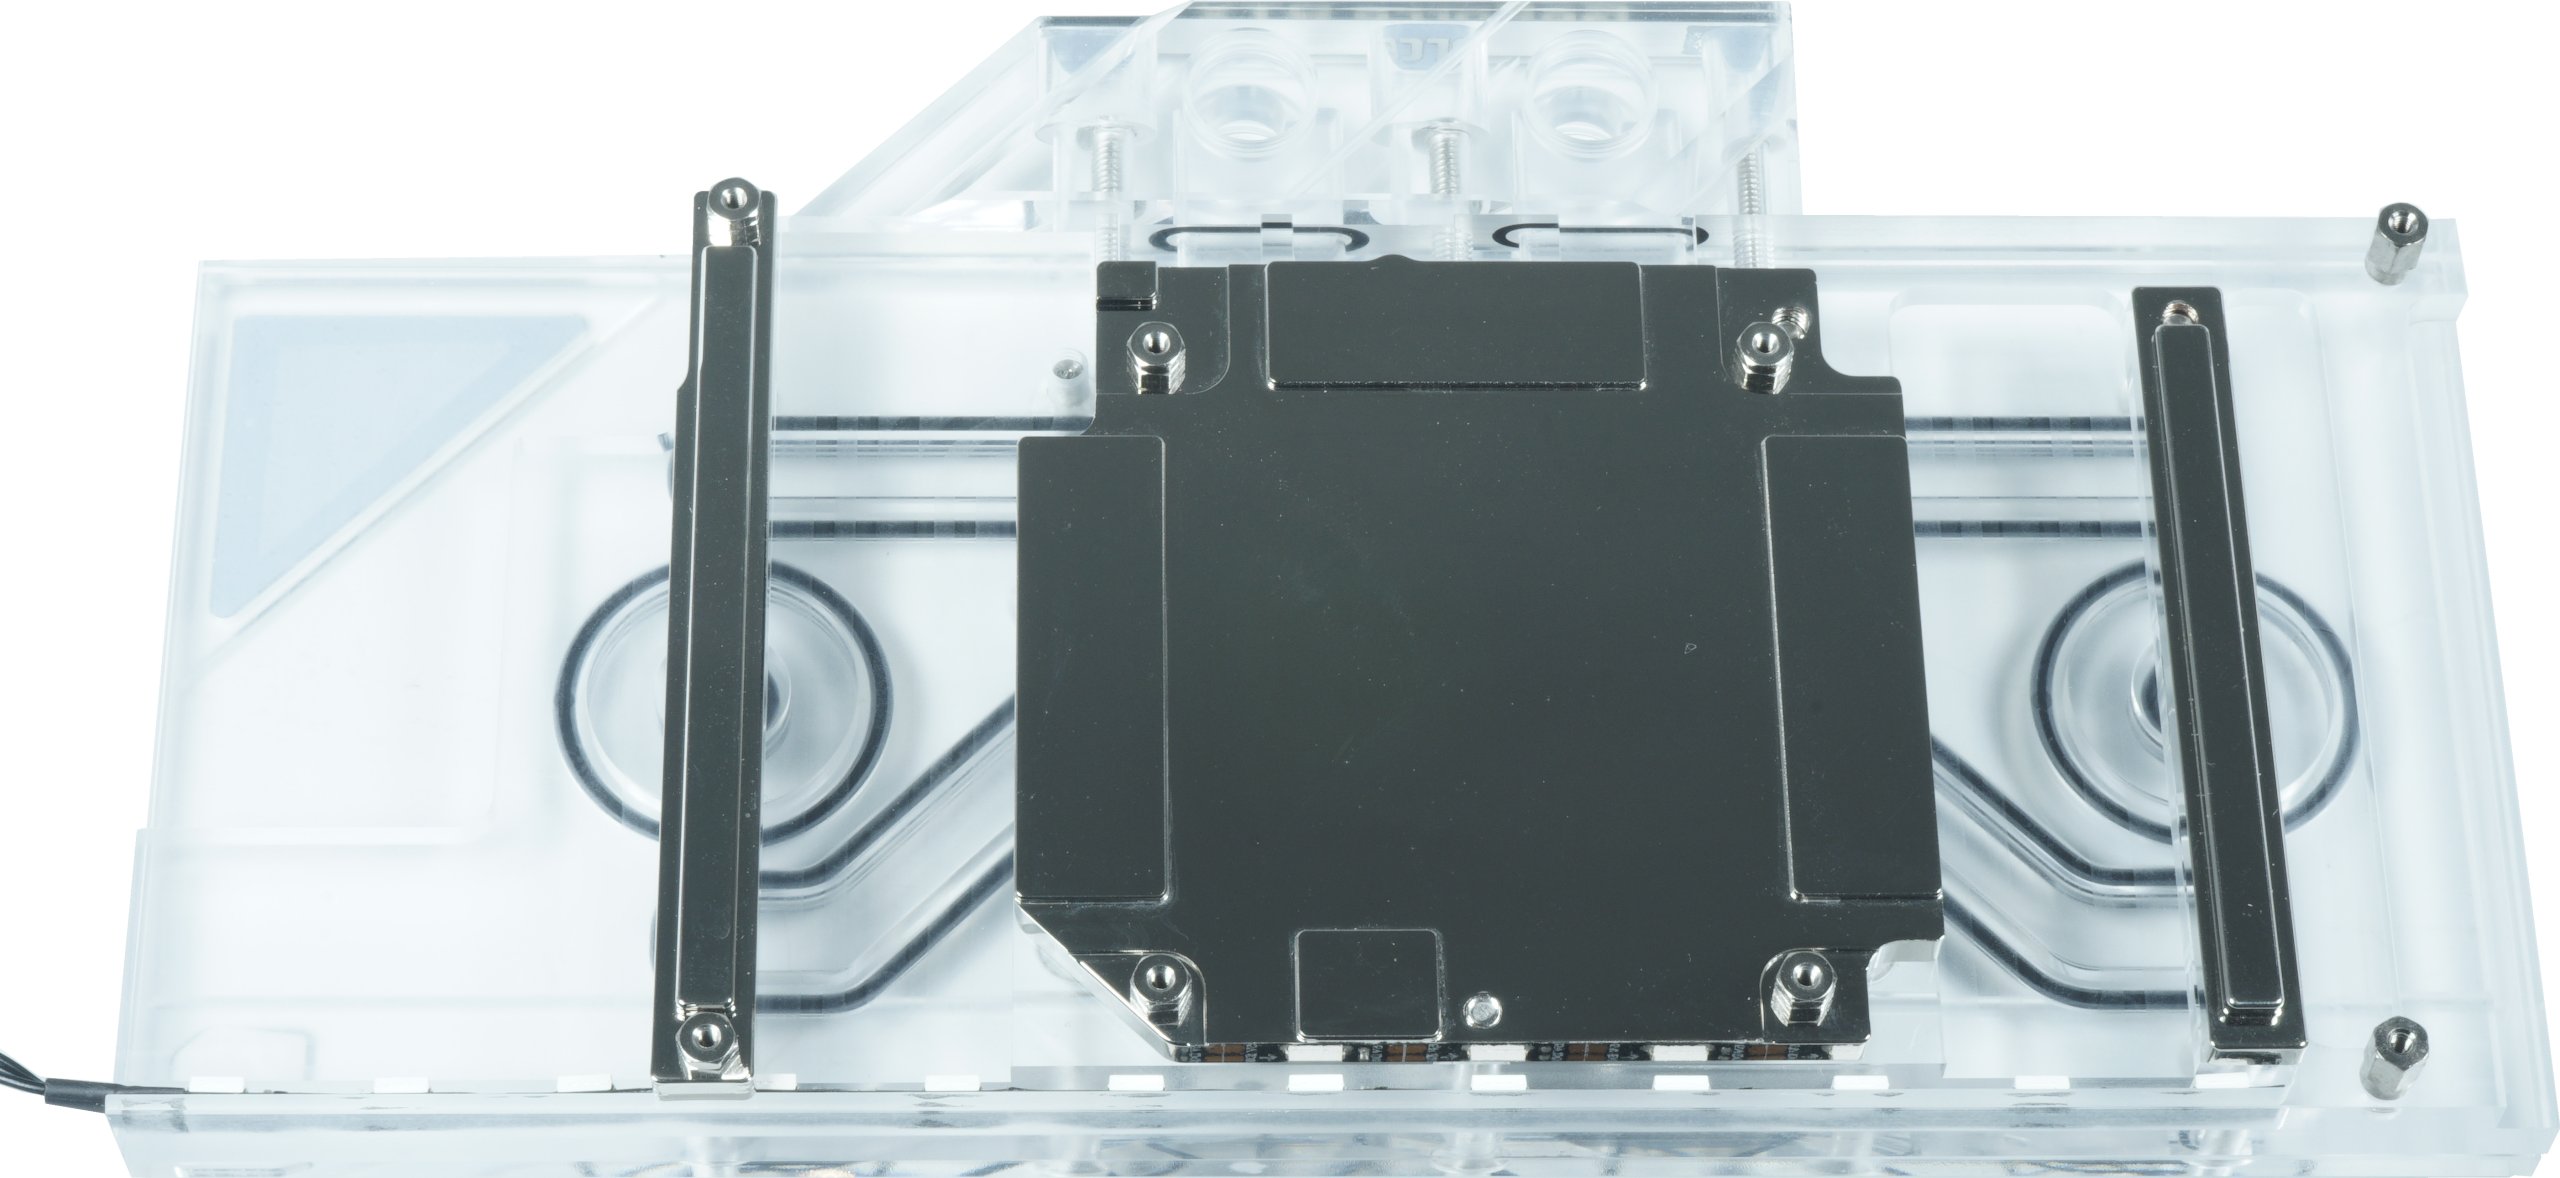
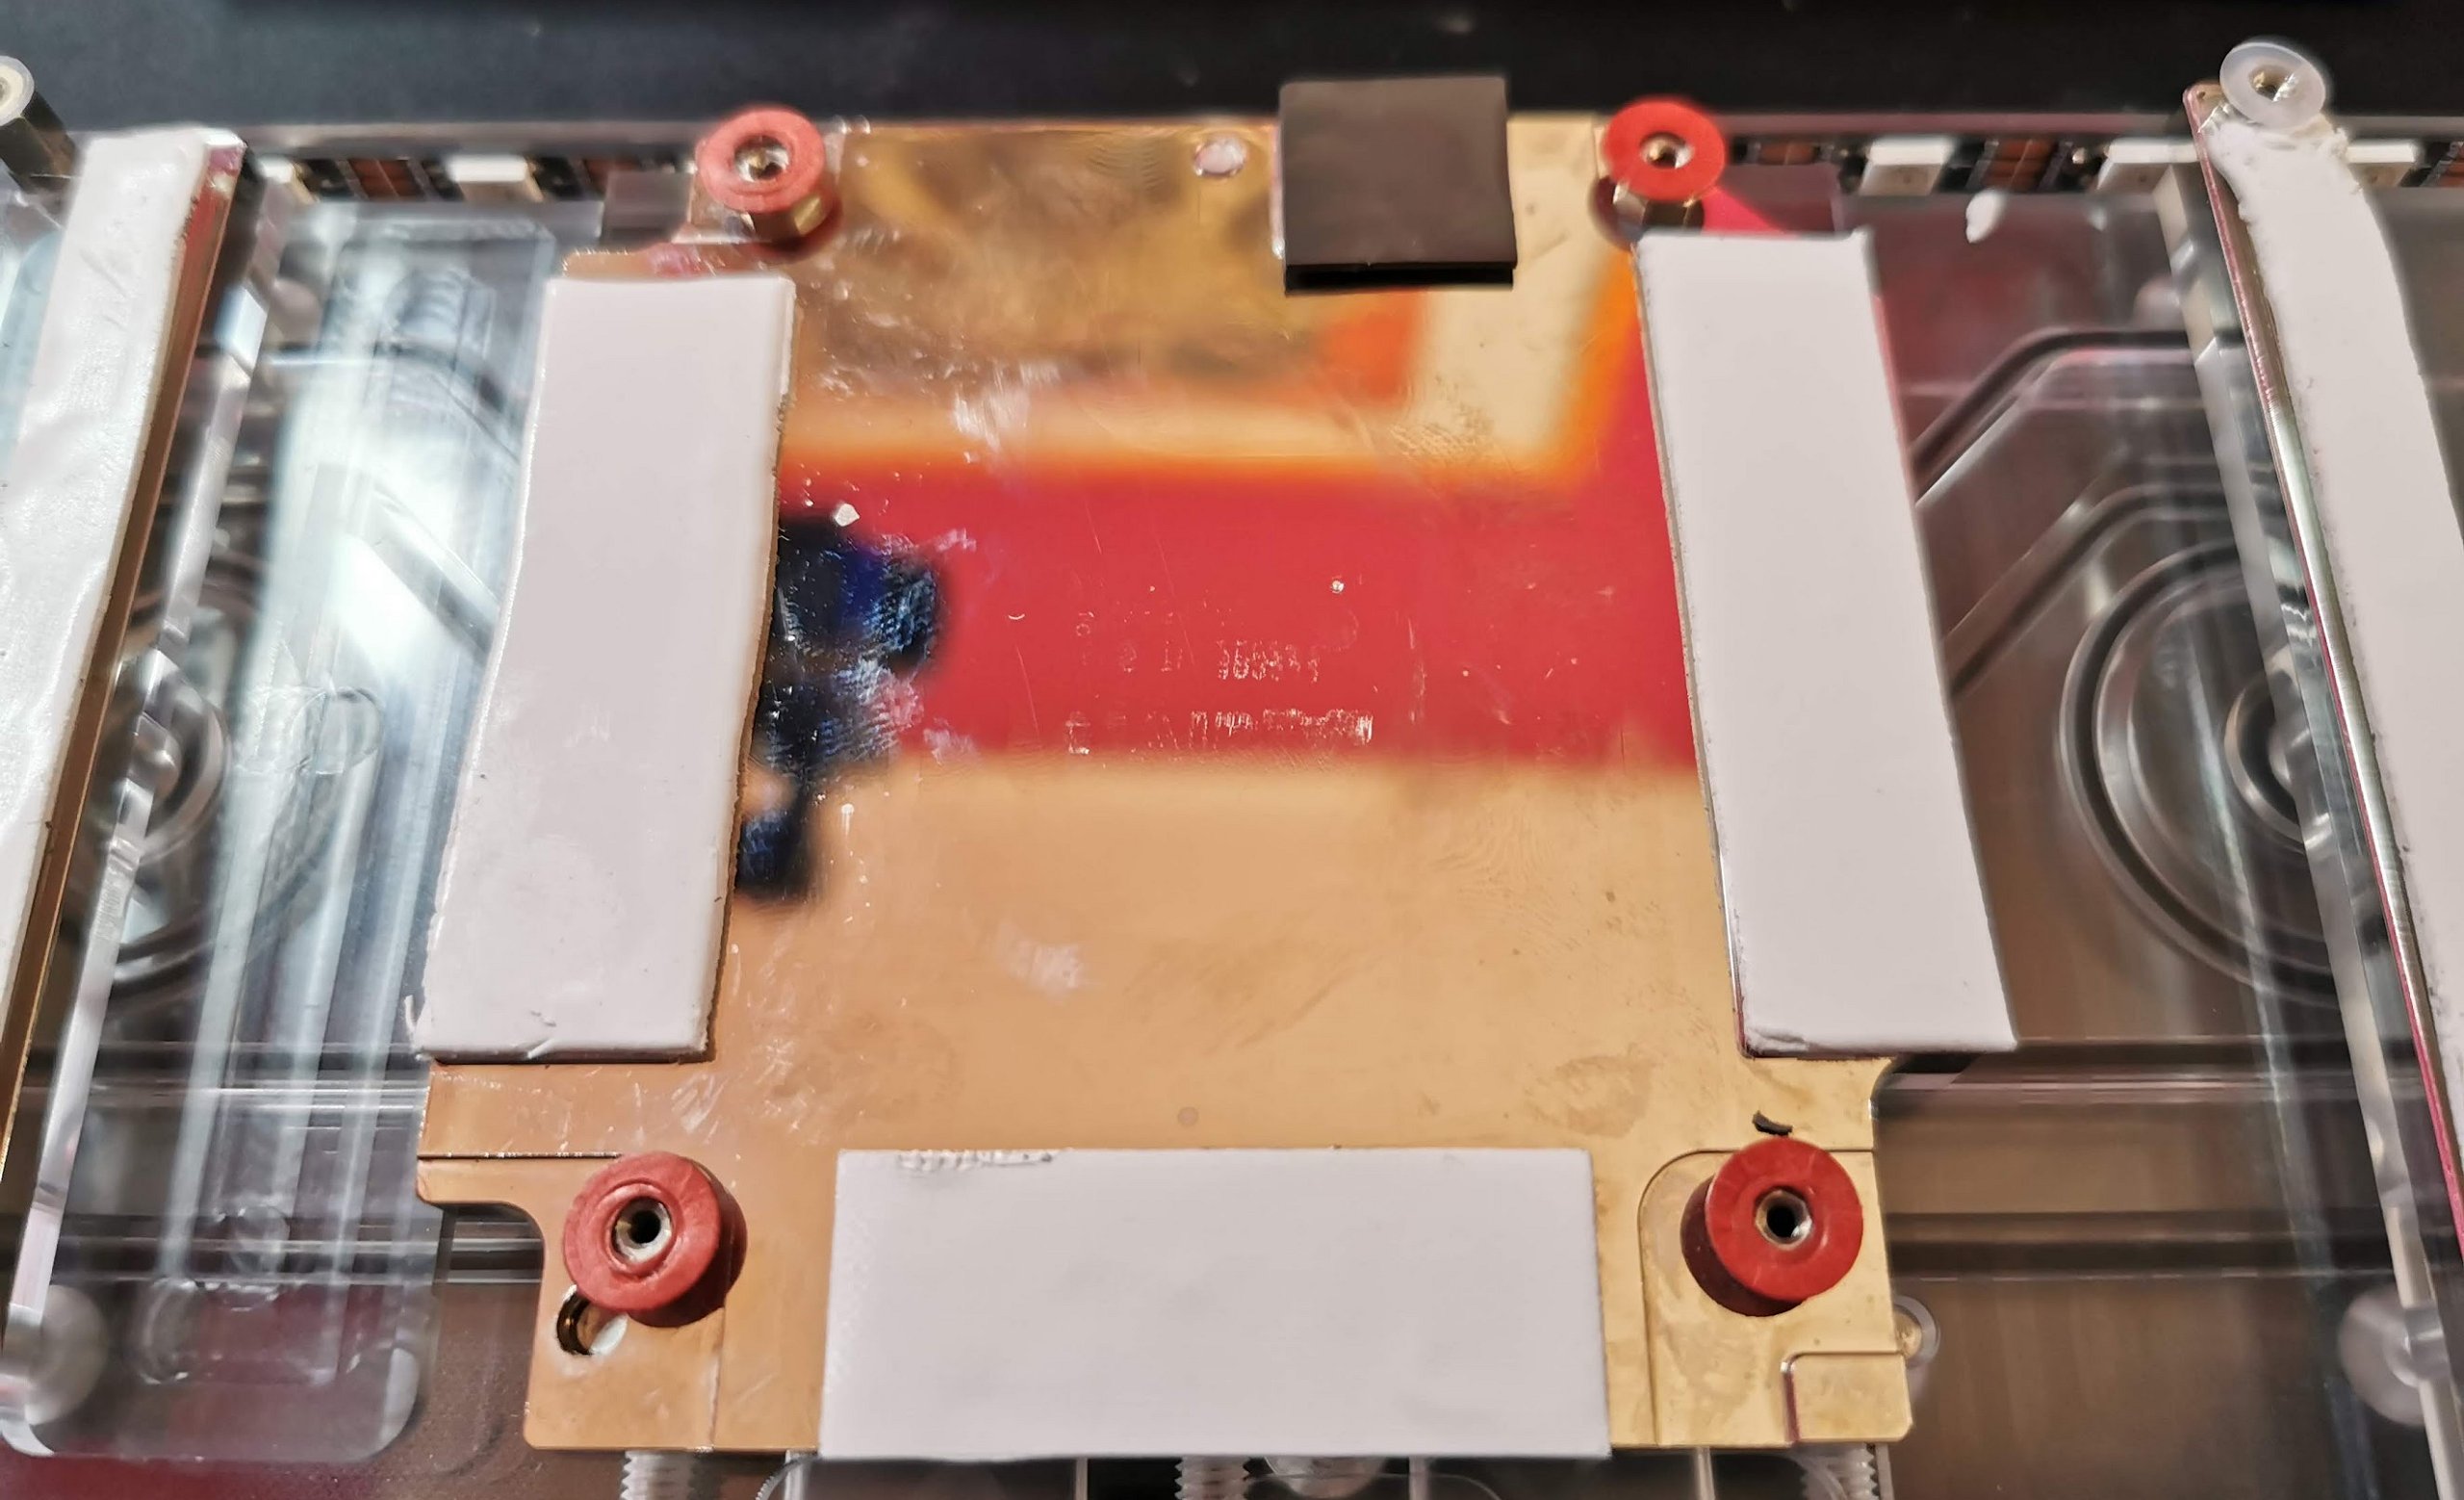
The back shows the material used very clearly. The thinner material allows the GPU to determine the footprint, the slightly lower memory devices have an elevation that allows the use of 1 mm thick pads. This is where the super-soft pads with crumble factor are used, which can adapt to almost any thickness below one millimetre with virtually no pressure. Since the packages of the GA102 chips vary extremely in height, an even smaller pad thickness would ultimately cause more problems than it would benefit. But more on that in a moment.
The water block is 22.49 cm long, 12.14 cm high and 2.55 cm thick. The material used is nickel-plated electrolytic copper and the cooling fins are 0.6 mm thick. Unfortunately, there are no data on the channel width and the residual floor thickness. The cover is completely made of acrylic and the angular corners reflect the rays of the aRGB light strip nicely back and forth, so that a rather colorful, large-surface image is created. This is of course a matter of taste, as always.
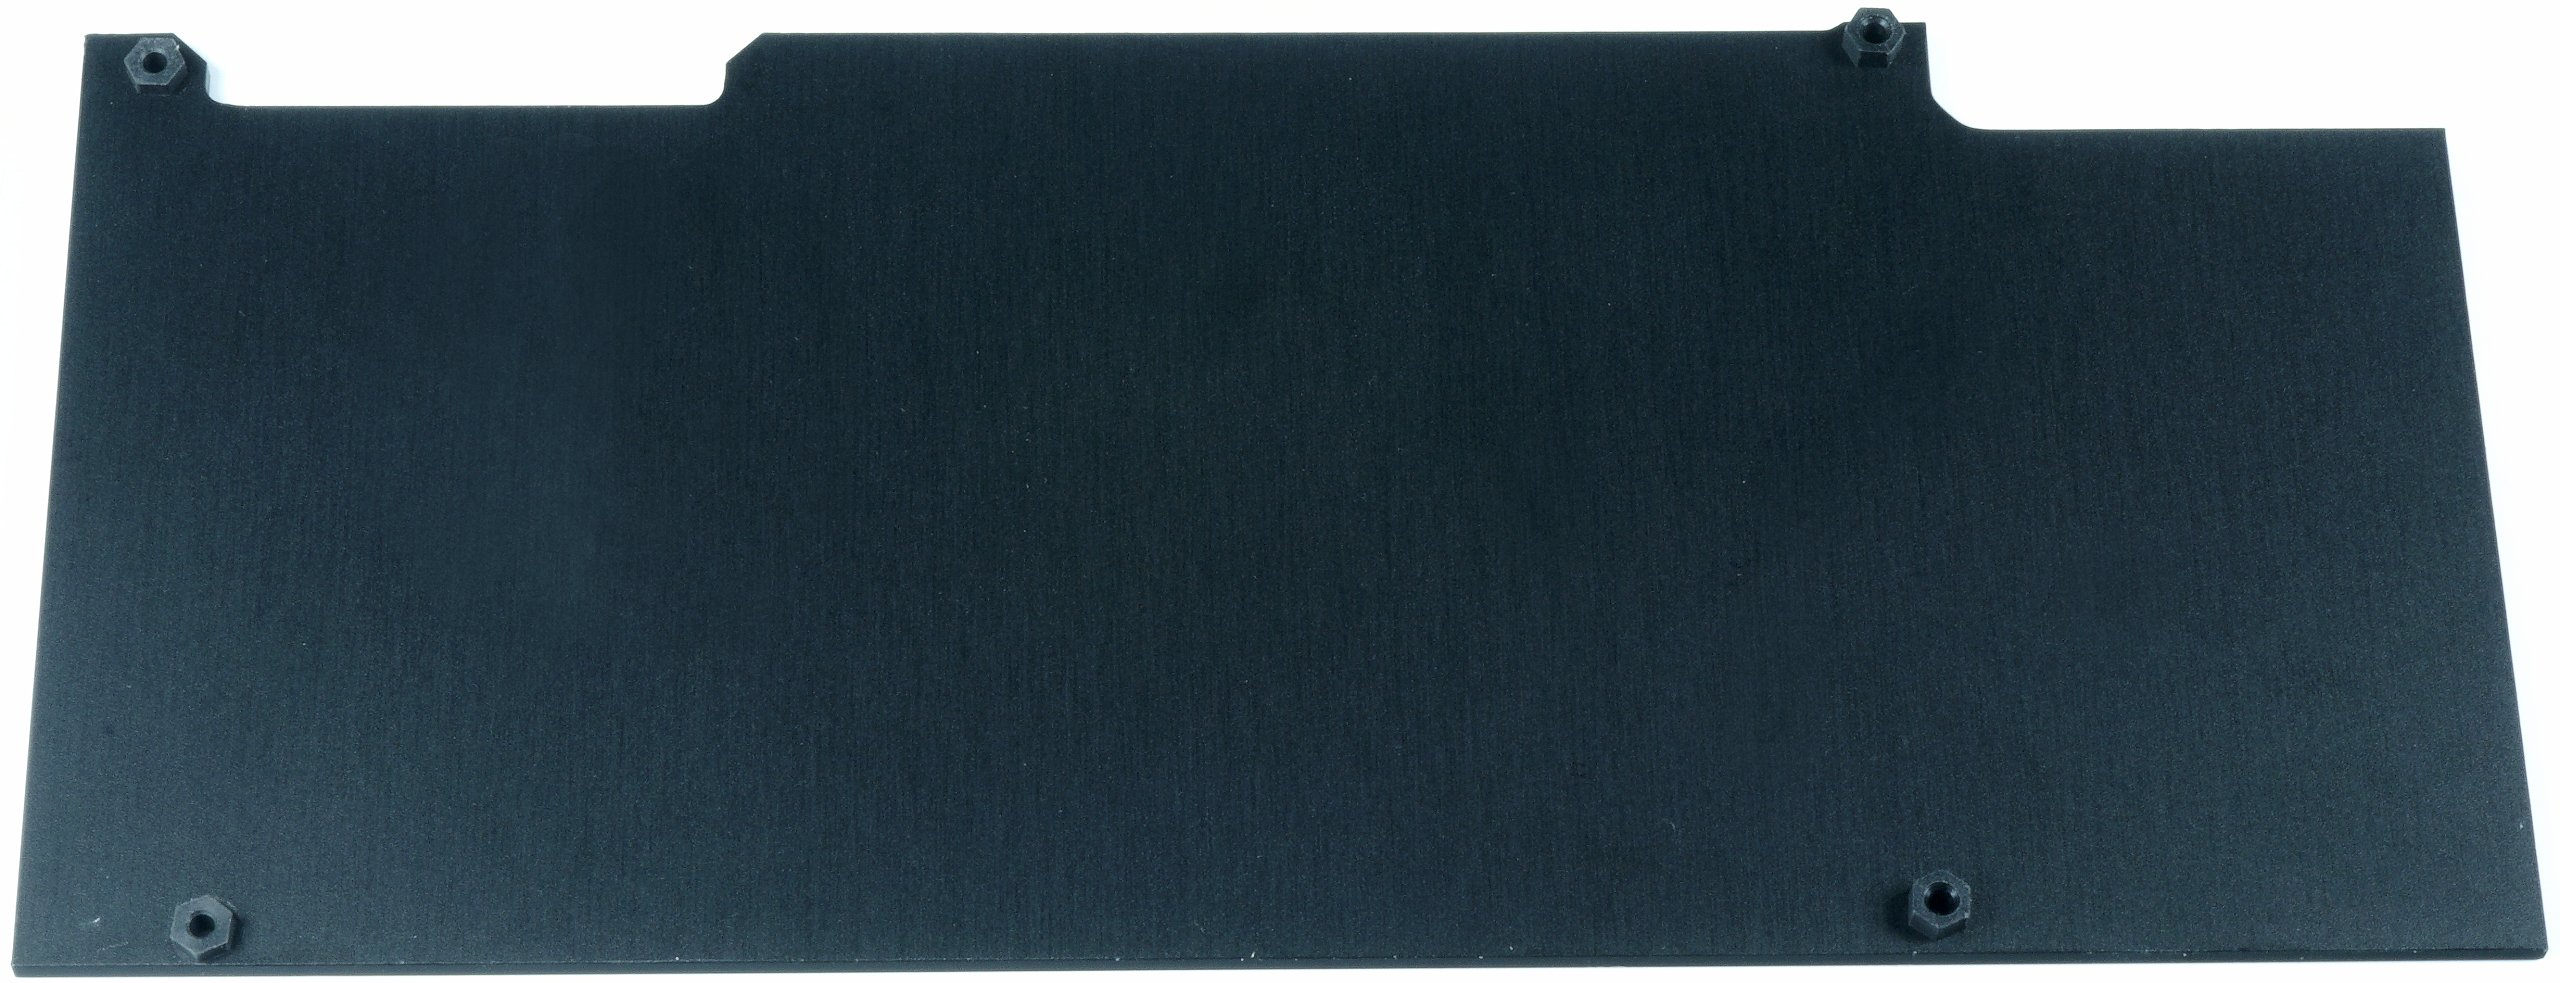
The backplate is included in the scope of delivery and is also required for cooling the rear RAM modules, especially in the GeForce RTX 3090. Who uses a RTX 3080, should omit the pad underneath the BGA and the bottom of the memory assembly on the front side for test purposes and cool ONLY the areas underneath the hot voltage converters. This can help to prevent the backplate from being misused as a thermal bridge to the cooler areas.
Test card selection and general problems with the GA102
The requirements are similar to Turing, although this time I decided to use a 340 watt setup and a very special GeForce RTX 3080, because it was almost impossible to find an RTX 3090 in the reference design specifically for these cooler tests and you also need a card that is in the middle of the tolerance range for package heights. There will have to be an extra review of this in due course, but in all fairness I’d like to wait for NVIDIA’s response before doing so.
When you have cleaned the PCB as usual, you should first test it with the heat conductive pads applied to the cooler, but WITHOUT heat conductive paste, by placing it on the cooler and see if anything is wobbling or there is not too much air left between the PCB and the spacers. If the distance is greater than about 0.2 mm, then you will have a problem when screwing, because it could bend the board excessively. For such a case, I recommend spacers made of acrylic or impregnated hard cardboard, approx. 0.1 to 0.2 mm thick.
You can fix these spacers to the spacers with super glue (do not lubricate the threaded holes!). After that, you put the board on and apply a light pressure with your fingers (ground it first and use gloves) on the four points of the GPU mounting. If there are no slight marks in the pads for memory and VRM, use thicker pads (approx. 1.5 mm) or layer 1 mm + 0.5 mm and repeat the procedure.
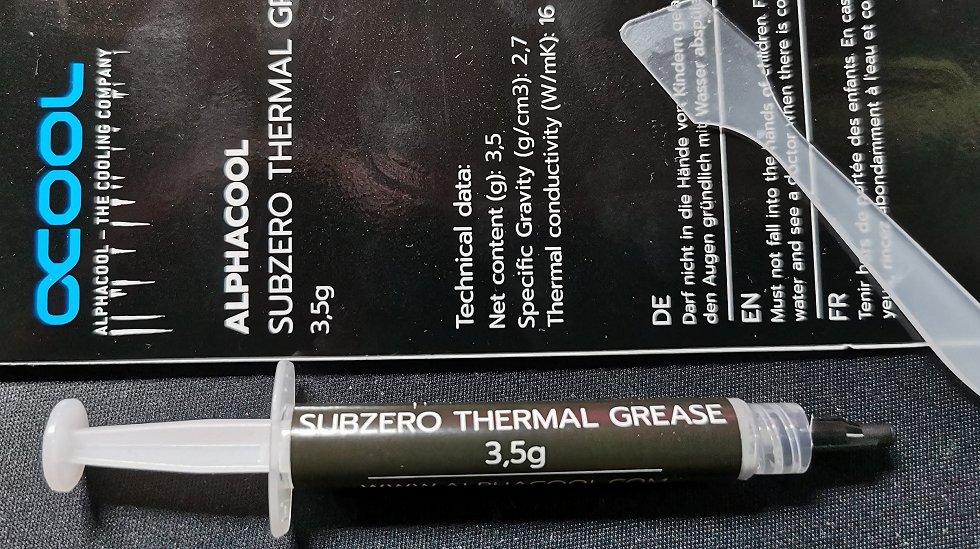
I also have to say an important word about the heat-conducting paste, because this time it is not that simple. Either you take the very fluid and popular Kryonaut and risk a slow run out of the paste due to the curvature of the chip and package, or you better use a paste of at least the same value, but with a higher viscosity, which will stay where you have applied it. For this reason I use Alphacools Subzero, which also allowed me to reduce the delta between water and GPU sensor by one more Kelvin.
After that you screw the whole thing together, connect the tubes and you are done.
For those interested, I have attached the manual as a PDF file here, where the rest is described for the successful water battle
Manual


Kommentieren