


Easy conversion – if you know how to do it
Alphacool provides an assembly instruction in the form of a leaflet, which describes with text and graphics each of the steps that you have to perform. However, we would also like to point out at this point that this leaflet is universally used for all possible GPX-Pro variants and contains a small error at one point, which we will explain later.
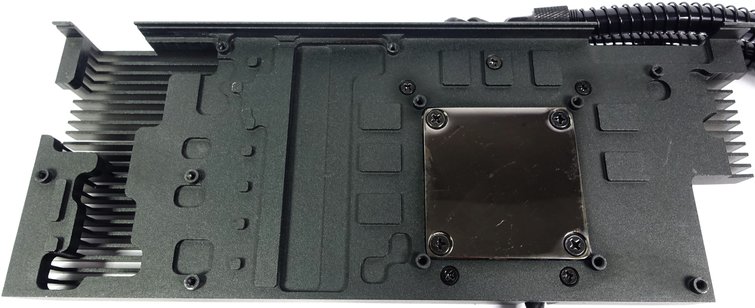
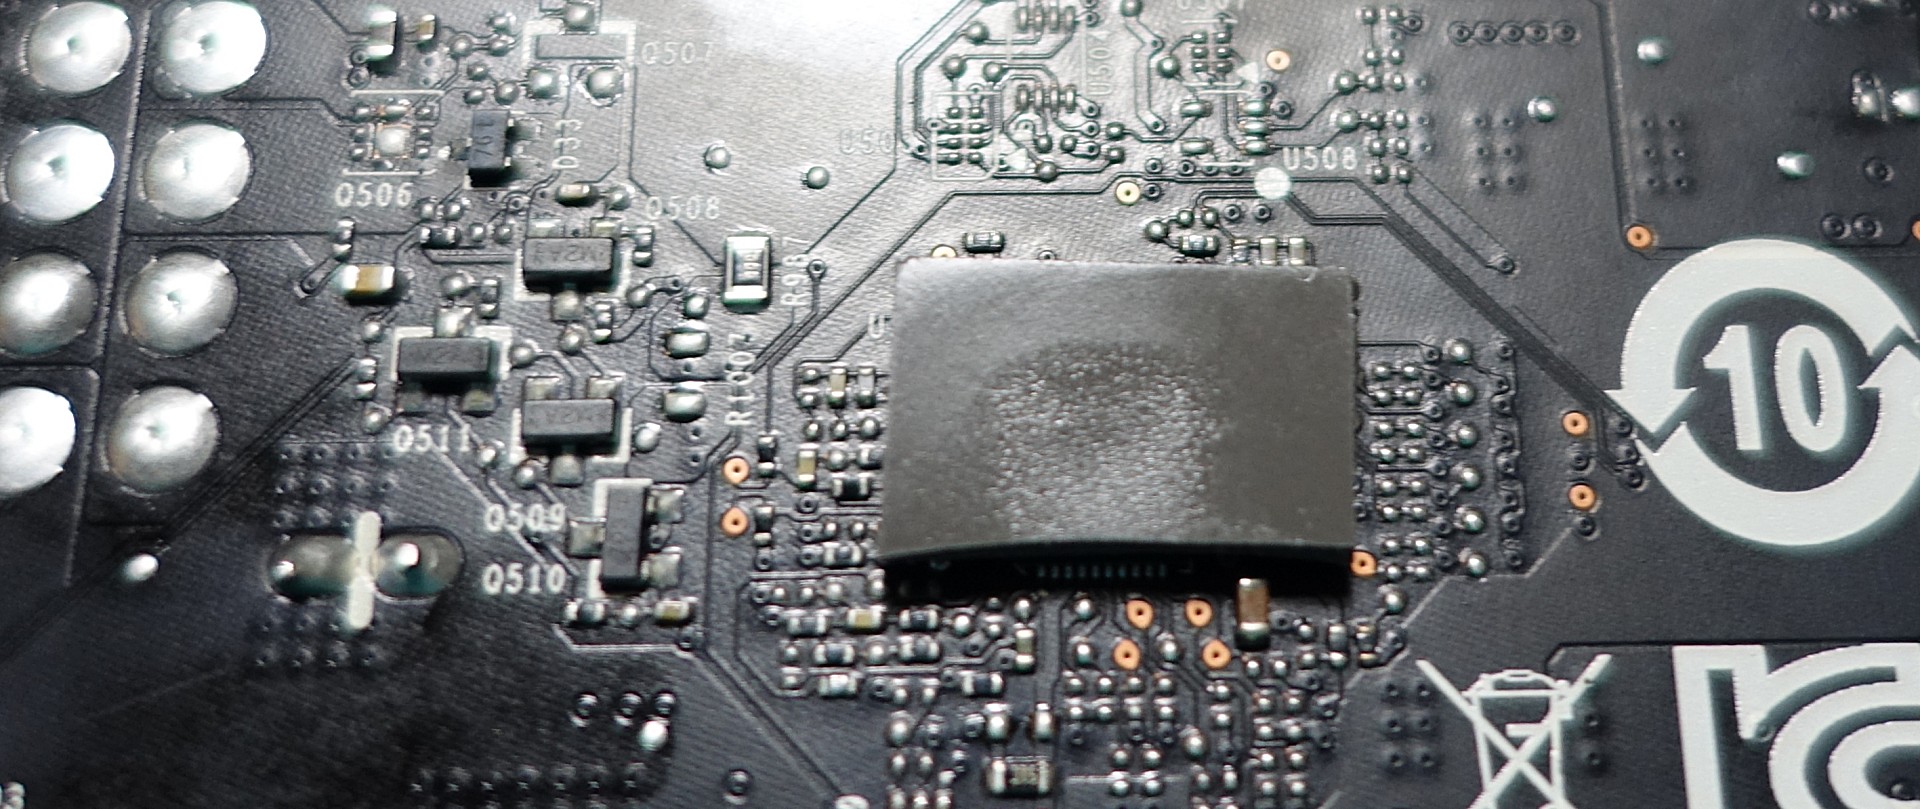
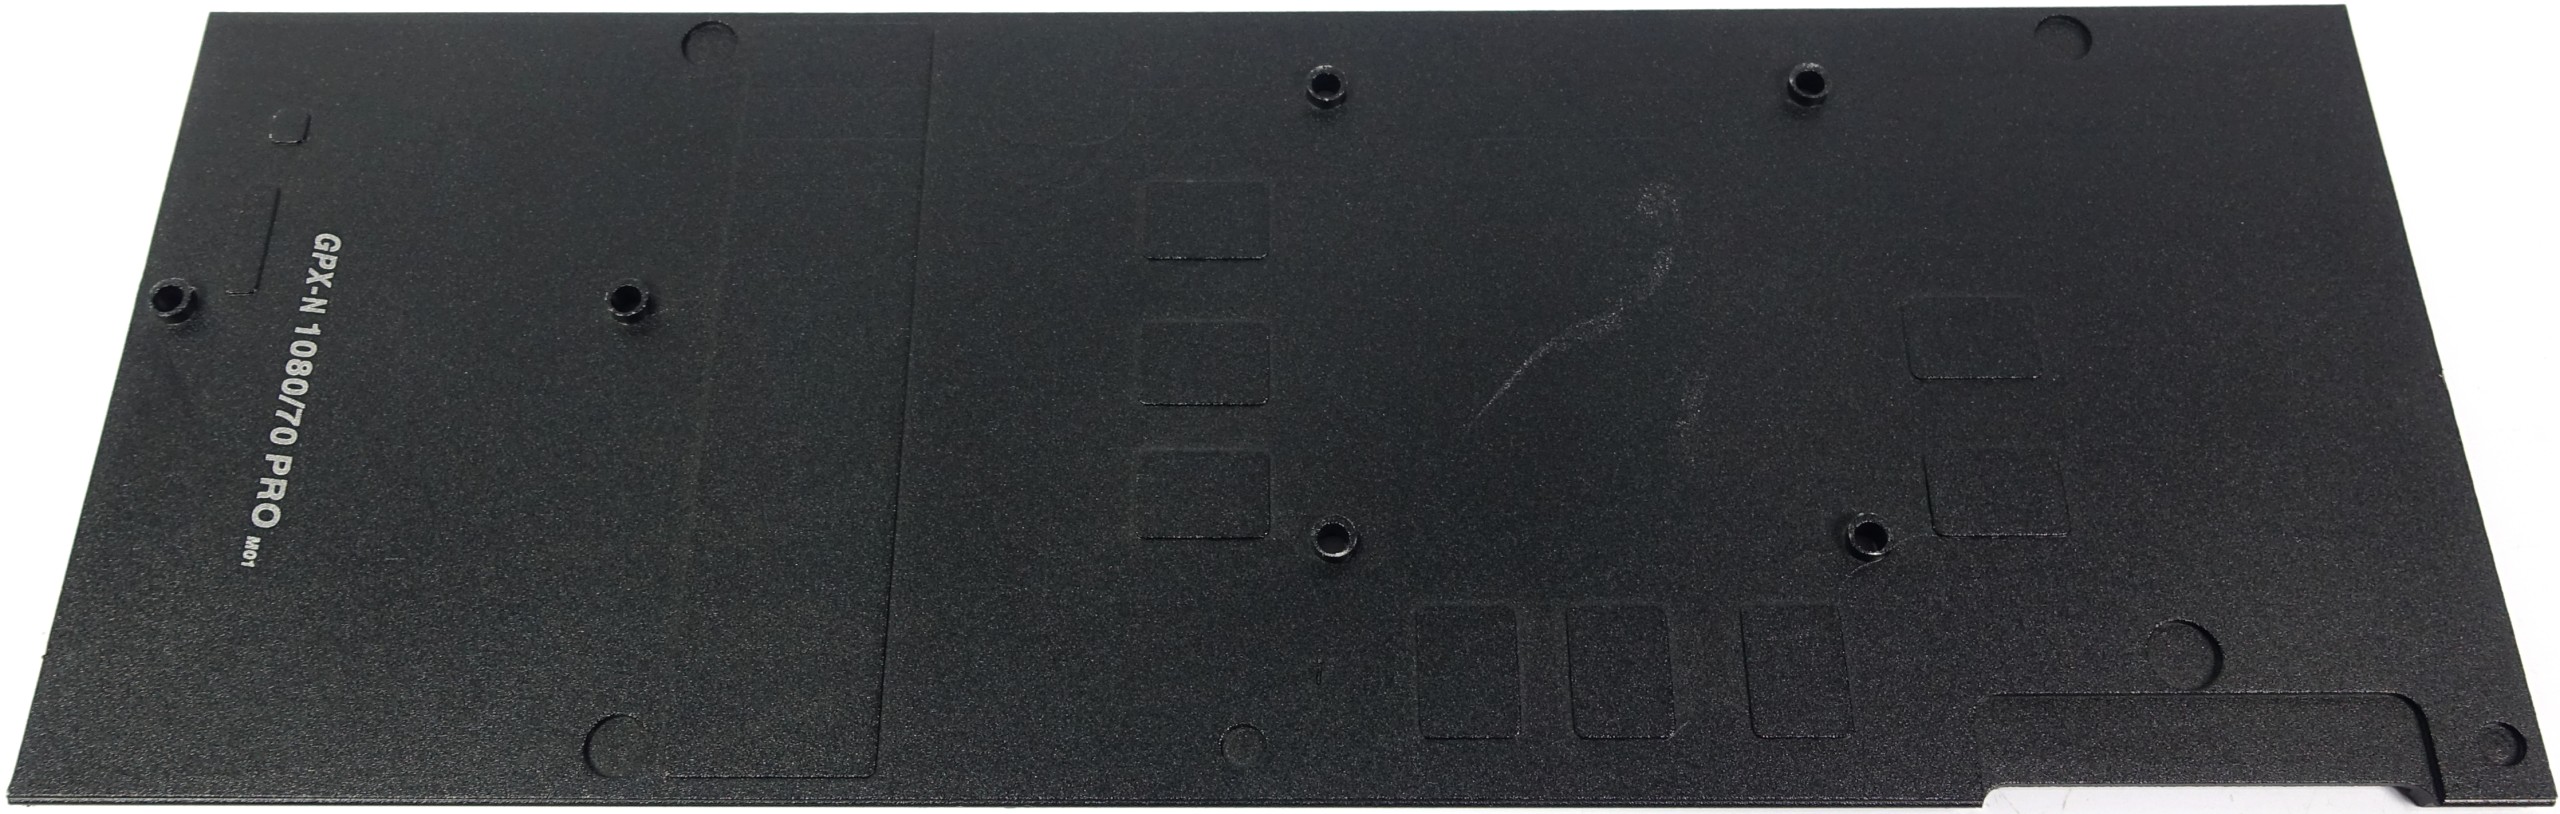
We see that the cooling block is not monolithic, but the pump unit is inserted and screwed. If you change the graphics card later, all other parts can be used immediately except for the aluminium cast radiator block.
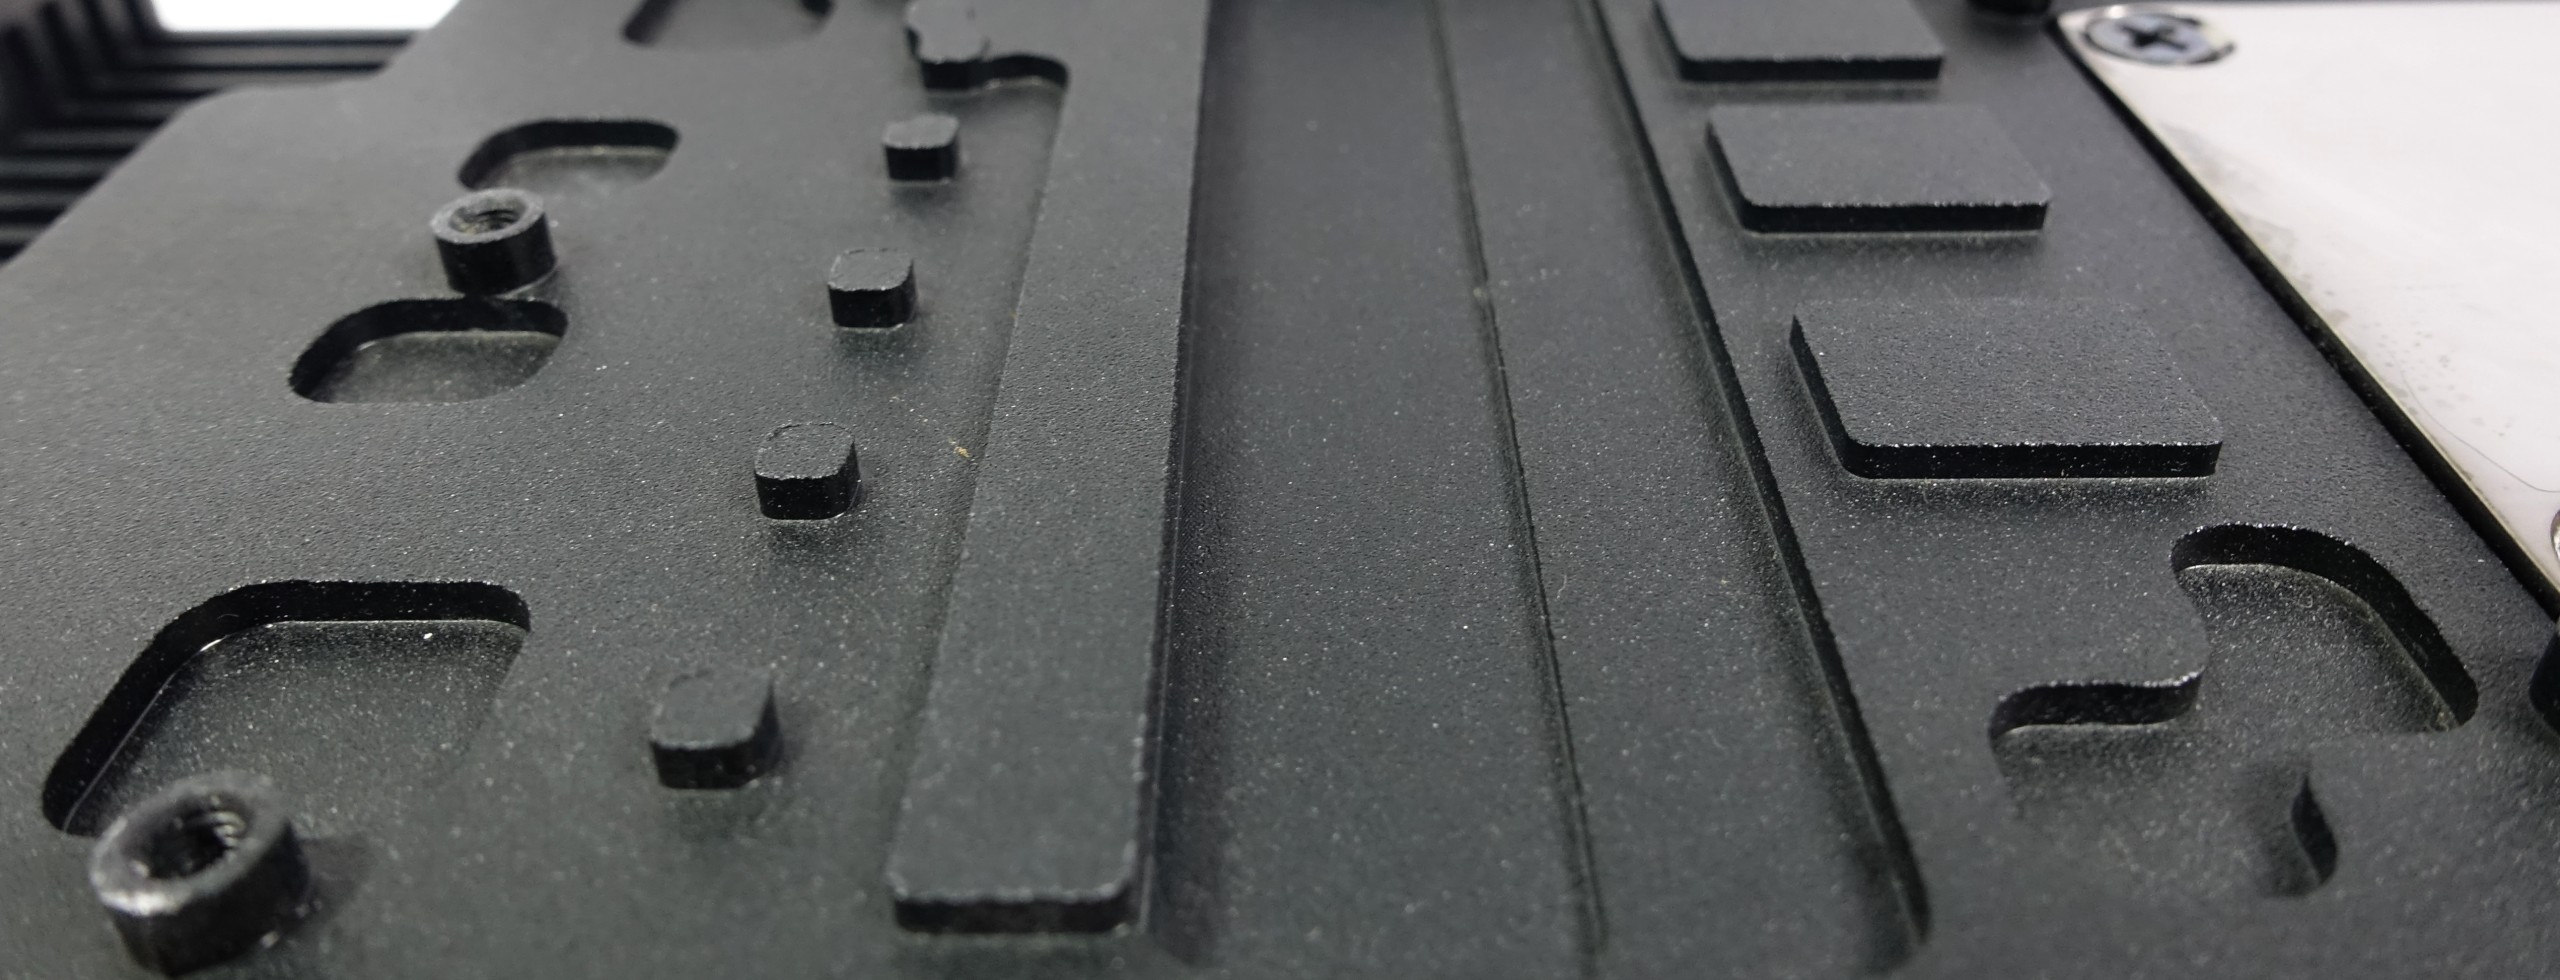
In order to be able to cool components such as memory and voltage converters, the appropriate counterparts in the form of islands have been provided in this block, which come very close to the components in order to be able to cope with as thin thermal pads as possible.
The pads, which are very thin with 0.5mm, stick to the front of the board or however, it is extremely poor, so that assembing without slipping or falling is impossible if you want to place the board on the radiator later overhead. The enclosed and rather thin-liquid Alphacool thermal paste is actually a Gelid product and not only suitable for the GPU, which we first provided with a suitable blob of it.
You can use the very loosely applied thermal guide pads with a tiny (!) Amount of thermal paste, which has been expressed on some paper before, completely relaxed and easily "glue" to the components, which holds really well and does not affect the cooling process. Or you can immediately glue the cooler in the right places.
Then we turn the glued board and carefully place it on the heat sink so that the holes lie coincident over the holes. Now you can also tighten the four short screws mentioned in the manual. By the way, the manual writes at this point "not yet tighten tightly", which is complete nonsense and the error mentioned above, since with exactly this GPX-Pro variant one later covers the screws through the backplate. So you have to be tightened up right now!
Attention: Since the four screws press the board quite strongly on the GPU, care must be taken at this point so that the paste is optimally distributed. This is best done diagonally over cross by turning the screws alternately tightly. It would have made more sense to loosen this fixation via the four screws on the GPU socket and to leave a recess in the backplate later. However, we have already pointed this out to the manufacturer.
Now you can carefully place the remaining, much thicker thermal pads on the back as described in the instructions. Here, too, a discreet sticking is recommended if you want to remove the plate again later or if you want to prevent unintentional slipping during assembly.
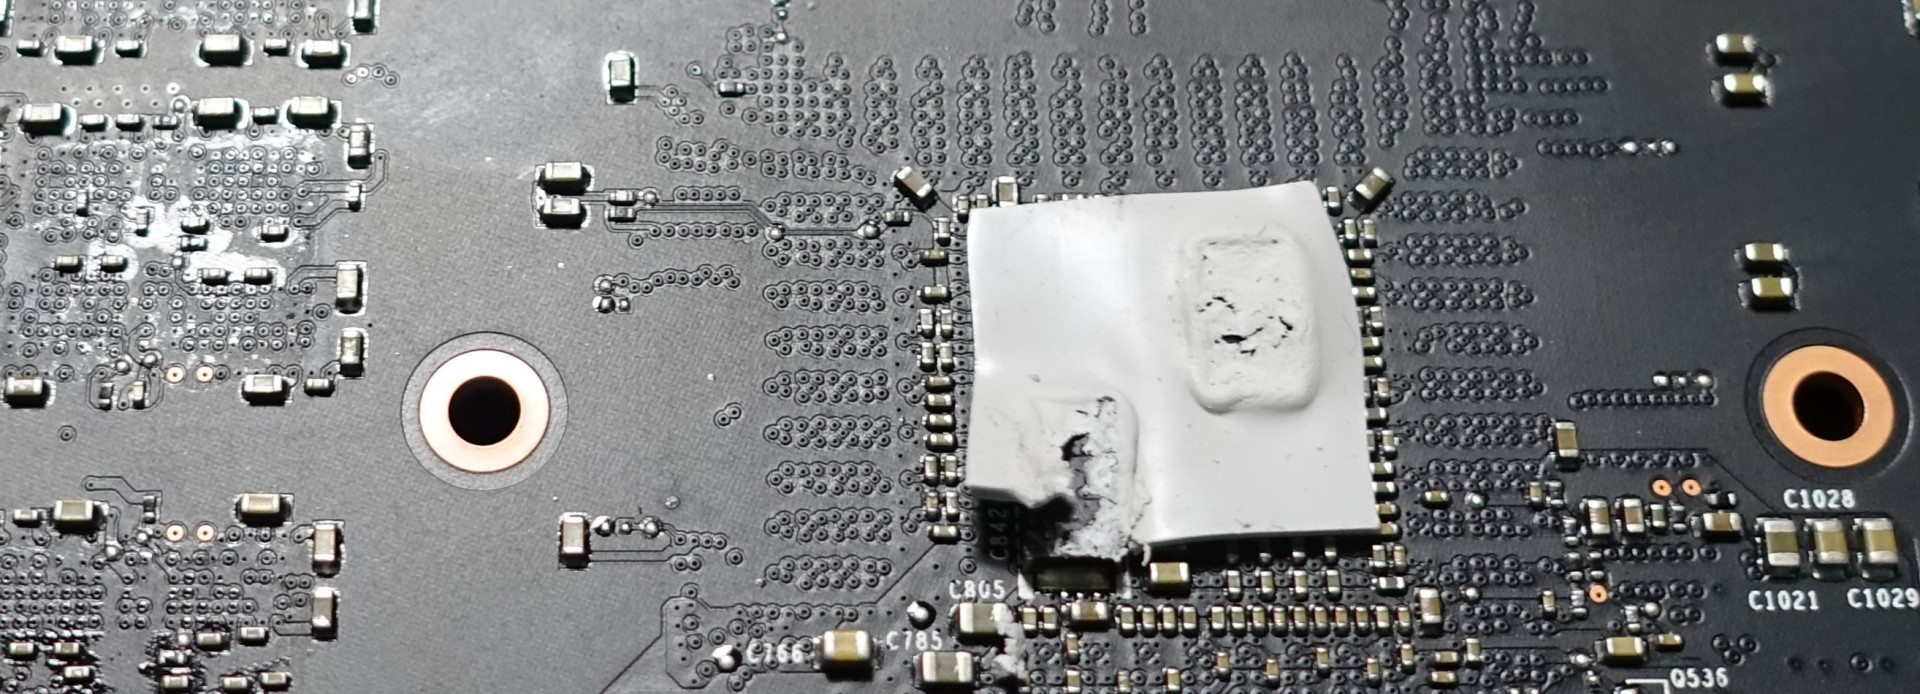
Alphacool not only cools the MOSFETs in the voltage converter range, but also the gate drivers and the chip for current monitoring as well as smaller converter hoists for the rest of the electronics or the original air cooler. The latter is somewhat pointless, as there is no greater waste heat here.
If you cut the pads of the back cleverly from these points of view and save something in these rather superfluous places (completely omitted is not possible because of possible short circuits), then even something remains of the pad. We then place this on the very hot-headed PWM controller, which Alphacool has unfortunately forgotten.
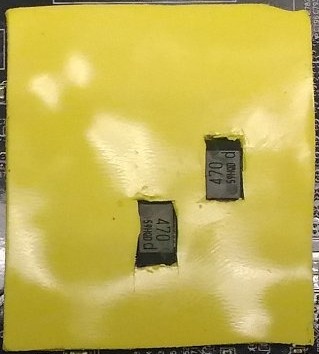
Alphacool has provided a thinner pad for the back of the GPU, as the two condesators apply very thickly. You can see later on the totally dismembered pad that here very strong forces work, if you tighten the four screws on the GPU socket properly.
 If you get belly-smping here, or want a better cooling, you can do it like gigabytes, to which we had proposed exactly the right-hand version for the mass production of the GeForce GTX 1060, which is now successfully in use.
Take a slightly larger pad of matching strength (because the hotspot in the area of the GPU is significantly larger than the original pad) and then cut two recesses for the condesors (cutter knives). In industrial production, this can also be machine-stamped without much effort; unfortunately, we have to improvise a little and are therefore inaccurate.
Then we screw the backplate tightly and start only with the four screws close to the GPU to know the thermal paste optimally distributed. It is best to cross step by step and diagonally until all four screws are really tight. Then we fasten the third screw above the voltage converters and only then the remaining screws.
This completes the actual radiator assembly. However, it is recommended to check the seat after the burn-in and a few hours of operation and to finally fix the screws if necessary.
 |
 |
Since Alphacool offers quick-release fasteners and the cooling is already pre-filled as a complete package ex works, you do not have to replenish liquid further than we do when you grow the radiator, but you can start right away, which is clearly in line with the inexperienced user.
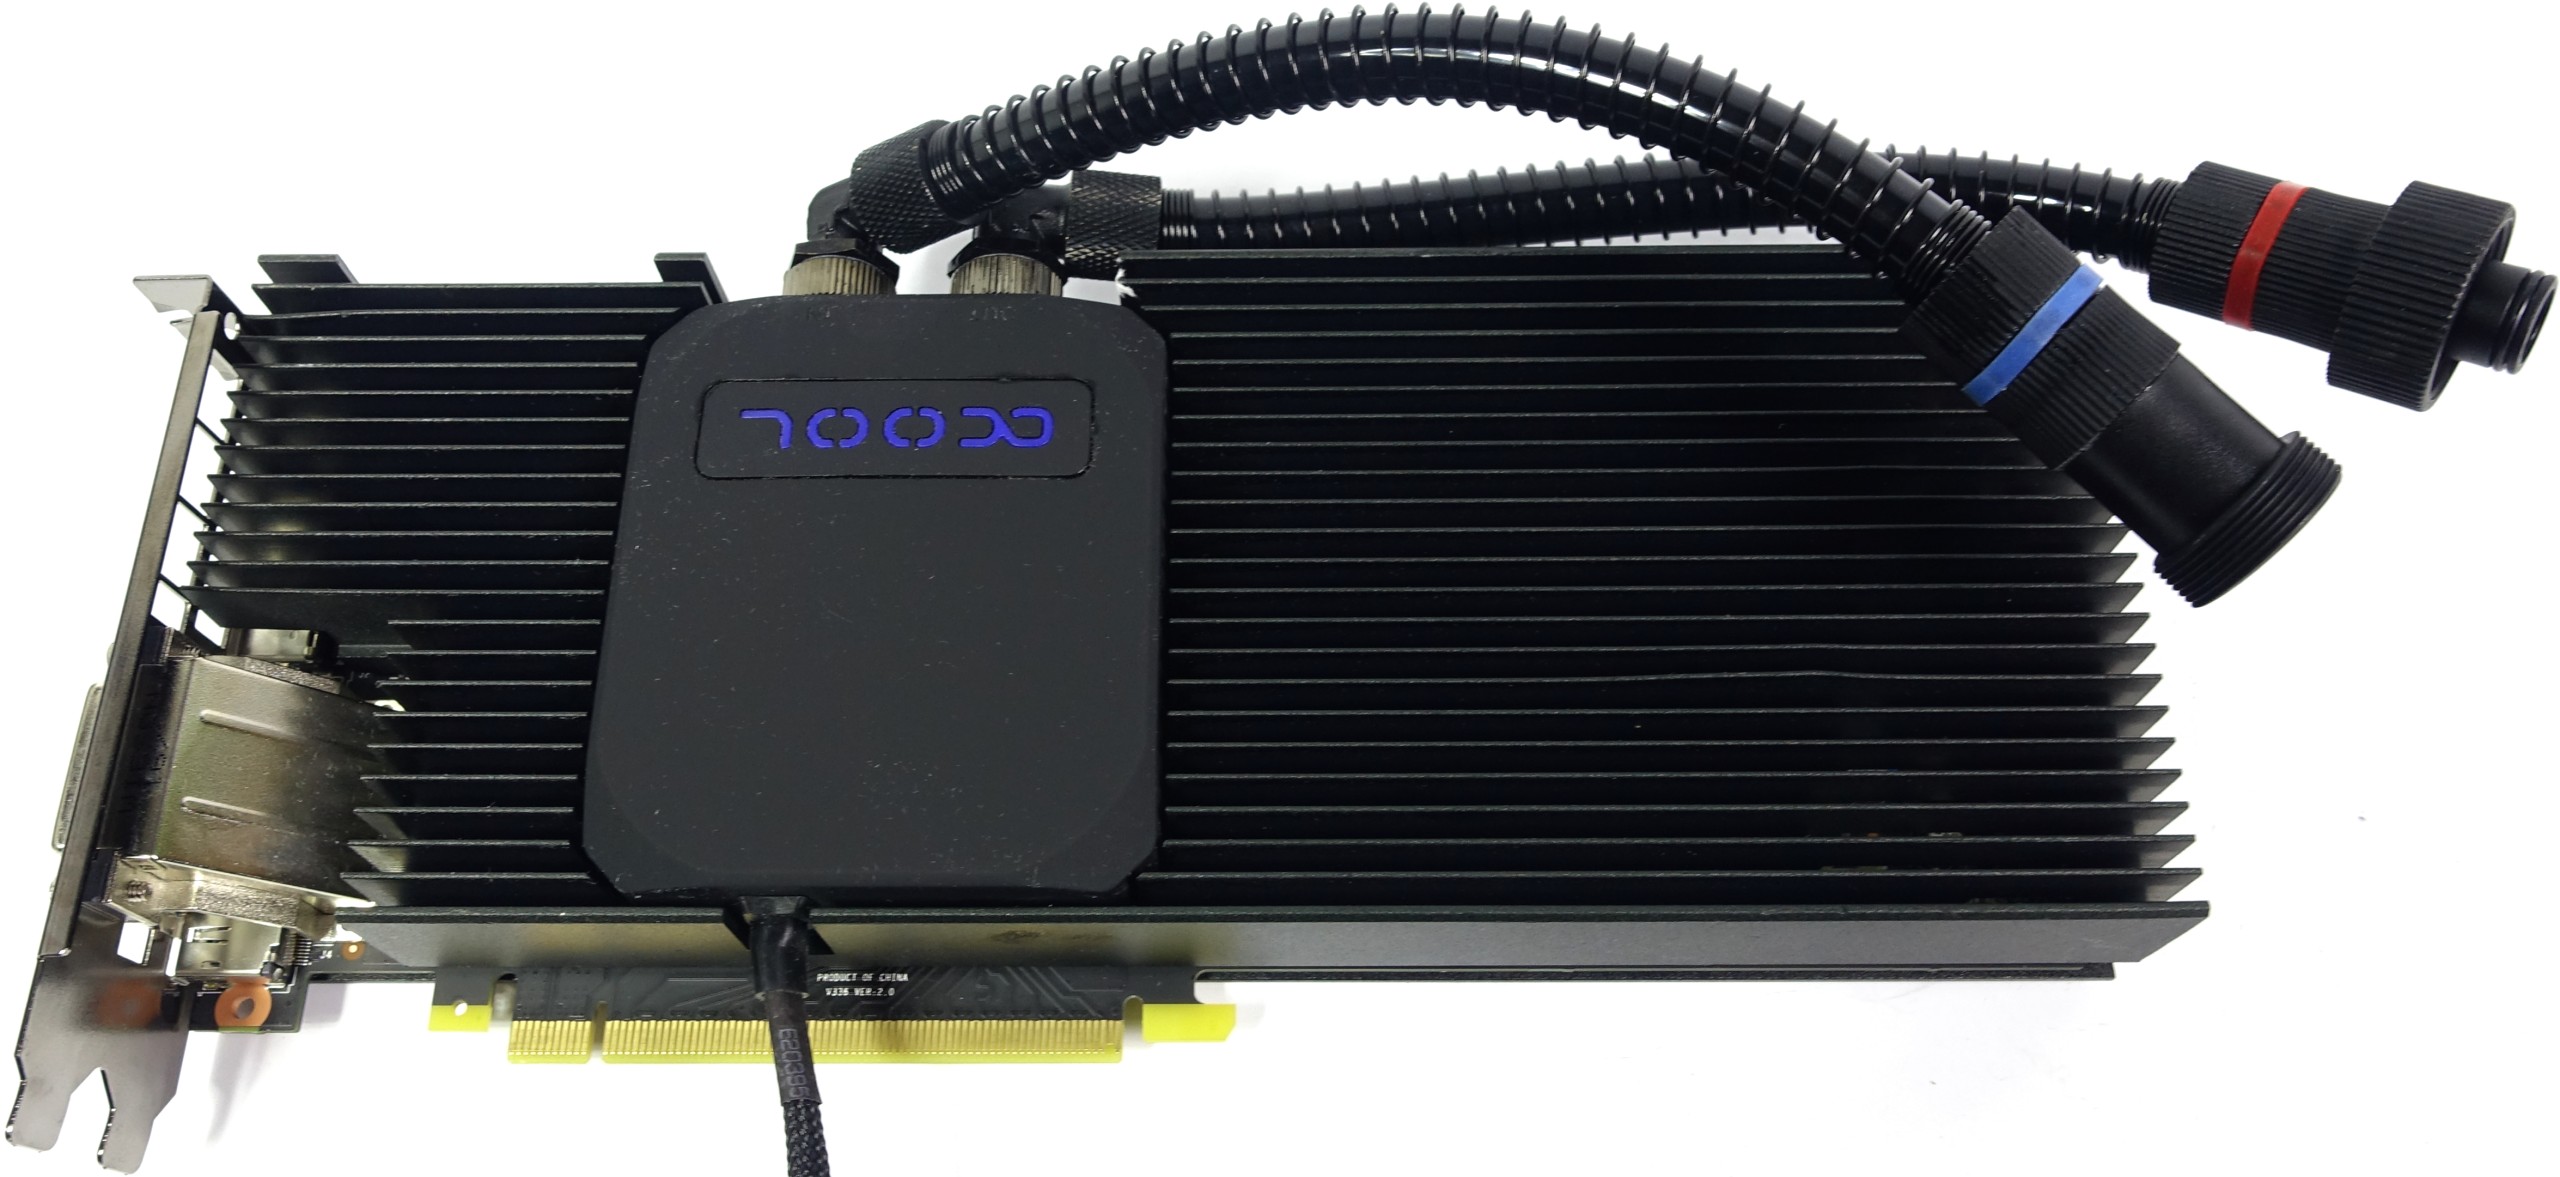
So if you want to use the Eiswolf solution as an introduction to the area of the graphics card water cooling systems, it is best to use the finished-mounted version with radiator, which is available in several radiator sizes. As a newcomer, it is better not to tinker; this comes later by itself.


Kommentieren