


There are now GPU water blocks like sand by the sea. To then fish out exactly that one grain, which still offers an informative added value, because it e.g. is also completely different in design, naturally becomes heavier with time (and the increasing amount of products). You're looking forward to it like a little snow king, when you happen to encounter such a nice exception as the Alphacool Ice Age ES Acetal, which I recently quite courageously screwed on a GeForce RTX 6000. With success, by the way, because cards and coolers are both well.
In my two articles "GeForce RTX 2080 Ti – Why water cooling is more important than manual overclocking and this does not bring much" and especially "Nvidia GeForce RTX 2080 Ti Founders Edition water-cooled? Forget it, here's the much faster alternative!" I used to go into very detailed detail about the cooling problem and the advantages of a potent water cooling system. This is exactly the idea I always take up with such tests, because better than a good cooling is always an even better cooling. The mouse does not bite off a thread.
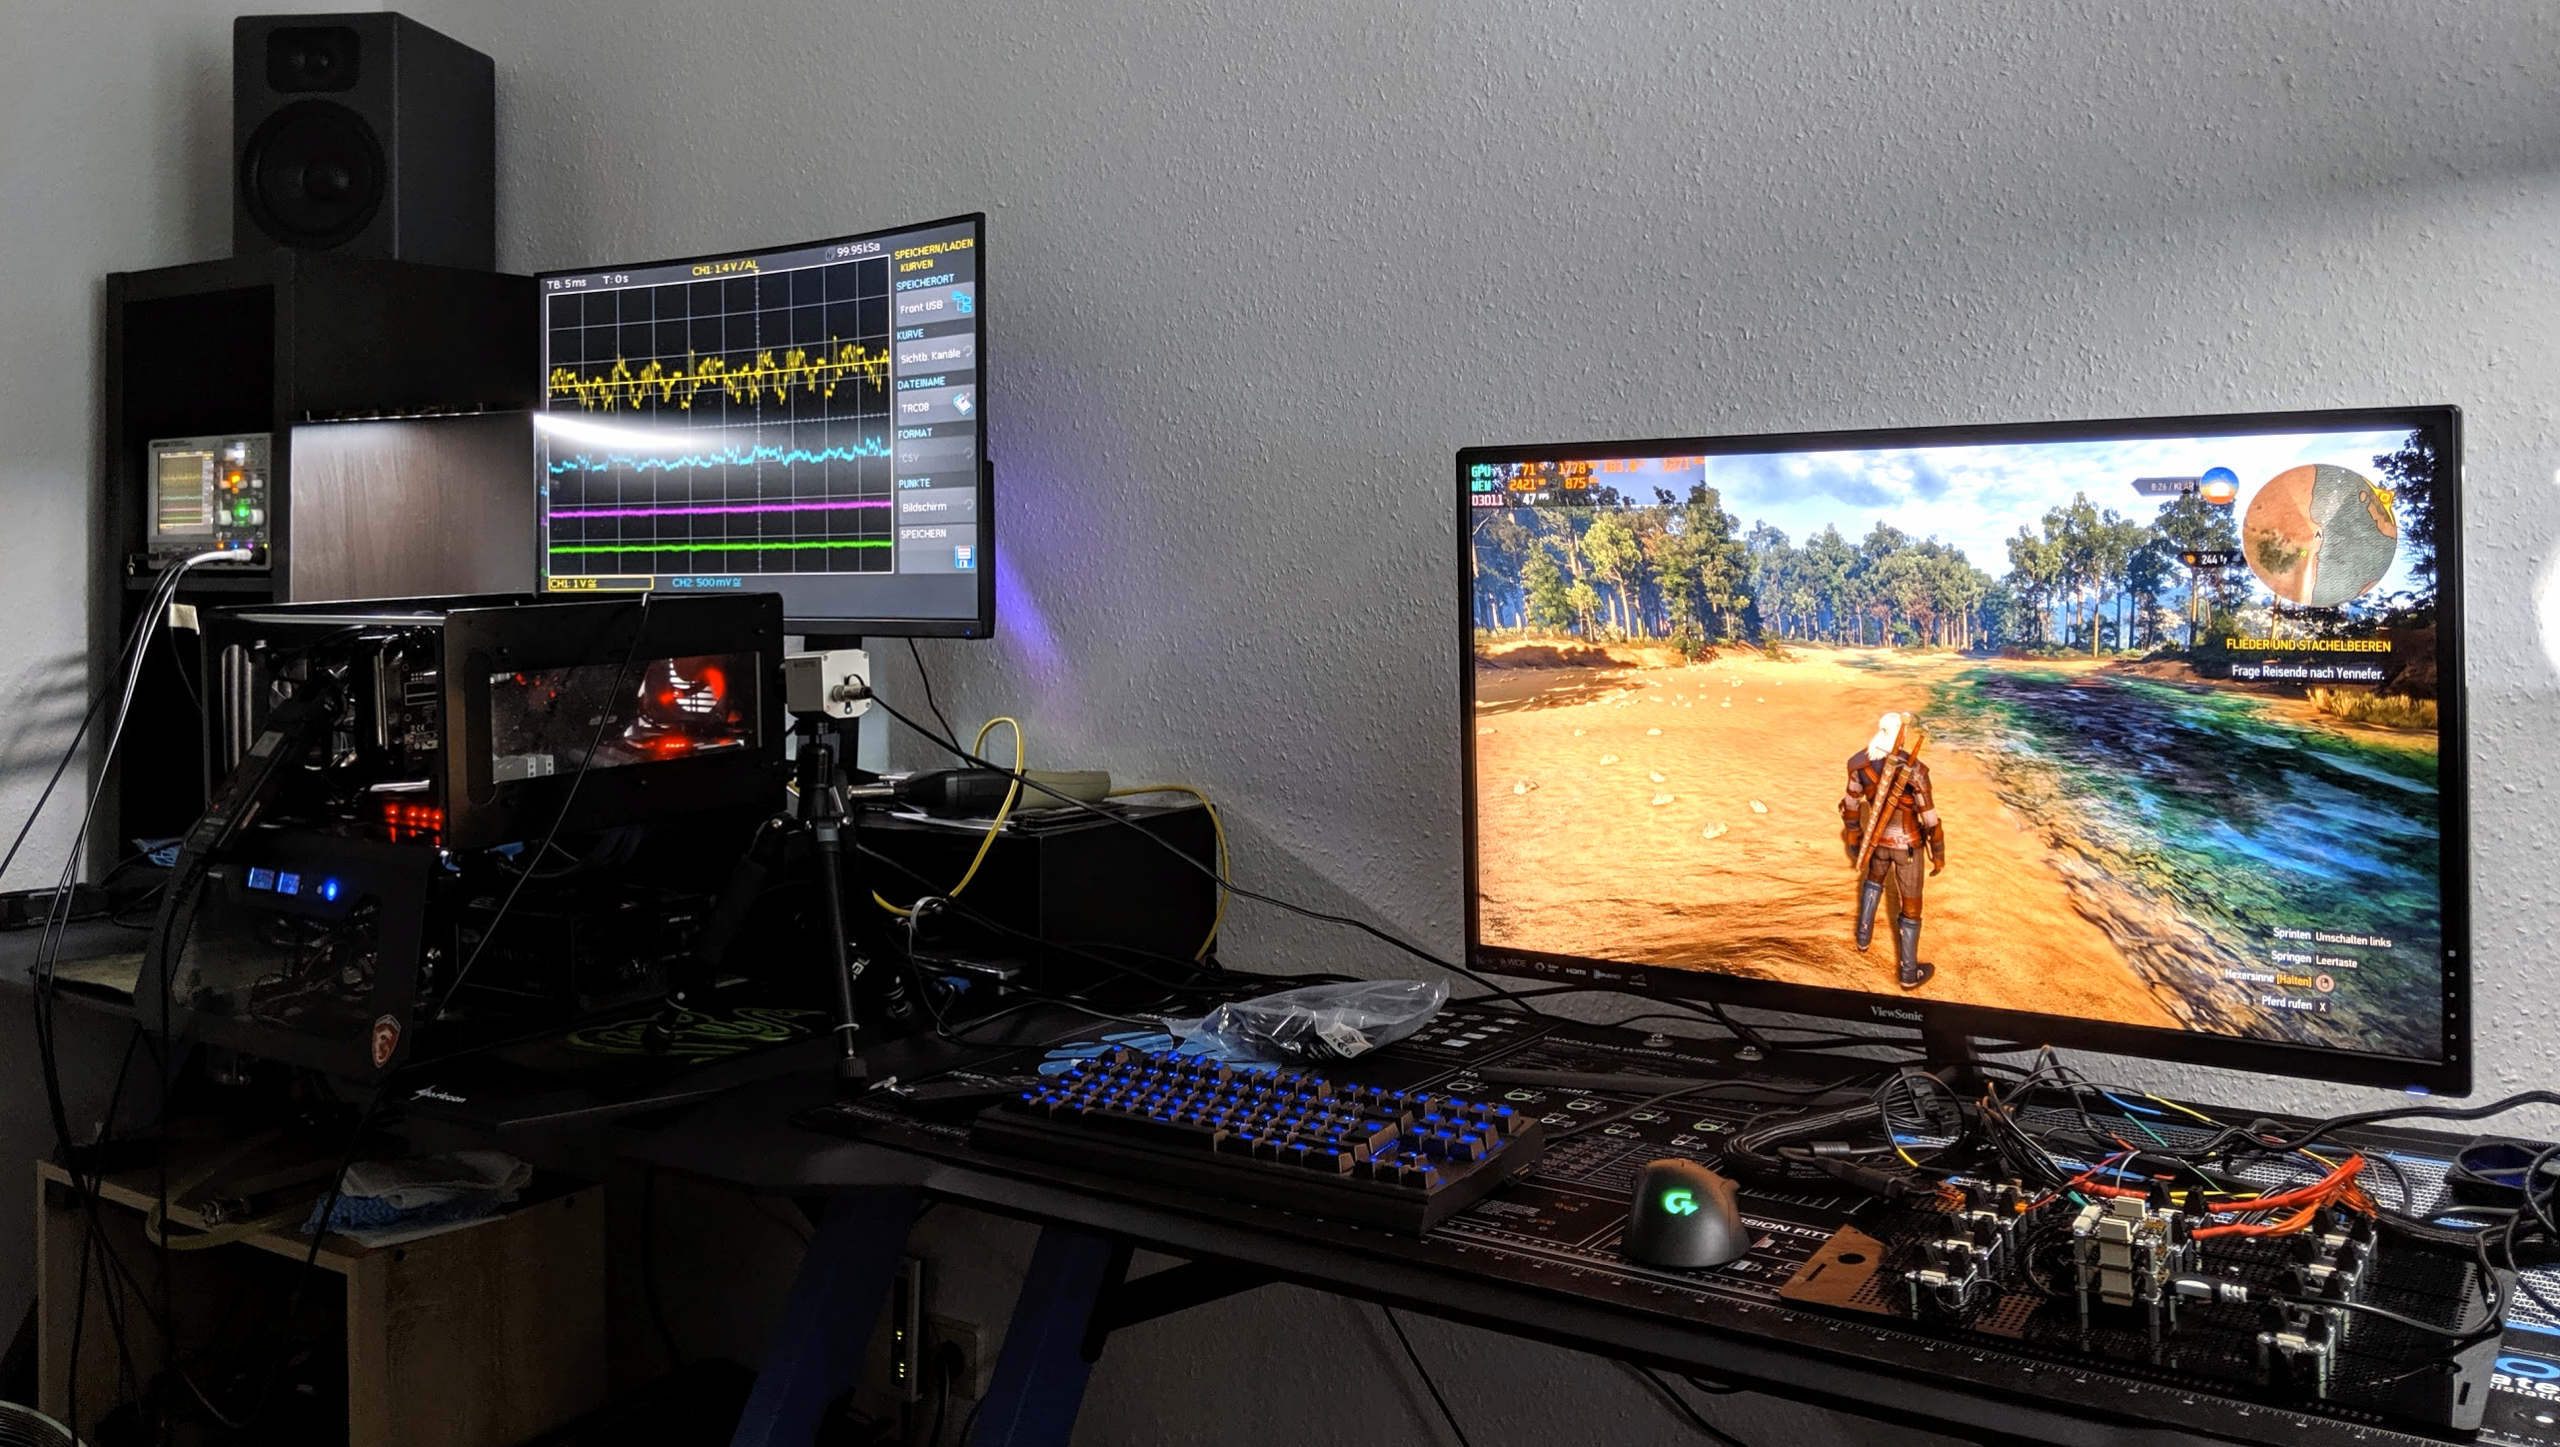
Since the Otto Normal customer can check the GPU temperatures with selection tools at most, I offer in this article a usual elaborate infrared test with the video of the heat flow and the temperature development, because at the latest with the memory and the There are sometimes extreme differences in voltage converters, which are difficult to determine with normal tests. Testing is always carried out with a maximum power consumption of just under 380 watts for the graphics card board and a constant water temperature of 20 °C, as well as a room temperature of 22 °C and the same Witcher 3 gaming loop in Ultra HD.
All the companies requested have also delivered test samples so far, even if it sometimes took a little longer. Unfortunately, Bitspower has so far, in contrast, and despite direct contact to Asia, completely refused to test. The cooler offered should work equally for all RTX models with reference board, which would have been quite interesting. However, it can at least be assumed that due to such a wide range of supported layouts, the performance may have fallen a bit by the wayside. Perhaps this is also the reason why sampling was not carried out in the end.
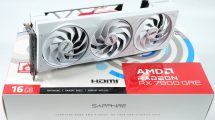
Scope of delivery, quality of workmanship and assembly
The fully assembled water block, the matching screws, thermal paste and pads are supplied. There is no aRGB lighting. The two 90° angles from the prototype, on the other hand, do not exist, then every buyer is better free in his decision. I put them with them purely as an example, even though I used others in the end, because the diameter was just too low for me. The thick 1.5 mm pads with their 3 W/mK thermal conductivity are actually only mediocre and should be better replaced by ultra-soft softpads with 2 mm thickness, which can then be squeezed mega-good, resulting in a much larger cooling surface.
Numbers are sound and smoke, because it is much more important not to put too much strain on the fragile RAM and also to fill in the gaps, but here there is still potential with real soft pads and 6 W/mK for the flyover mode. but then unfortunately also with the price. Because really good pads are small, extra-nasty price drivers.
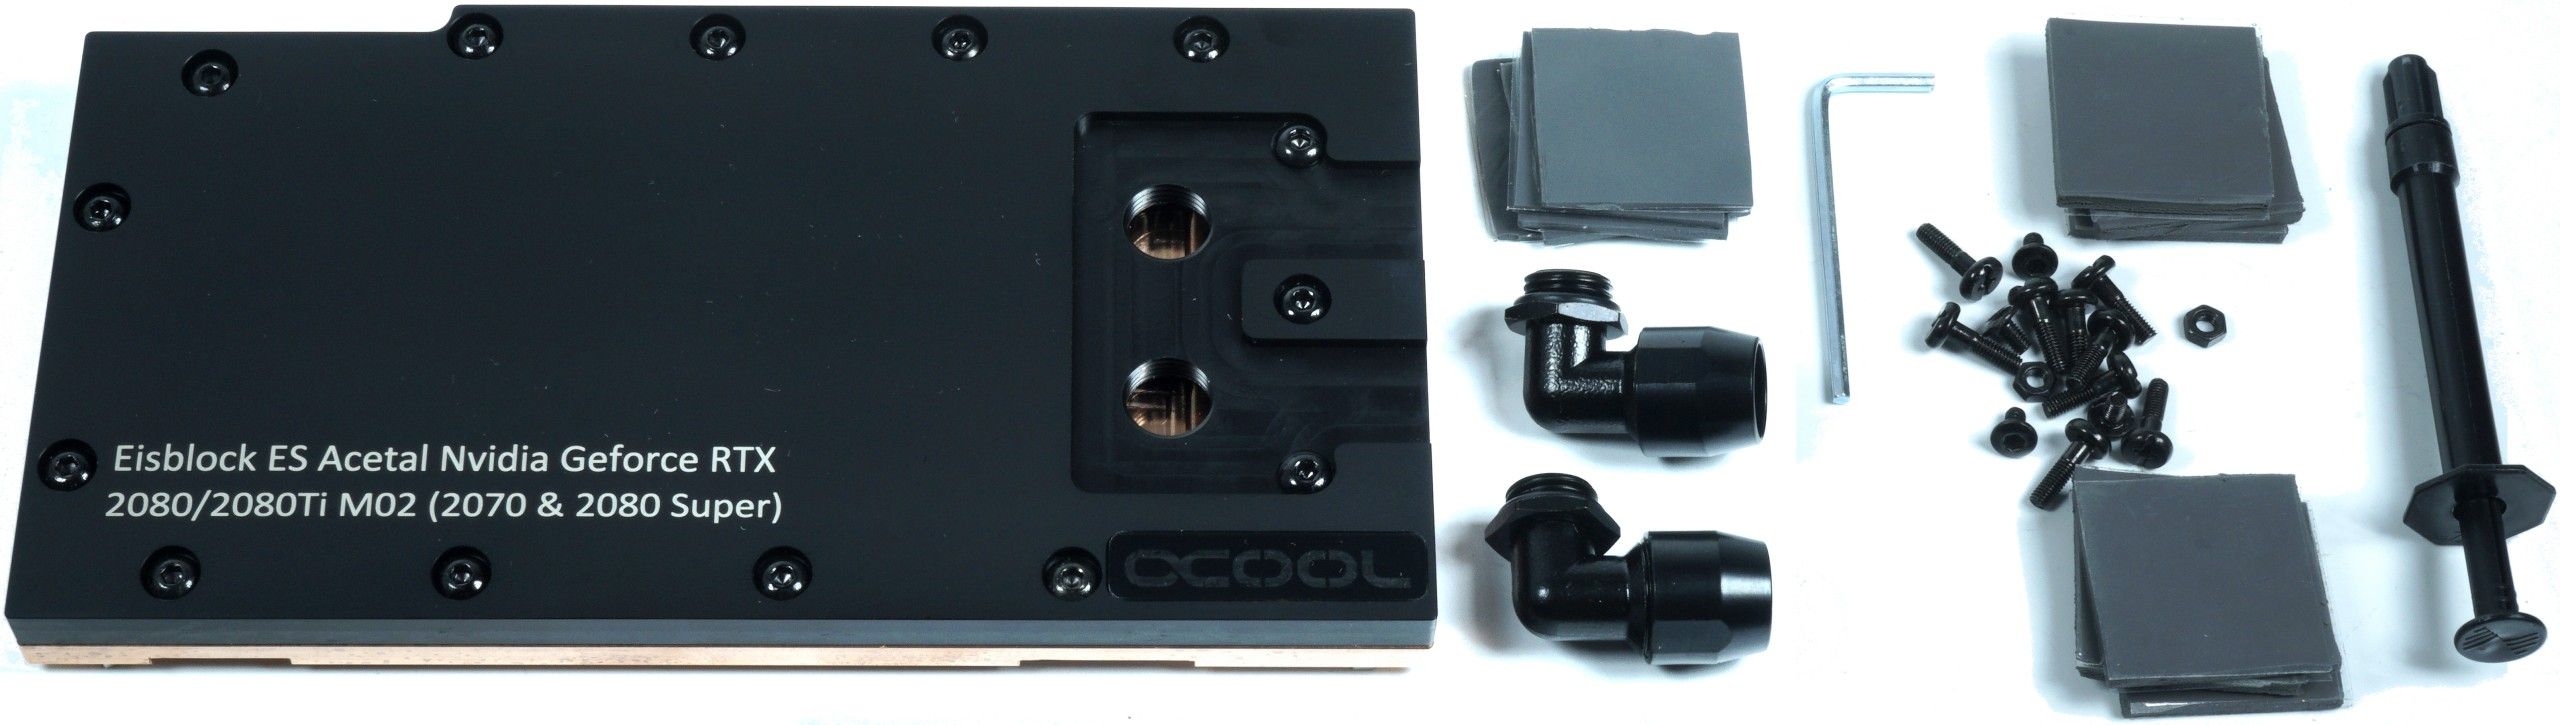
The assembly is really simple with the 11 screws and two nuts (slot hood) and it is recommended as always to place the pads on the cooler and then position and screw the PCB on the lying water block. The short, exemplary video shows you how to do this appropriately:
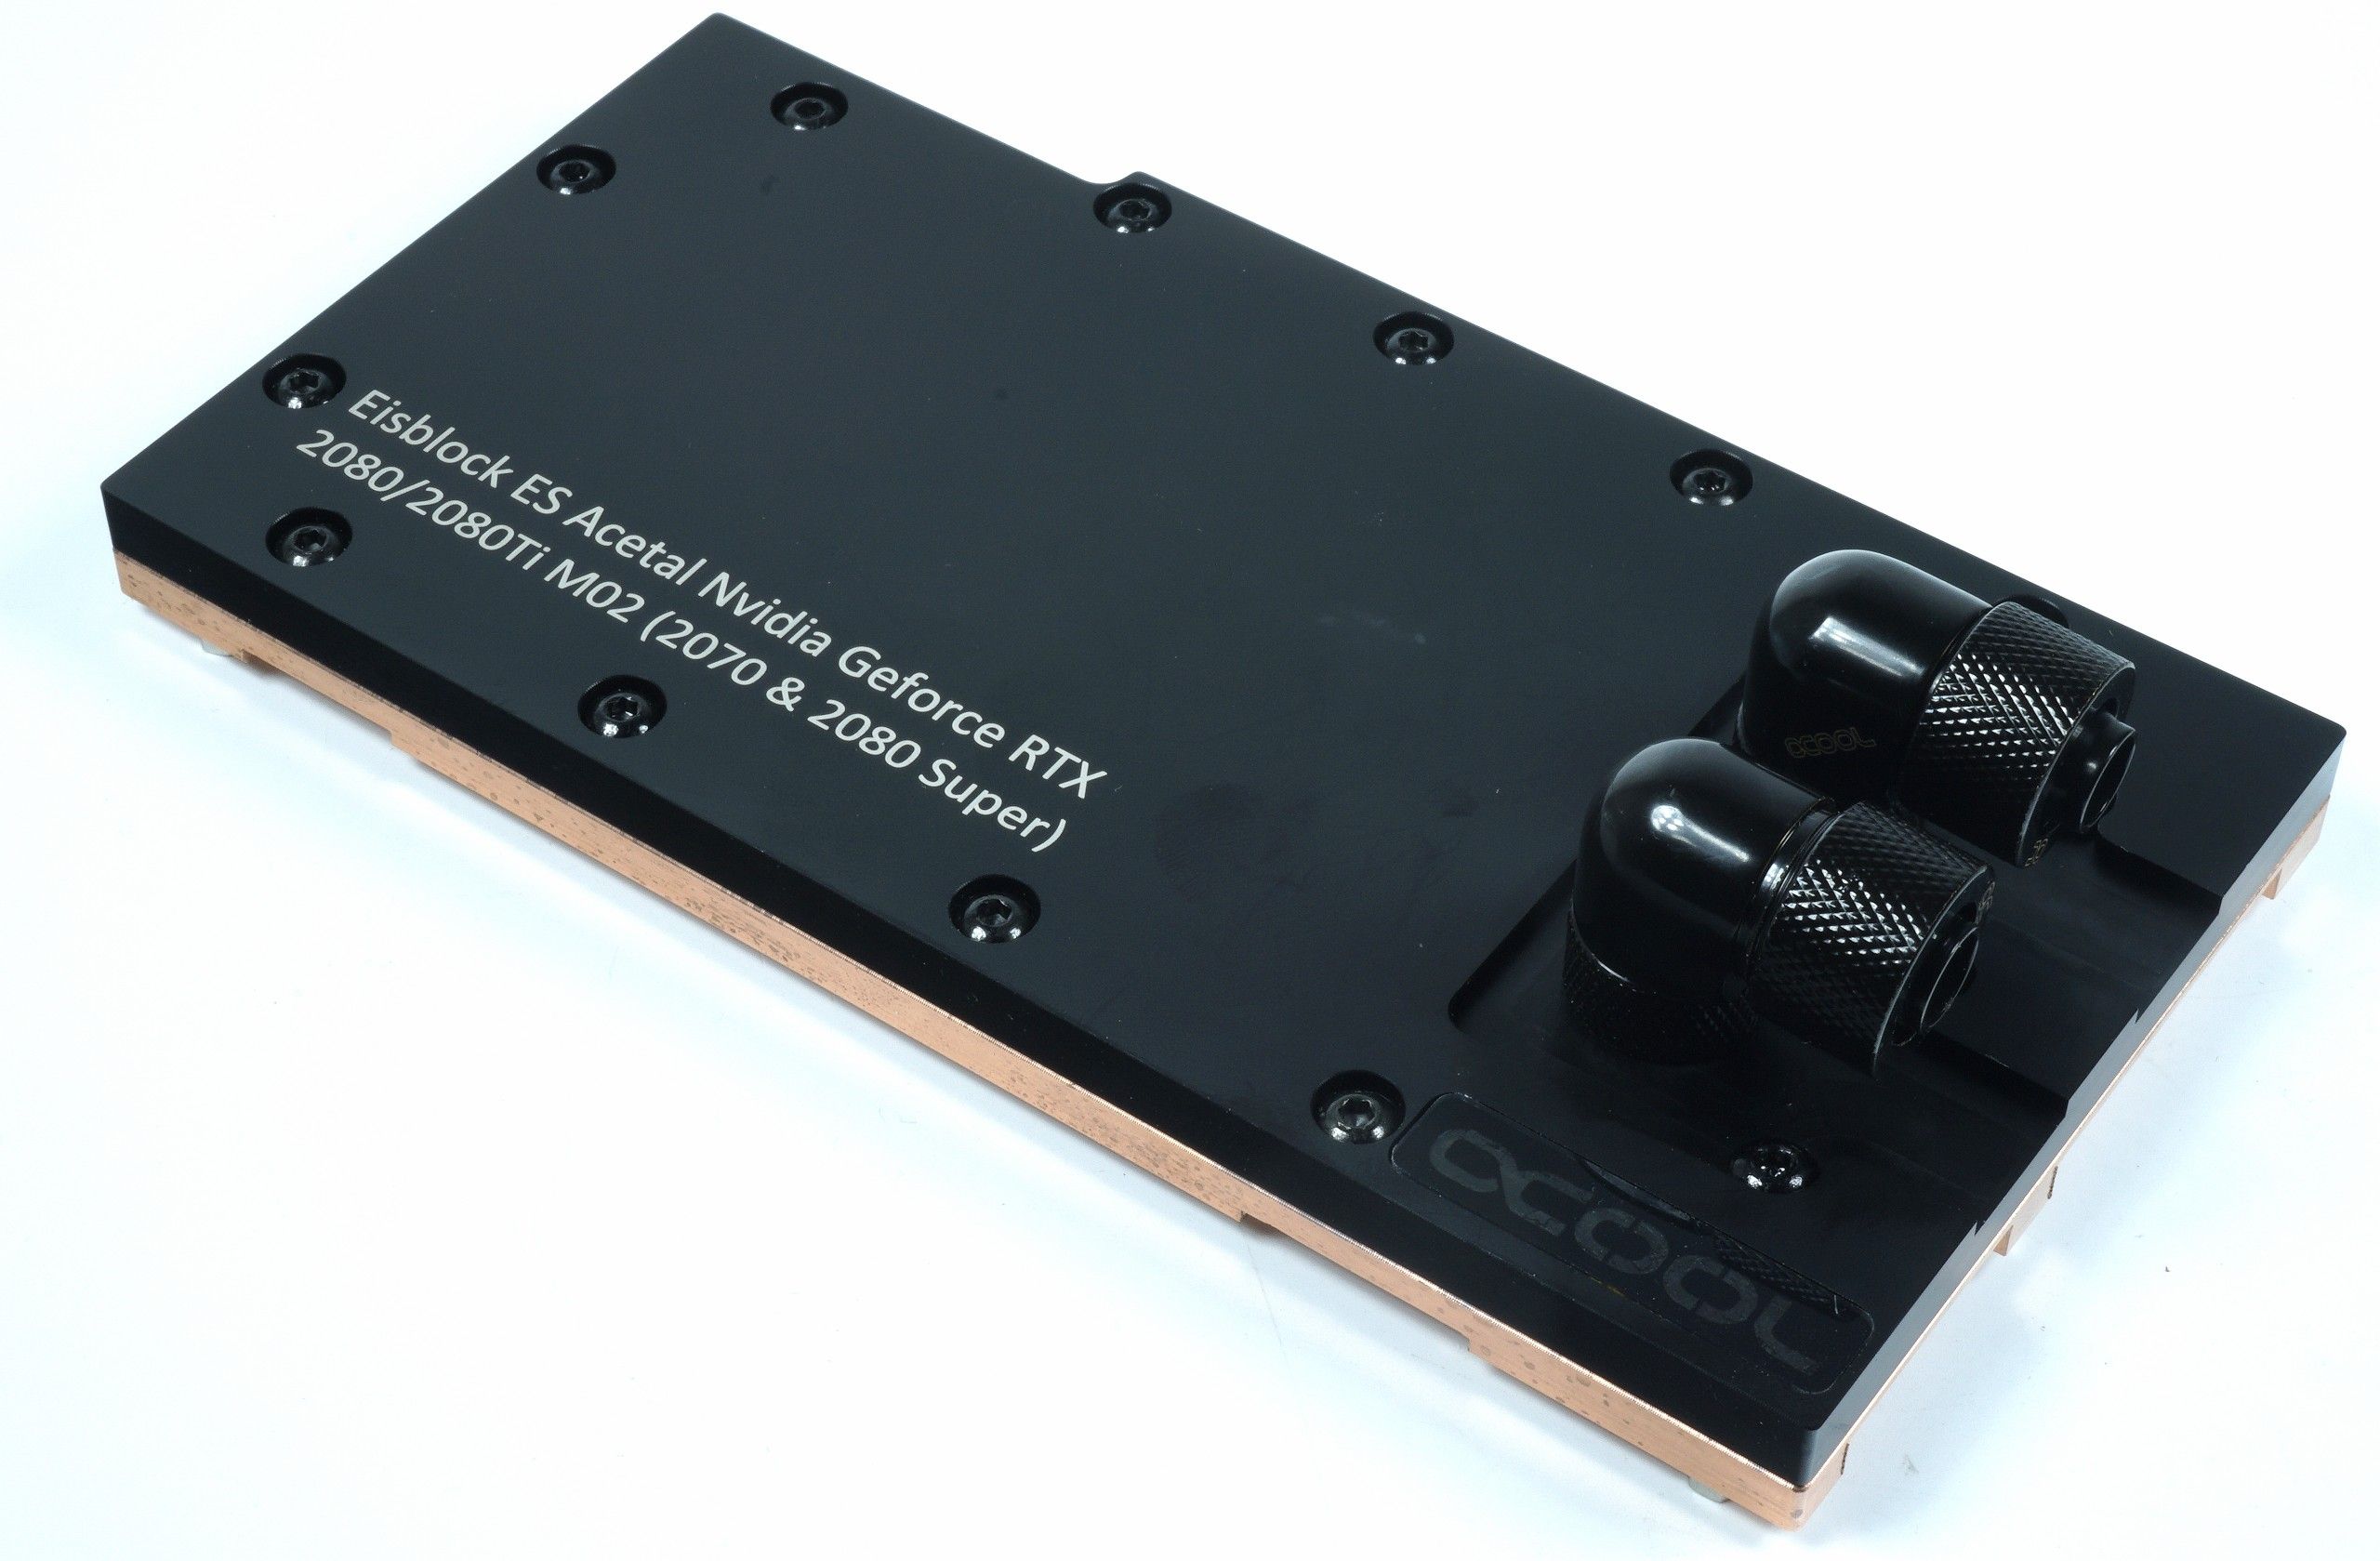
The water block made of non-nickel-plated copper is classically designed and fairly cleanly processed. You can't find nasty ridges and the threaded sleeves used are also sufficiently fixed. But what makes this block so interesting and stands out from the crowd is the lack of a terminal on the top of the graphics card. On the rather short block, there are inlet and outlet openings at the end of the card on the front of the radiator cover, where contra-angle handpieces are offered to guide the hose to the rear. If you are dependent on such a solution for reasons of space, you will finally find it here!
The block relies on a central inlet above the GPU, whose channel leads directly to the center of the GPU cooling surface with the microchannels after the water has cooled the large voltage converter block and memory modules between VRM and GPU. The water flow is part of this and both circuits serve for the smaller voltage converter block and two storage rows (top and bottom).

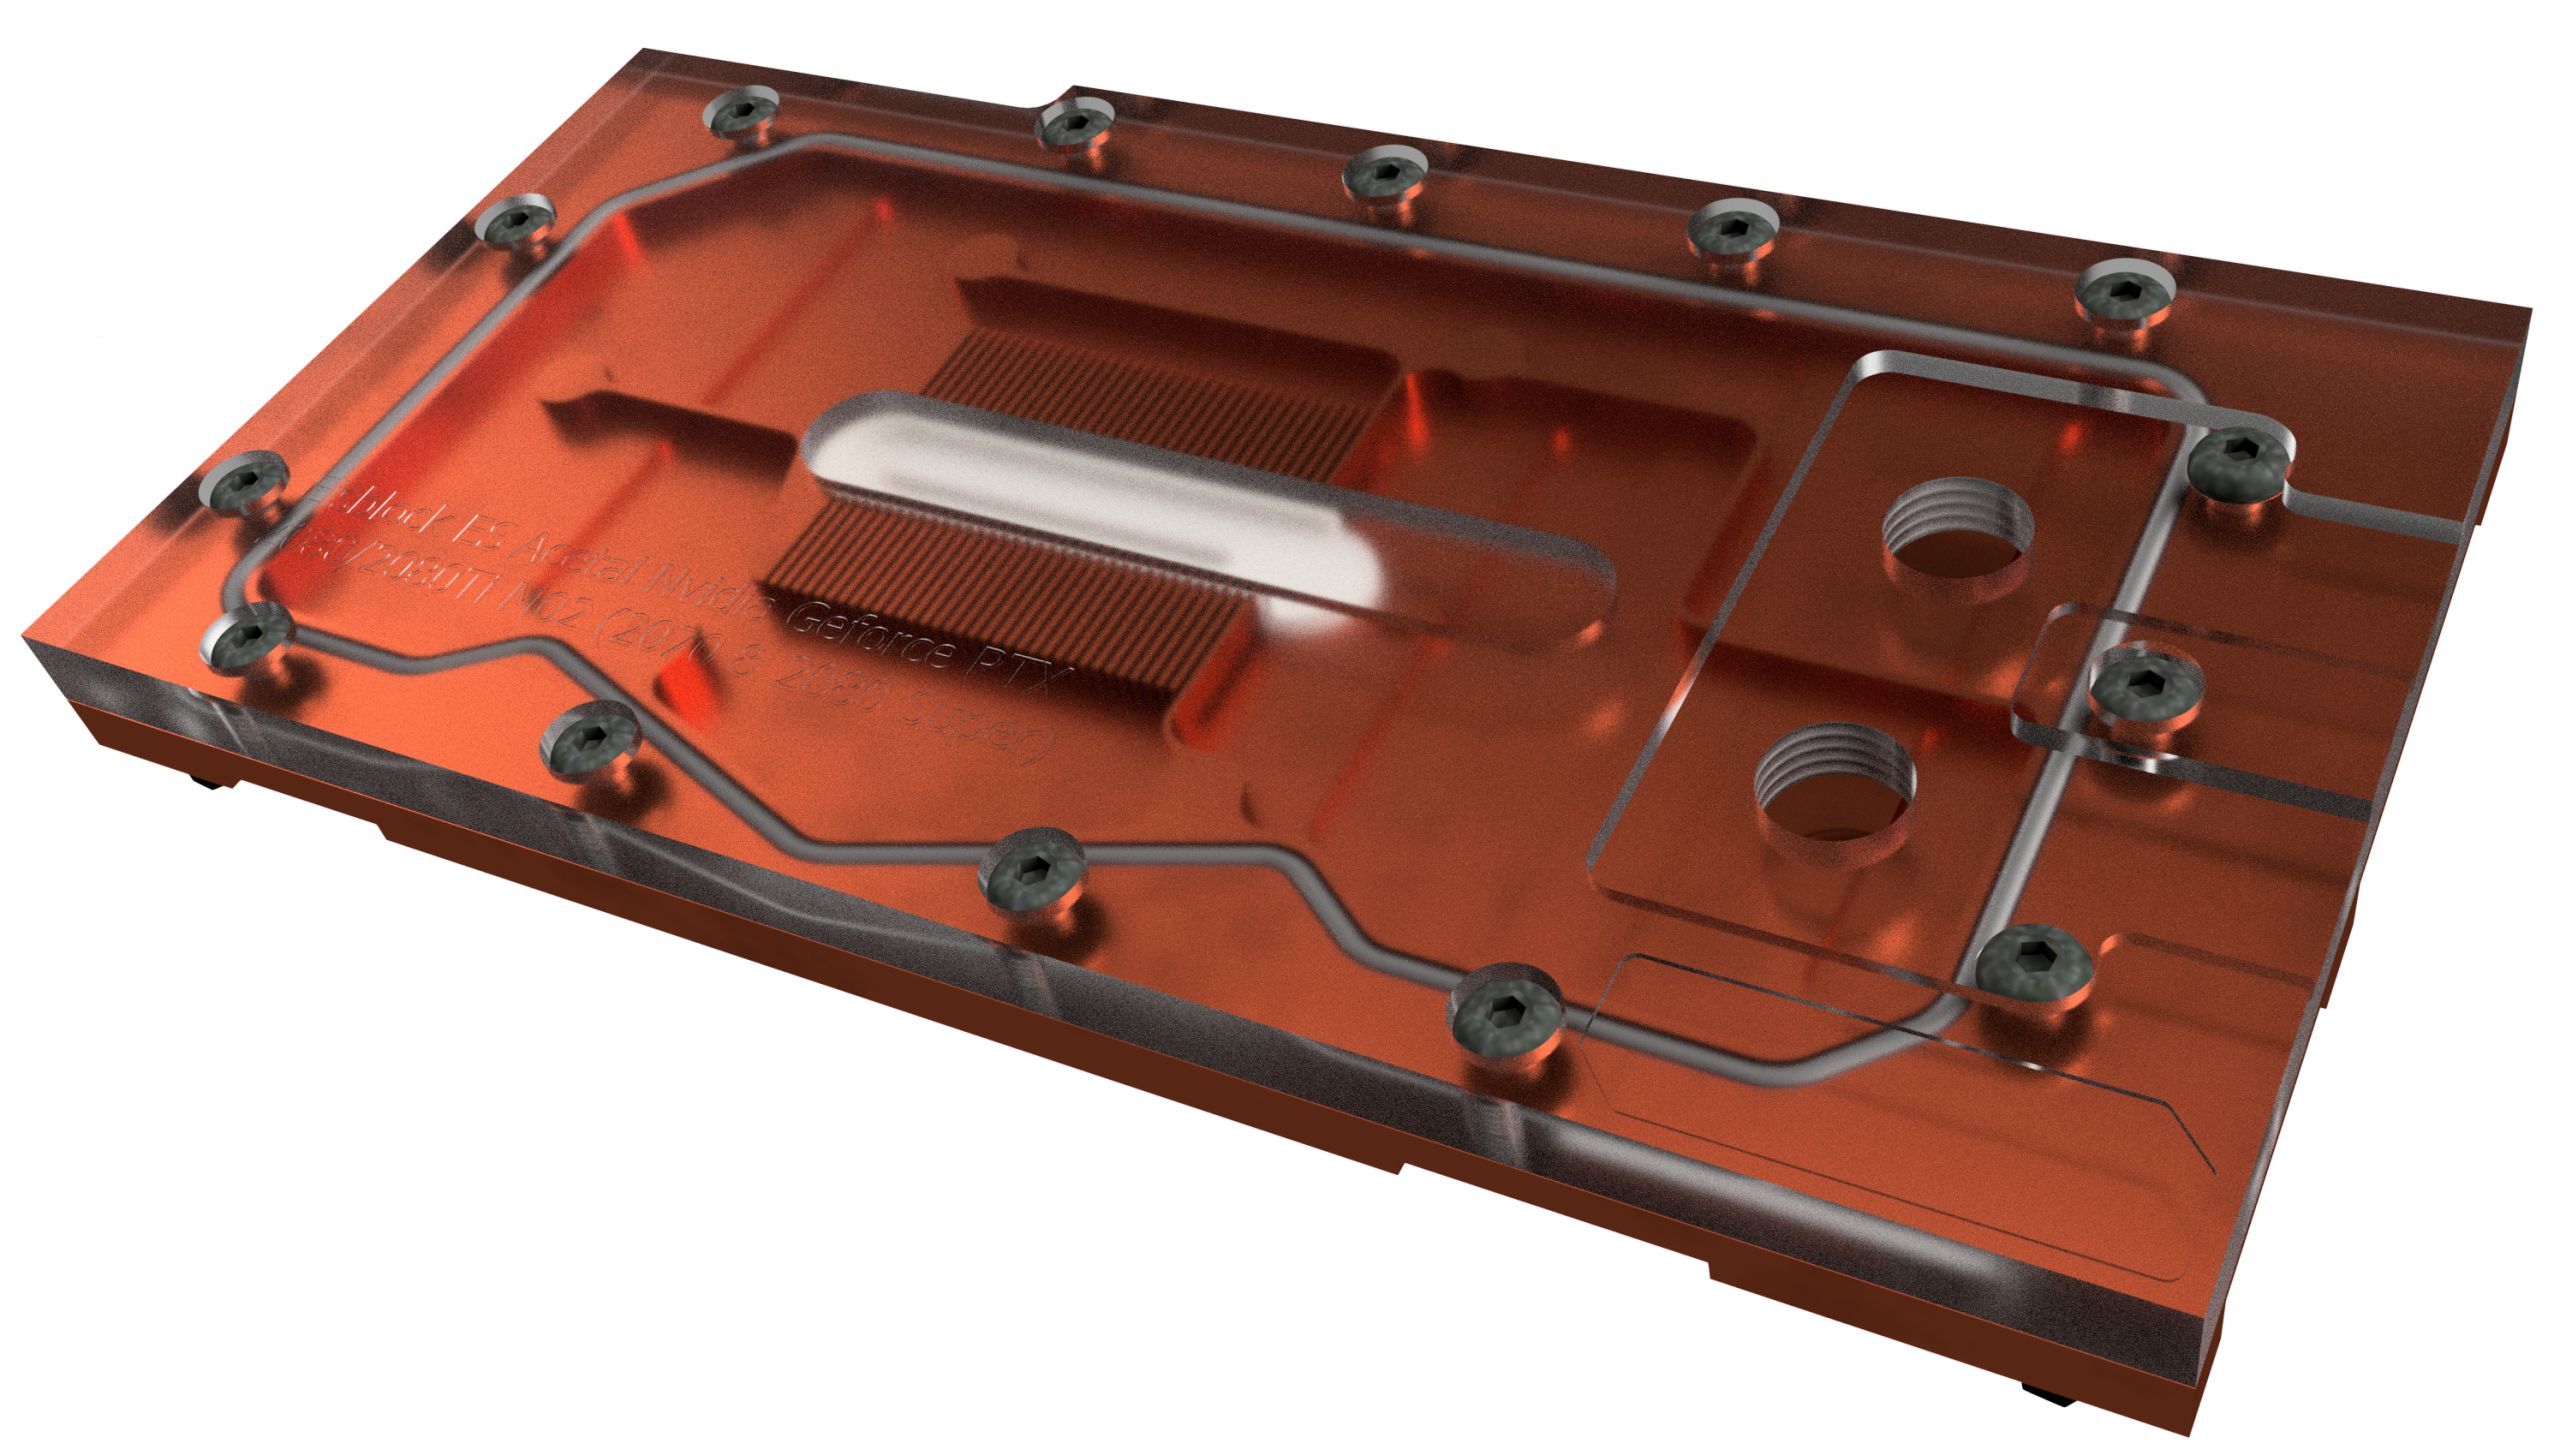
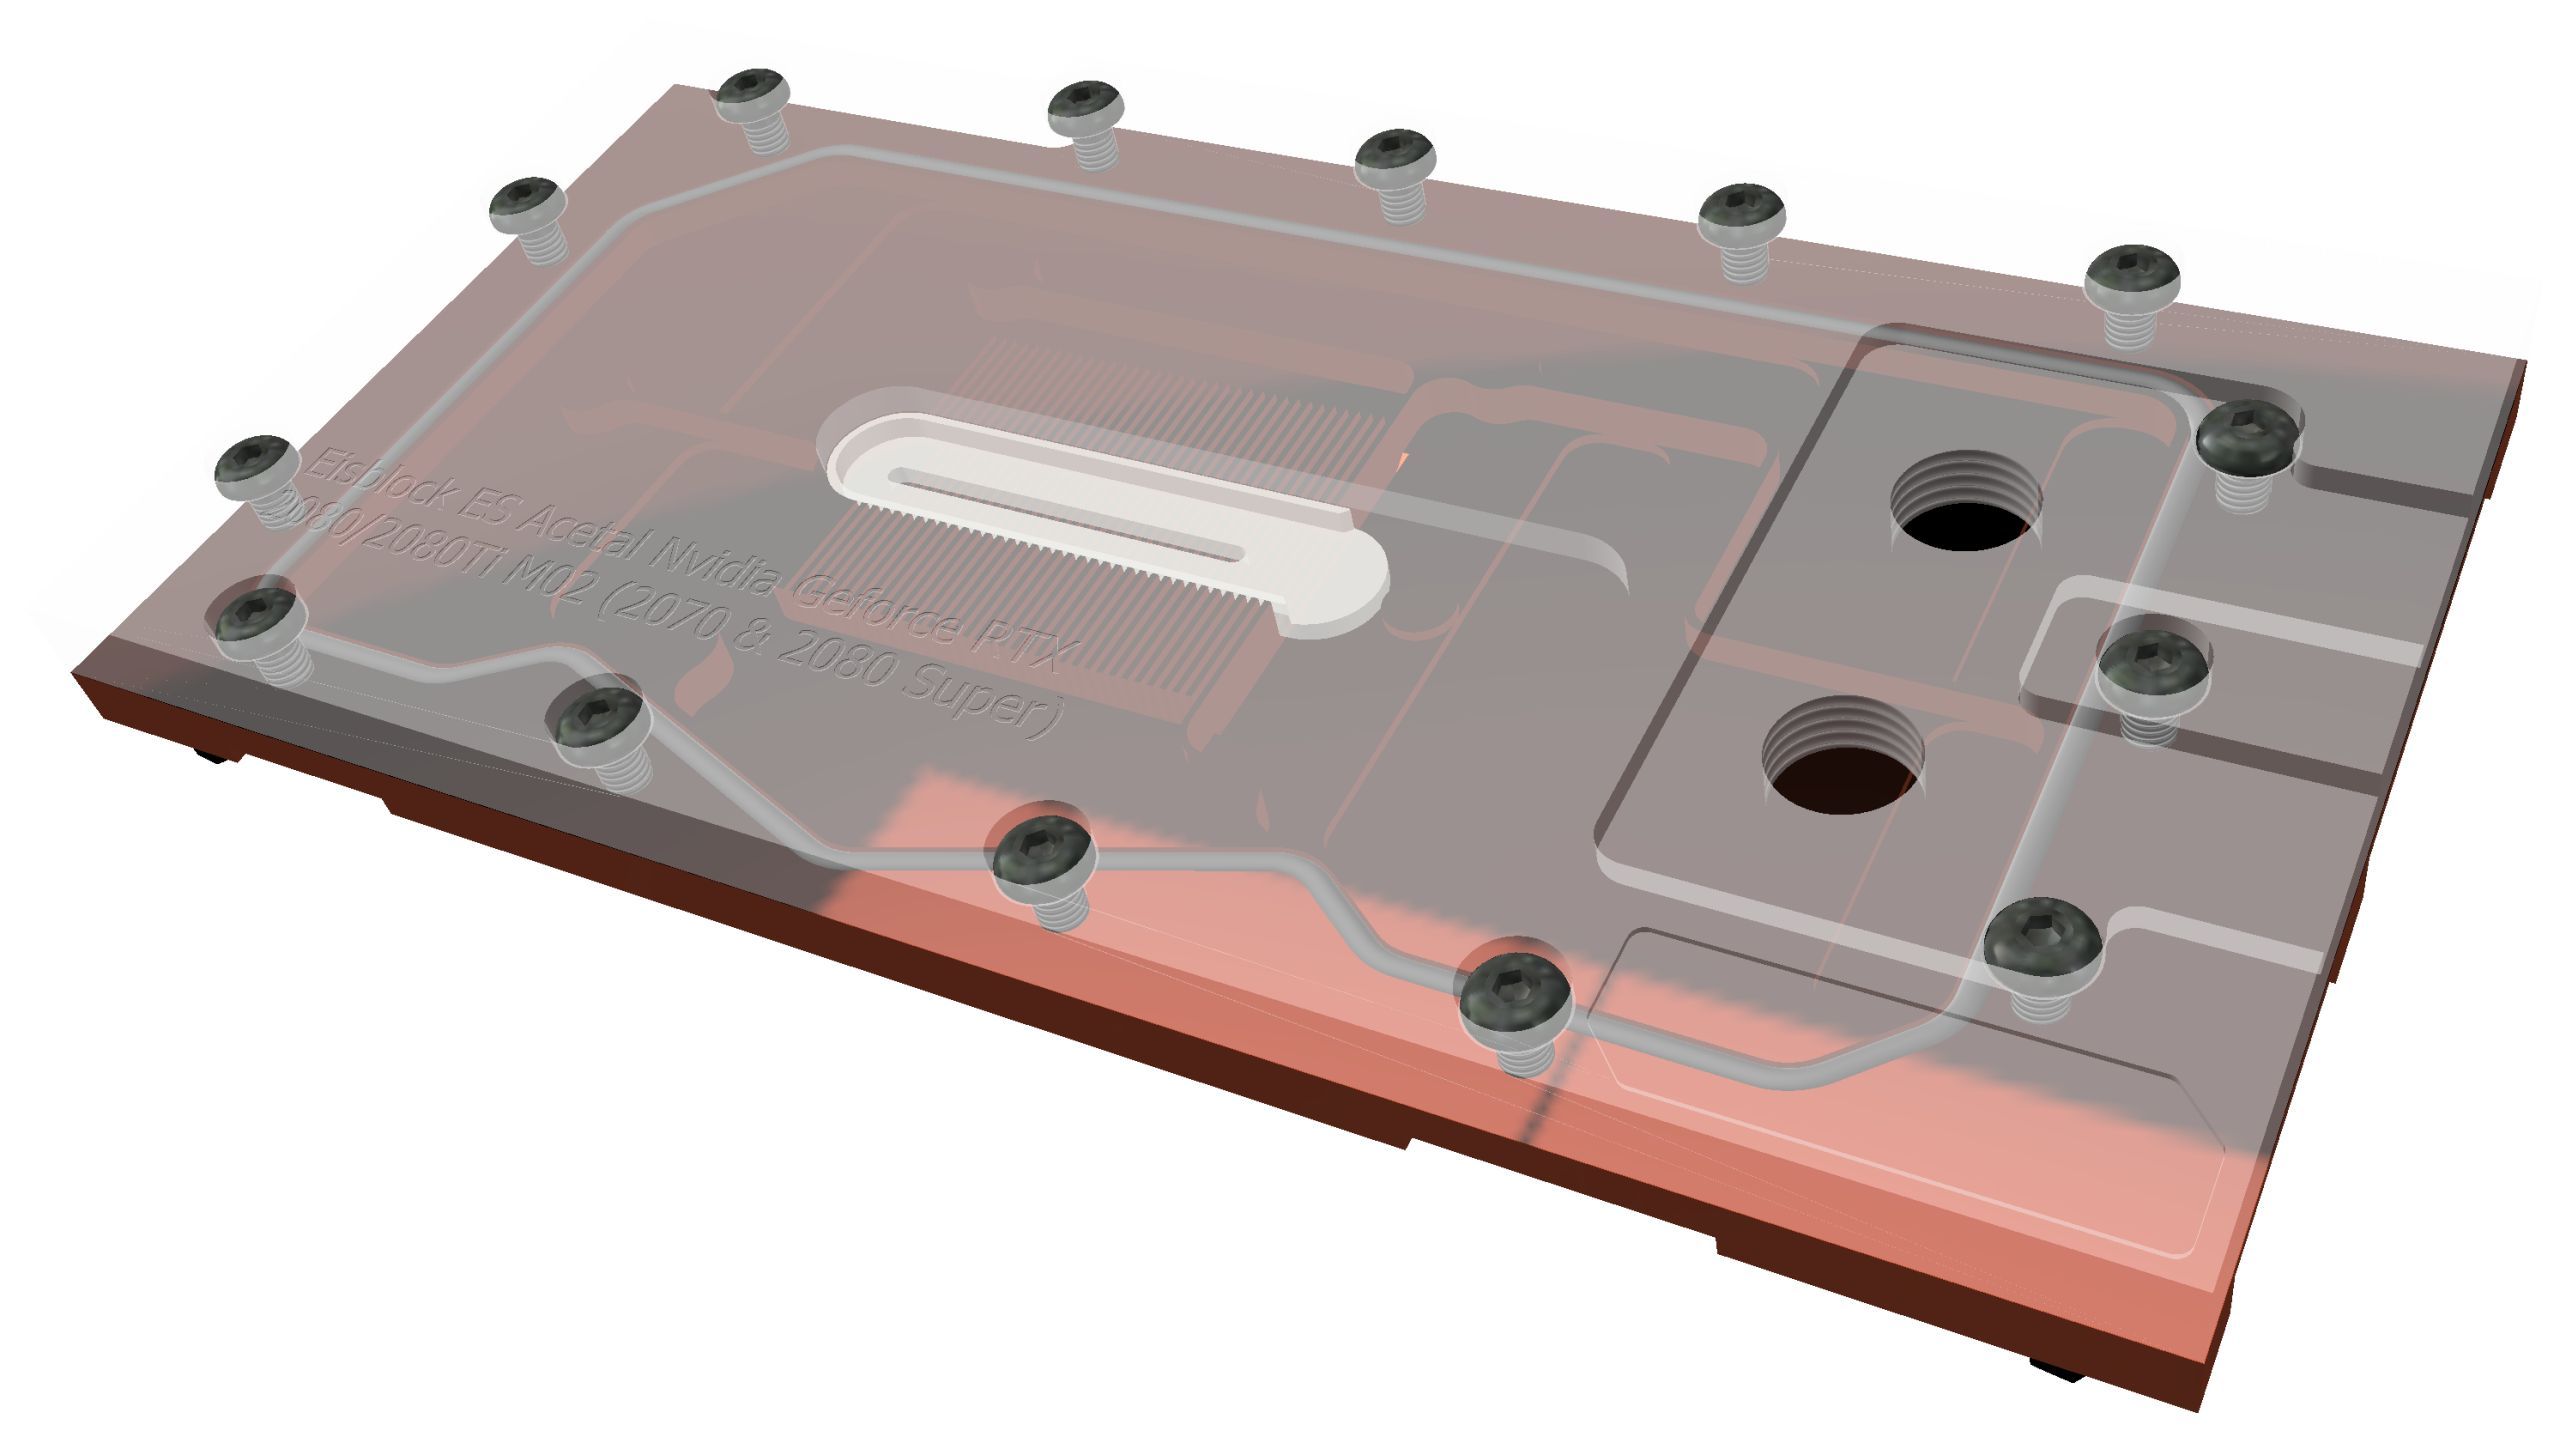
You can see that it is a very good low-flow design, which has its strengths especially at flow rates of less than 80 l/min and where, with some goodwill, it could even reverse the flow rate. I had that quite rarely, but it works quite well. Whatever you want to do.
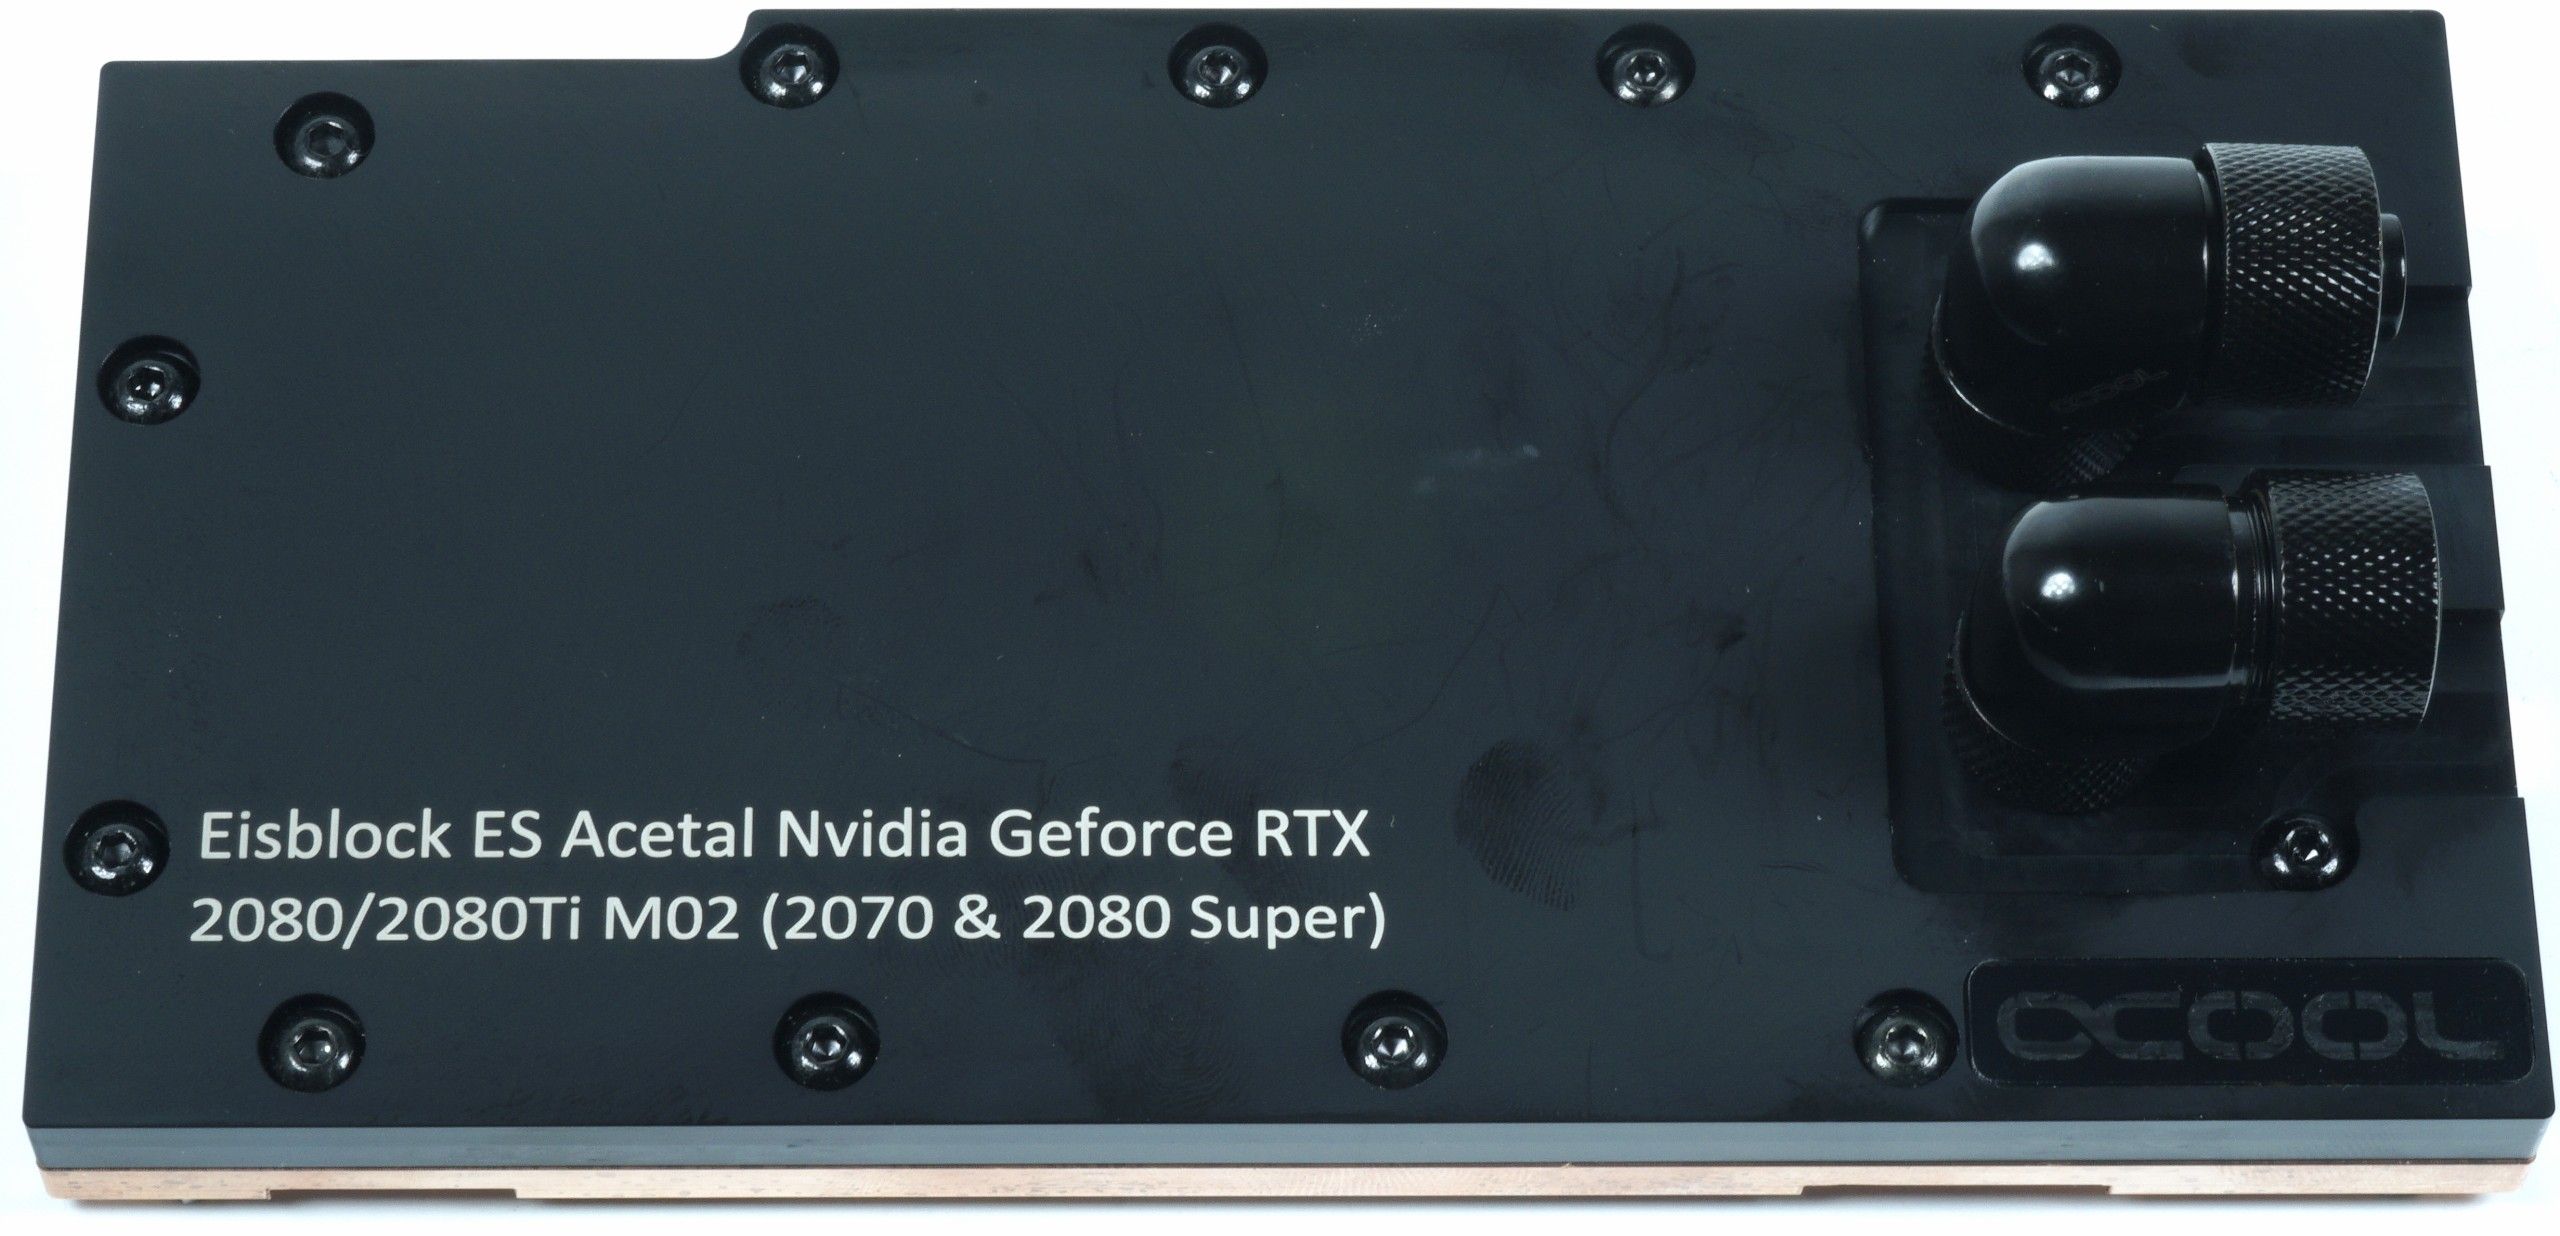
The final assembly is simple and with reasonably good skills you have done everything in less than 20 minutes. As usual, the connection of the two hoses to the contra-angle handpieces is absolutely no witchcraft.

Datasheet
Test system and measurement methods
The test system and methodology are known to the regular readers, but I will still (have to) come back to it on the next page.
If you are interested, the summary in table form quickly provides a brief overview:
| Test systems and measuring rooms | |
|---|---|
| Hardware: |
Intel Core i9-9900K MSI MEG Z390 Ace G.Skill TridentZ DDR4 3600 1x 1 TByte Toshiba OCZ RD400 (M.2, System SSD) 2x 960 GByte Toshiba OCZ TR150 (Storage, Images) Be Quiet Dark Power Pro 11, 850-watt power supply |
| Cooling: |
Alphacool Ice Block XPX 5x Be Quiet! Silent Wings 3 PWM (Closed Case Simulation) Thermal Grizzly Kryonaut (for cooler change) |
| Housing: |
Lian Li PC-T70 with expansion kit and modifications |
| Monitor: | Eizo EV3237-BK |
| Power consumption: |
non-contact DC measurement on the PCIe slot (Riser-Card) non-contact DC measurement on the external PCIe power supply Direct voltage measurement on the respective feeders and on the power supply 2x Rohde & Schwarz HMO 3054, 500 MHz multi-channel oscillograph with memory function 4x Rohde & Schwarz HZO50, current togor adapter (1 mA to 30 A, 100 KHz, DC) 4x Rohde & Schwarz HZ355, touch divider (10:1, 500 MHz) 1x Rohde & Schwarz HMC 8012, digital multimeter with storage function |
| Thermography: |
Optris PI640, infrared camera PI Connect evaluation software with profiles |
| Acoustics: |
NTI Audio M2211 (with calibration file) Steinberg UR12 (with phantom power for the microphones) Creative X7, Smaart v.7 own low-reflection measuring room, 3.5 x 1.8 x 2.2 m (LxTxH) Axial measurements, perpendicular to the center of the sound source(s), measuring distance 50 cm Noise in dBA (Slow) as RTA measurement Frequency spectrum as a graph |
| Operating system | Windows 10 Pro (1909, all updates) |


Kommentieren